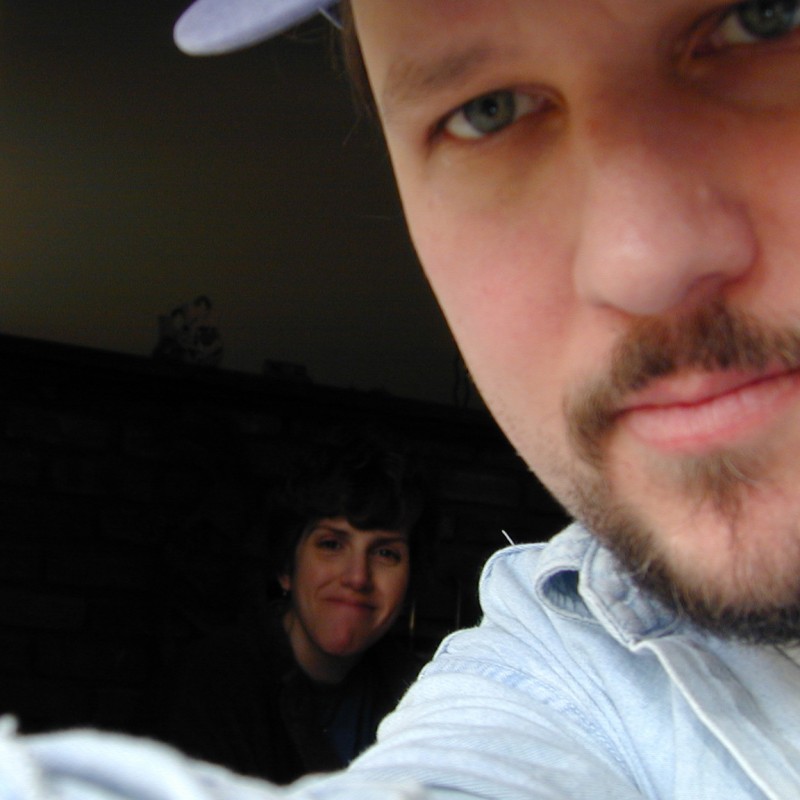
 I’ve been using the same avatar across all of social media for many years. It’s not very good. If you look at the original it’s actually out of focus, but you can’t tell when it’s a teeny tiny avatar on facebook. My wife CAT is in it too, which is nice.
I always intended to replace it but it was working, doing it’s job, so I didn’t. When I shaved my beard over a year ago I thought, “Well now it doesn’t even look like me. I really need to make a new one!” But it was still working. People still knew it was me. So I didn’t change it.
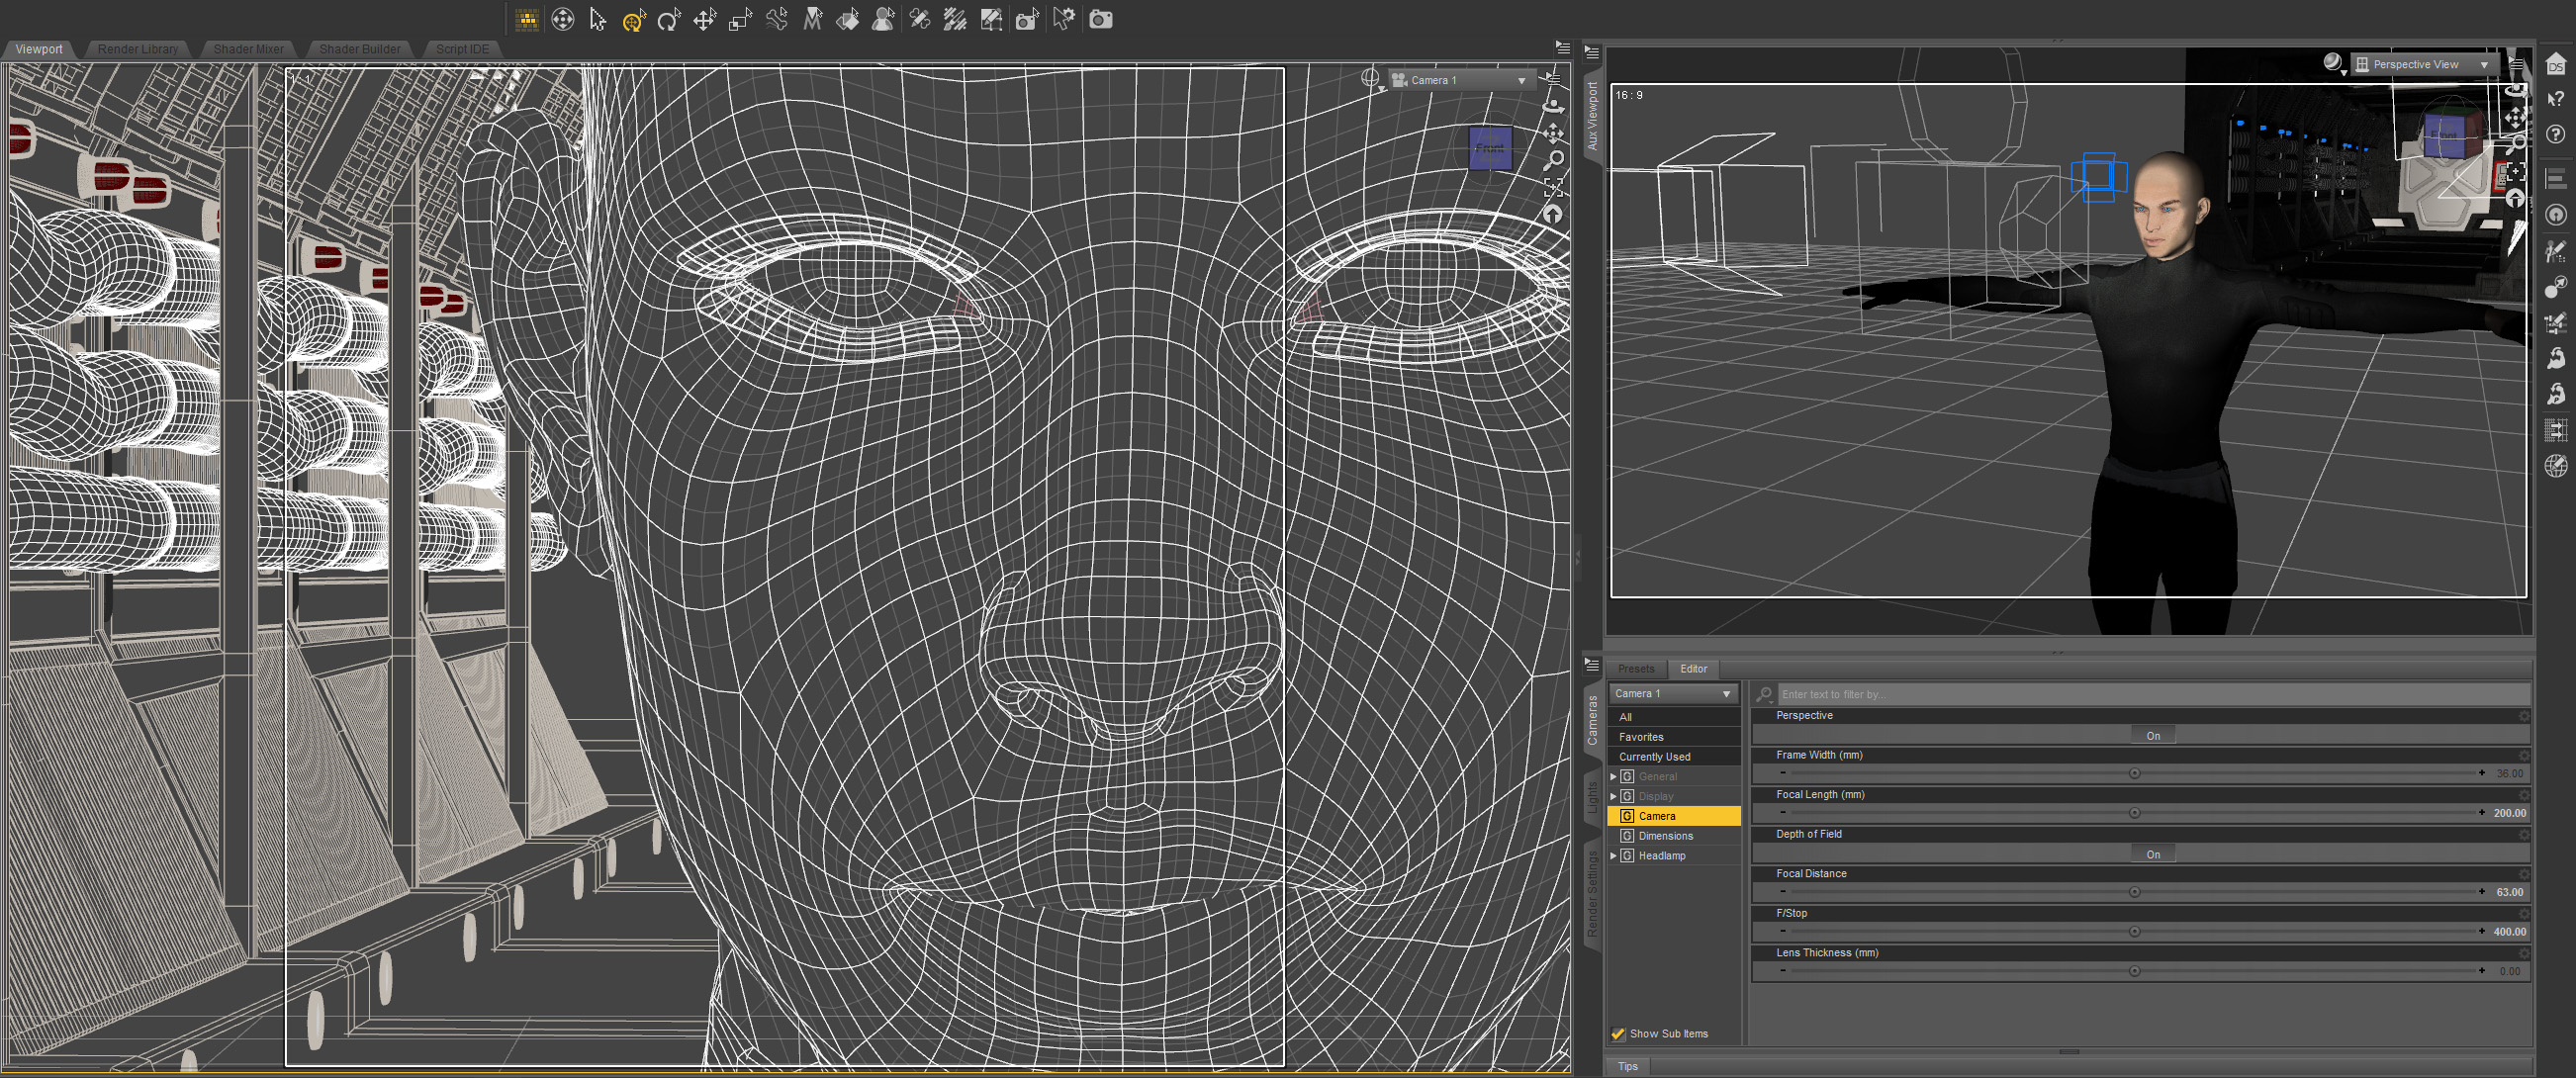
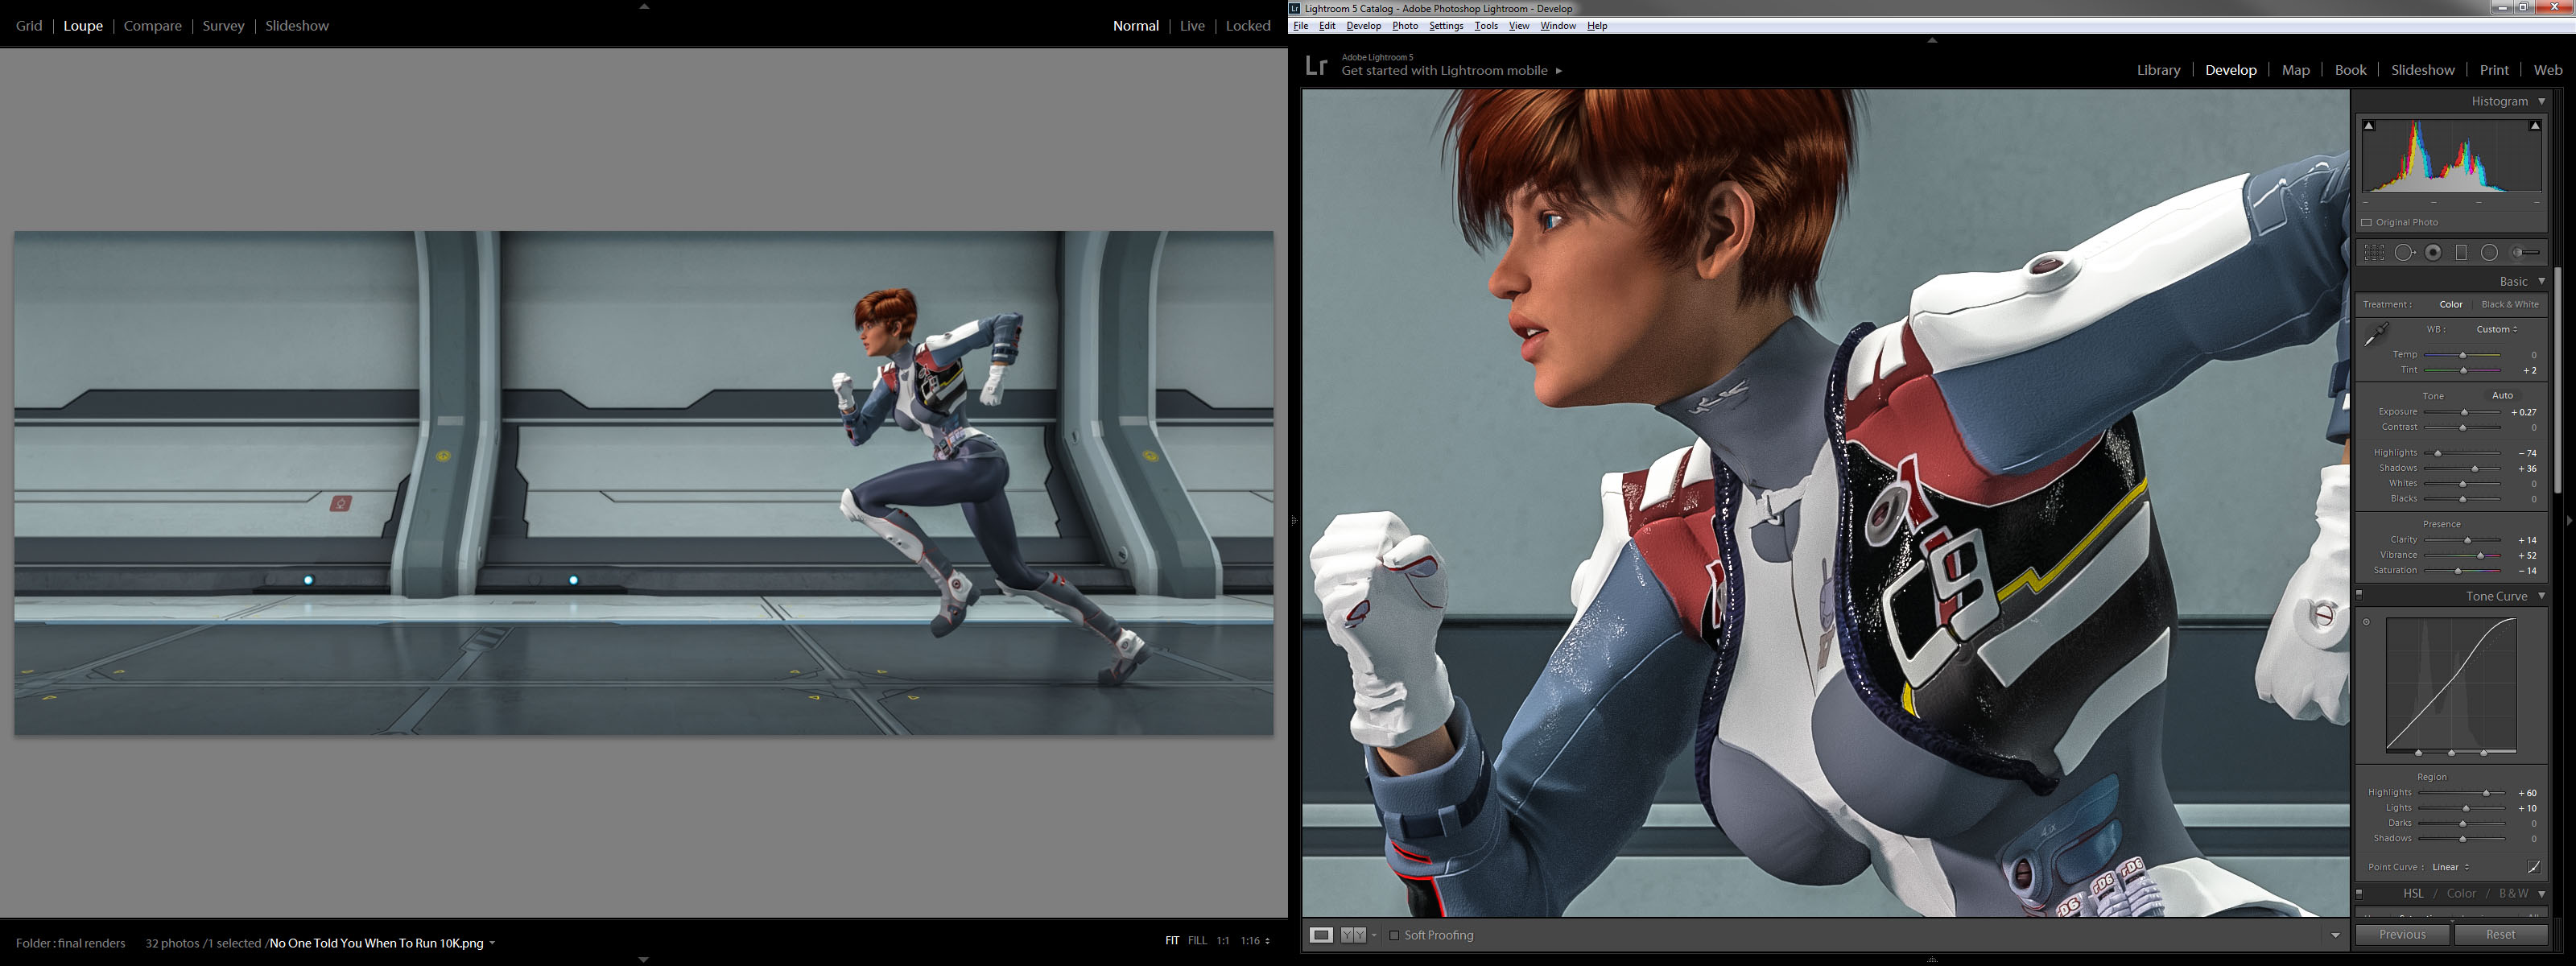
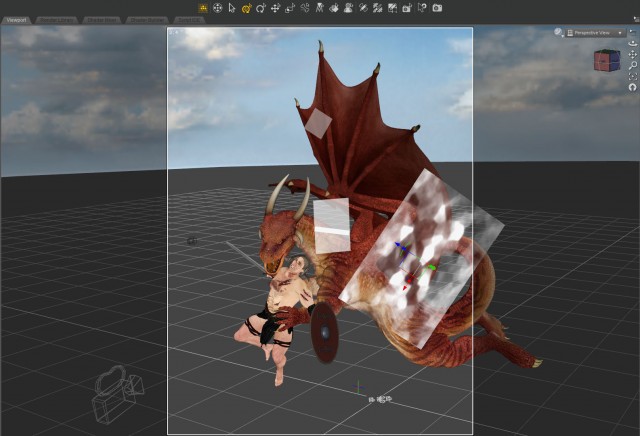
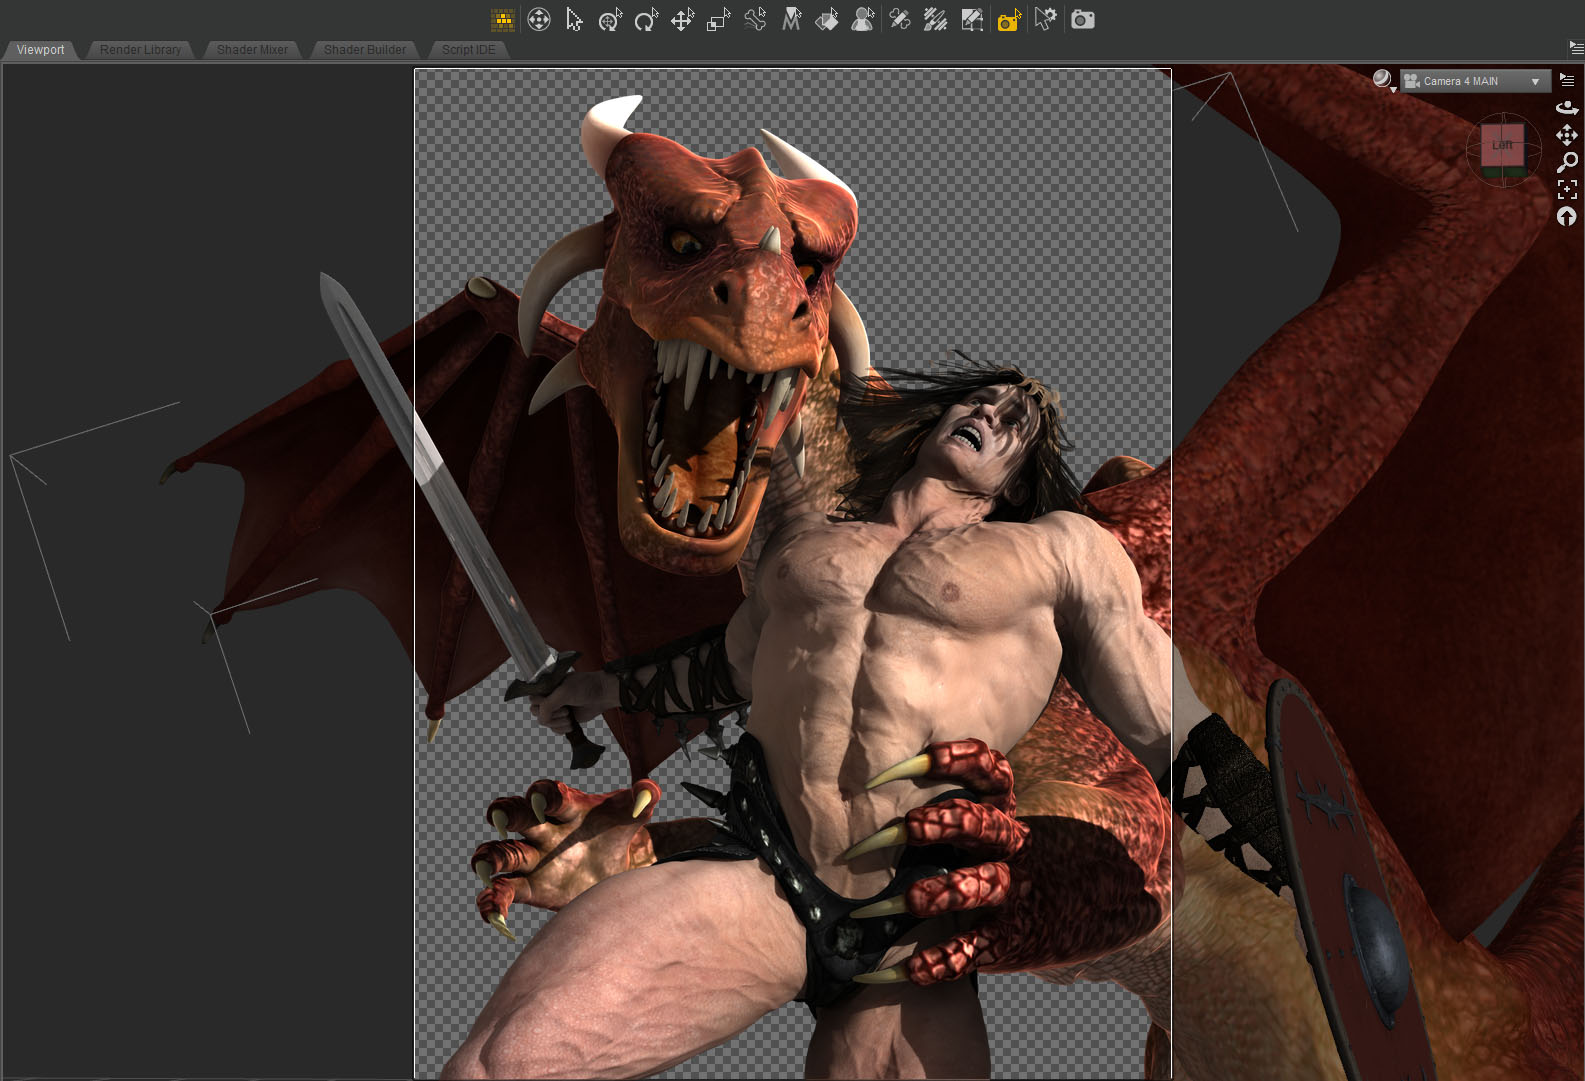
Cut to a few days ago. I was in DAZ Studio and I decided to experiment with different ideas for a new avatar. I figured I could come up with some “concept art” and then take a picture of myself with the same theme, same lighting. Simple. Maybe even use the same CGI background so I wouldn’t have to deal with that in the photograph. But, what to do?
What Makes a Good Avatar?
To all those people who have their kid, or their dog, or cat, or a movie star, or an anime character, or their feet, or a sports team logo, or Abe Vigoda in their avatar: Nobody can figure out who you are! I go through this all the time. The name sounds familiar… Did I know this person in college? Did we grow up together on the same street? Did we work together ten years ago? Is that YOU as a kid? Or is that YOUR kid? Now I have to be a detective. It’s frustrating. Put your friggin’ face in your avatar! /rant
Square One
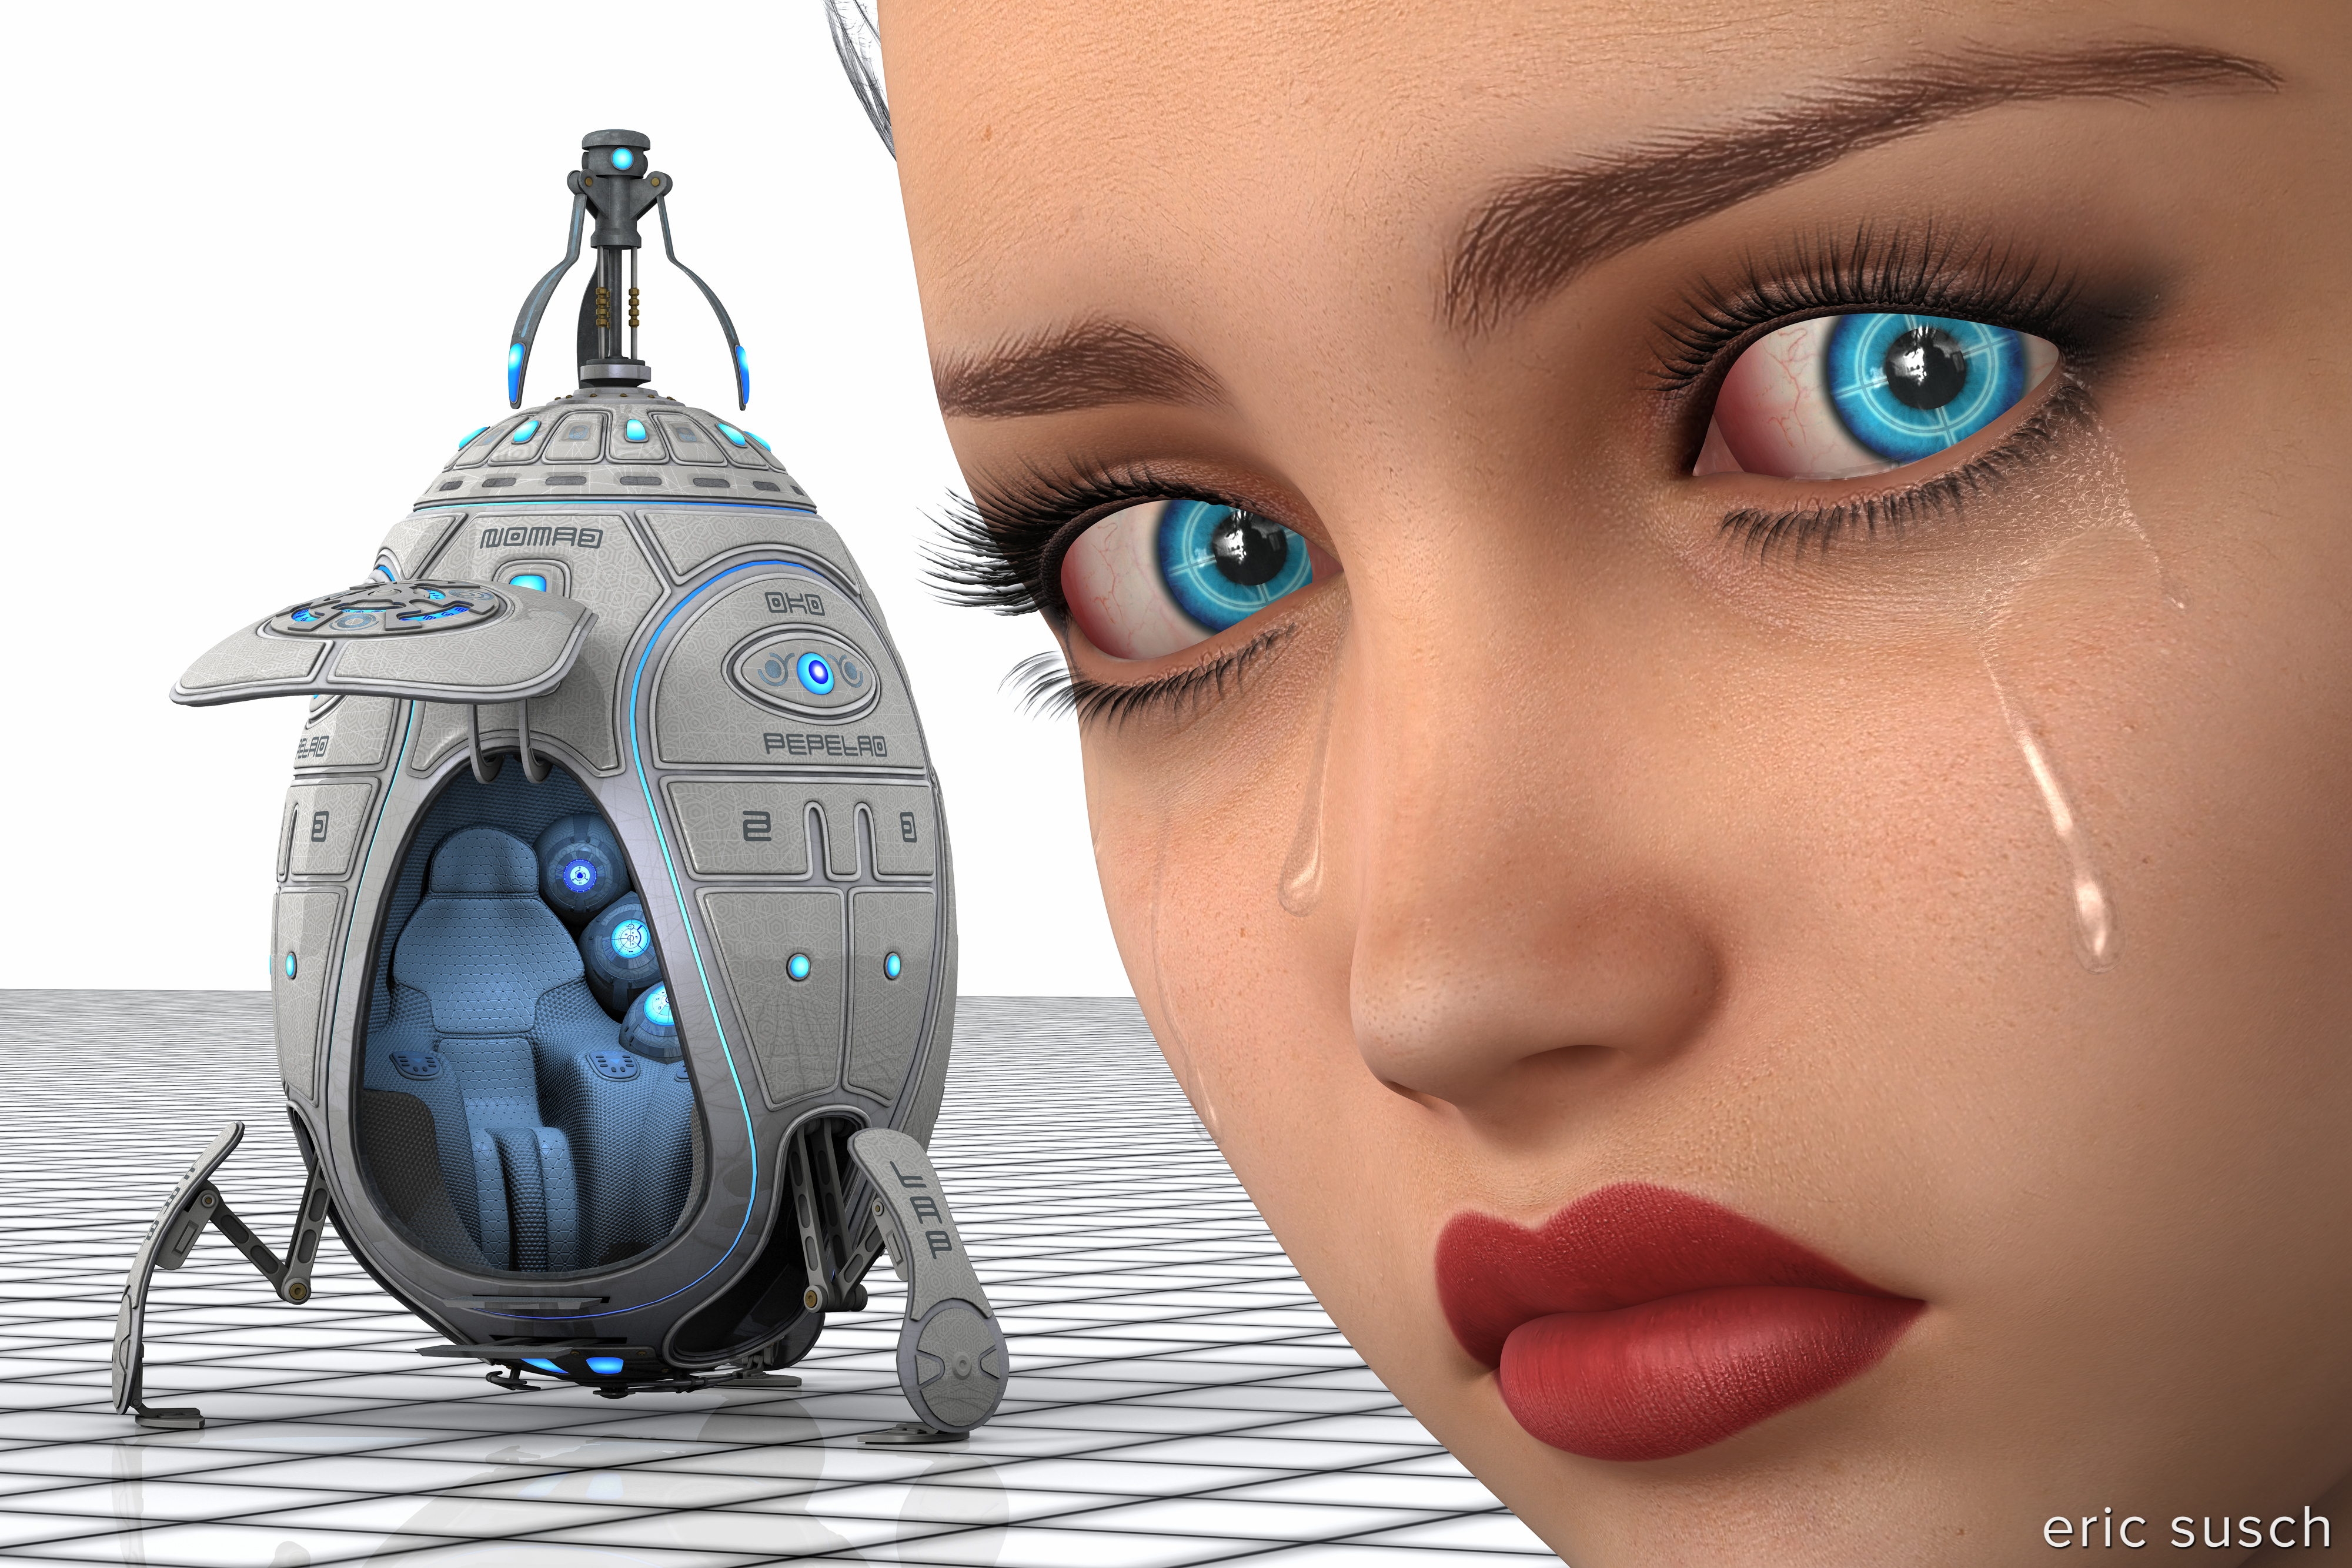
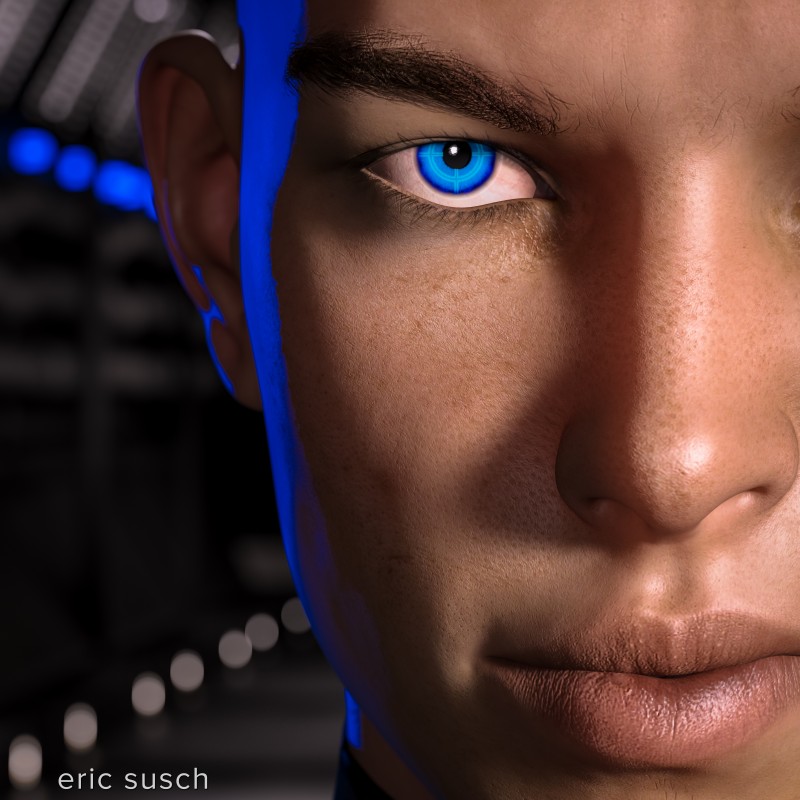
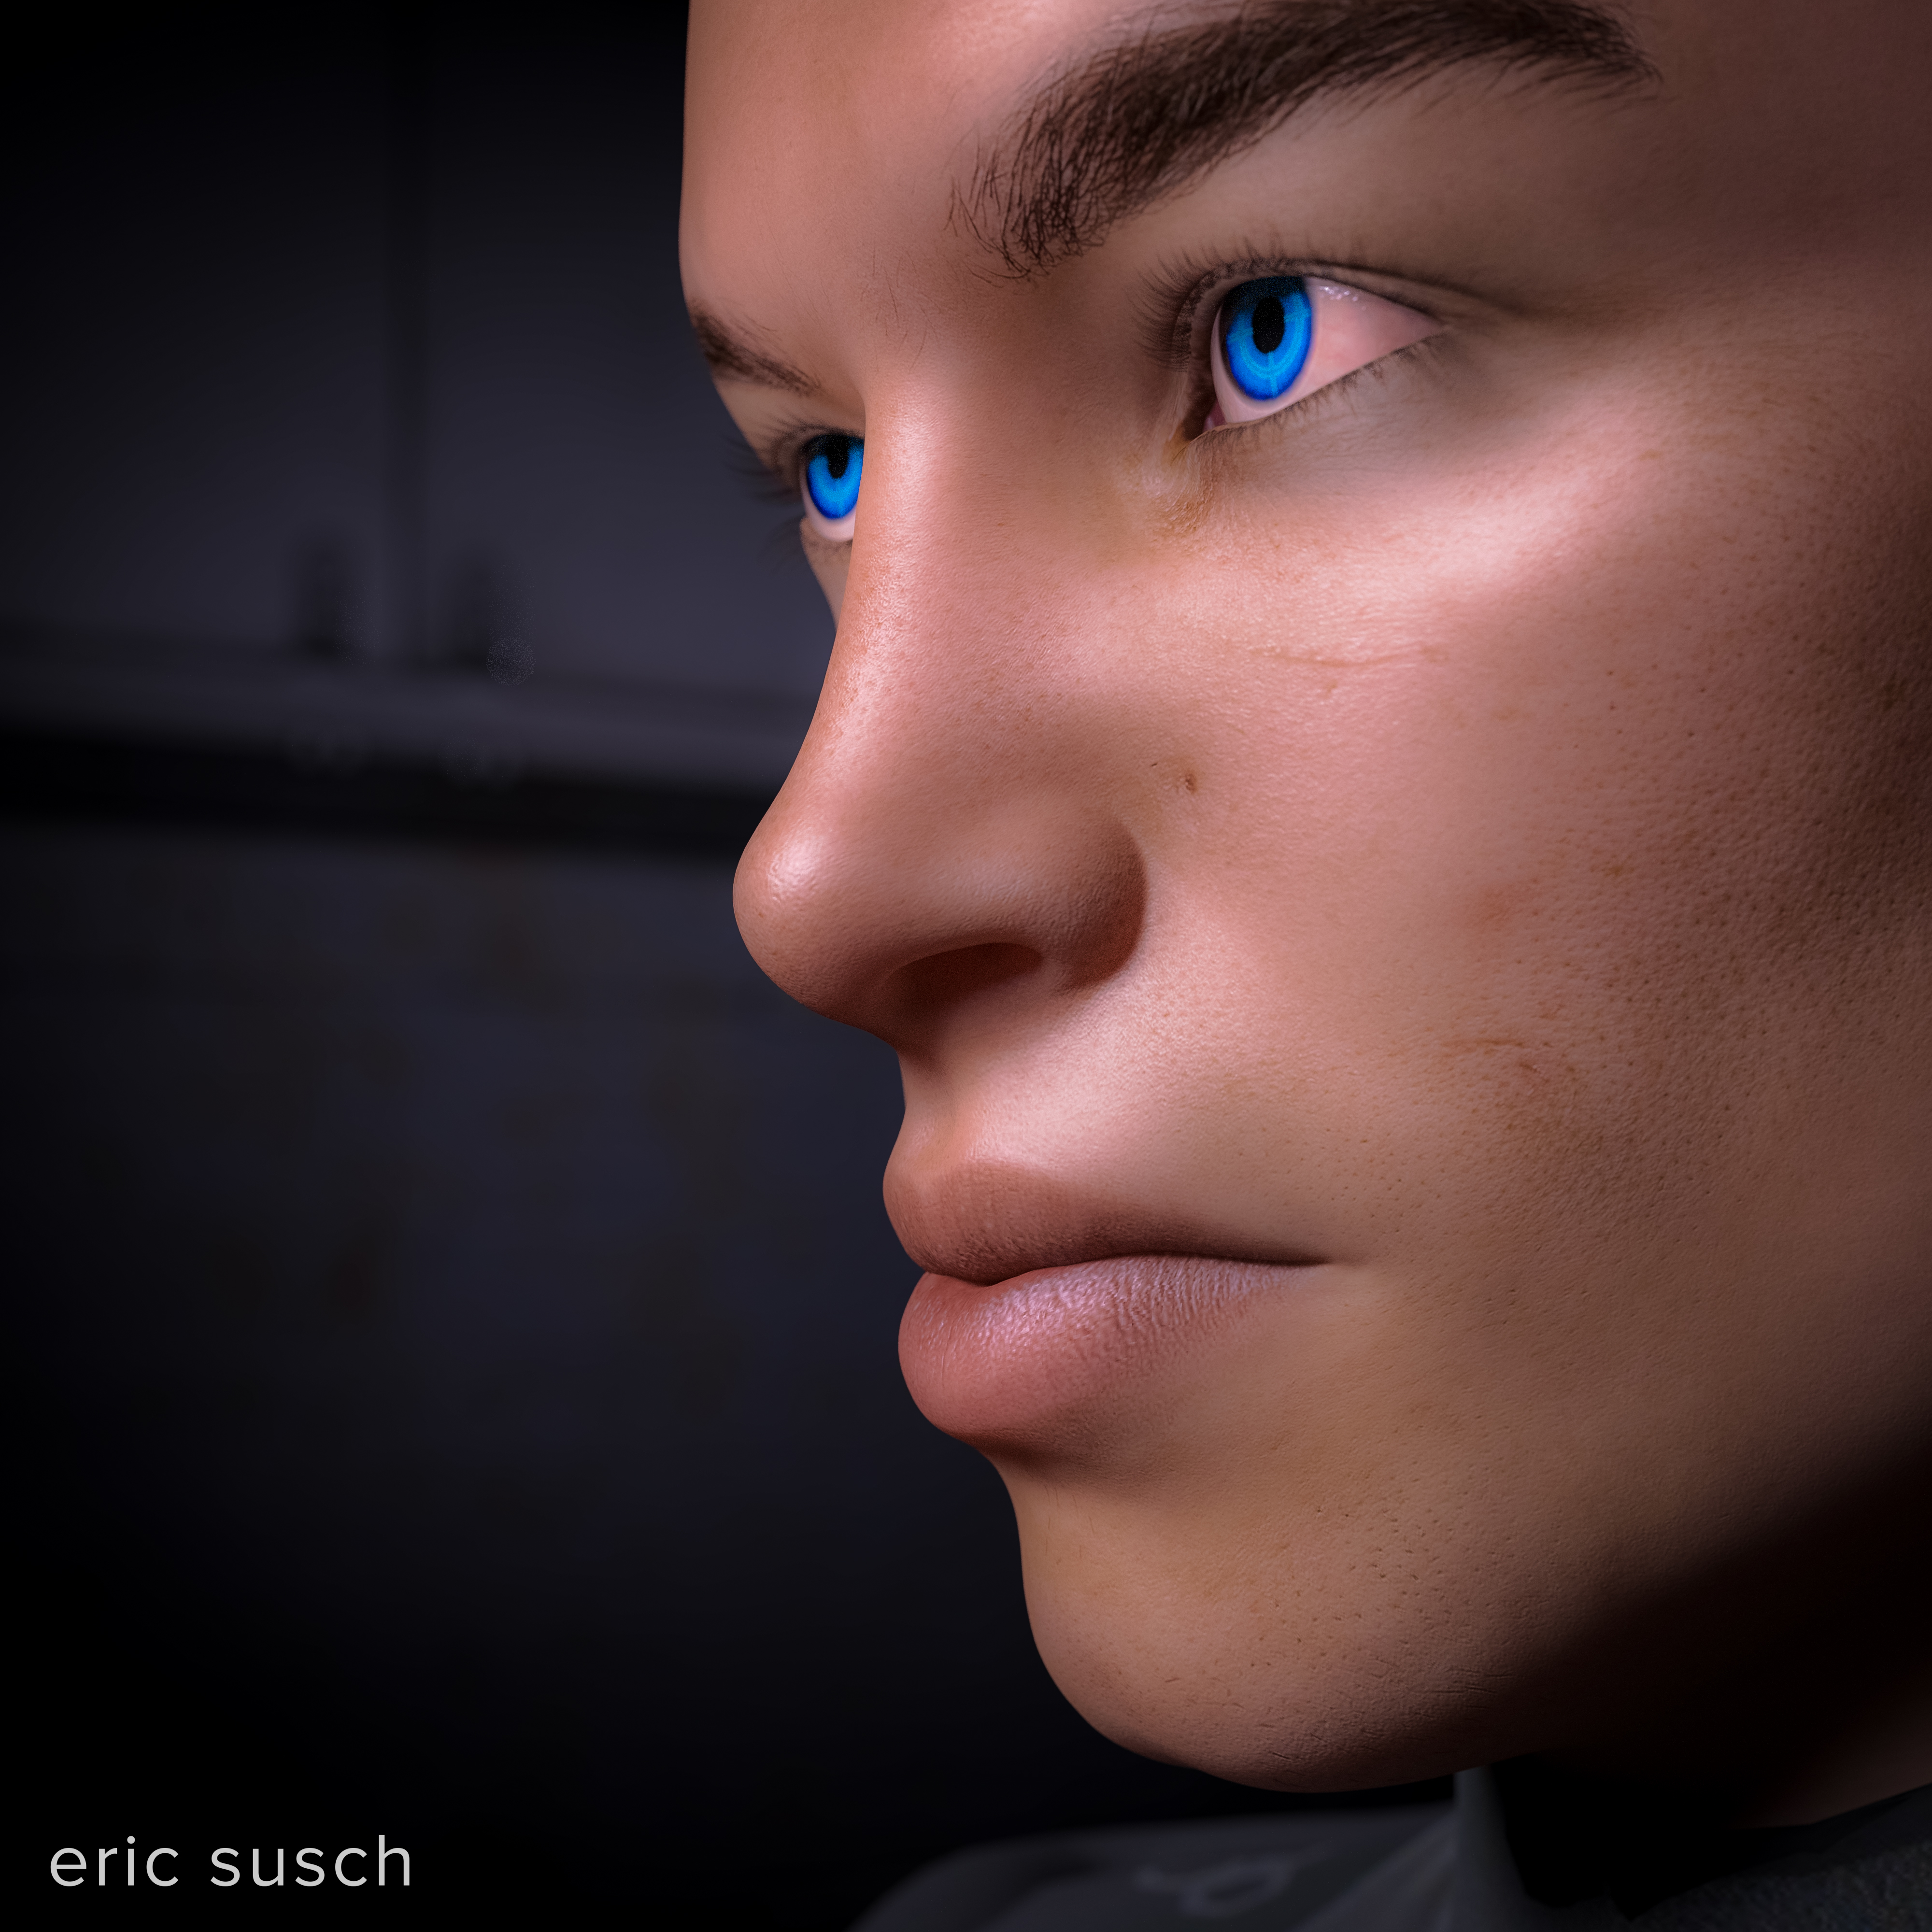
I like an avatar with a big face so I started with that. The bigger the better because sometimes these things are super small. I decide to try something similar to what I have now, an evolution if you will – the same but better – a big face but a little arty and off to the side. Centered is so boring. I used a long 200mm lens to blur the background, making the face stand out.
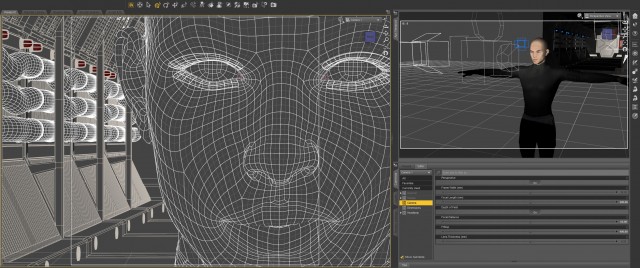 I decided to go for hard side light with a blue kicker (back light) to give it a shadowy tech-noir feel. I wanted the style to reflect my personality. I’m one-hundred percent SciFi and my avatar should be too!
Reality Is an Illusion
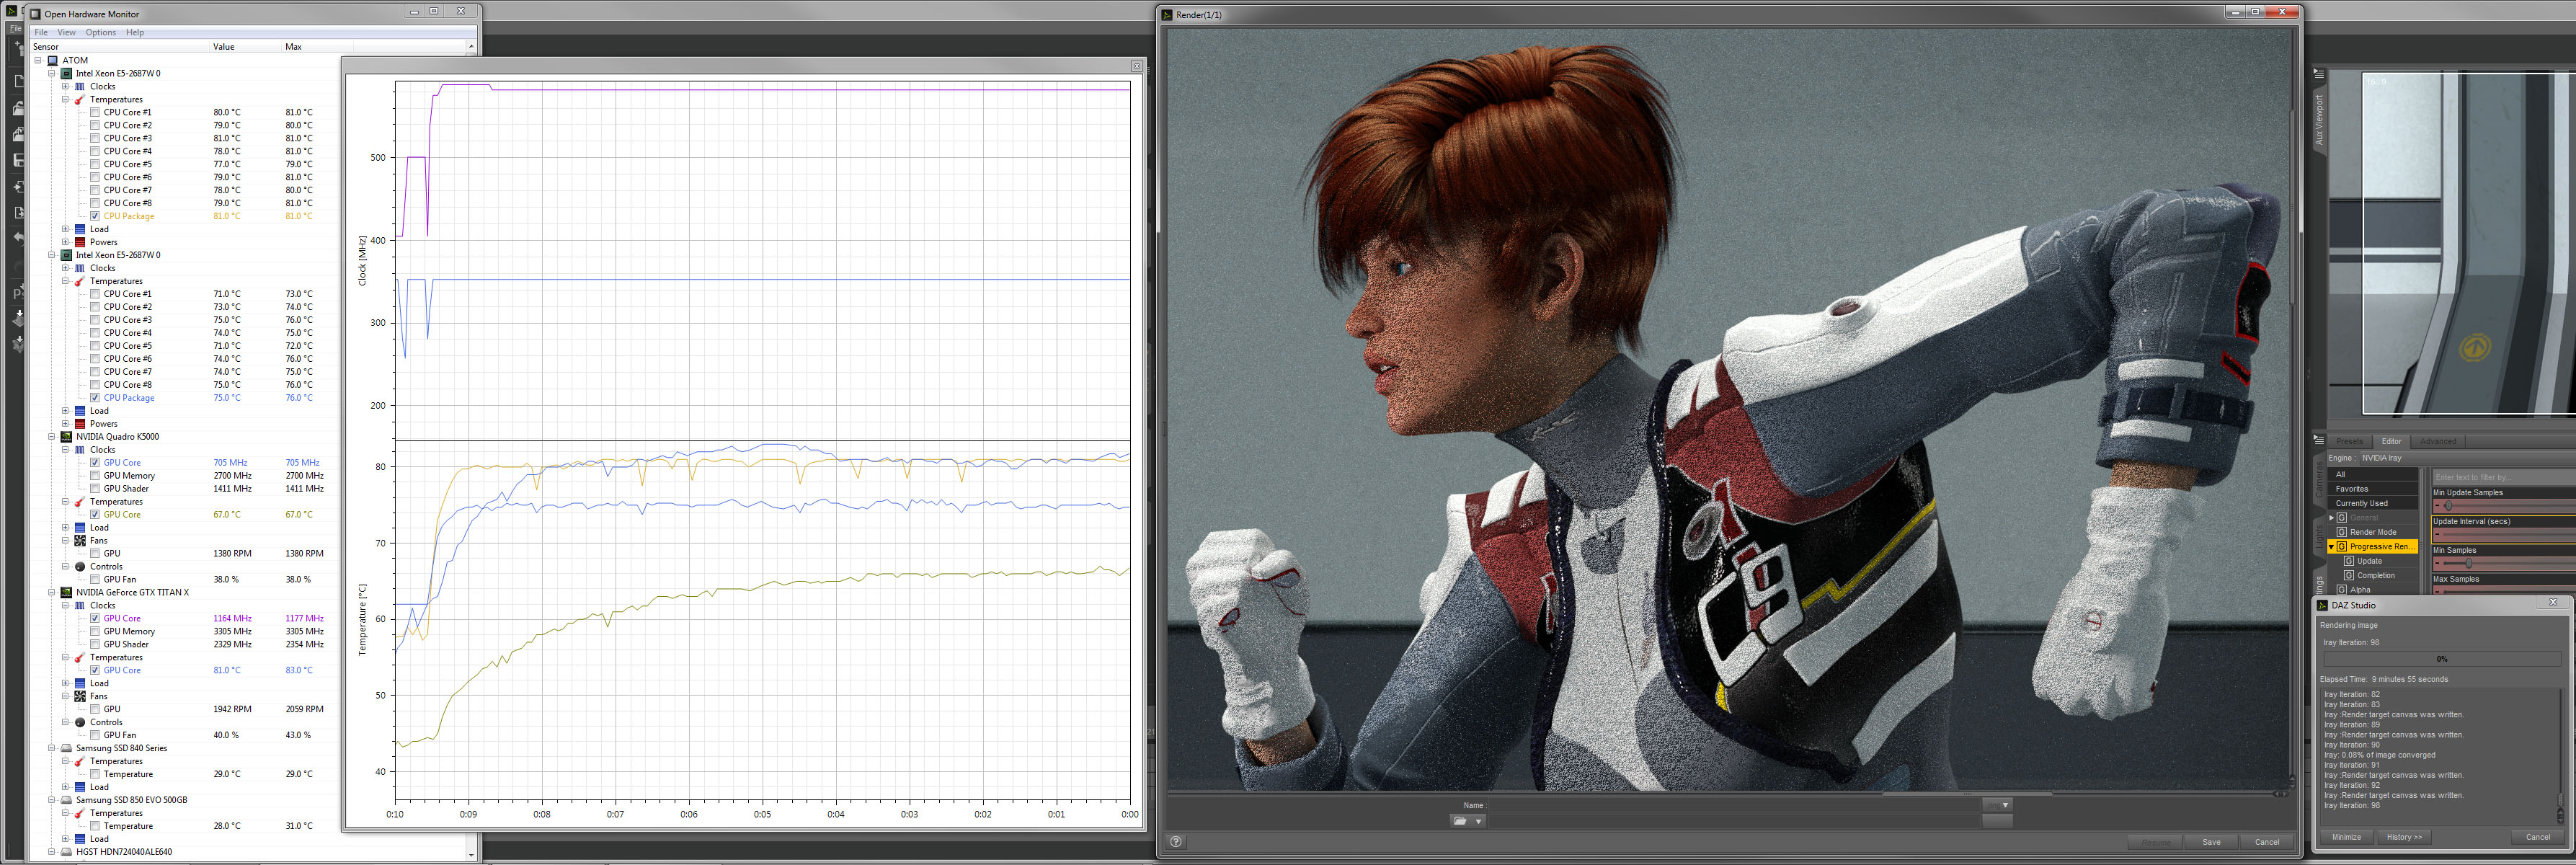
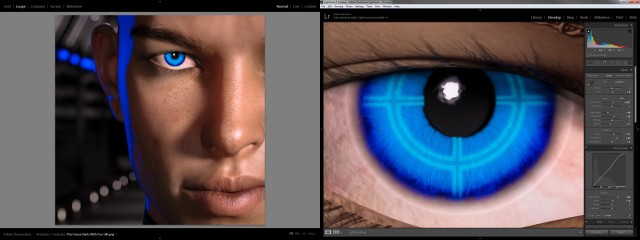
I then spent a lot of time trying to get good skin. There’s a trend in CGI these days. Reality. I think reality is overrated but in this case it makes sense. An avatar is supposed to represent a real person. …And it doesn’t hurt to learn new things. I spent a lot of time experimenting with skin translucency, glossy reflections, roughness, bump maps, and scores of other surface controls. Endless tweaking. (Welcome to CGI.) Ultimately I got something that looks like a real person. The guy doesn’t look like ME, but he looks relatively real.
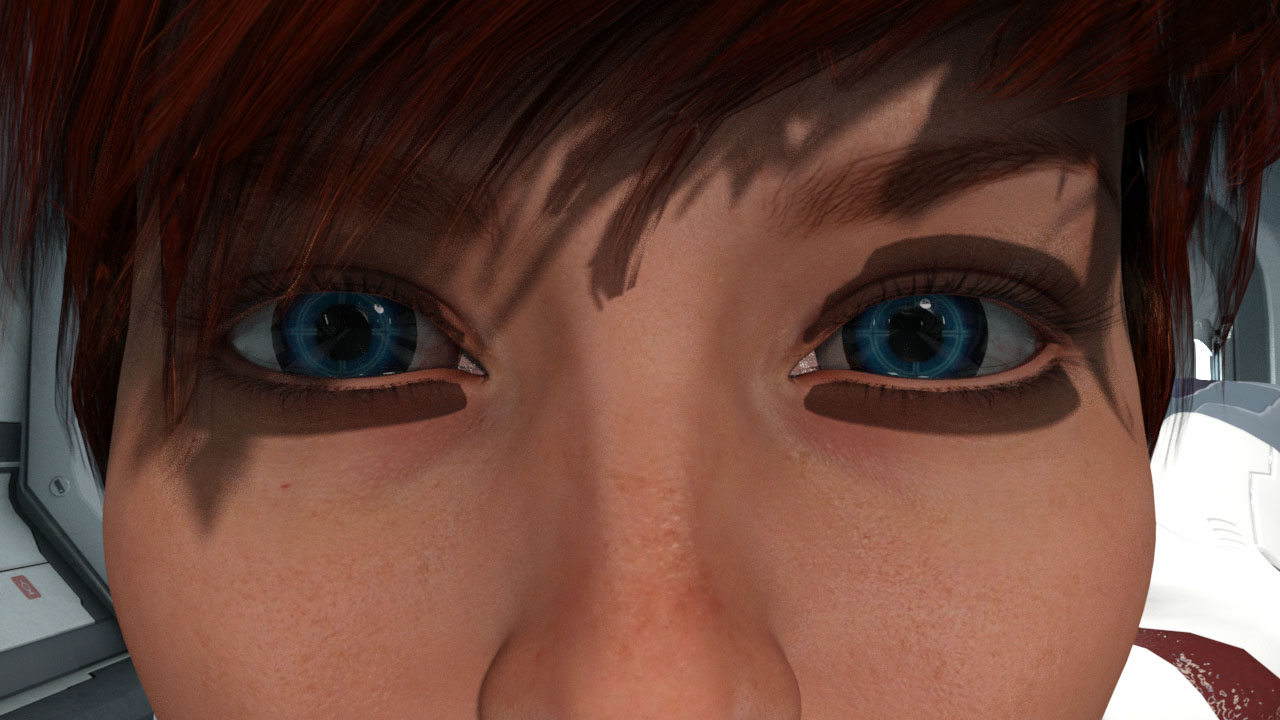
And then I put a glowing cross hair in the eye. Screw reality! I like robots!
 About-Face
And here it is. It turned out much better than the “concept art” that I intended so I’ve decided to use it straight-up as my new avatar. So to the people who have their kid, or their dog, or cat, or a movie star, or an anime character, or their feet, or a sports team logo, or Abe Vigoda in their avatar: I’m now one of you! My avatar is now a synthetic man that doesn’t look like me. If you can’t beat ’em join ’em. We’ll see if it works.
Created in DAZ Studio 4.9
Rendered with Iray
Color Correction in Lightroom
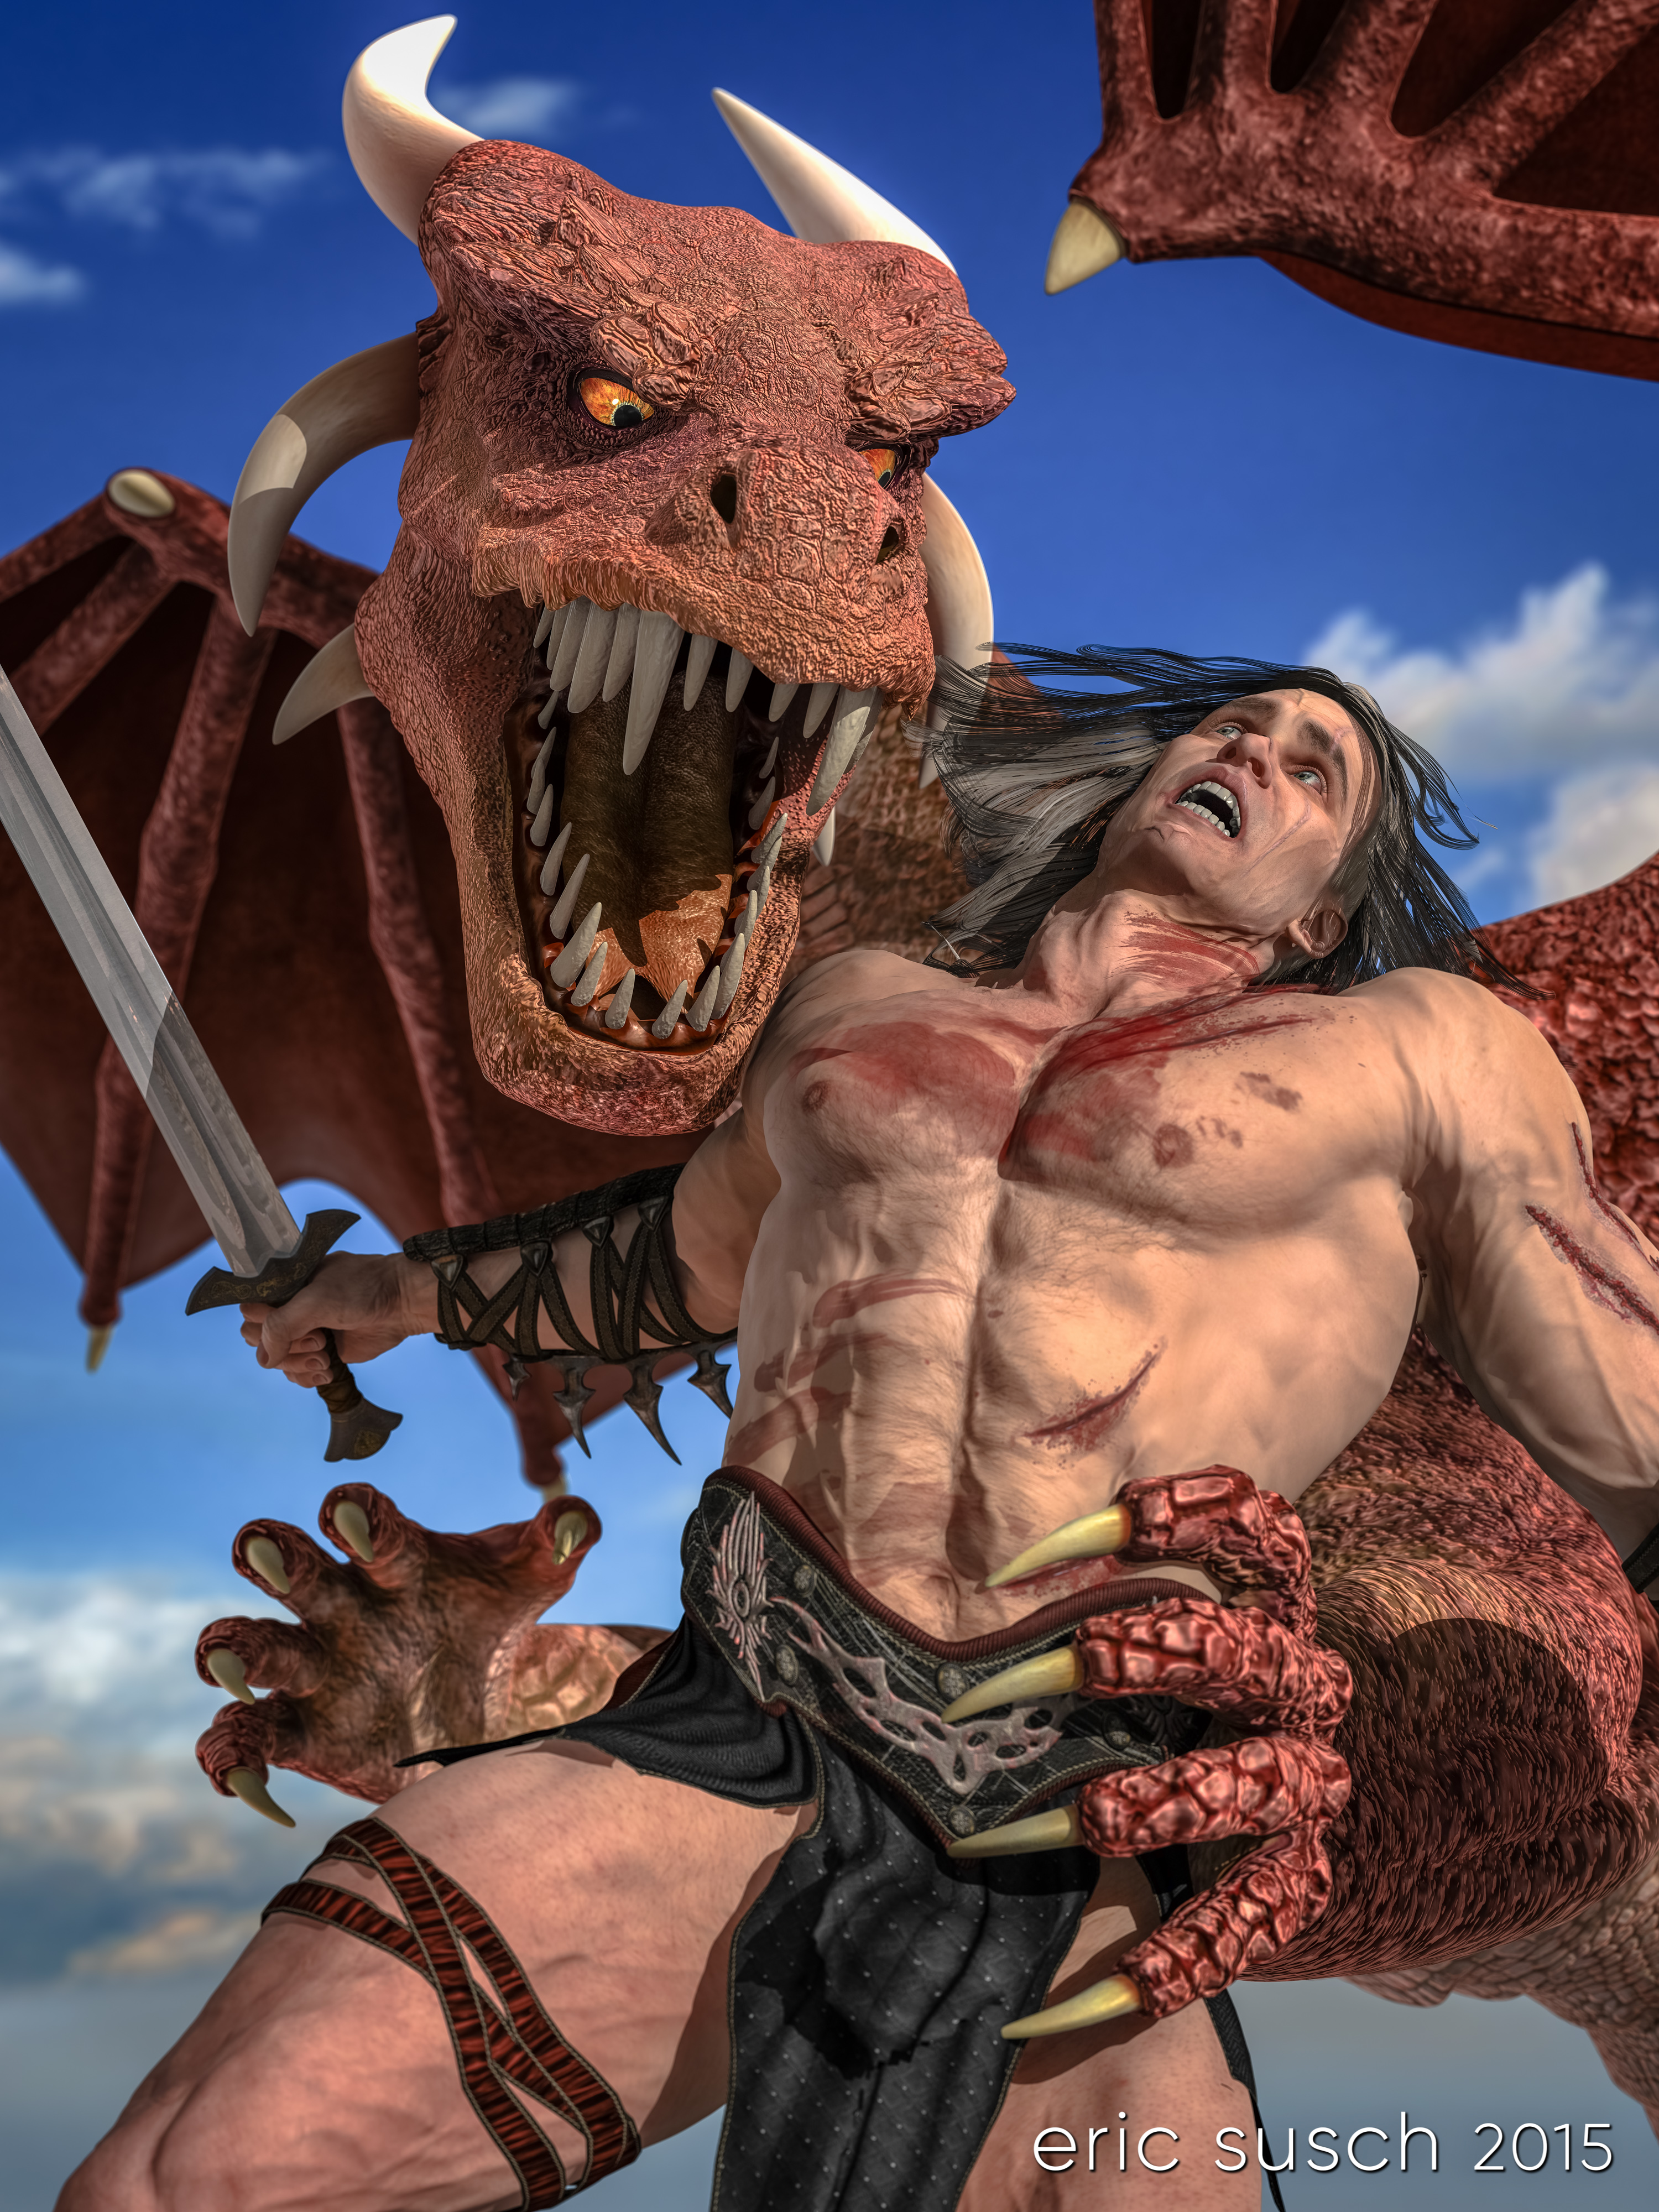
Figures used:
FWSA Aiden HD for Michael 7
SciFi Passageway
Awesome Fantasy Eyes
UPDATE: After using my new CGI profile picture on facebook for awhile I started to dislike it. More in this post: My quest for the perfect CGI avatar
 I started to dislike it as soon as I uploaded it. I thought the face looking away from the text had an aloof quality. I turned things around, used a longer lens so the face wouldn’t be so distorted, and gave him some hair. This is my newest avatar.
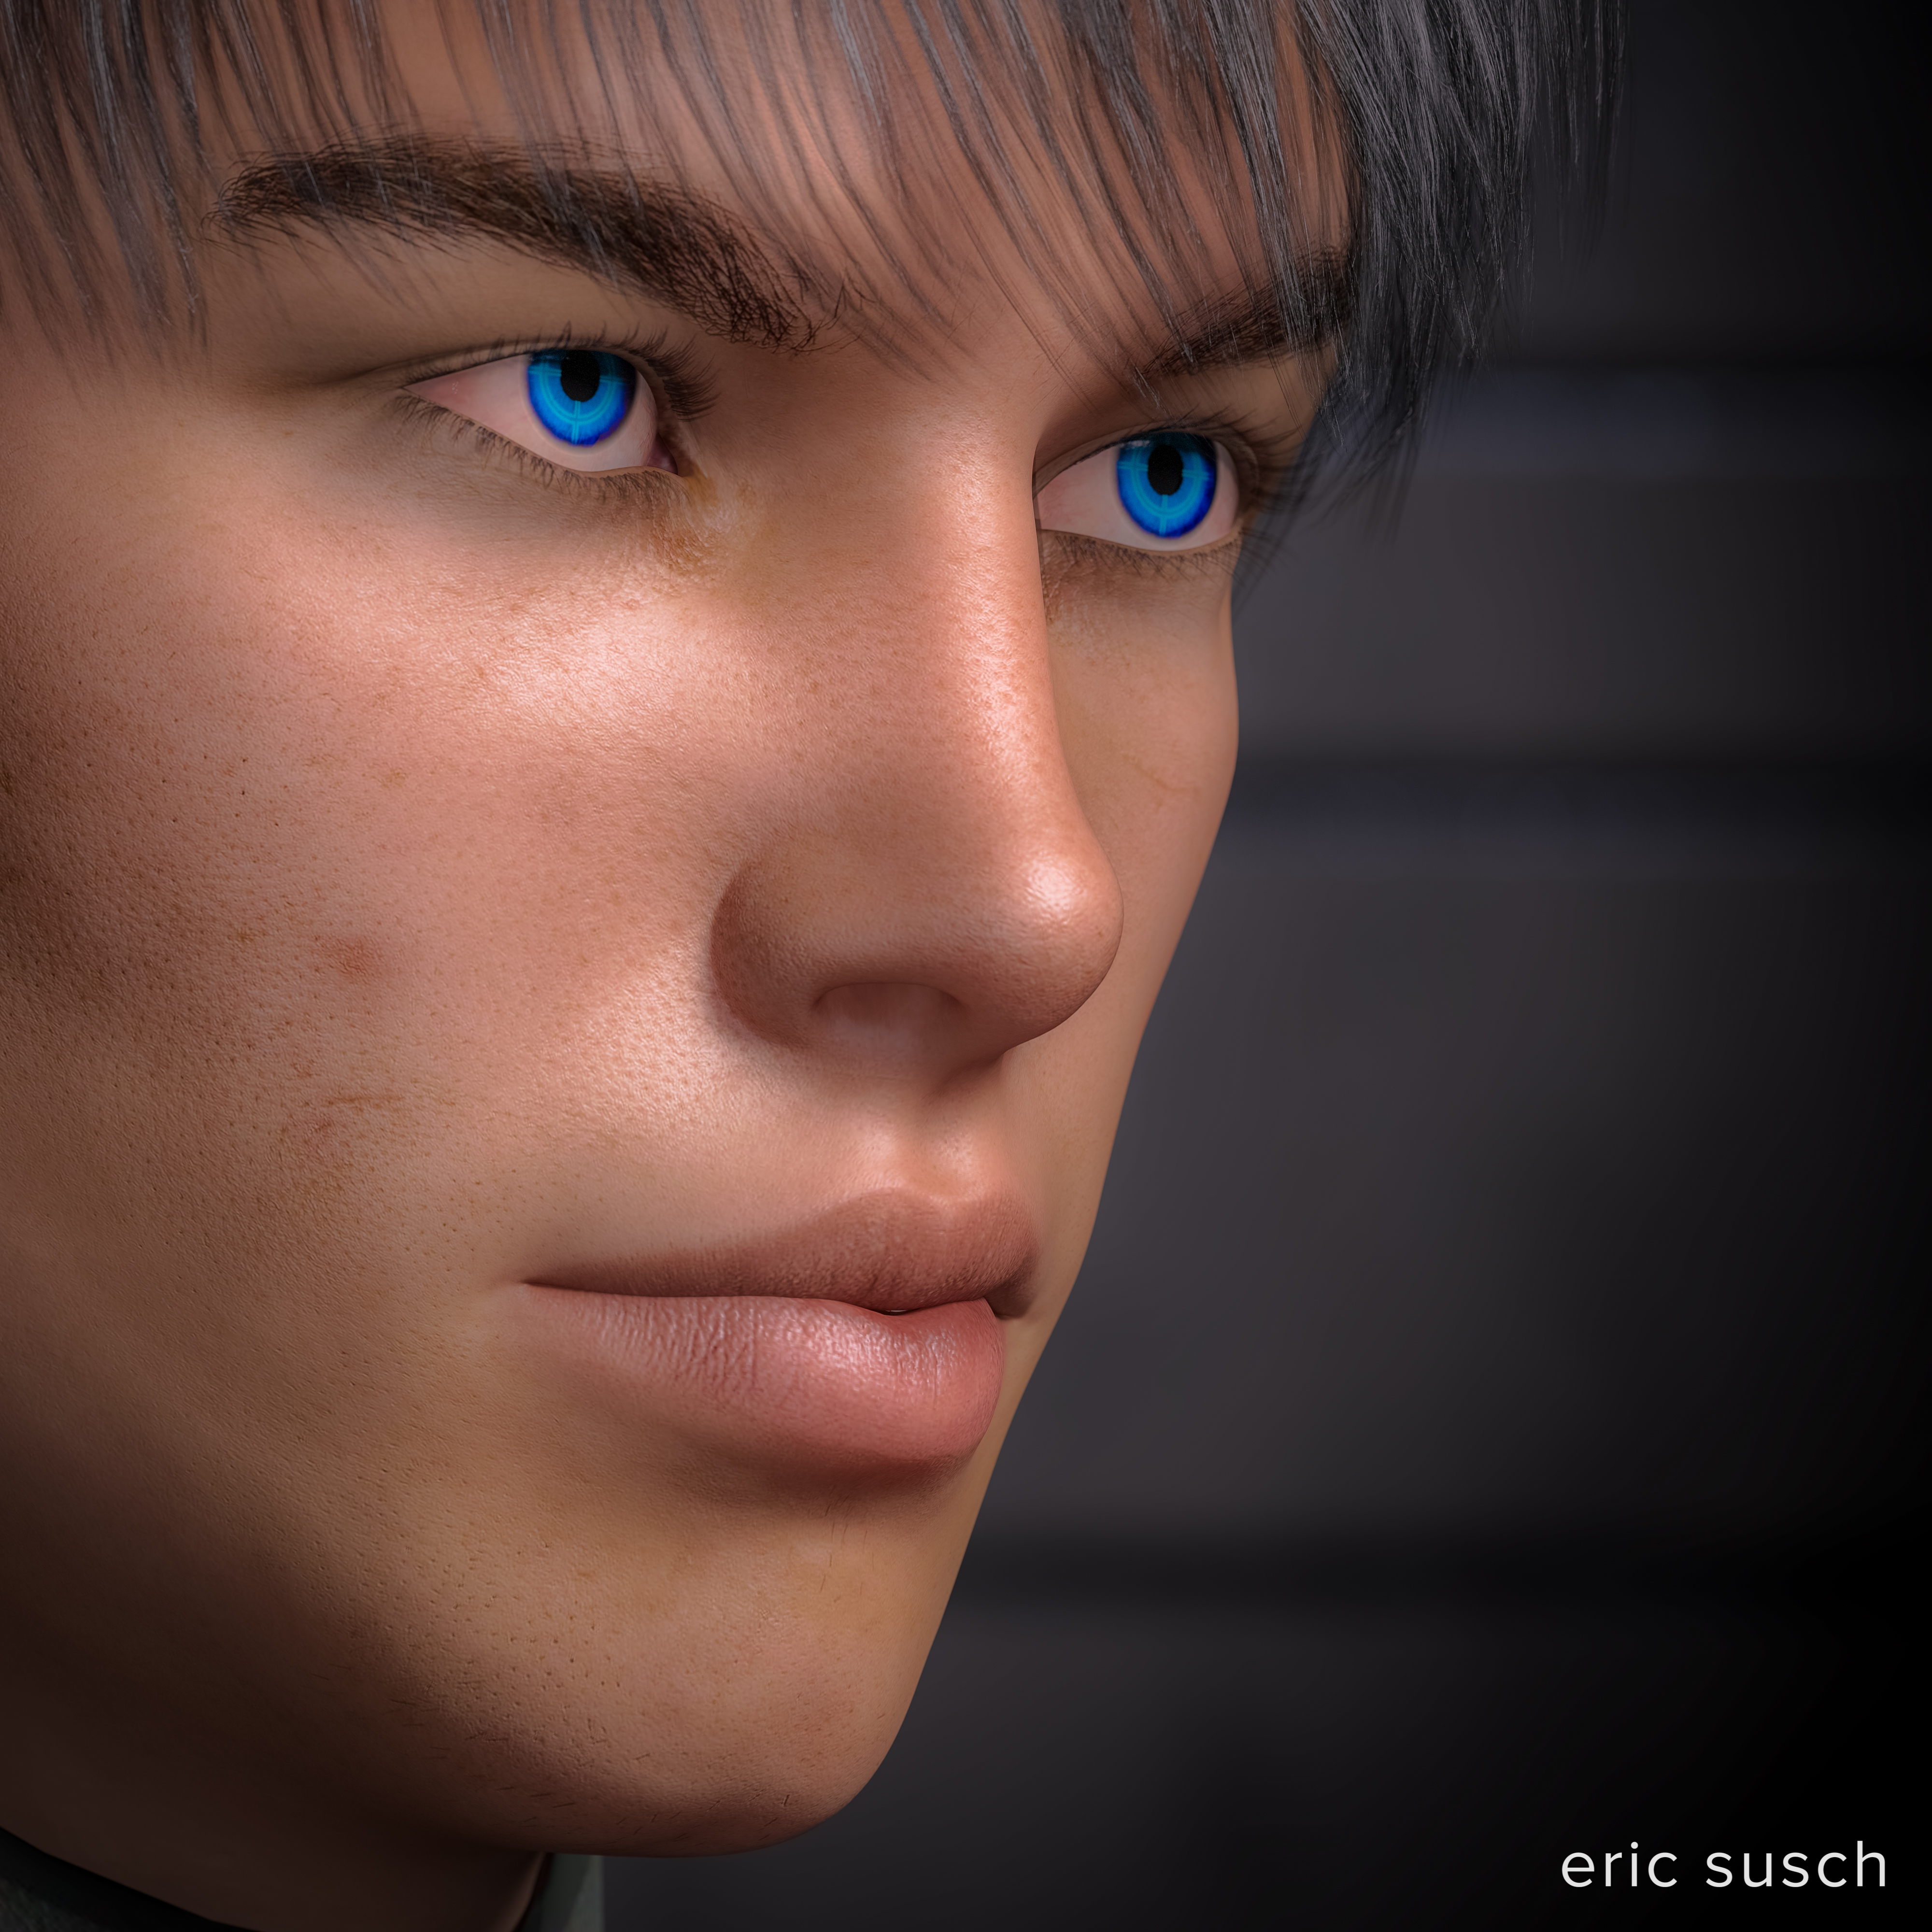 I’ve been using it on facebook for about a day now. So far I like it. I’ll upload it to other social media sites and live with it for awhile.