 I started this scene with the intent of making a simple header for my facebook page. A reclining figure fit the aspect ratio so I started there. The rest came from that.
I also decided to use this piece as my first serious plunge into DAZ Studio’s new Iray render engine. I have been avoiding Iray since my first experience showed a significant increase in render times. I was right to be afraid. The original render of the image above took 24 hours to cook. But I’m skipping ahead.
A New Facebook Header
For the lighting I decided to keep things as simple as possible and use the light built into the ceiling of the set. I changed the light fixture material to emissive and started the guesswork of how bright to make it.
 Being a newbie, it took me awhile experimenting with the various controls. The f/stop in the camera doesn’t effect the exposure, only the depth of field but unlike 3Delight, there are exposure controls called tone mapping in the Iray render tab. For some reason the defaults are shutter speed 1/128, f/stop 8, and ISO 100. It seems to me that would give you a dark photo even outdoors in bright sunlight. I’m also not sure why you would change one setting or another. If changing the f/sop doesn’t change the DOF and raising the ISO doesn’t increase grain then why have different settings?
I’ve seen a few online tutorials that say you should raise the luminance of your indoor lights into the millions of lumens. That is extremely bright and seems wrong to me. Why have real world units like lumens with no connection to real world light levels? Anyway, I spent a day fiddling with all the various controls and eventually settled on something that looked properly exposed. In the end I decided to follow the advice of the tutorials. I kept the render exposure settings (tone mapping) at default and set the ceiling material to 2,000,000 cd/m^2 luminance units, which is excessively bright for room lighting. But the final image looks correct.
Fill Light
Since the light is all top down and my character is wearing dark clothing I needed a little fill for the underside of his body. At first I tried using a spot light.
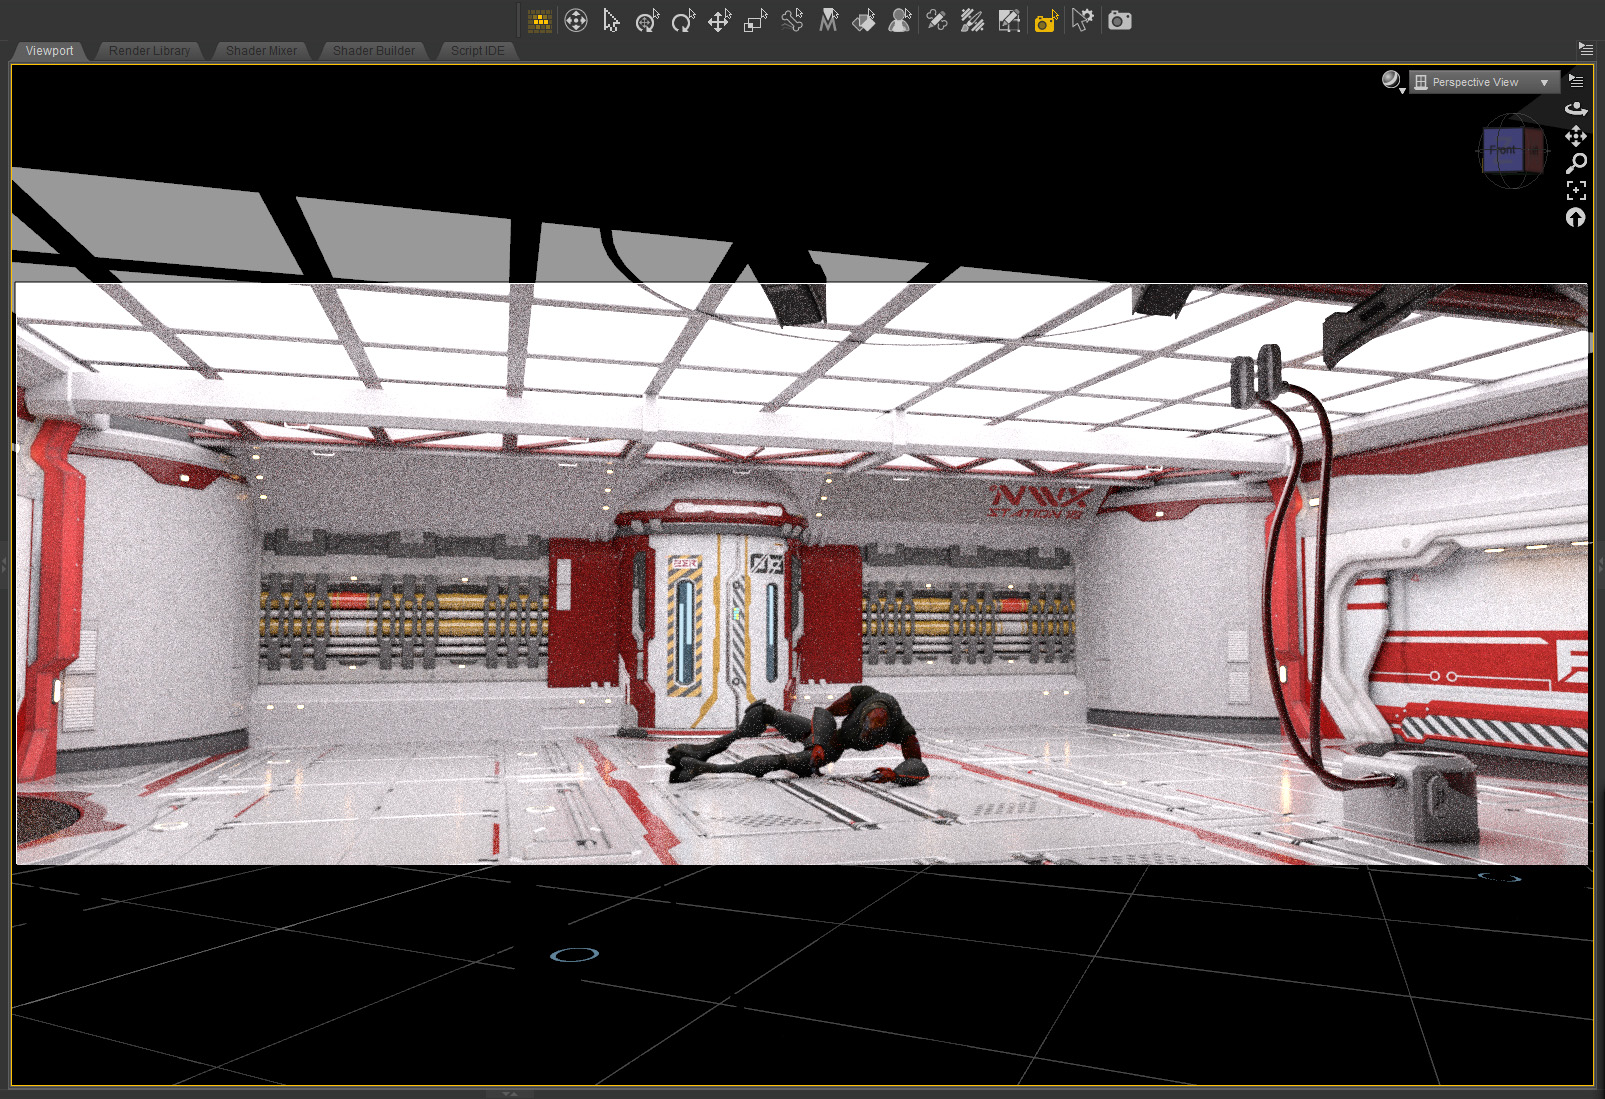
 For some reason the emissive mesh lights do not show when you are in working mode in DAZ Studio, only the regular lights do. So to balance the mesh ceiling light with the spot fill I had to render each time I adjusted the light. This became quite tedious since you really couldn’t see any of the nuance in the test render before ten minuets or so. Here’s an example of a screen test render after about six minutes. It’s still hard to tell what’s going on in the dark areas. (Click to embiggen and see the grain.)
 I abandoned the spotlight fill idea and tried what I would do in real life in this situation, which was to use a white bounce card.
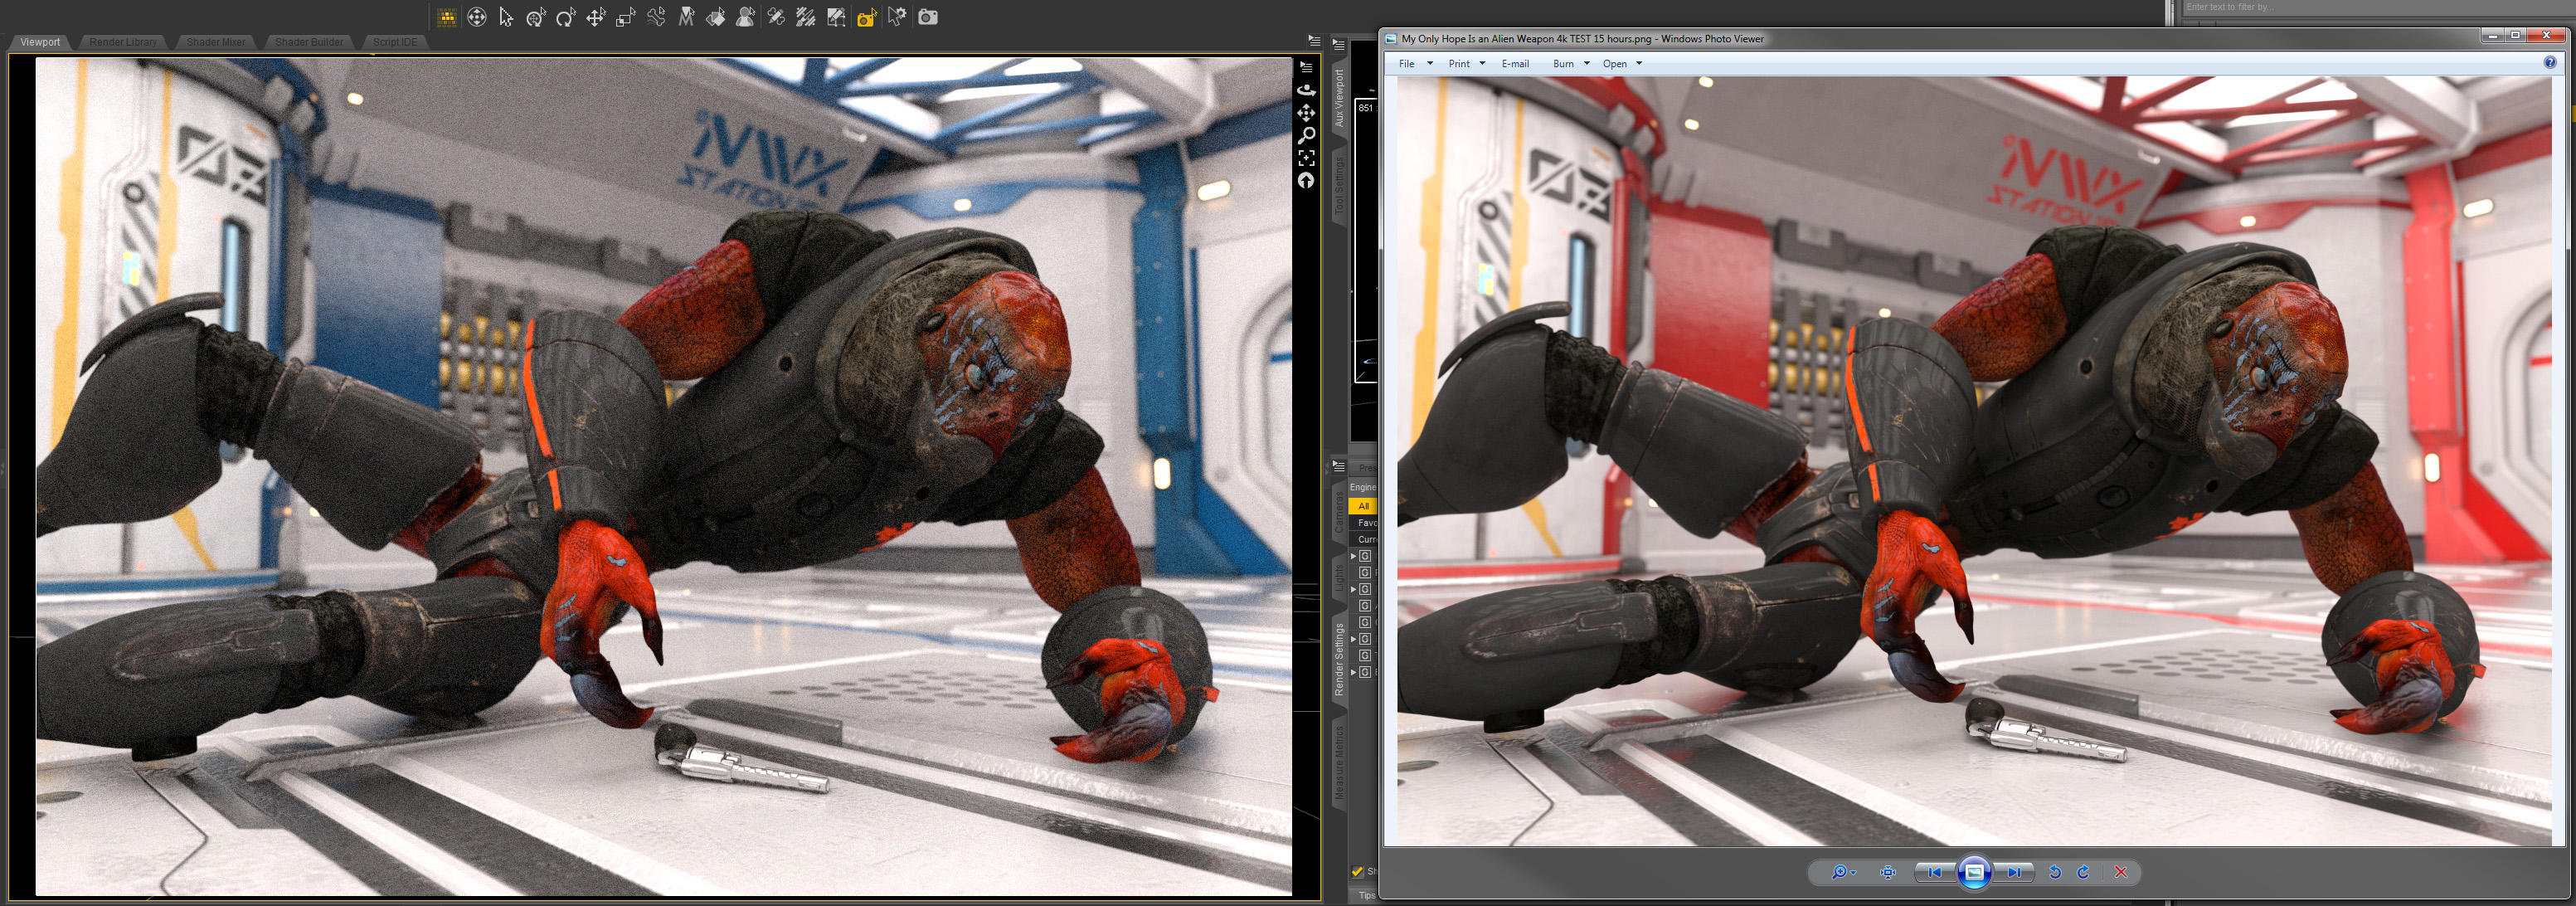
 It worked but unlike real life I wasn’t able to subtly position the card to get the reflection going exactly where I wanted, again because there isn’t any live feedback from the overhead emissive light. My character was still slightly dark on the bottom but I fixed that in color correction.
Facebook Render
My first renders for the 851×315 facebook header ended up a little grainy with the default settings so I raised the max render time and max samples and was able to get a final result with 95% convergence. I think this took a couple of hours. I don’t remember. All I remember is that it took a lot longer than I thought it would for such a small resolution. My system can render the same 851×315 scene in 3Delight in a minute or two.
 After I posted the image to facebook my wife CAT mentioned was that the red in the back might be too similar to the orange in the character. Since I wanted to eventually render this scene again at high-rez and make something suitable for framing, I also decided to try and change the red elements in the set to blue.
Paint the Set
Up to now I have avoided directly editing the textures in a model mainly because there are so many other things I have to learn in CGI work. I’m very familiar with photoshop editing.
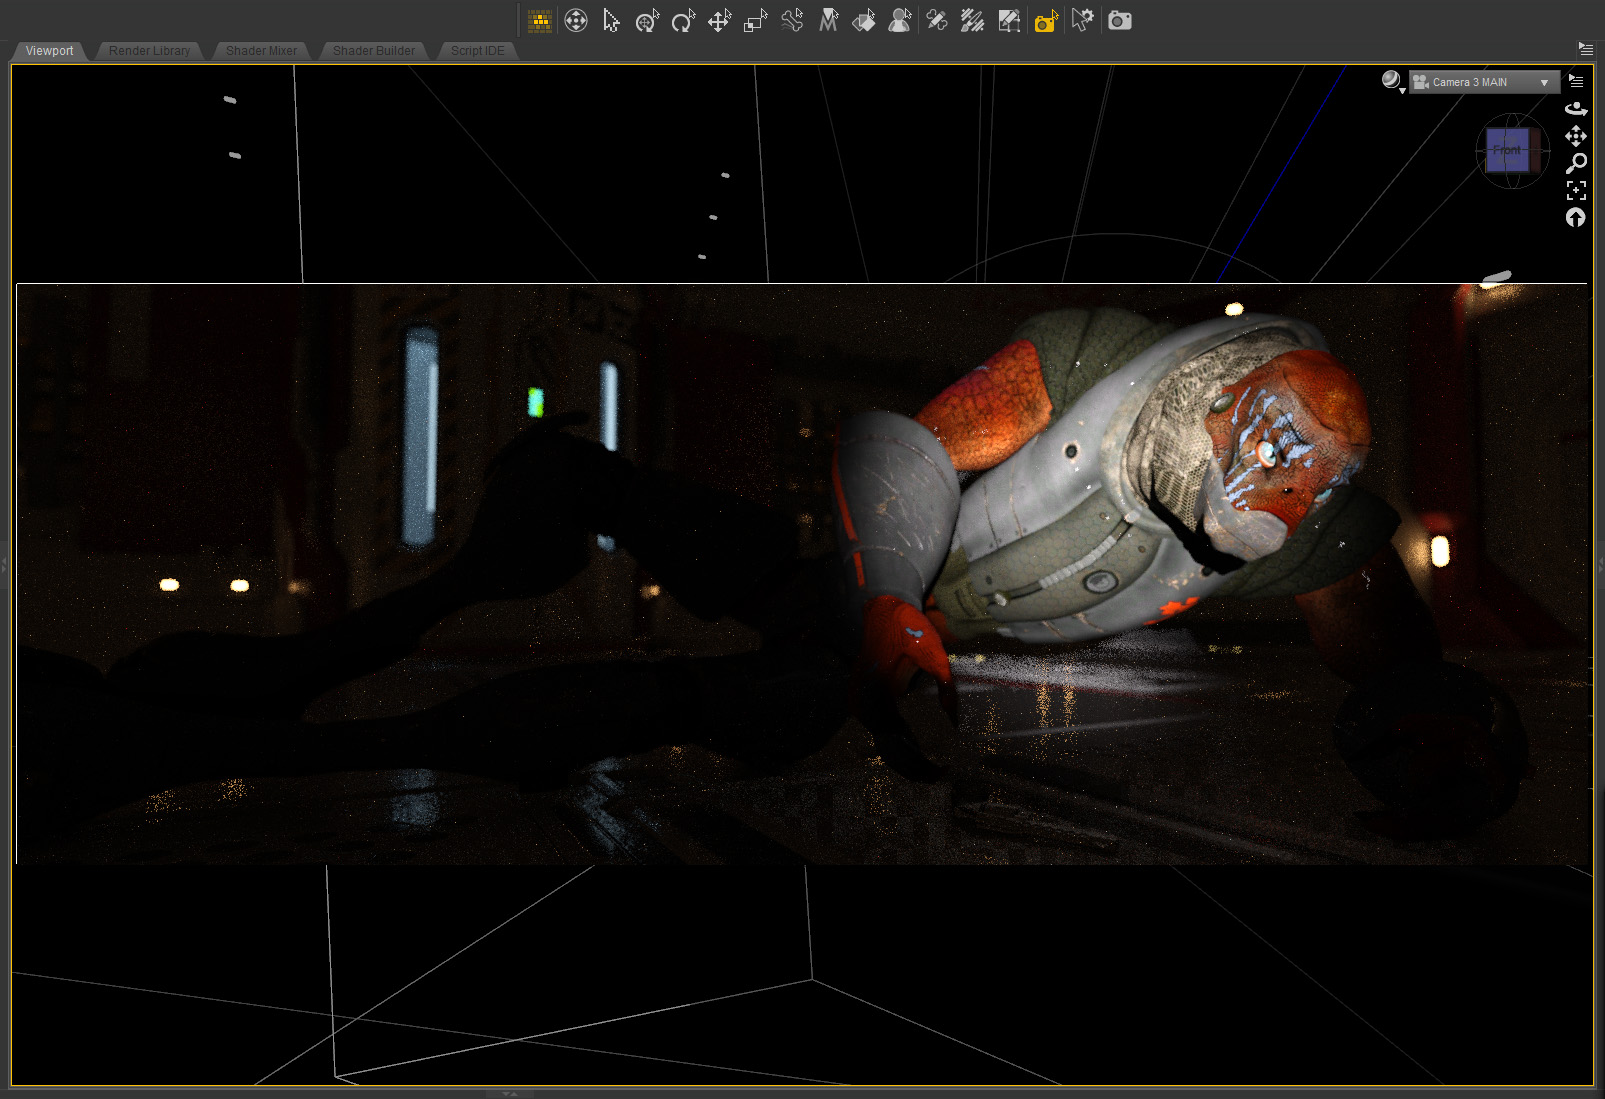
 Changing the color of the background set surface textures was easy although a simple color conversion left the set a soft baby blue which didn’t really fit the theme of a gun battle.
 Individually adjusting the darkness of the various blue elements I was able to balance things the way I wanted.
 At this point I set a new camera with an appropriate aspect ratio, set the resolution to 10K and hit render.
One Day Later…
As I mentioned above, I rendered the 10,000 x 6667 image for a full twenty-four hours. Well, I should say the FINAL render was twenty-four hours. I did a lot of test renders at various resolutions including 10K, 8K, 4K, and 1080HD. This took a few days. Most of the tests I set to time out at fifteen hours since that’s already more than “overnight.” They were all a little grainy but not bad, perhaps similar to something shot on film. I was able to get 95% convergence in fifteen and a half hours at 1920×1080 HD resolution. That’s the resolution I would use for animation and that’s just way too long.
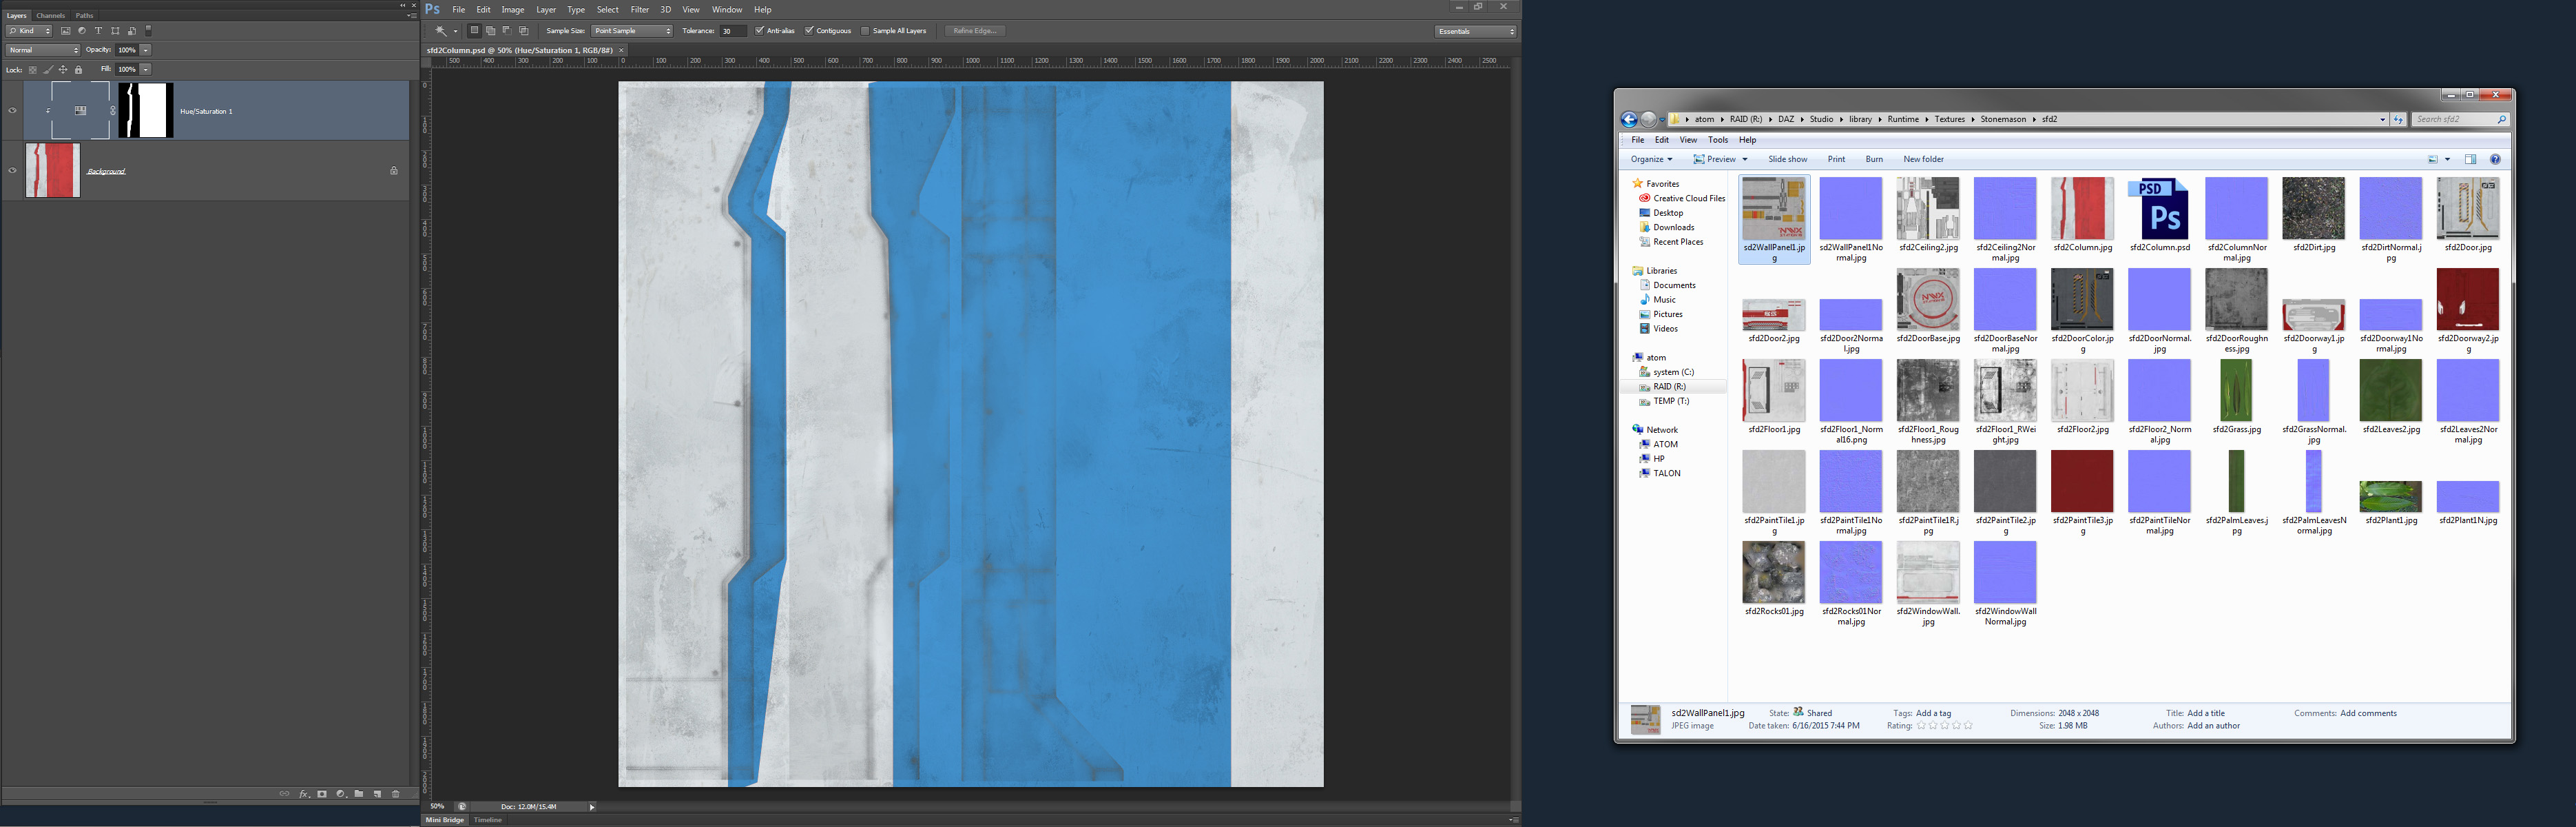
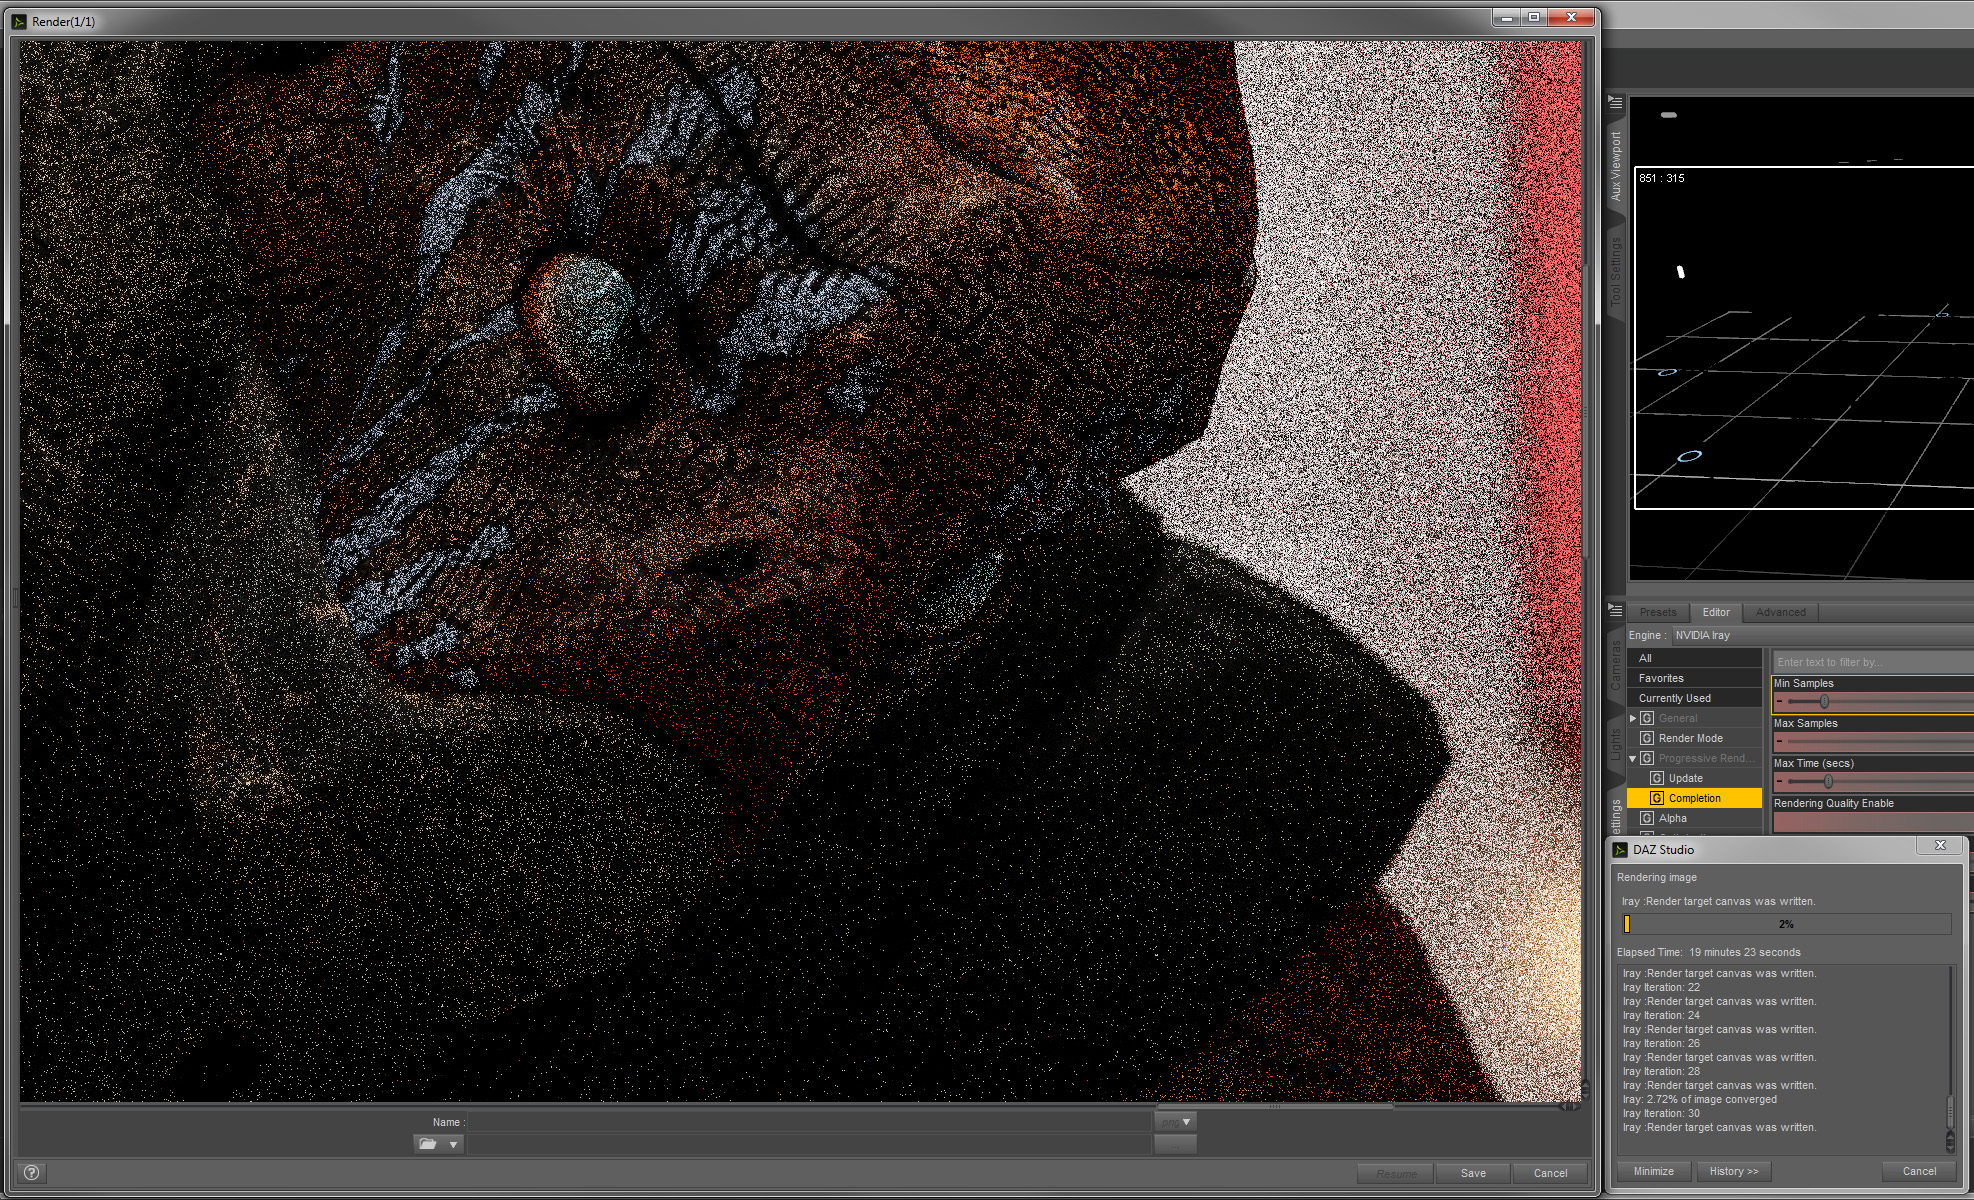
This picture shows the grain at about twenty minutes into one of my Iray render tests, which is about how long one of my 10K 3Delight renders takes. I believe this one was 8K. (Click to embiggen)
 I’m hoping that there will eventually be a few ways to speed this up. I’m guessing that the emissive lighting used here takes a lot longer to render than lighting with spot lights. I haven’t tested that yet though. I could also throw more graphics hardware at the problem but my computer is no slouch as it is. All the work I’m describing here is on a dual eight core 3.1 GHz Intel Xeon processor system with 128 GB RAM and an nVidia Quadro K5000 with 4 GB RAM. The render logs say my CPU’s are doing a little less than half the work so I’m guessing installing two more graphics cards (maybe nVidia GTX 980s?) could double the speed. So that means a 24 hour render could be done in 12 hours, still a long overnight render. And how much heat will build up in the case with three graphics cards? I don’t know. I need to do more testing.
The Final Picture
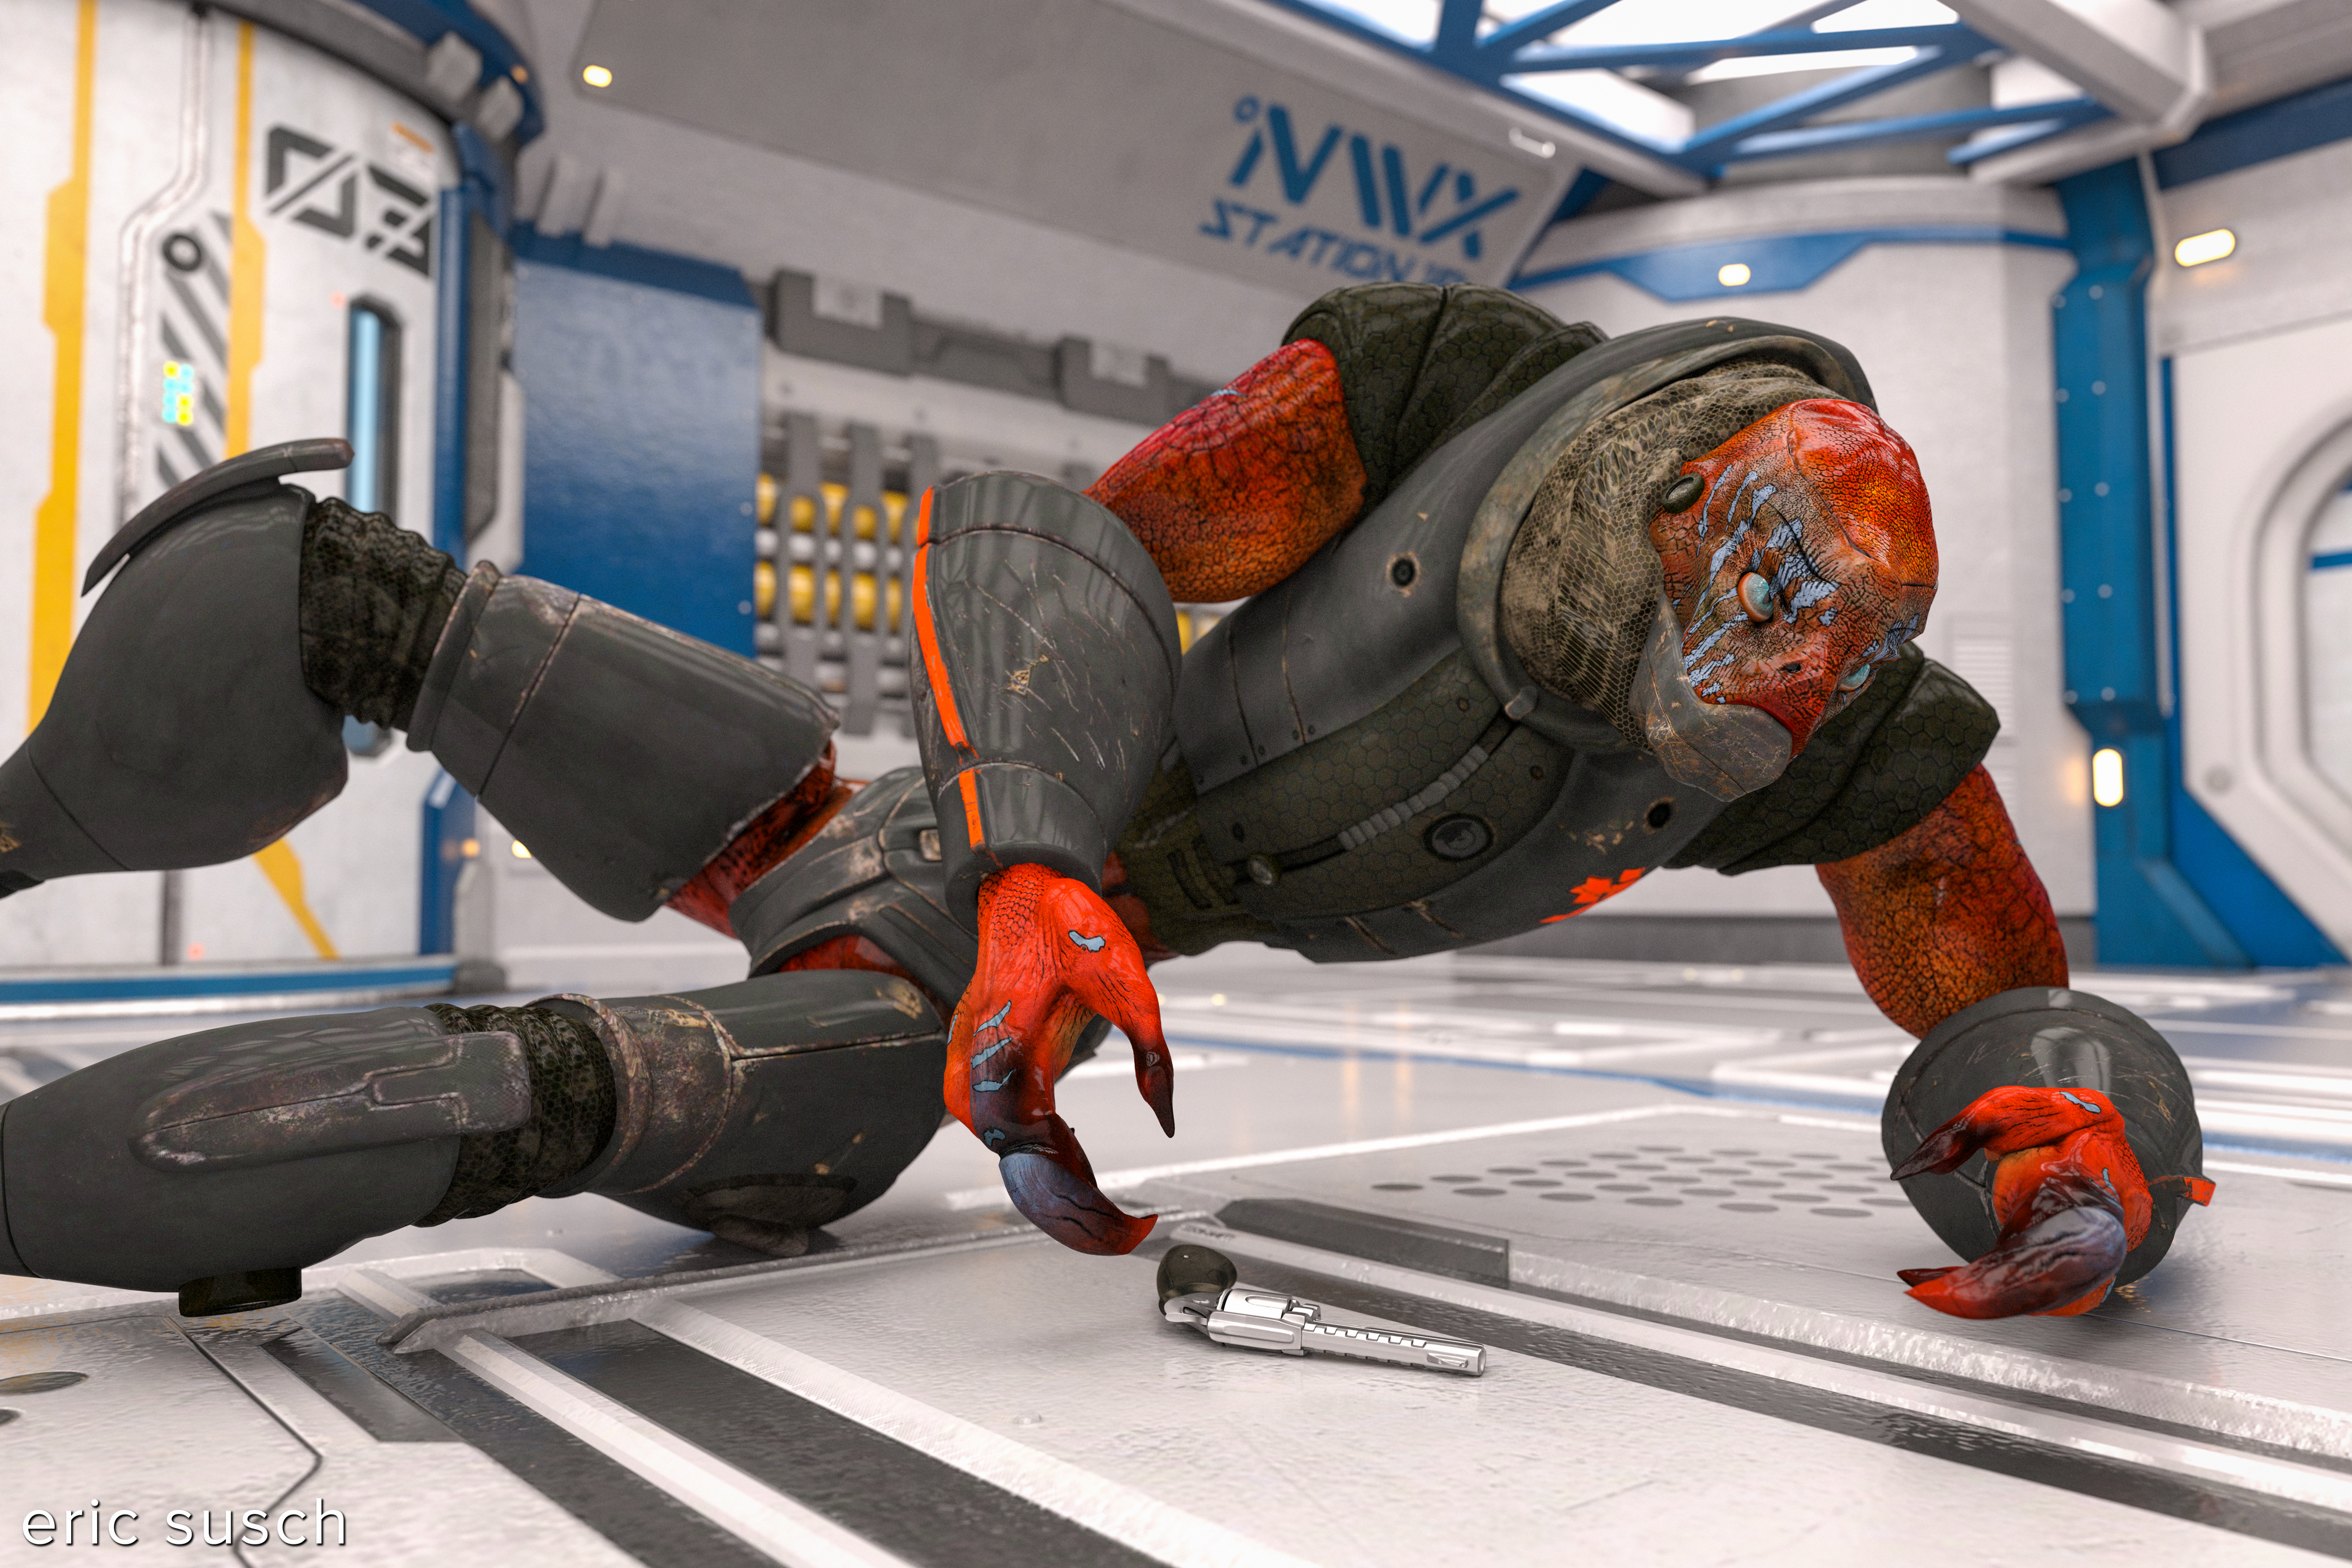
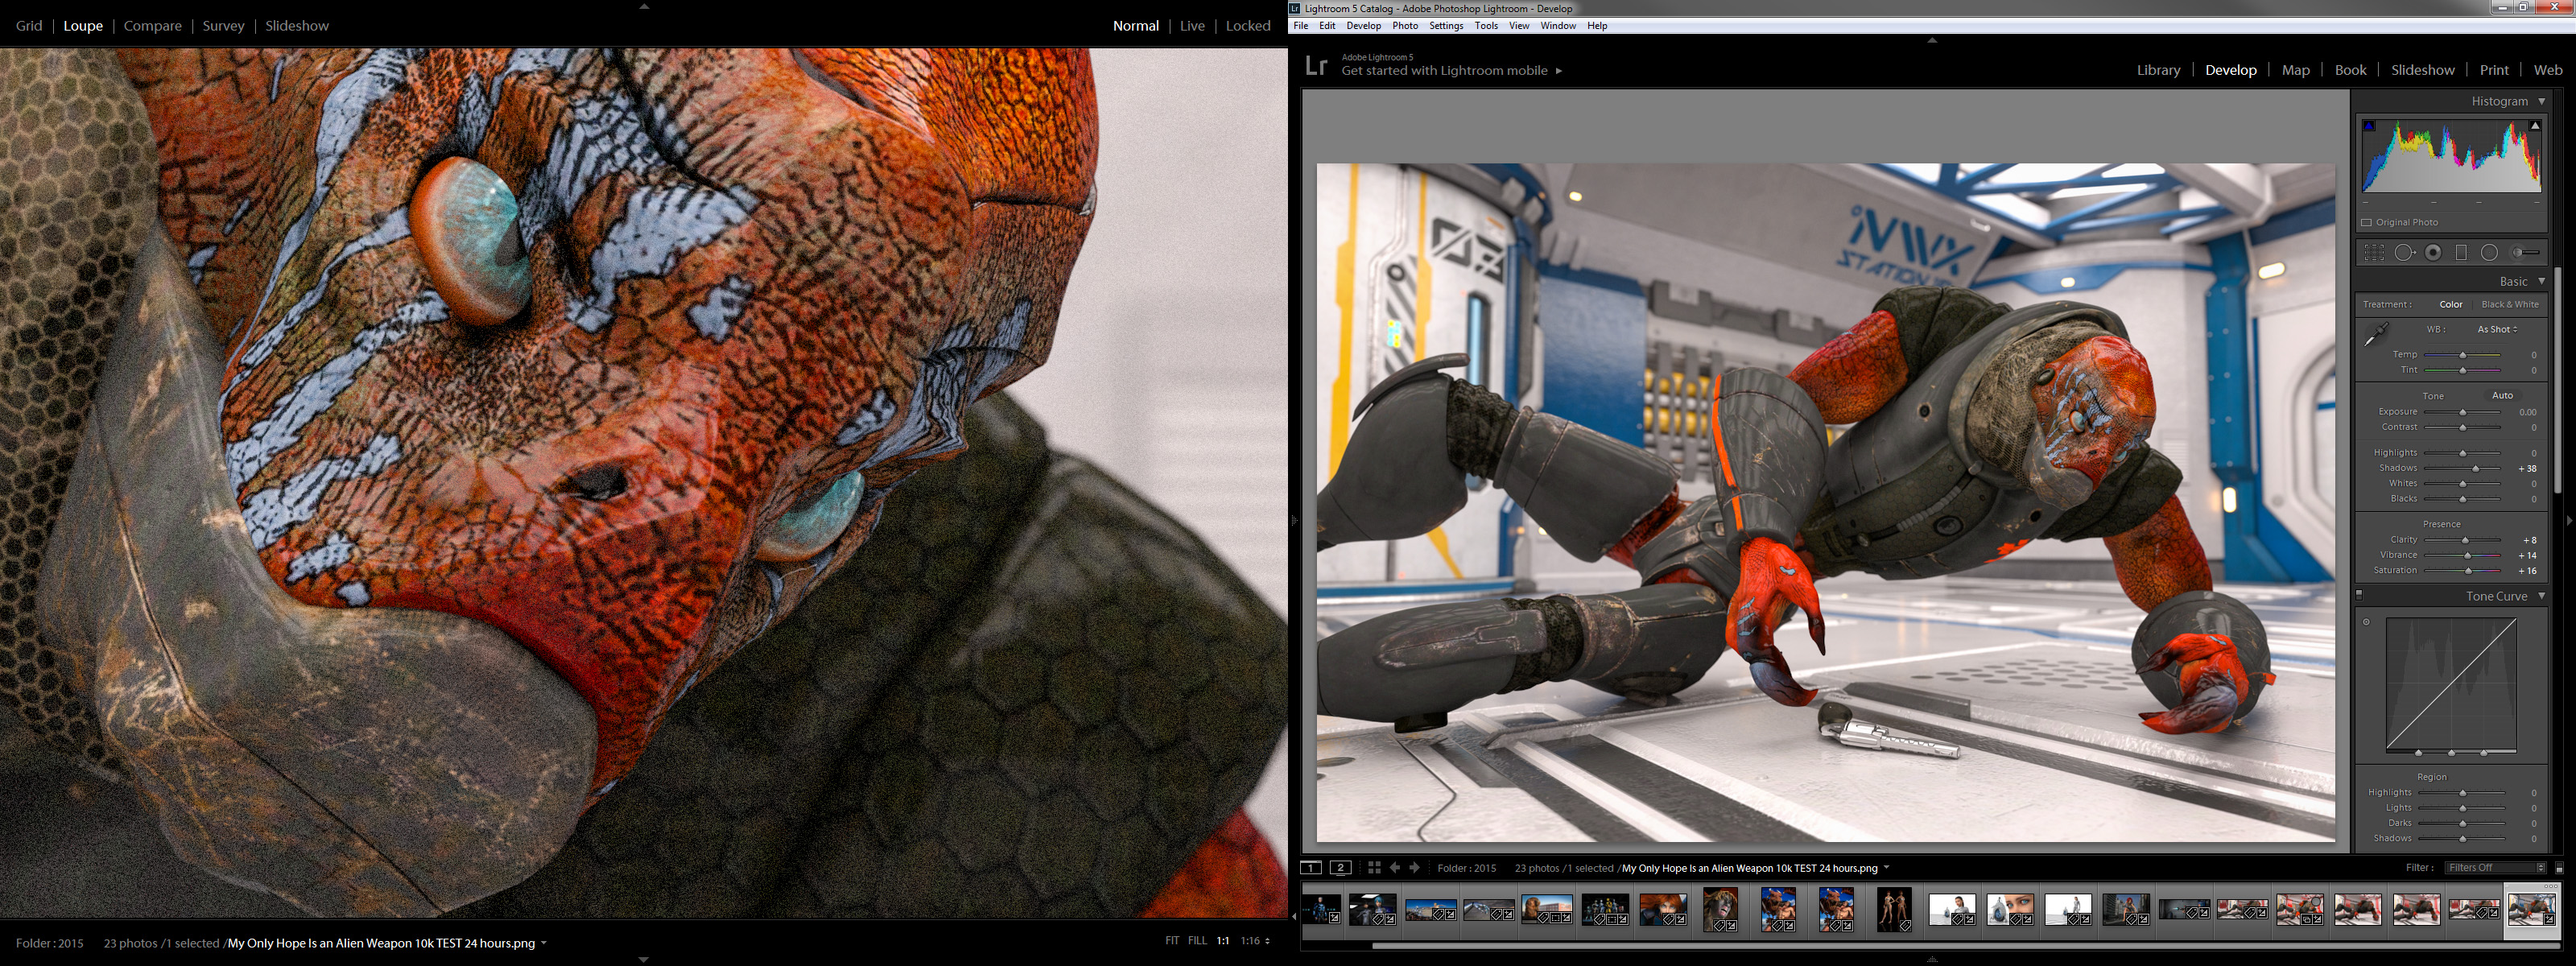
The final render is still a bit grainy even after cooking a full 24 hours. Click the image below to see the 10K image at 1:1 pixel ratio on the left. The complete image, however, has enough resolution that it looks pretty good. I’m quite happy with the light too. I didn’t do much color correction on this one, just brightened up the shadows and color a bit.
 Iray is still a big question mark for me. I got into DAZ Studio because it made CGI easy which I felt could make it possible for one person to do short animation projects. Iray makes everything harder. It takes a lot more time to light. You have to essentially work in the dark if you are using emissive mesh lights. You have to futz more with all the material settings on the models. And the render time is a killer, not only at the end but throughout the process as you are changing things and checking your work. For my first steps into animation Iray is probably going to have to take a back seat.
Created in DAZ Studio 4.8
Texture editing in photoshop
Rendered with Iray
Color Correction in Lightroom
Figures used:
Zorn
NWX Section 18
Pingback: No One Told You When To Run | eric susch .com