Prints are available on my Deviant Art profile:
http://ericsusch.deviantart.com/art/Who-Are-You-612998410
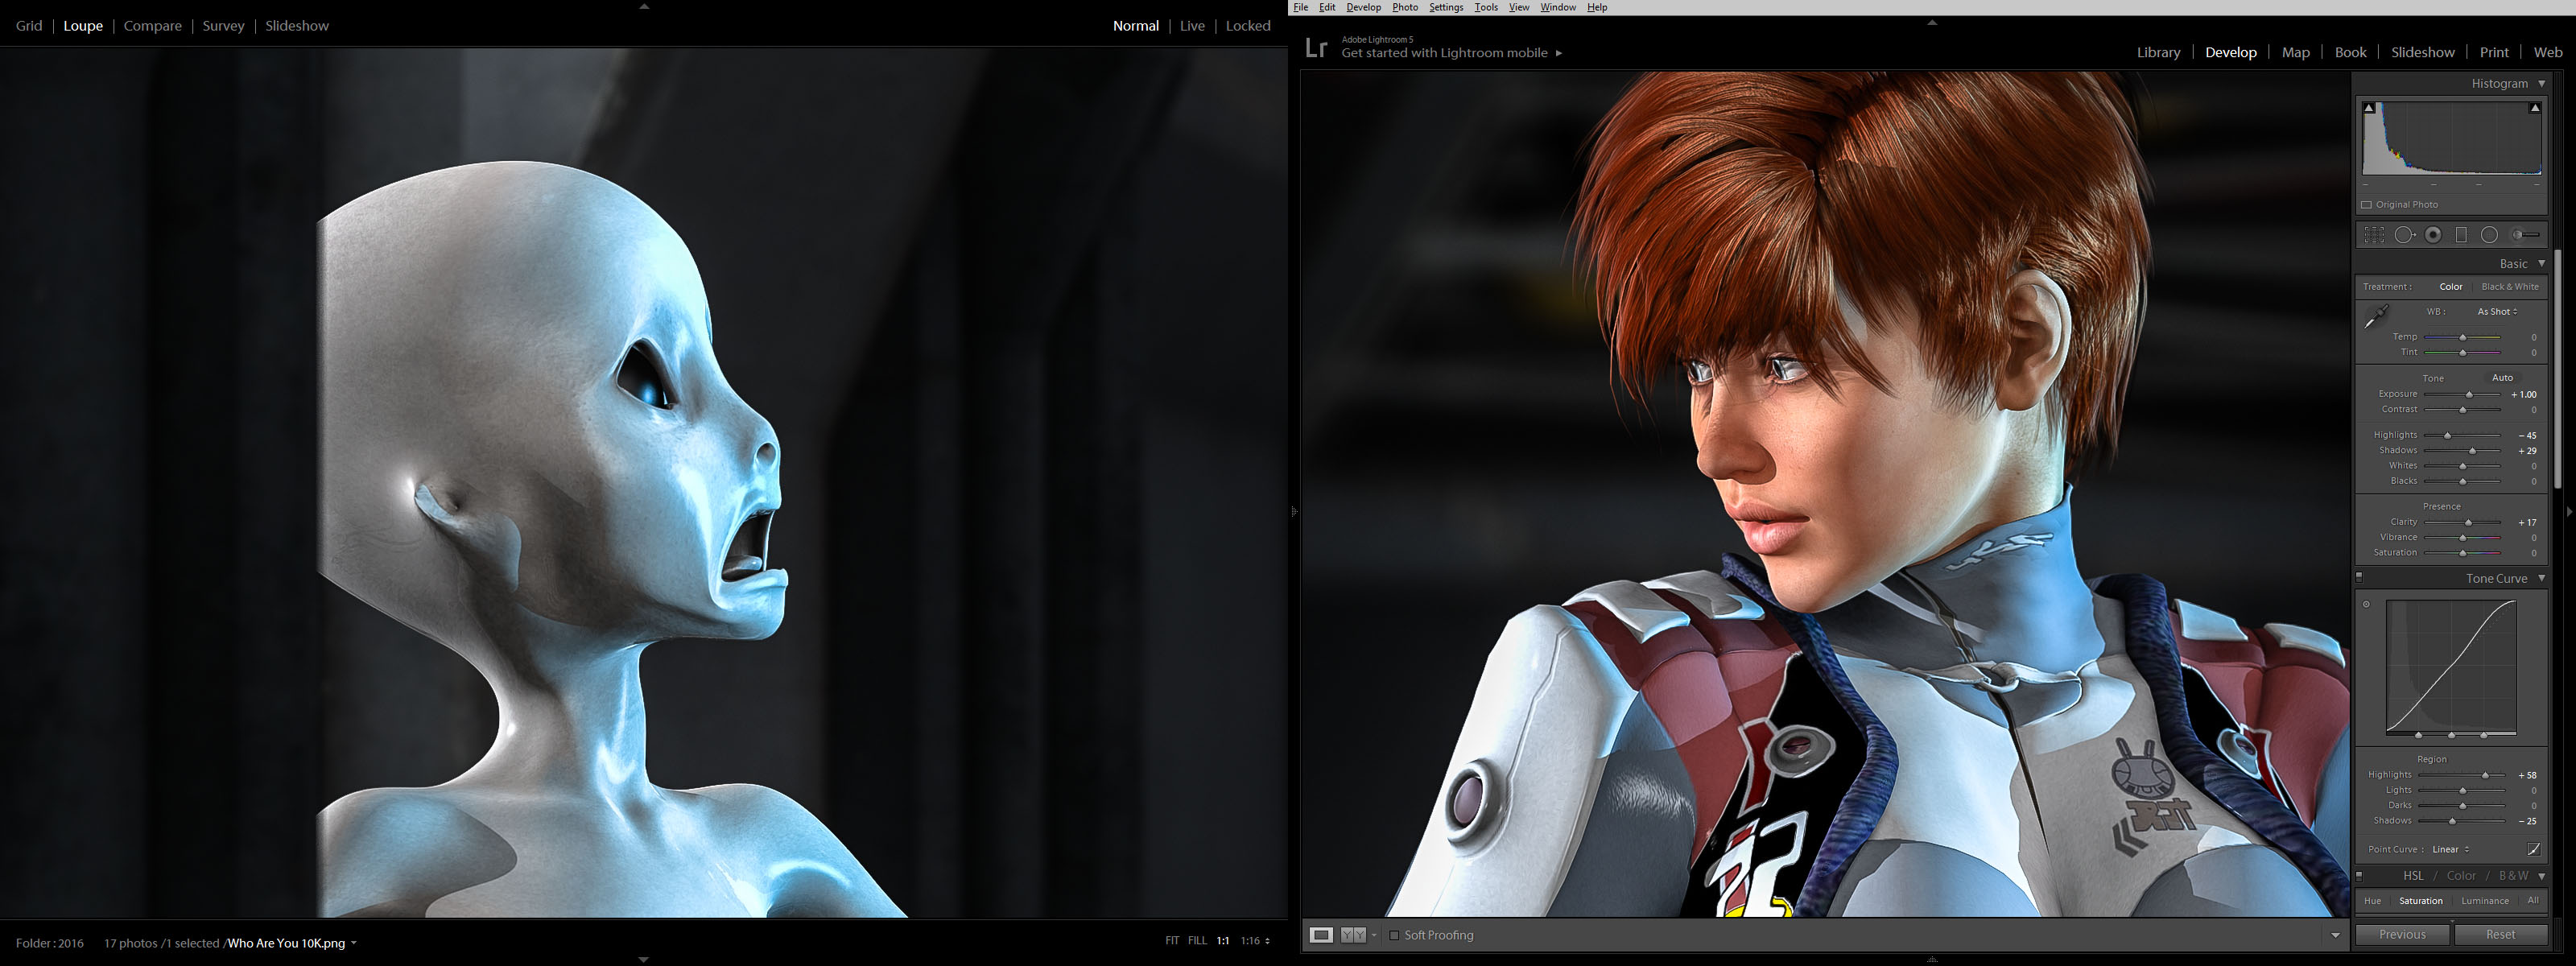
 This is an update of the first CGI image I ever completed in DAZ Studio. Back then I didn’t know how to do lighting so I moved the character into the lights that were already pre-built into the set. This is the original:
 It took me days to place the character properly and learn how to aim a camera and render. The image is dark and I’ve grown to hate it as I’ve become more experienced. And so, like George Lucas, I decided to go back and change my earlier work to add new characters and “make it better.”
Back to the Beginning
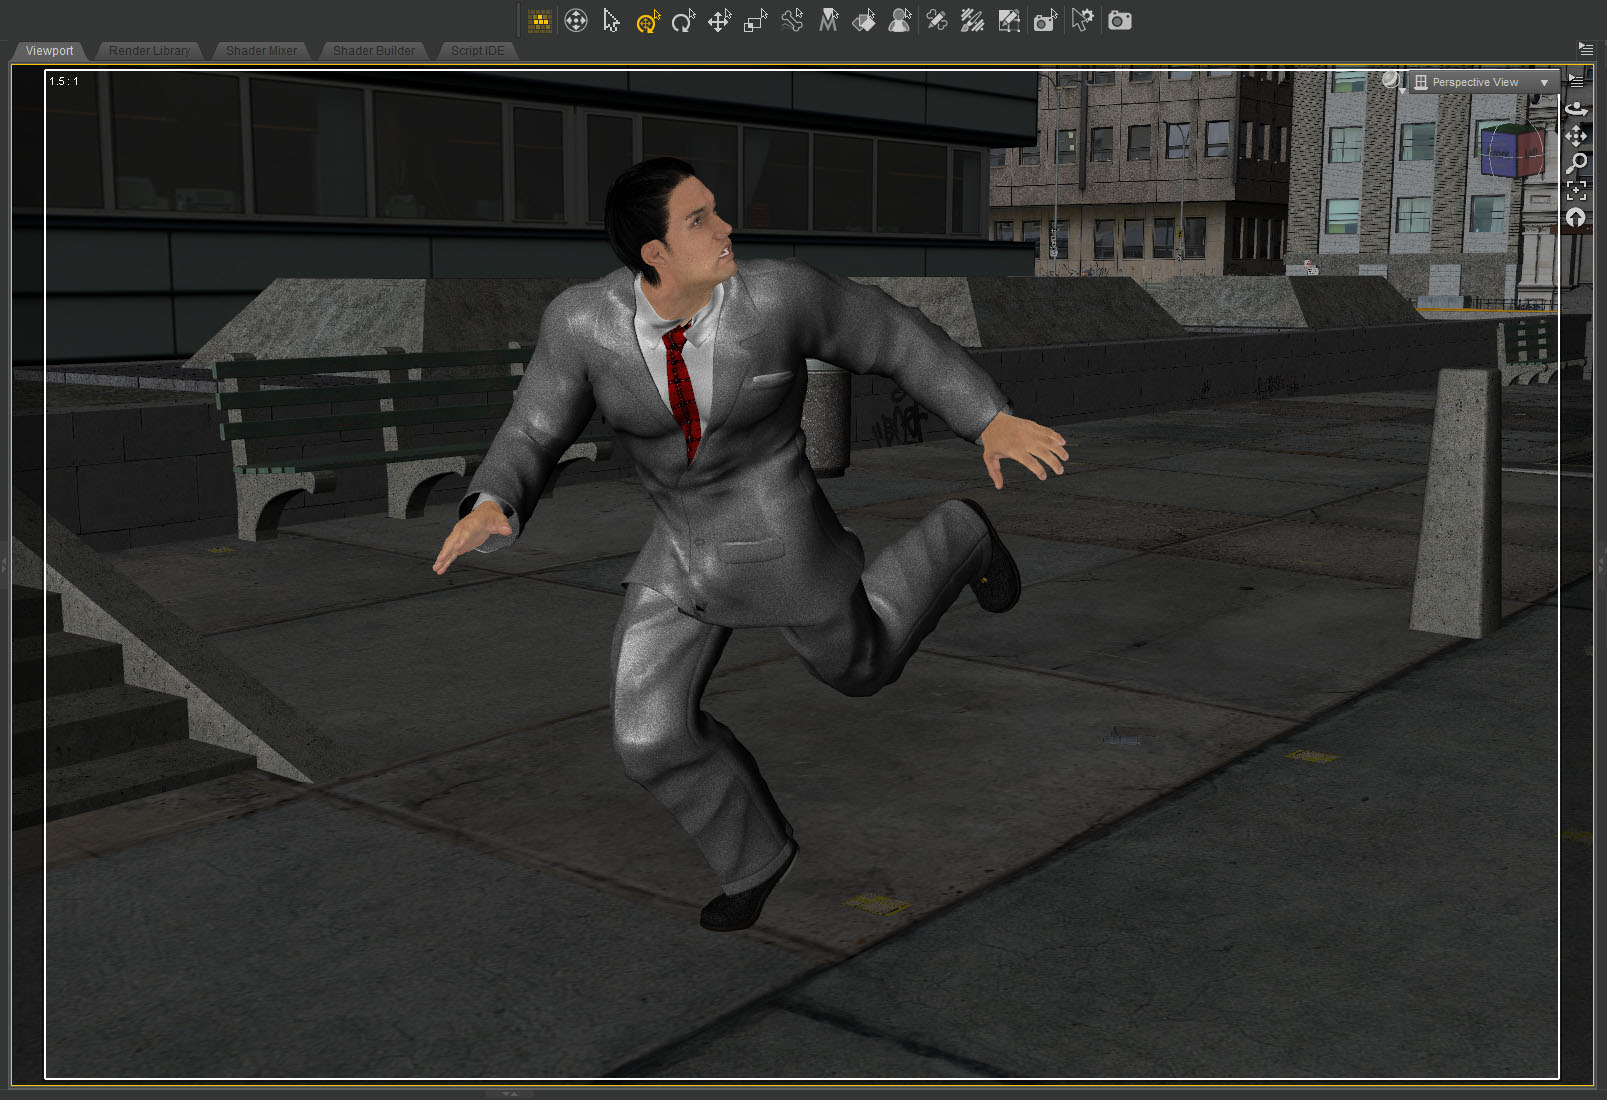
I loaded up the old project and continued right where I left off. As I re-familiarized myself with everything it became obvious how little I knew at the time. It was interesting to see how I solved problems back then. I’m really deep into all the technical details now and the way I work today isn’t necessarily better, just more complicated. It was surprising.
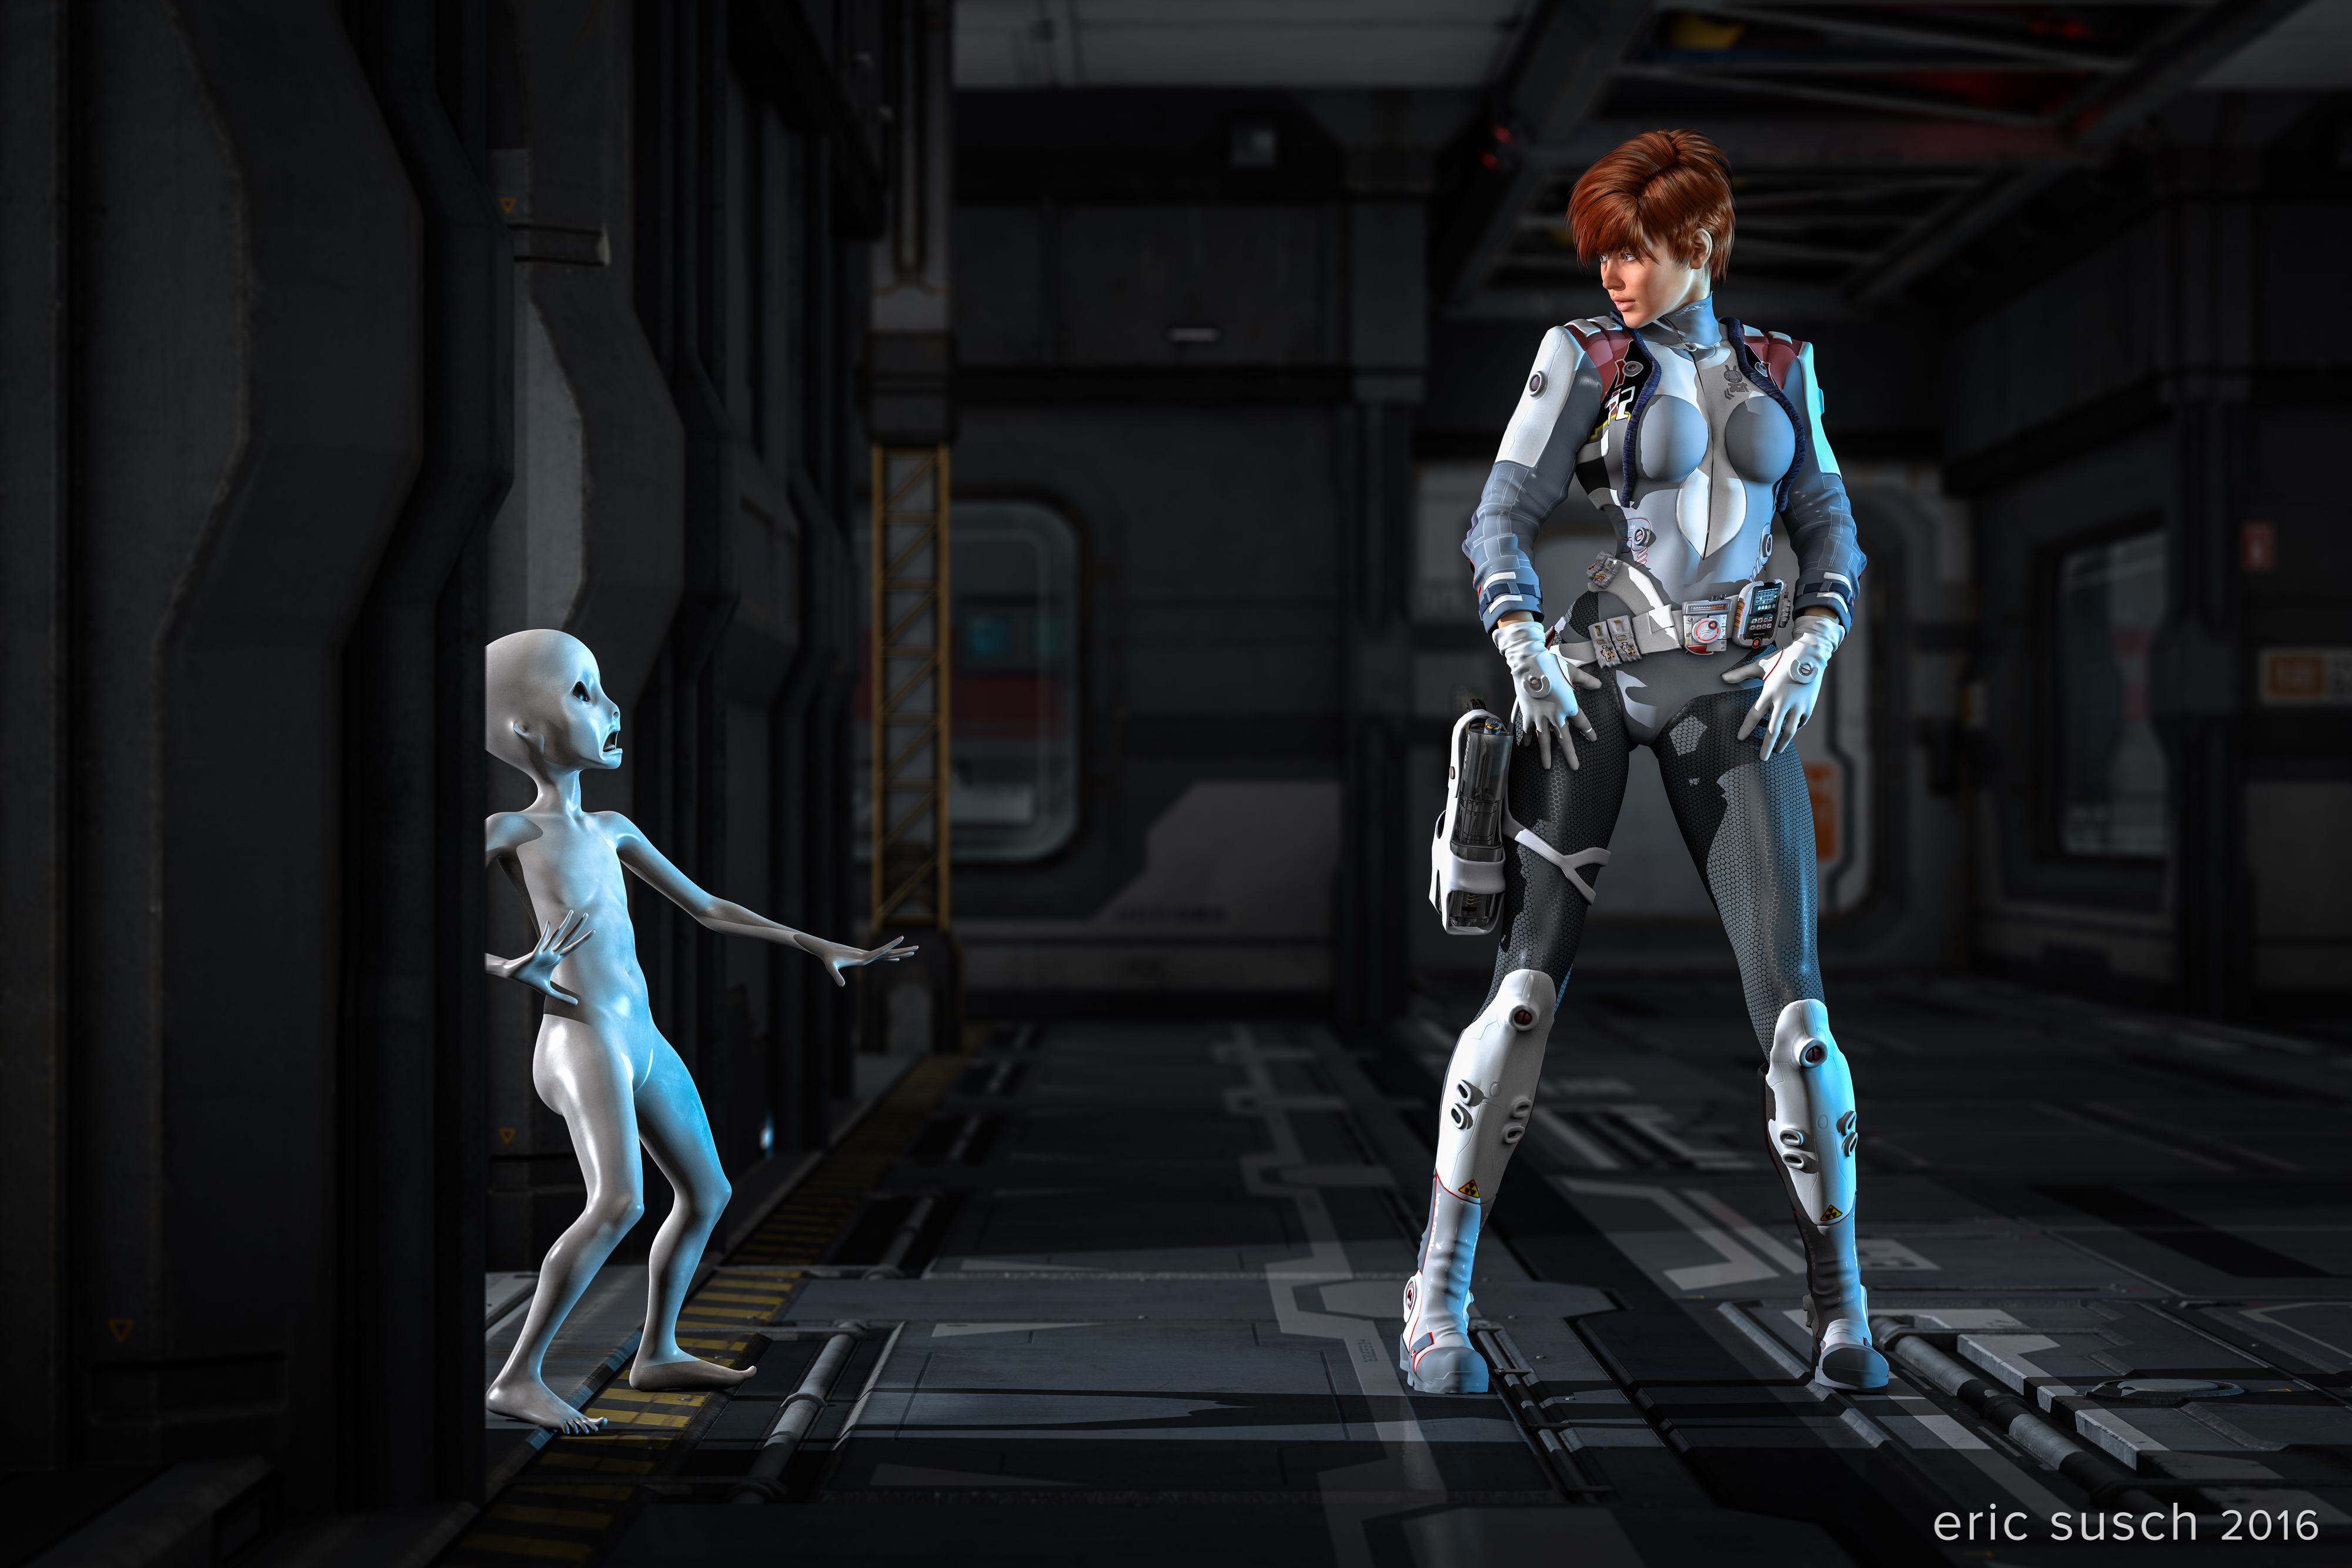
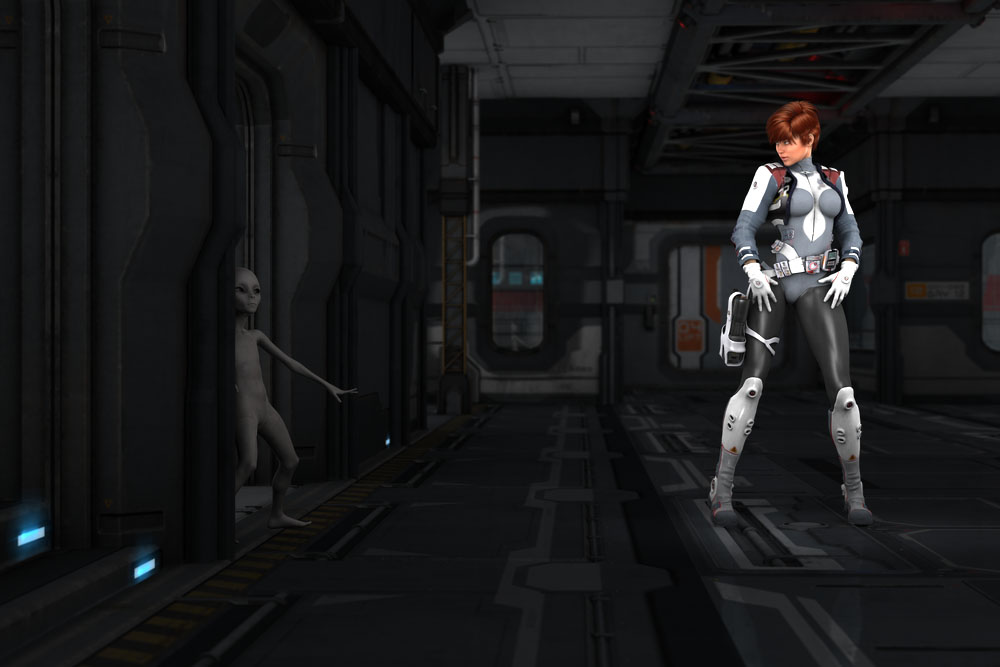
I knew I wanted to add more light and make everything brighter, but what else? I hate pieces where people just stand there so I added another character for the girl to react to. She’s looking out a doorway so I put a little alien guy there who is startled by her.
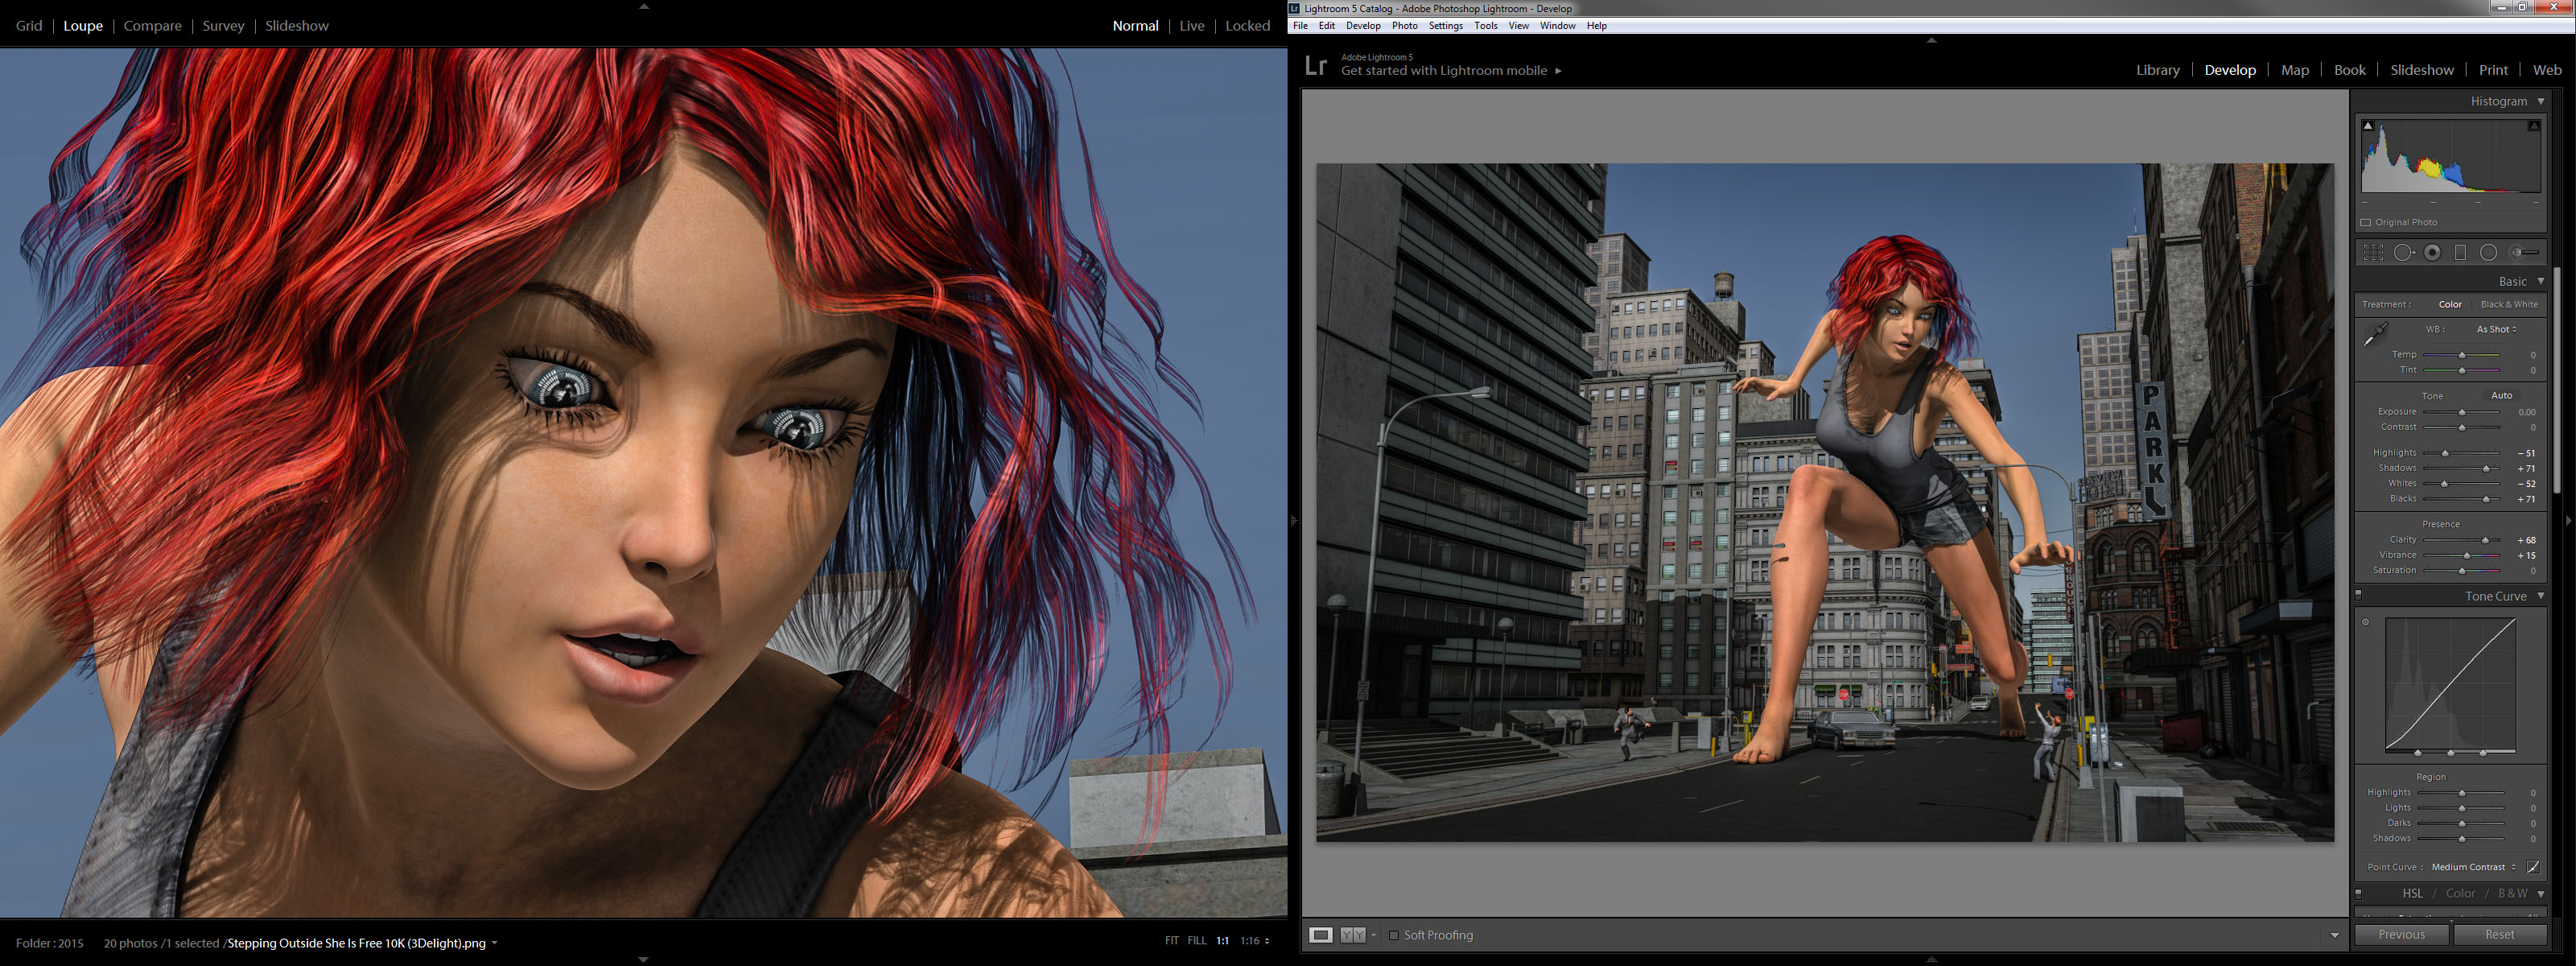
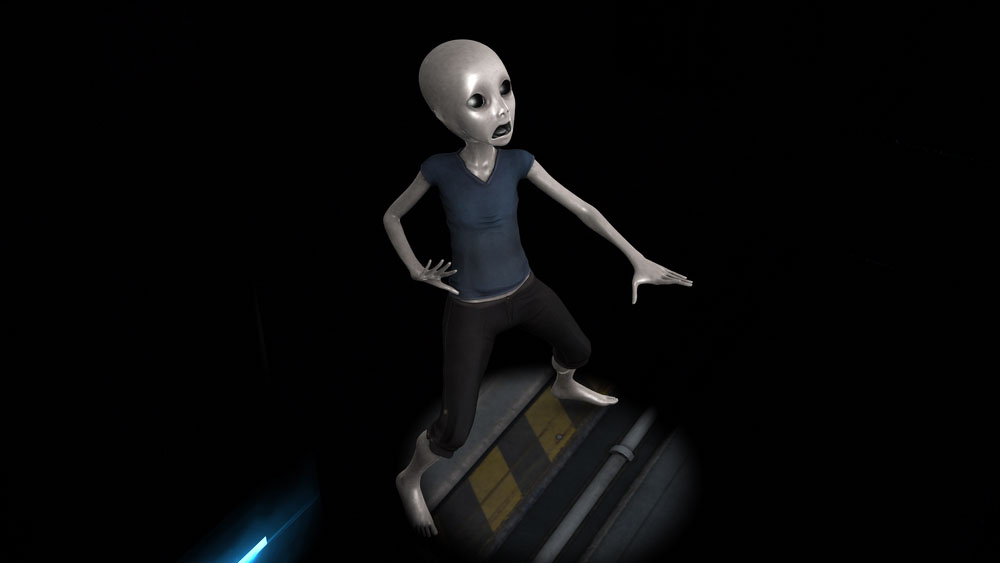
I tried many camera angles to get the best interaction of the two characters but eventually decided to keep it wide and head on similar to the original. You need to see the distance between them for it to work. These are some of the test angles.
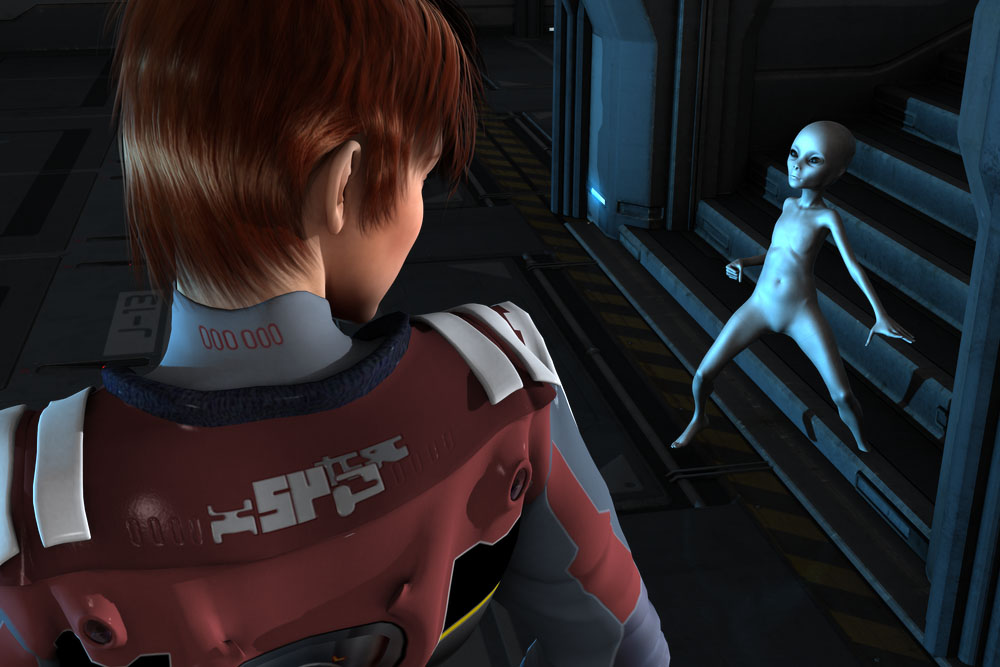
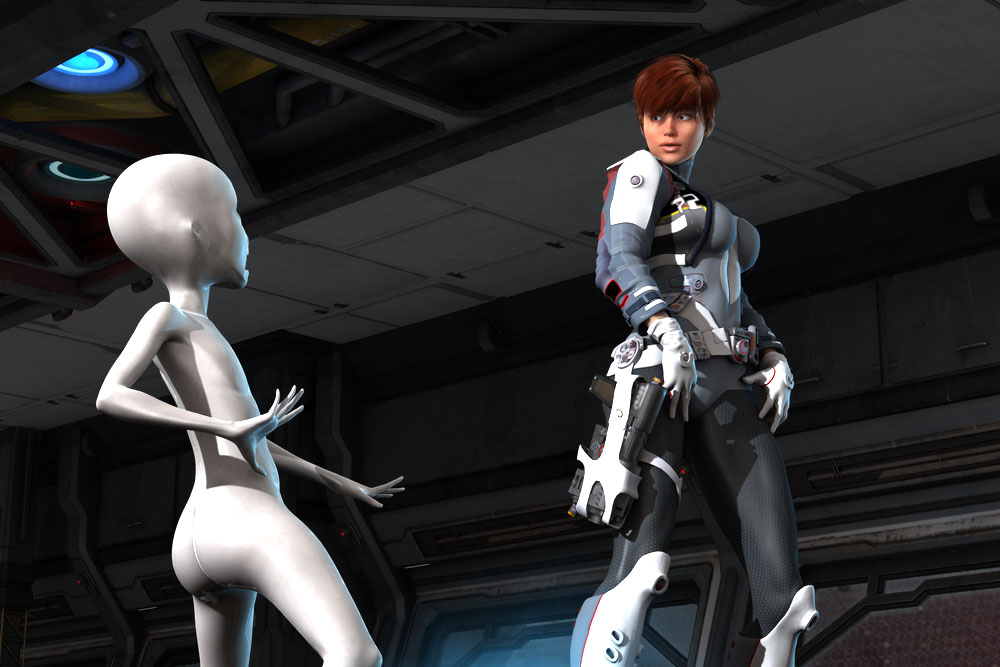
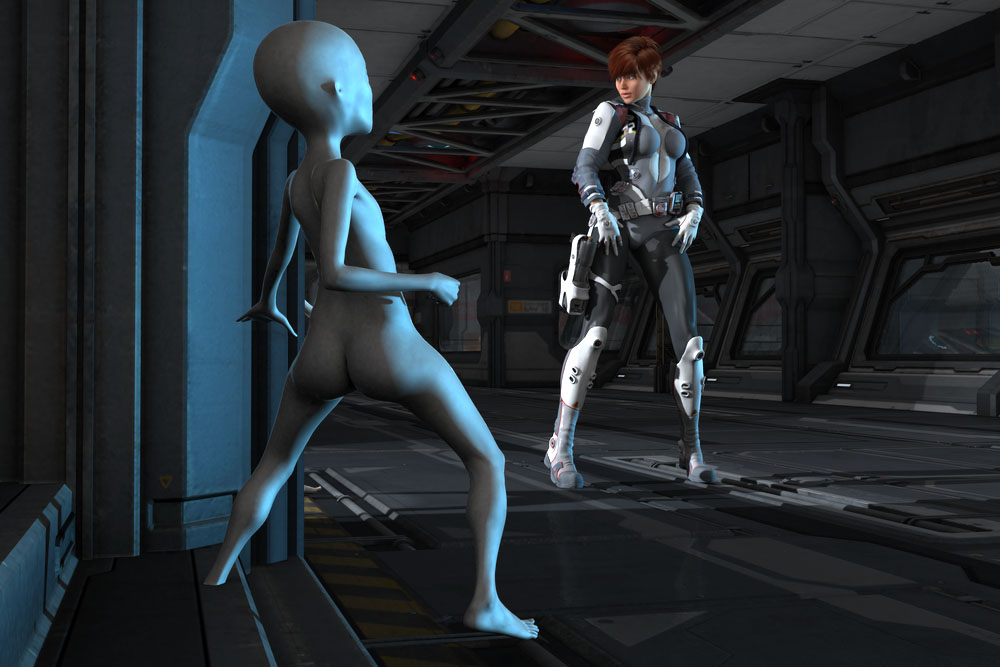 The last one isn’t bad but you can’t tell the alien is a tiny guy. I think you need to see that to understand he is scared. The middle one’s good too but you don’t get the sense of him coming around the corner.
Straight on wide shot seems the best but I still think it’s boring and too far away. Will have to work on that in another piece. For now it will have to do.
A Brighter Future
If I knew how to use an ambient light back when I originally rendered this scene it would have looked much better. I’m a big fan of the Advanced Ambient Light by Age of Armour. It’s the easiest fill light I’ve ever used and it renders fast. While I was playing around with it, I tried something new. I set three ambient lights in the scene. One was set to light everything overall like I usually do. The other two were placed very close to the characters with the light limited to their immediate area. That gave me the ability to adjust the brightness of each character and the background separately.
 It worked out very well. The light from the stairs and the blue back light from the windows were still the main lights but the ambient lights in this configuration allowed for very fine brightness adjustment during the final tweaking. I’m going to use this technique whenever I work in 3Delight.
The Small Stuff Is Always the Hardest
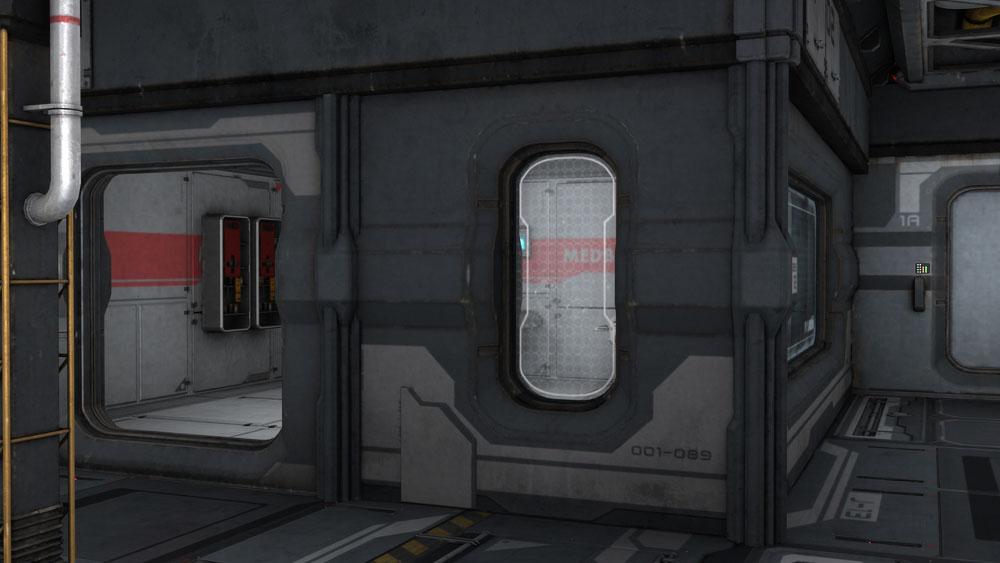
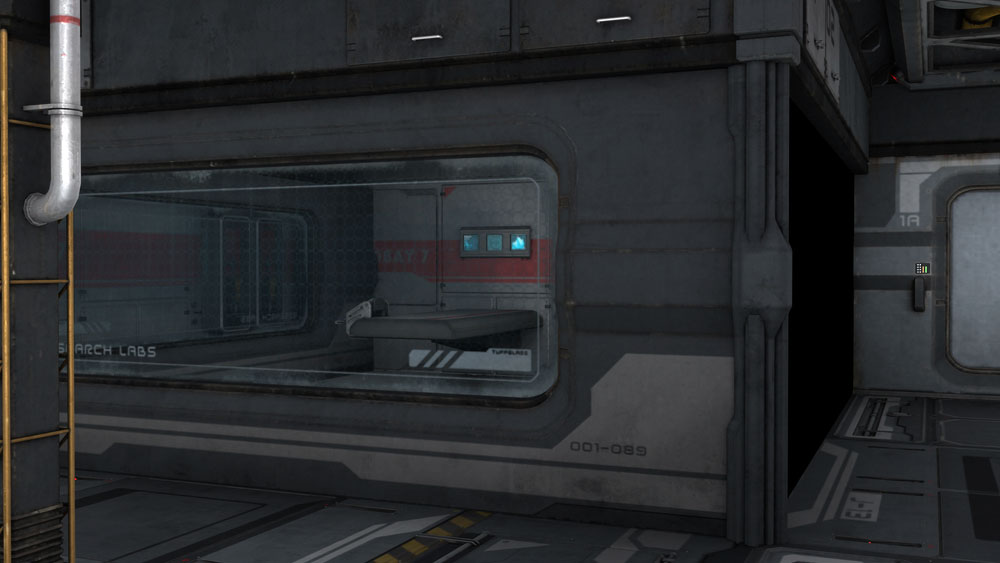
The most difficult part of this re-imagining was actually the back wall. The set had a window that looked like a portal or hatch right where the lines on the floor converge at the back. It drew your eye right past the two characters to the window. I had to eliminate that panel and take a different wall from another part of the set and replace it. The other wall had a larger window that extended behind the corner so it wasn’t as distracting. Finding the right panel to use took some time. Adjusting the glossiness of the window and darkening it with a semi-transparent black plane helped too.
 Know Yourself
After struggling with the complexity of Iray for the past year it was a joy to build something in 3Delight again. You forget how simple it is. And that’s the key, isn’t it. Simplicity. Working in this old project, I was surprised how much I was able to do originally with how little I knew. I didn’t have a lot of options – not a lot of knowledge about surfaces, materials, render settings, shaders, UV maps, morphs, or even lights. I didn’t have all those things in my head slowing down my creative process. I just did it whatever way I could figure out in the moment. I’ve forgotten what that’s like.
 I encourage everyone to do this at least once. Open up a really old project and see how you used to work. See how you used to think. You may learn something from yourself.
Created in DAZ Studio 4.5 and 4.9
Rendered with 3Delight
Color Correction in Lightroom
Figures used:
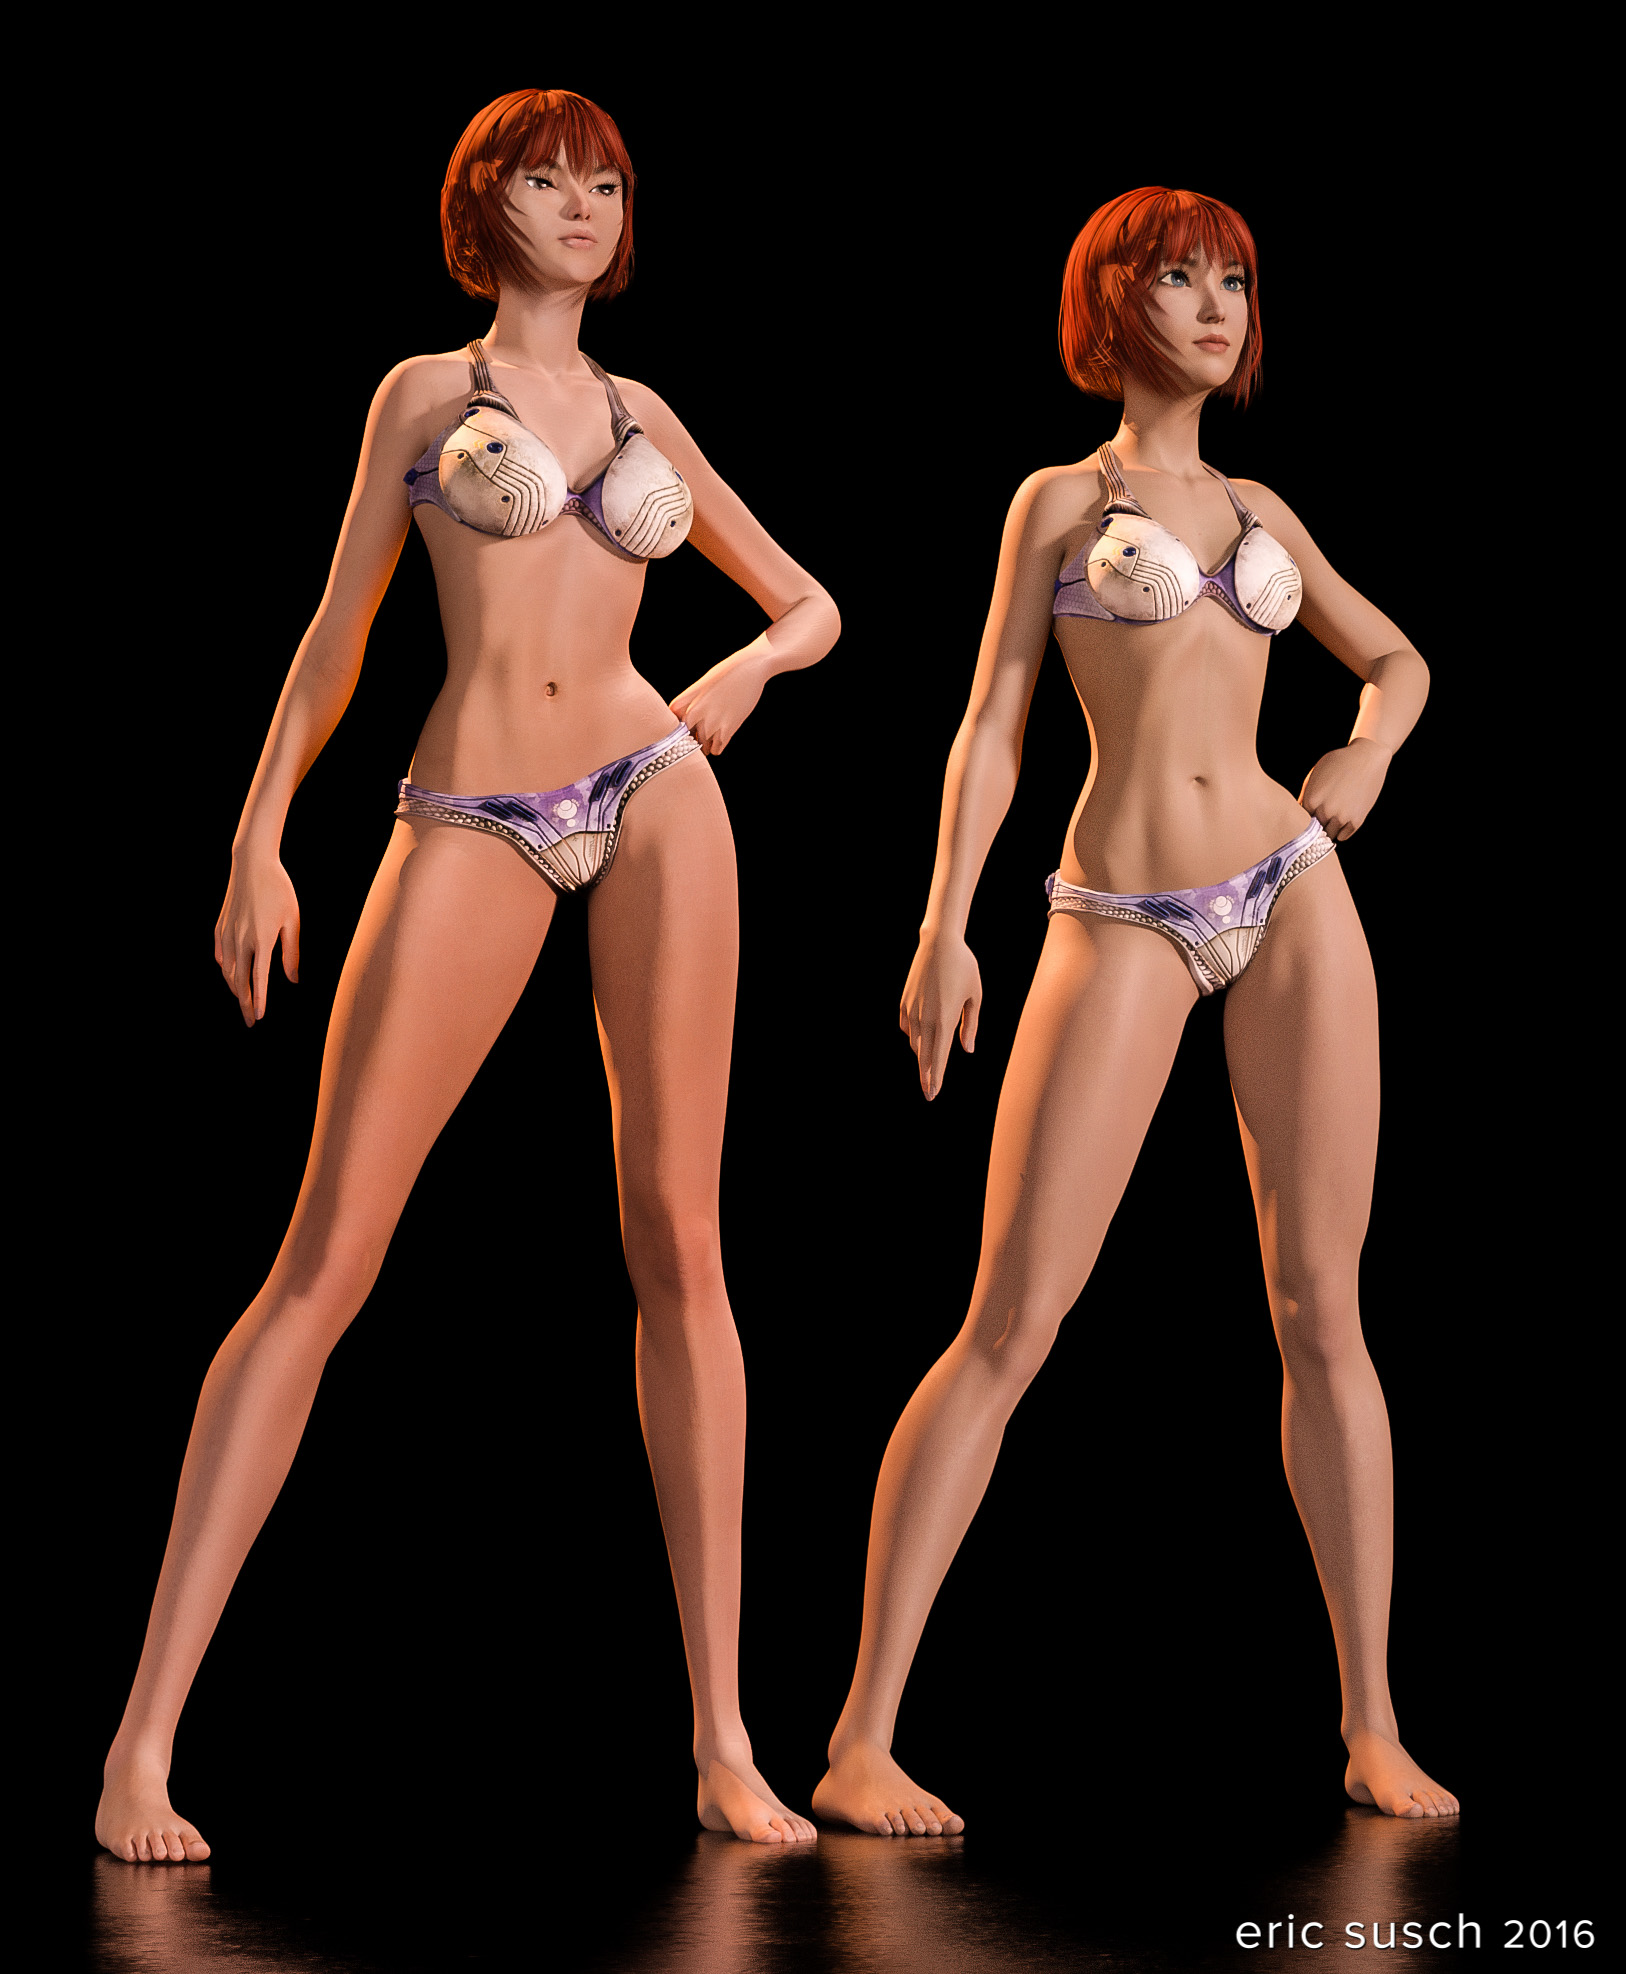
Victoria 6
Liquid Halo On Sky 16 for Genesis
Grey Alien for Genesis 3 Female
Sci-Fi Corridor 2013
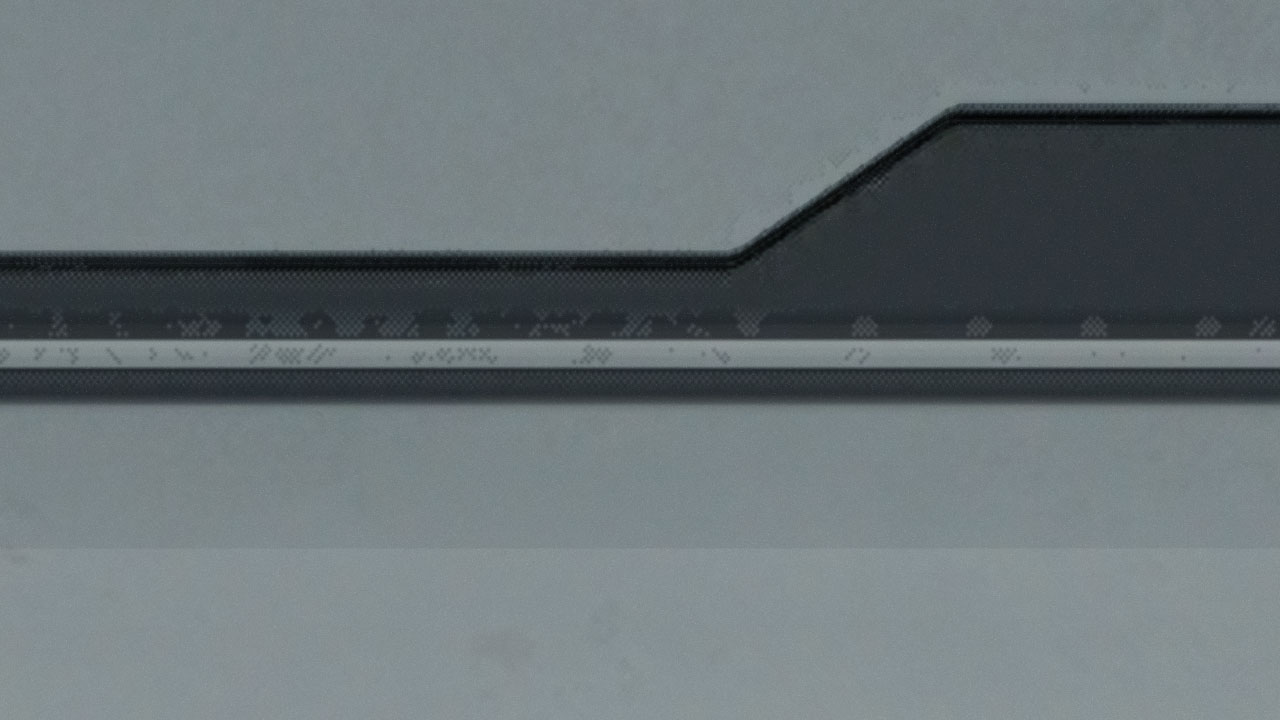
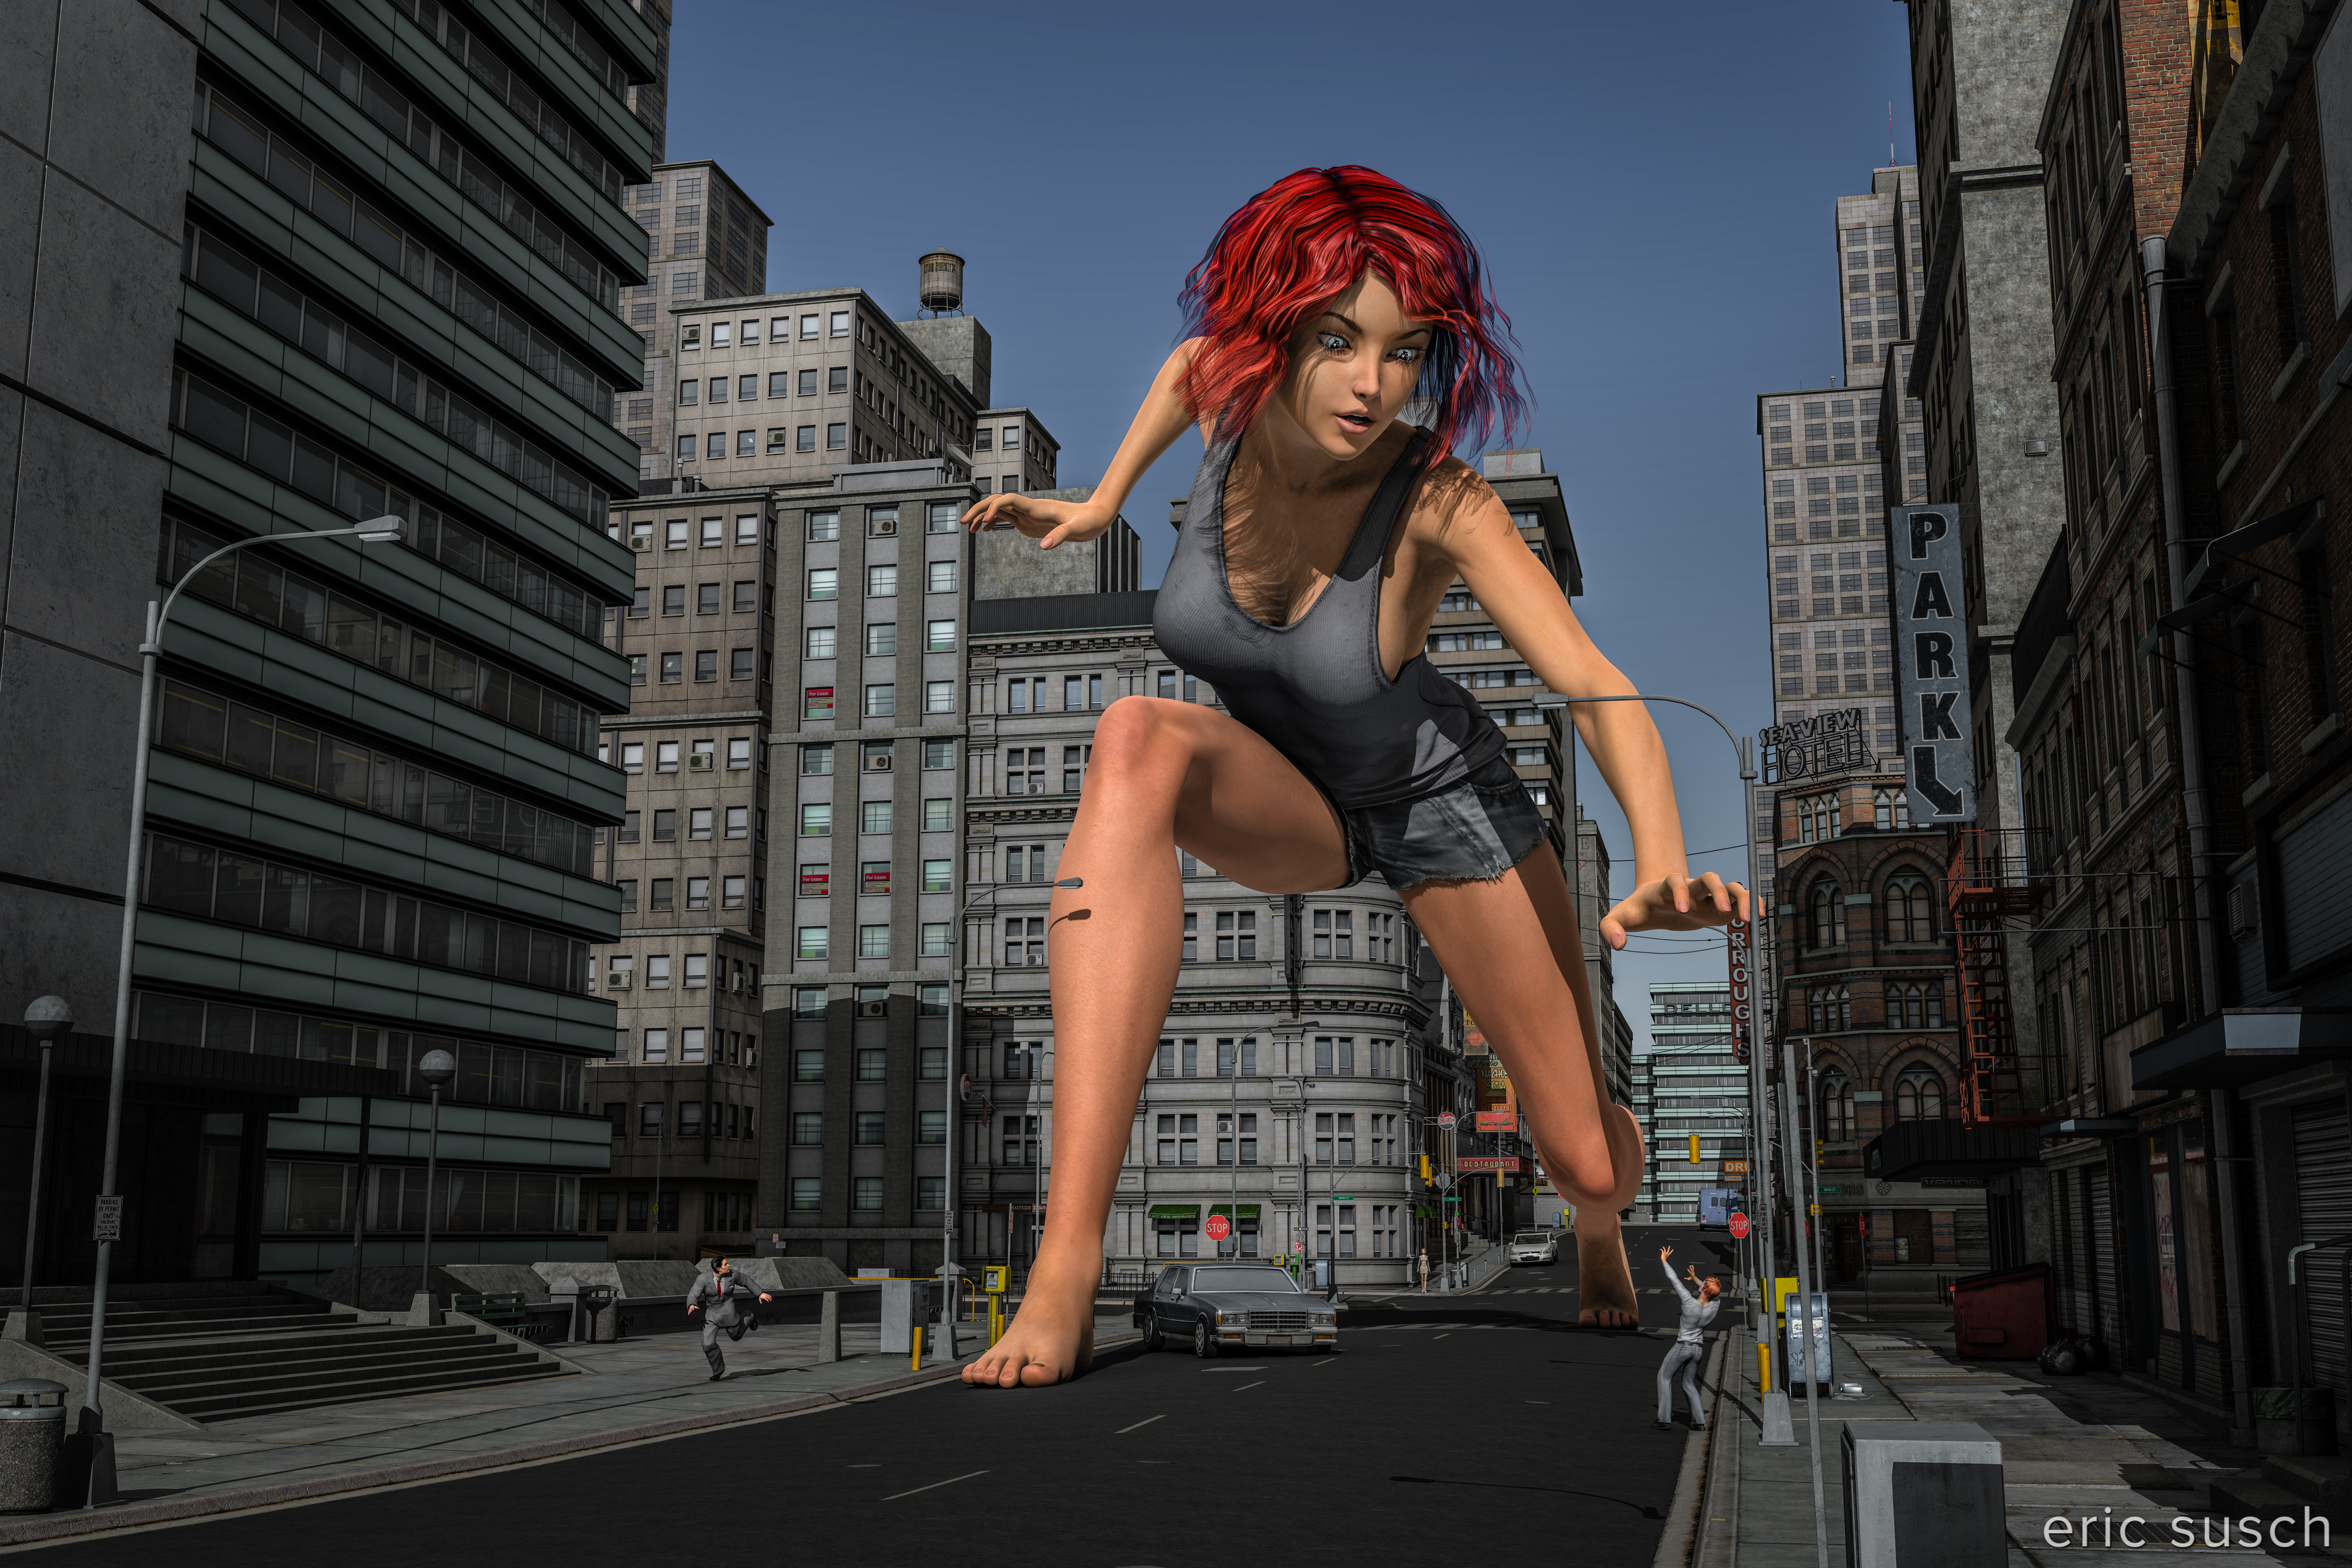
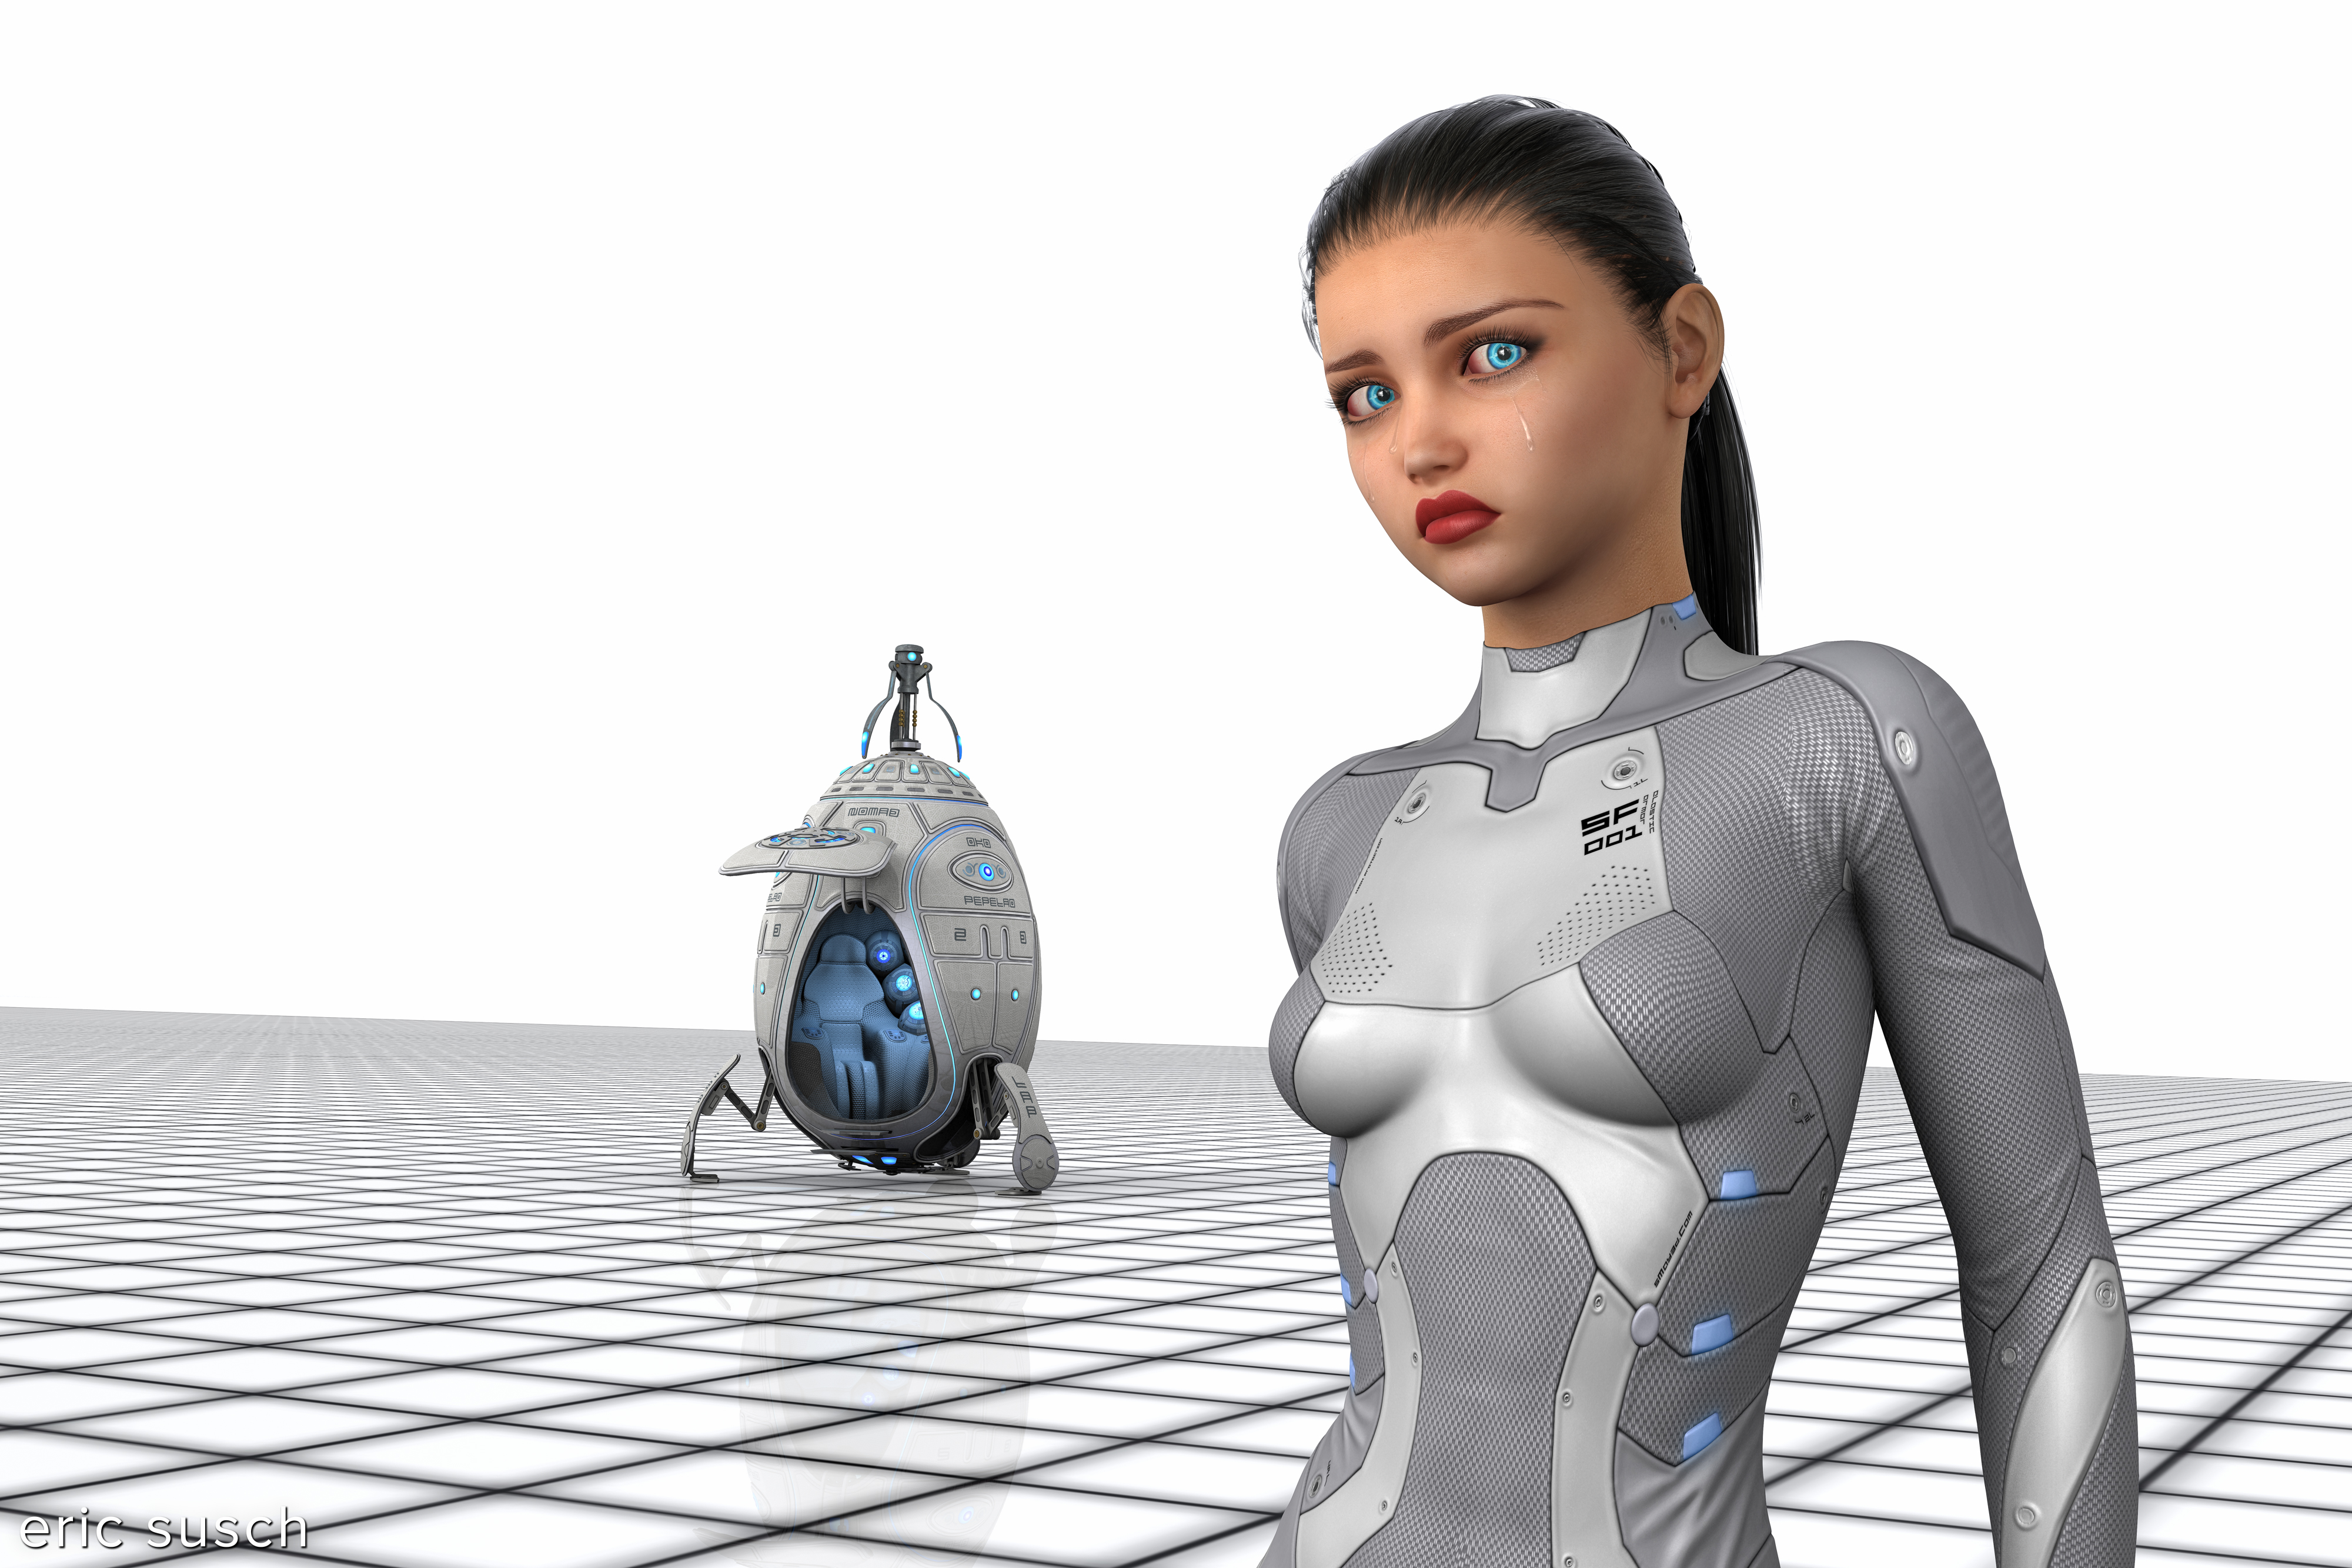
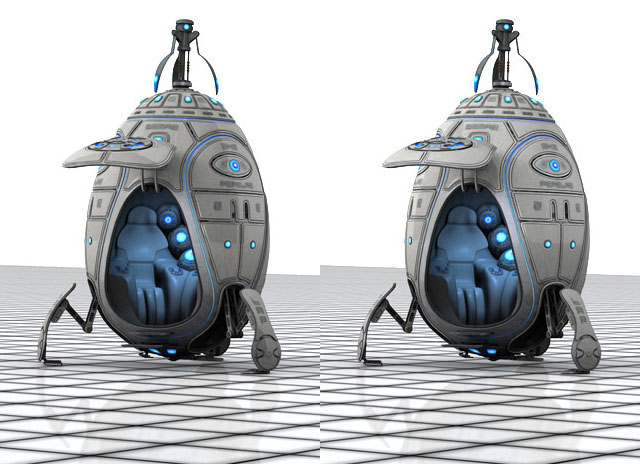
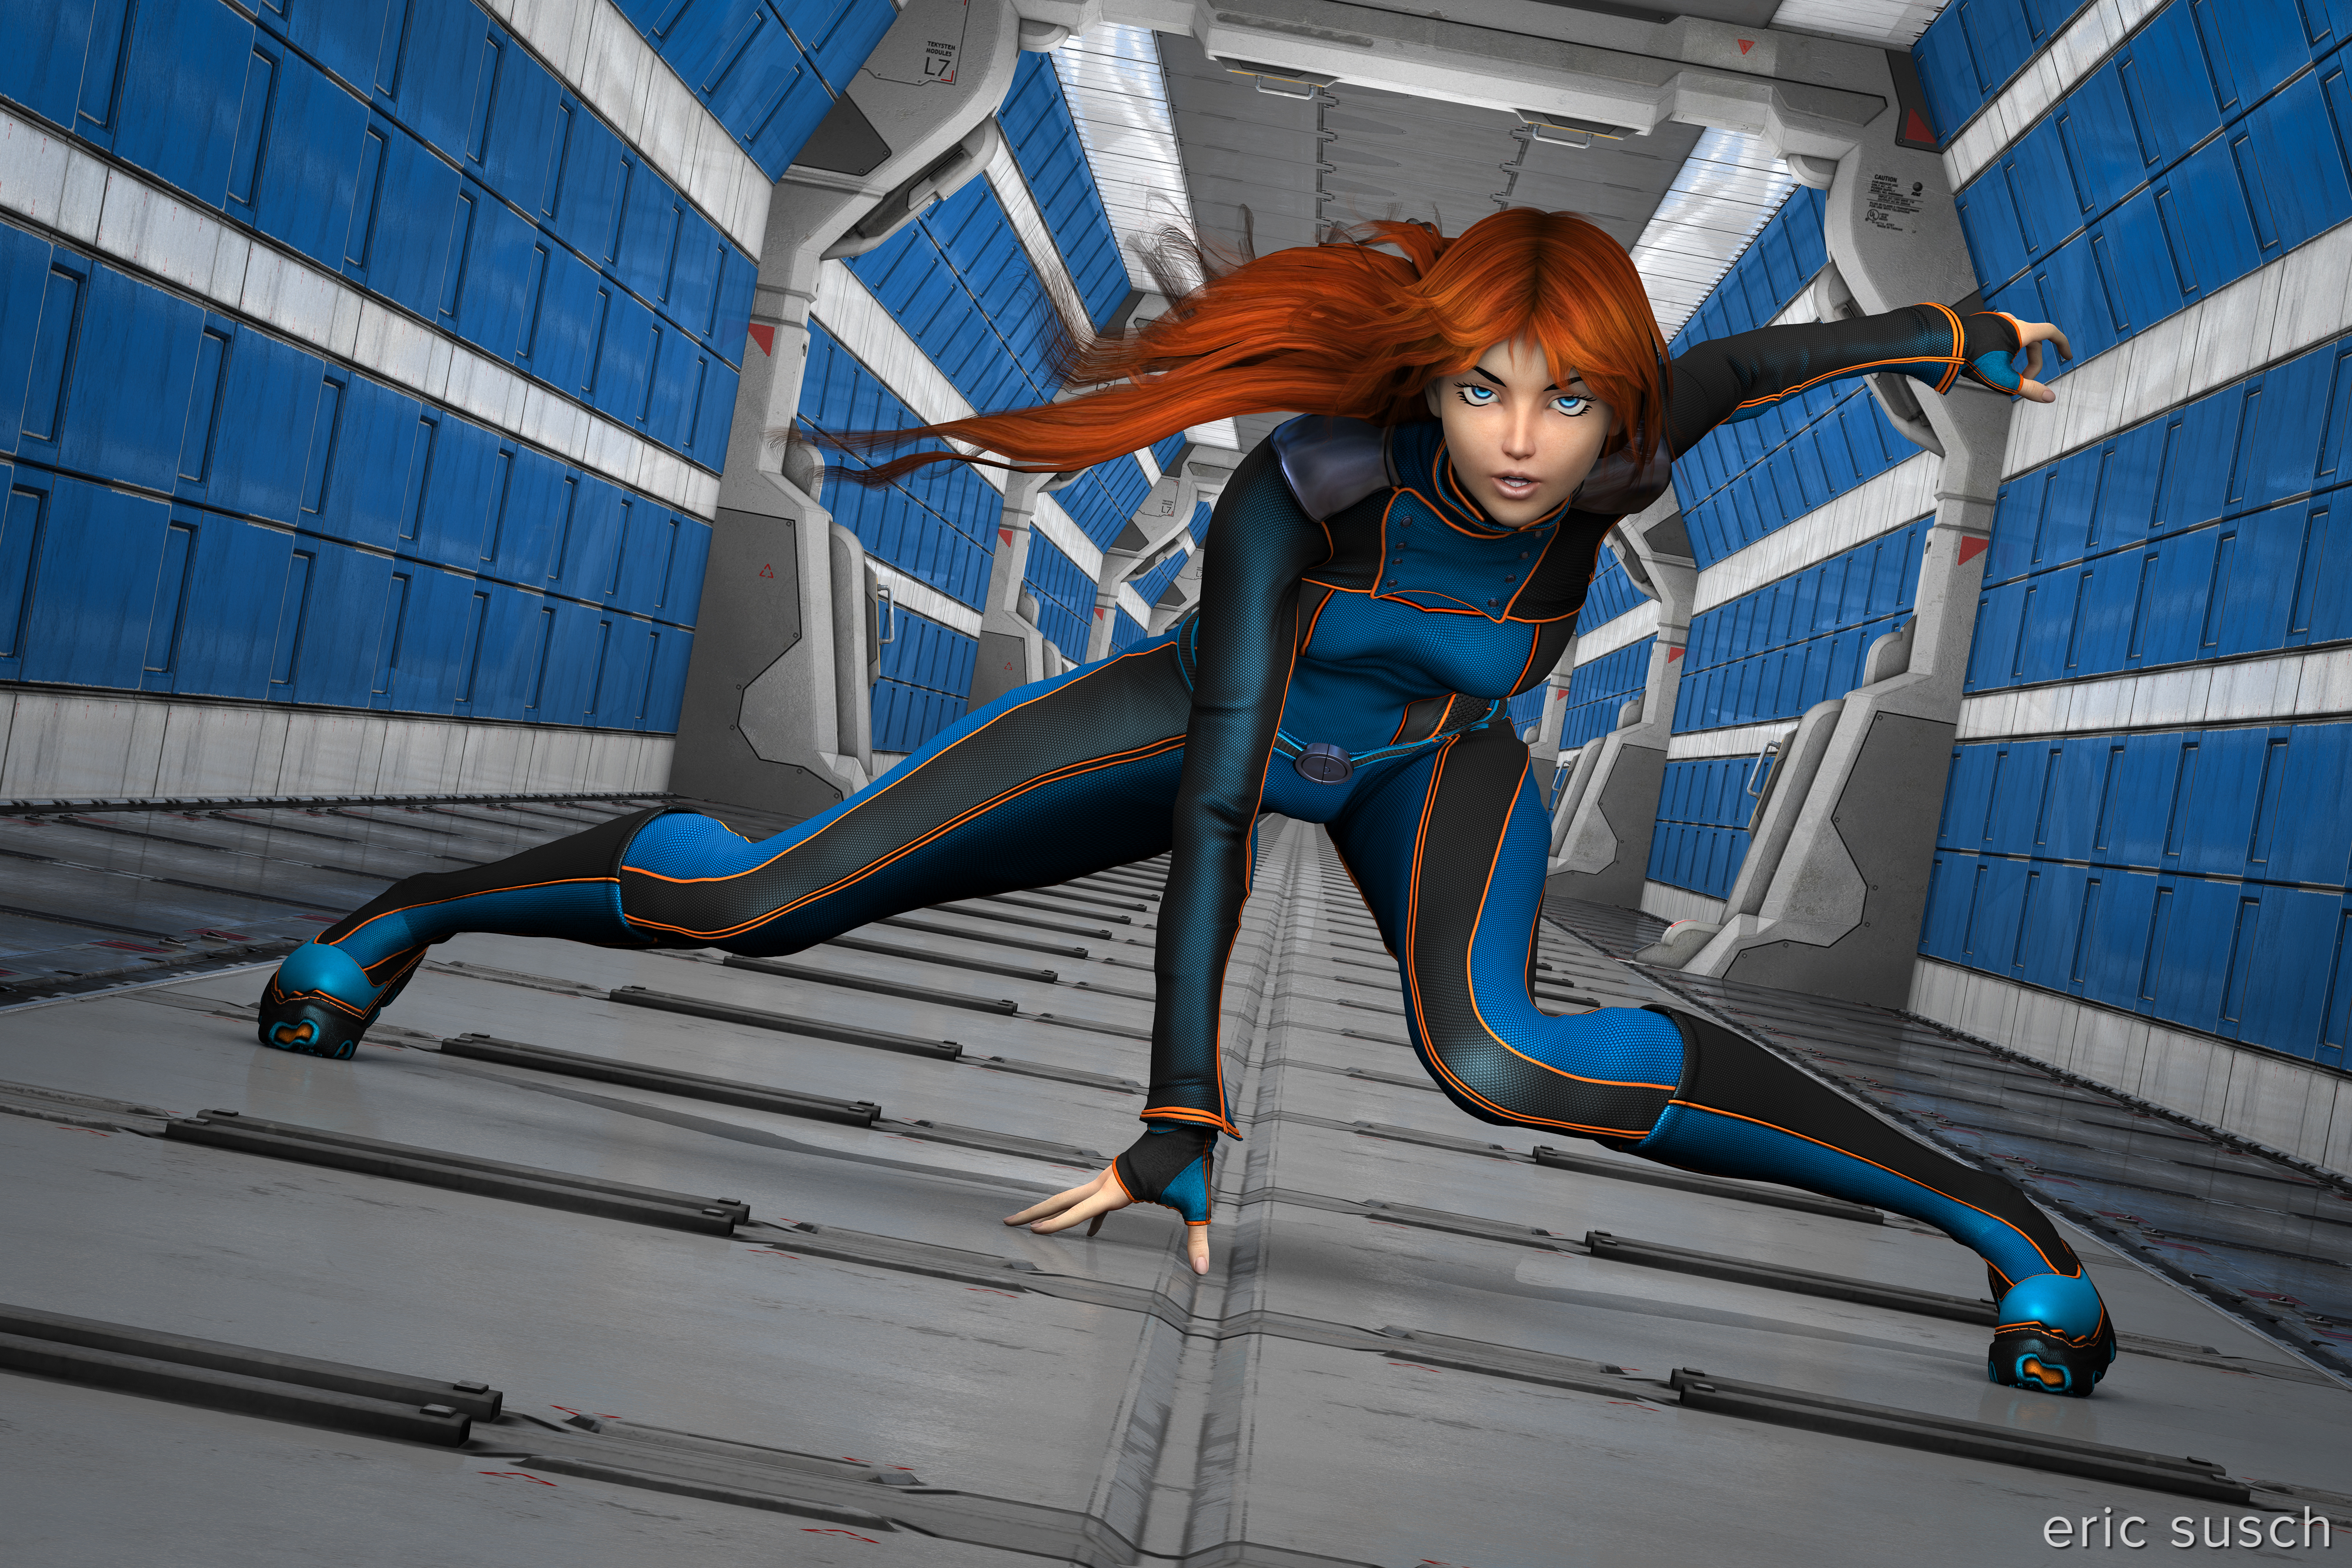
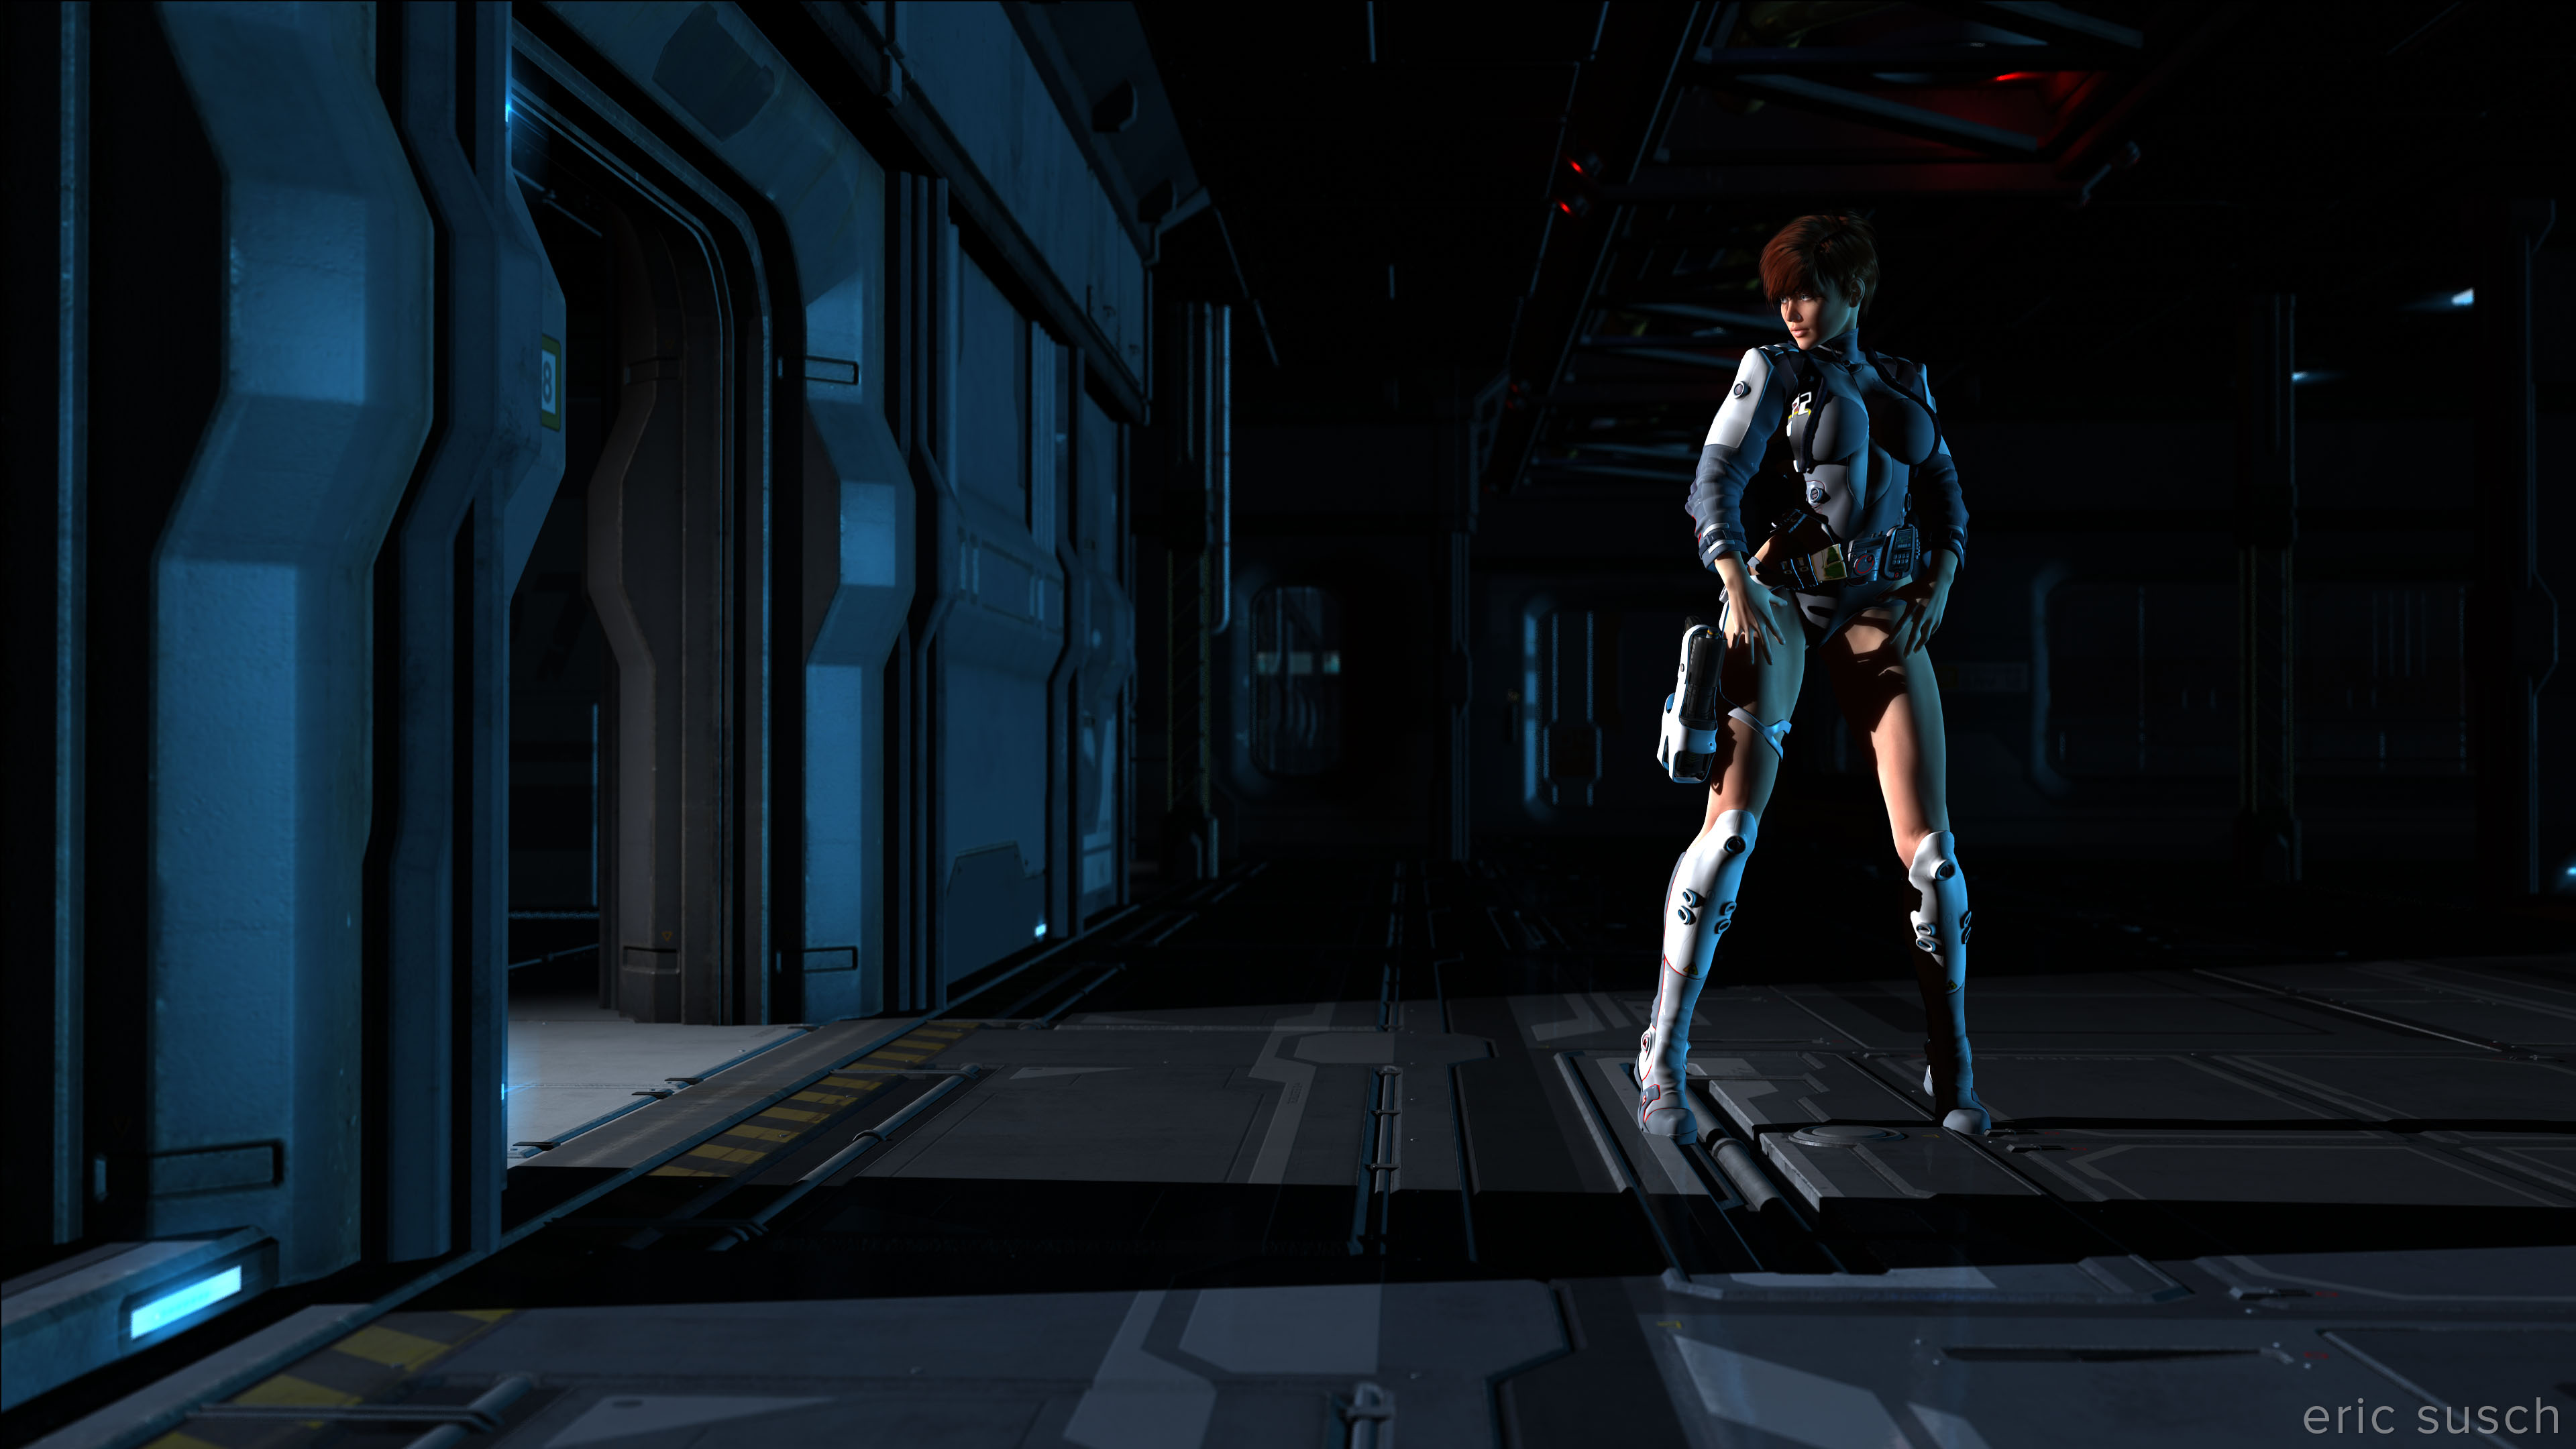
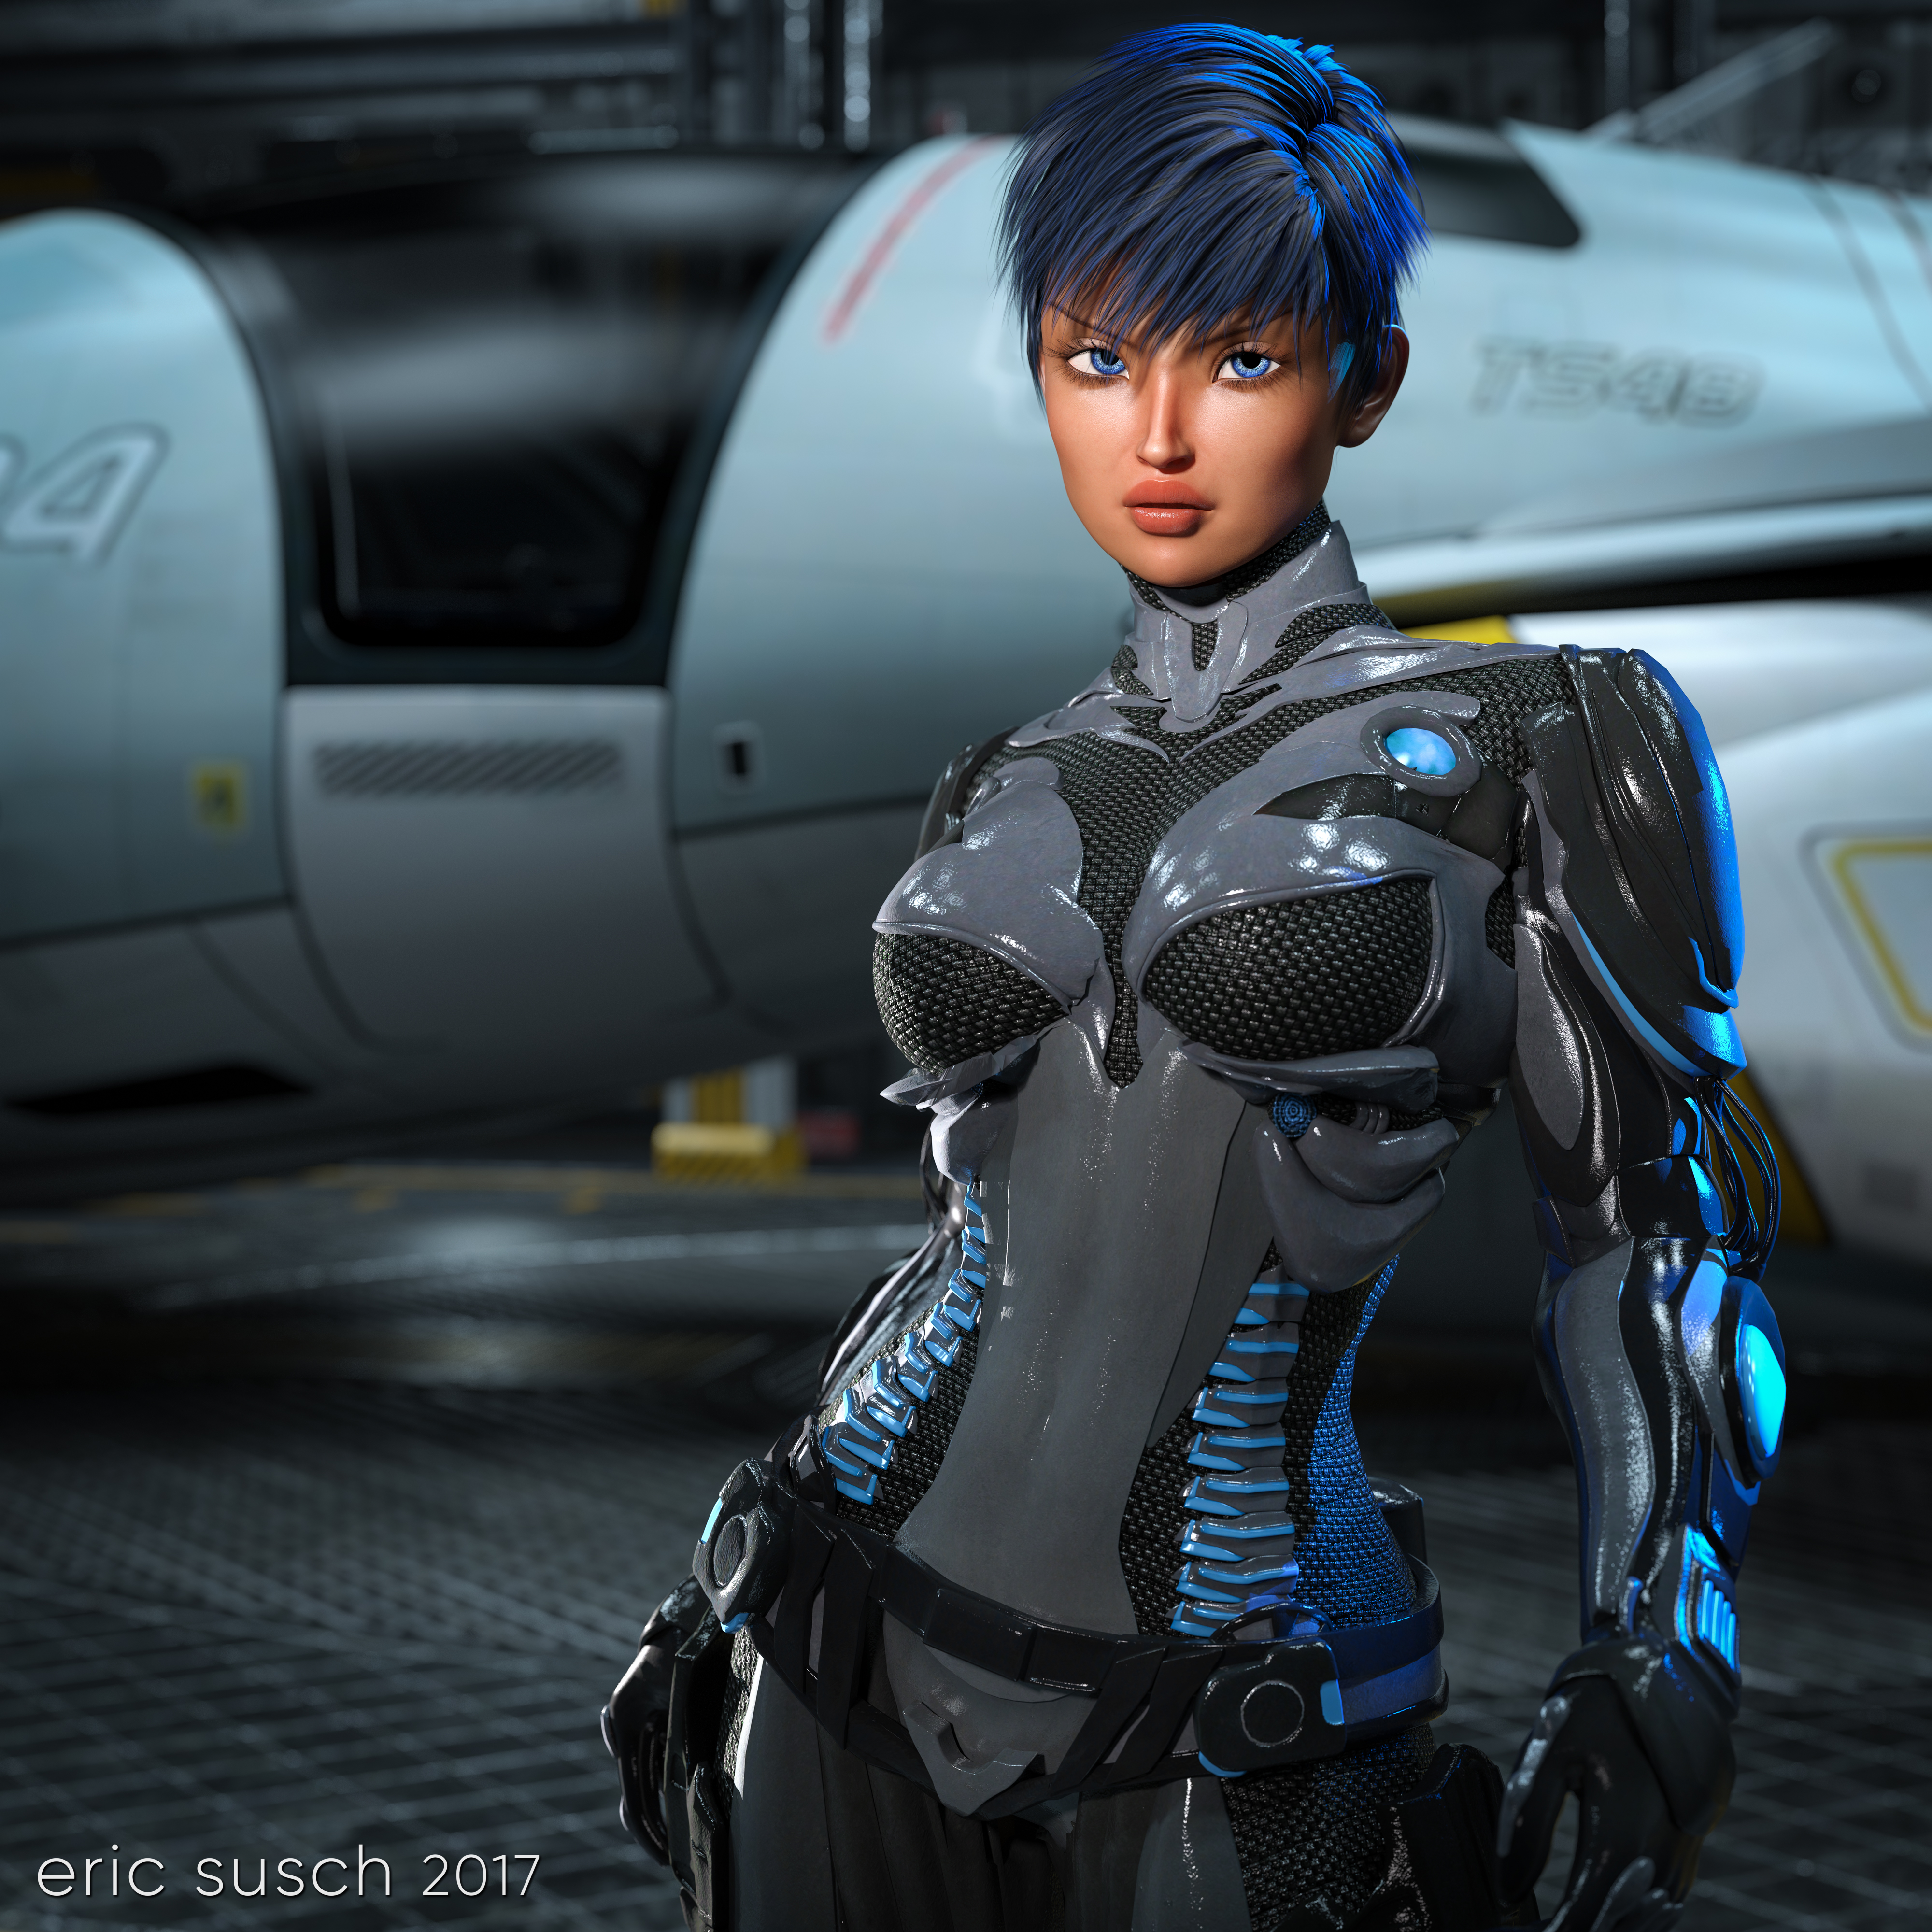 This piece started out as a test for some new models that I purchased but I liked the way it looked so I finished it into something a bit more than a test. Unfortunately it ended up as a character just standing there, which I try to avoid. I like more of a story, more action, but this is what it is. I do like the curve of the ship in the background. I suppose that’s something.
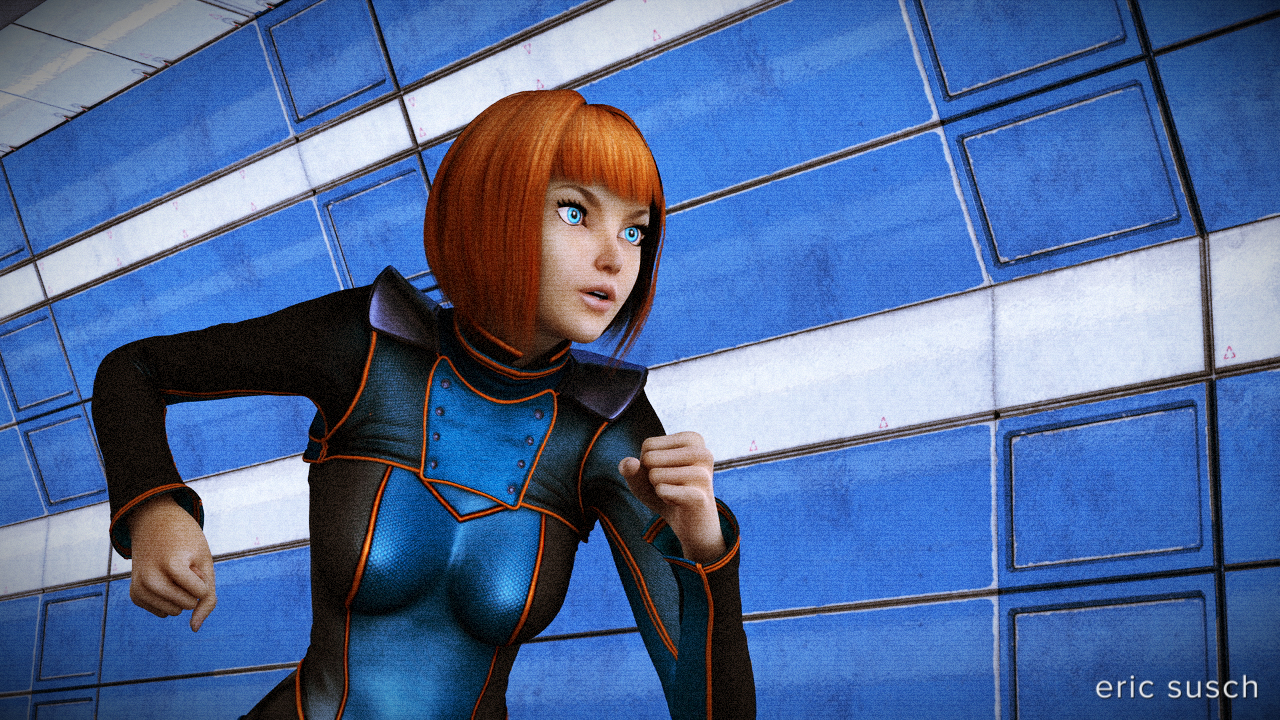
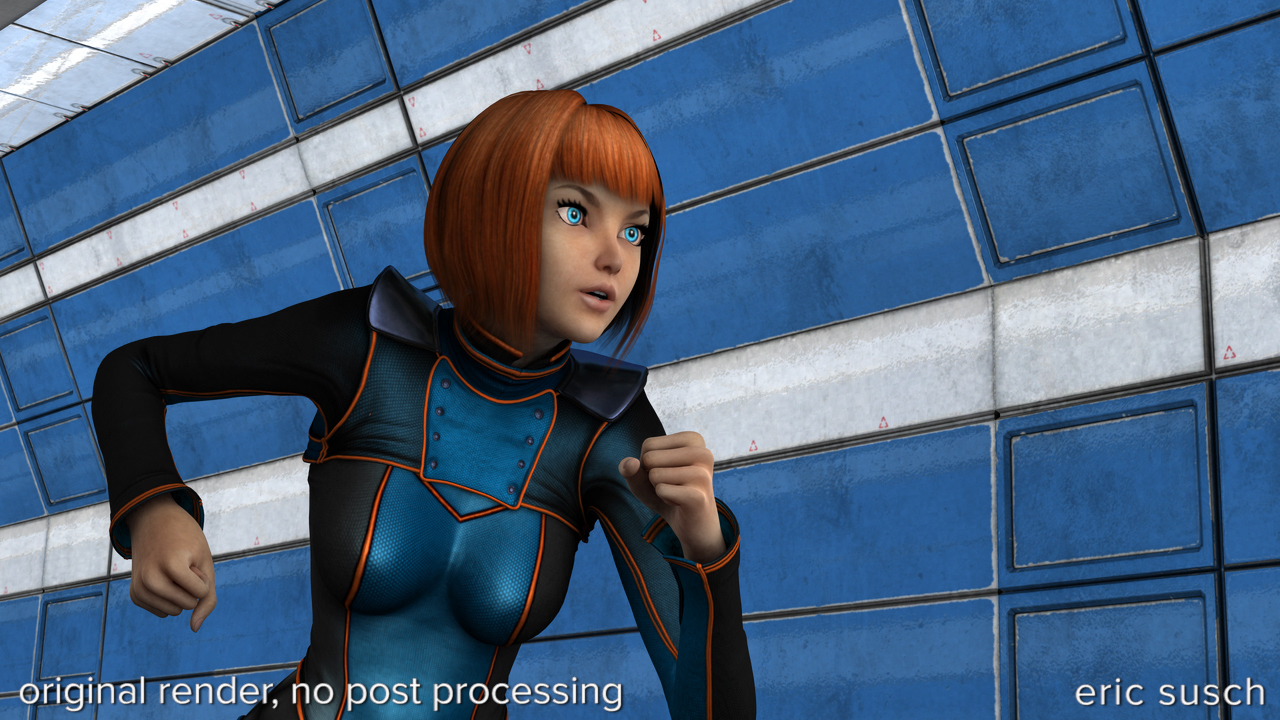
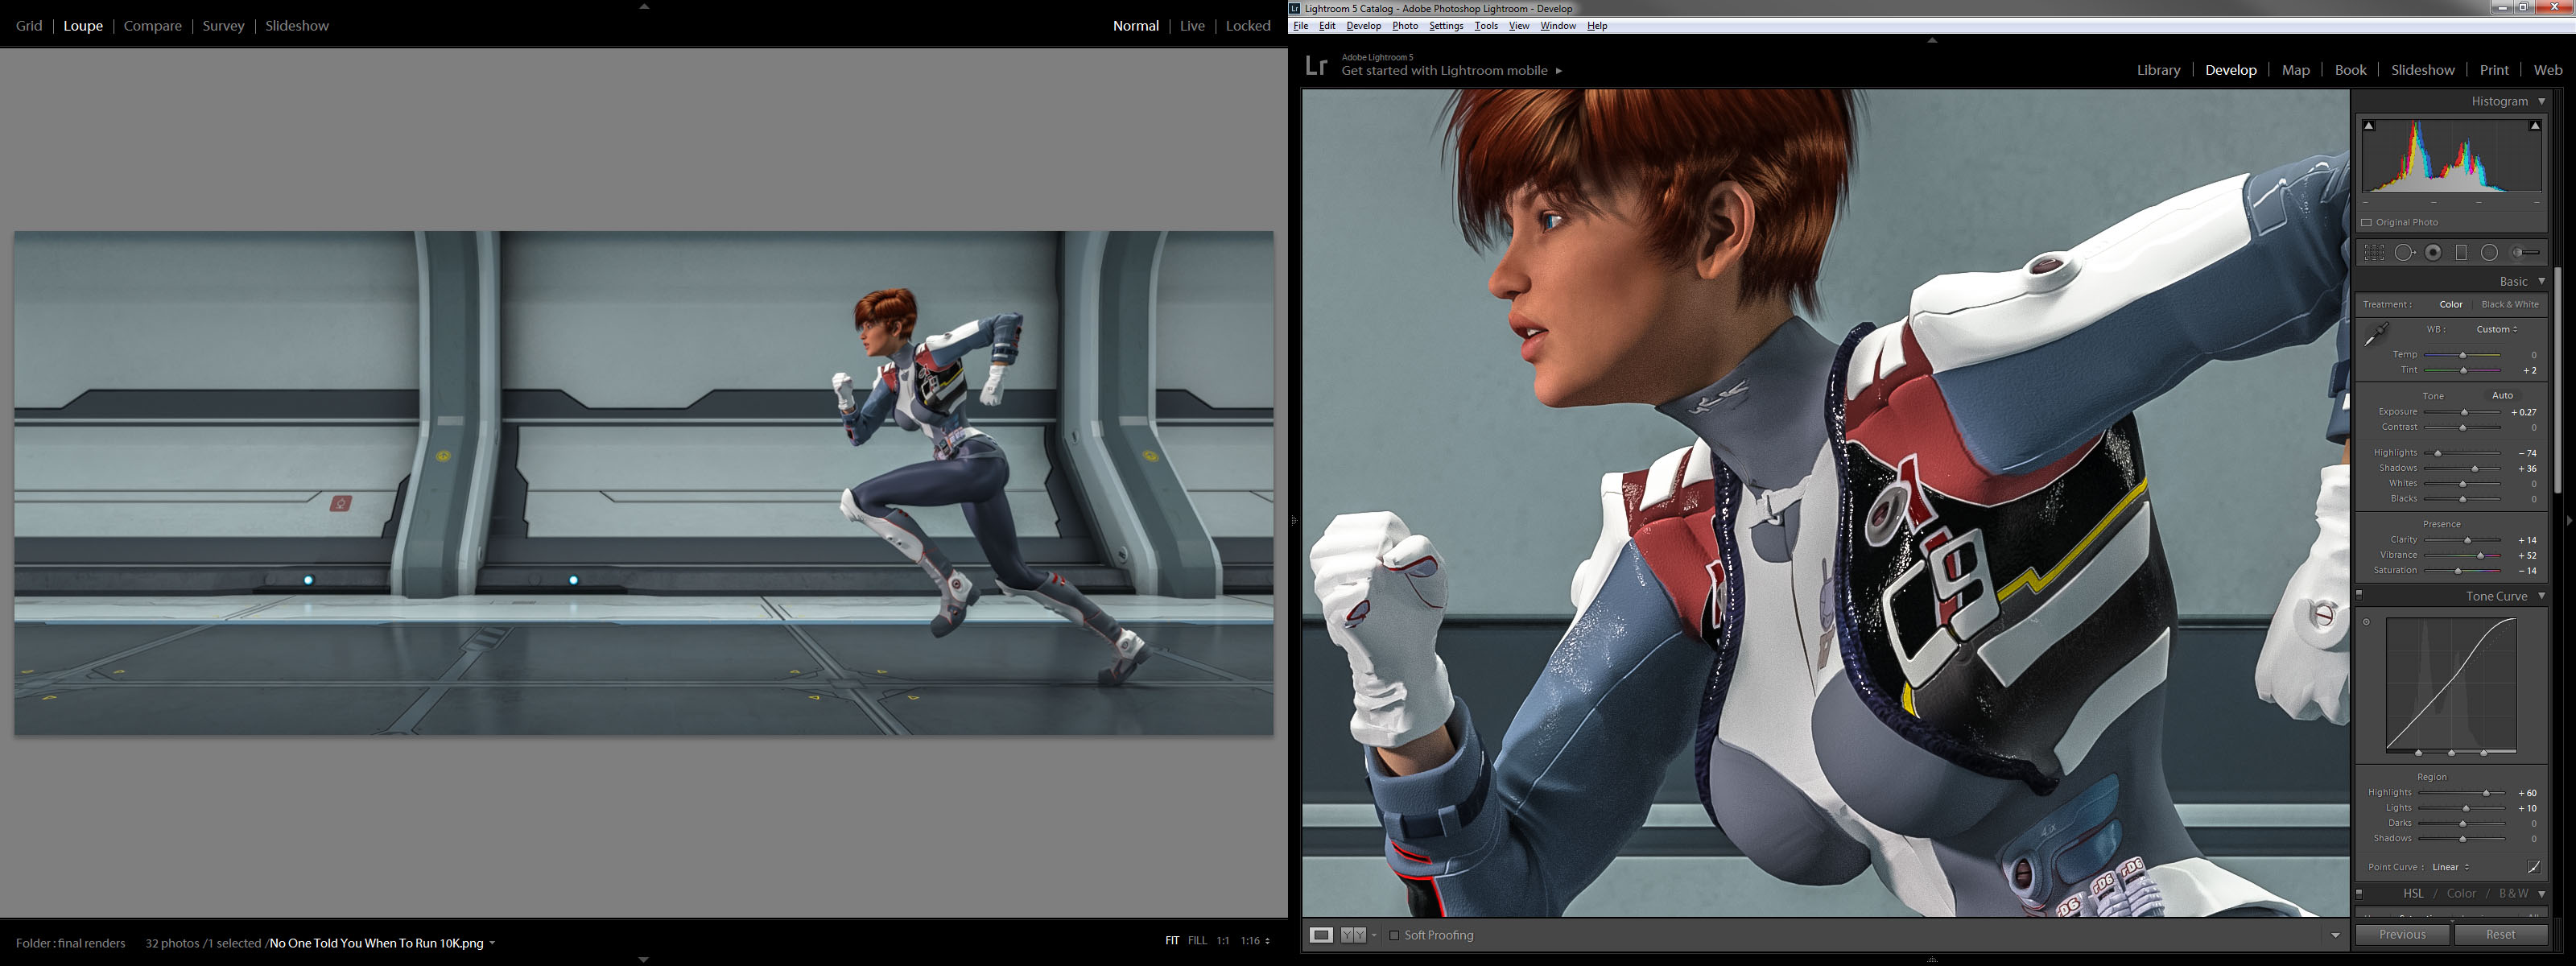
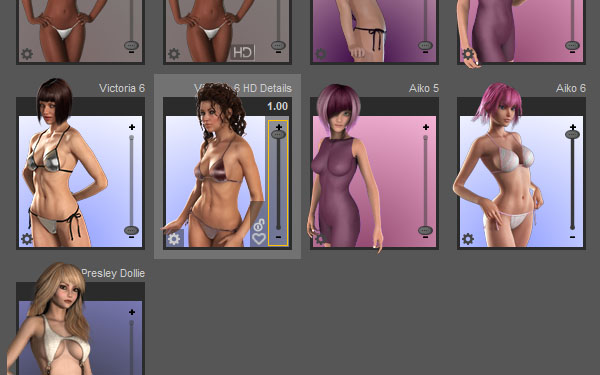
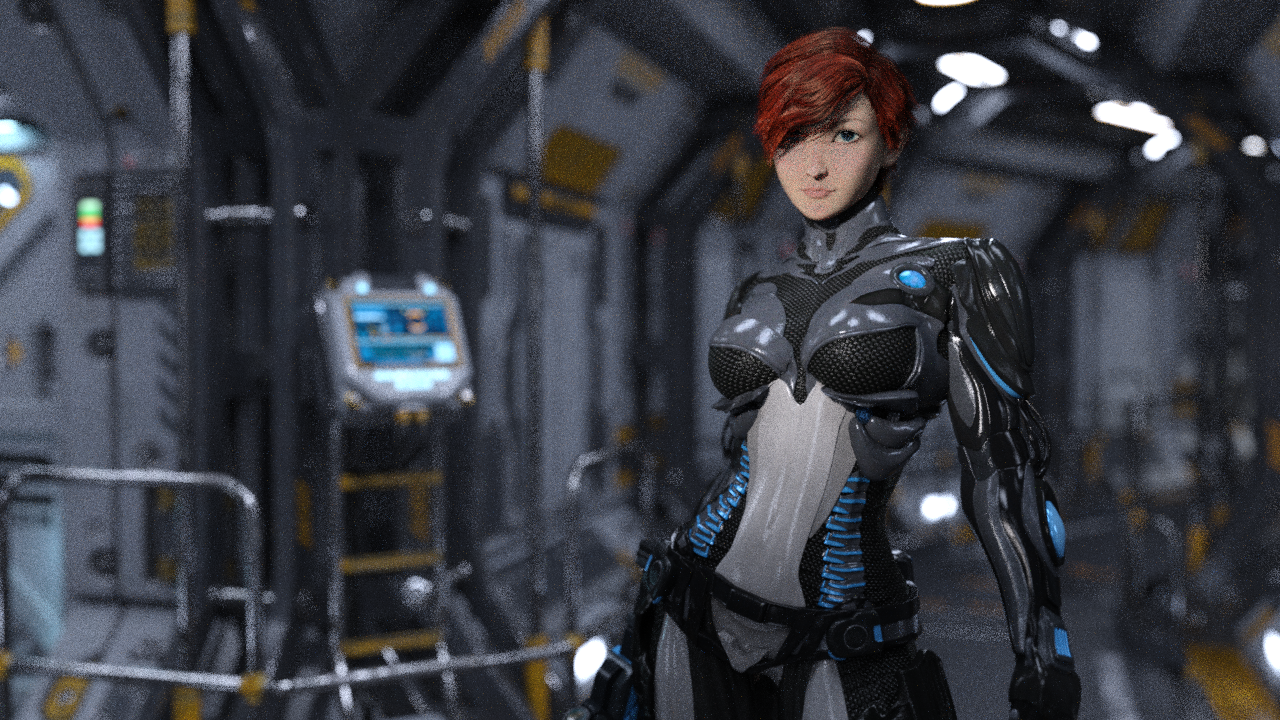 This is an early version with different hair and environment. You can also see that the stomach panal on the suit is a lighter color. In the final composition I thought it distracted from the face so I darkened the texture map so that it was closer to the rest of the suit.
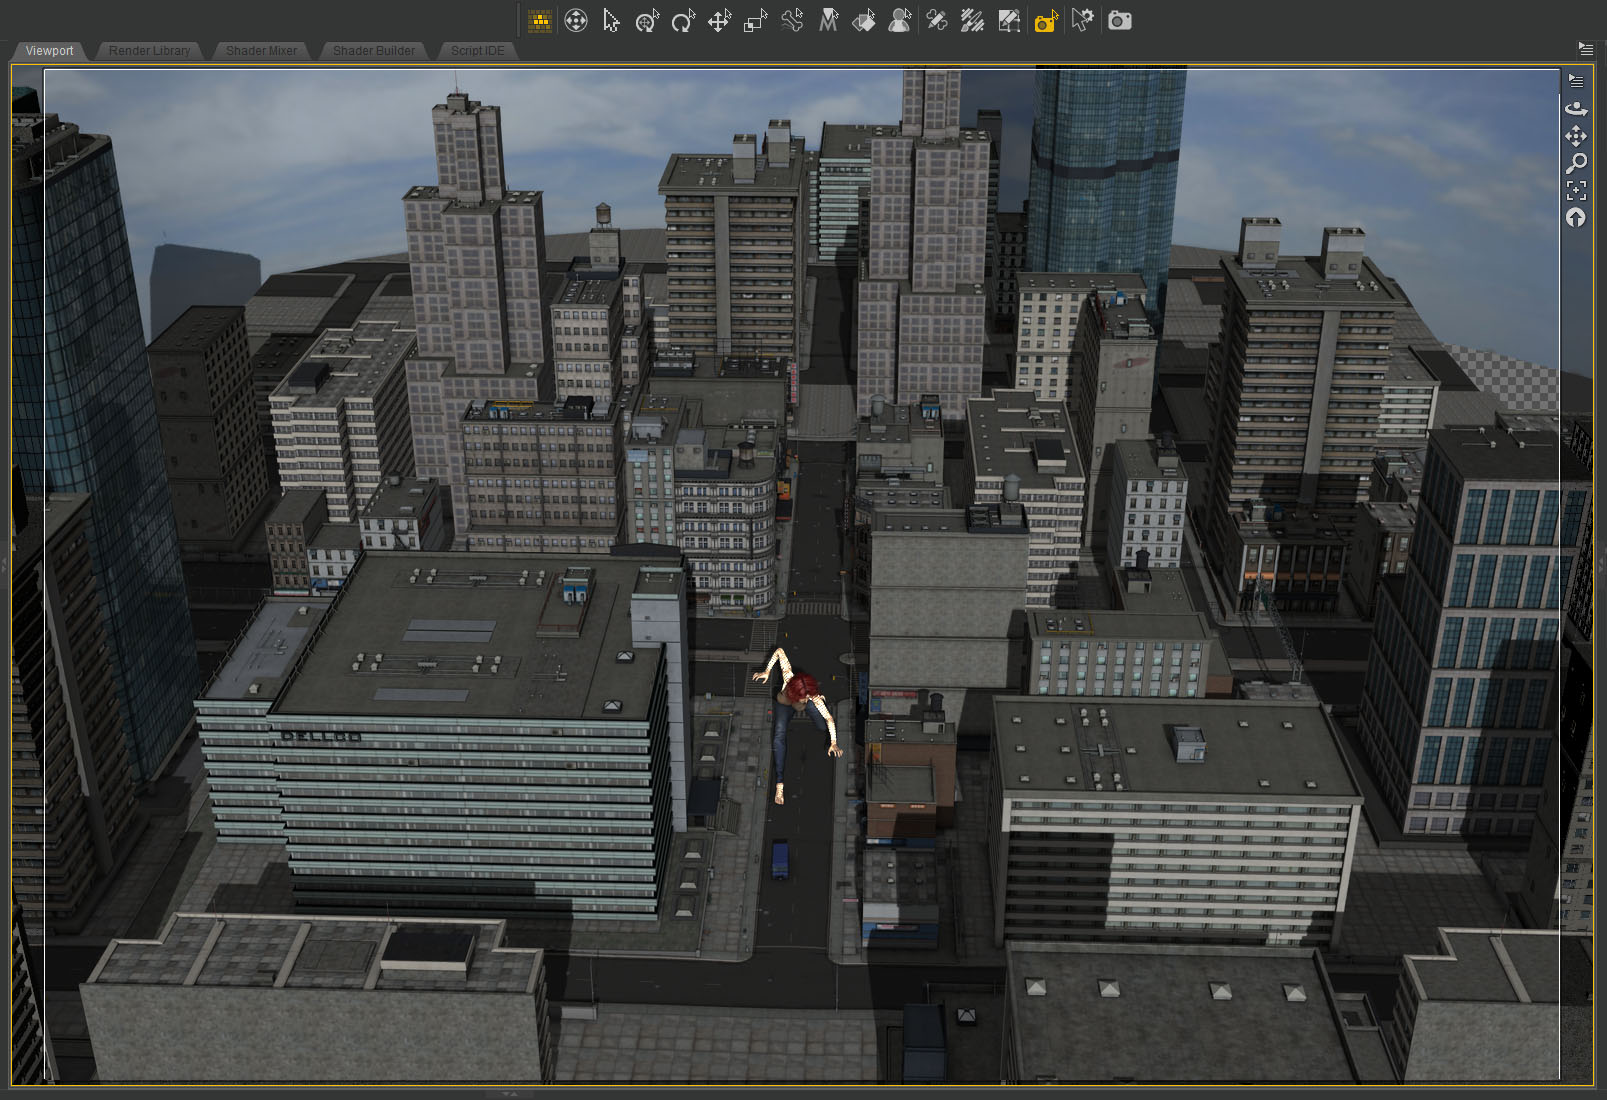
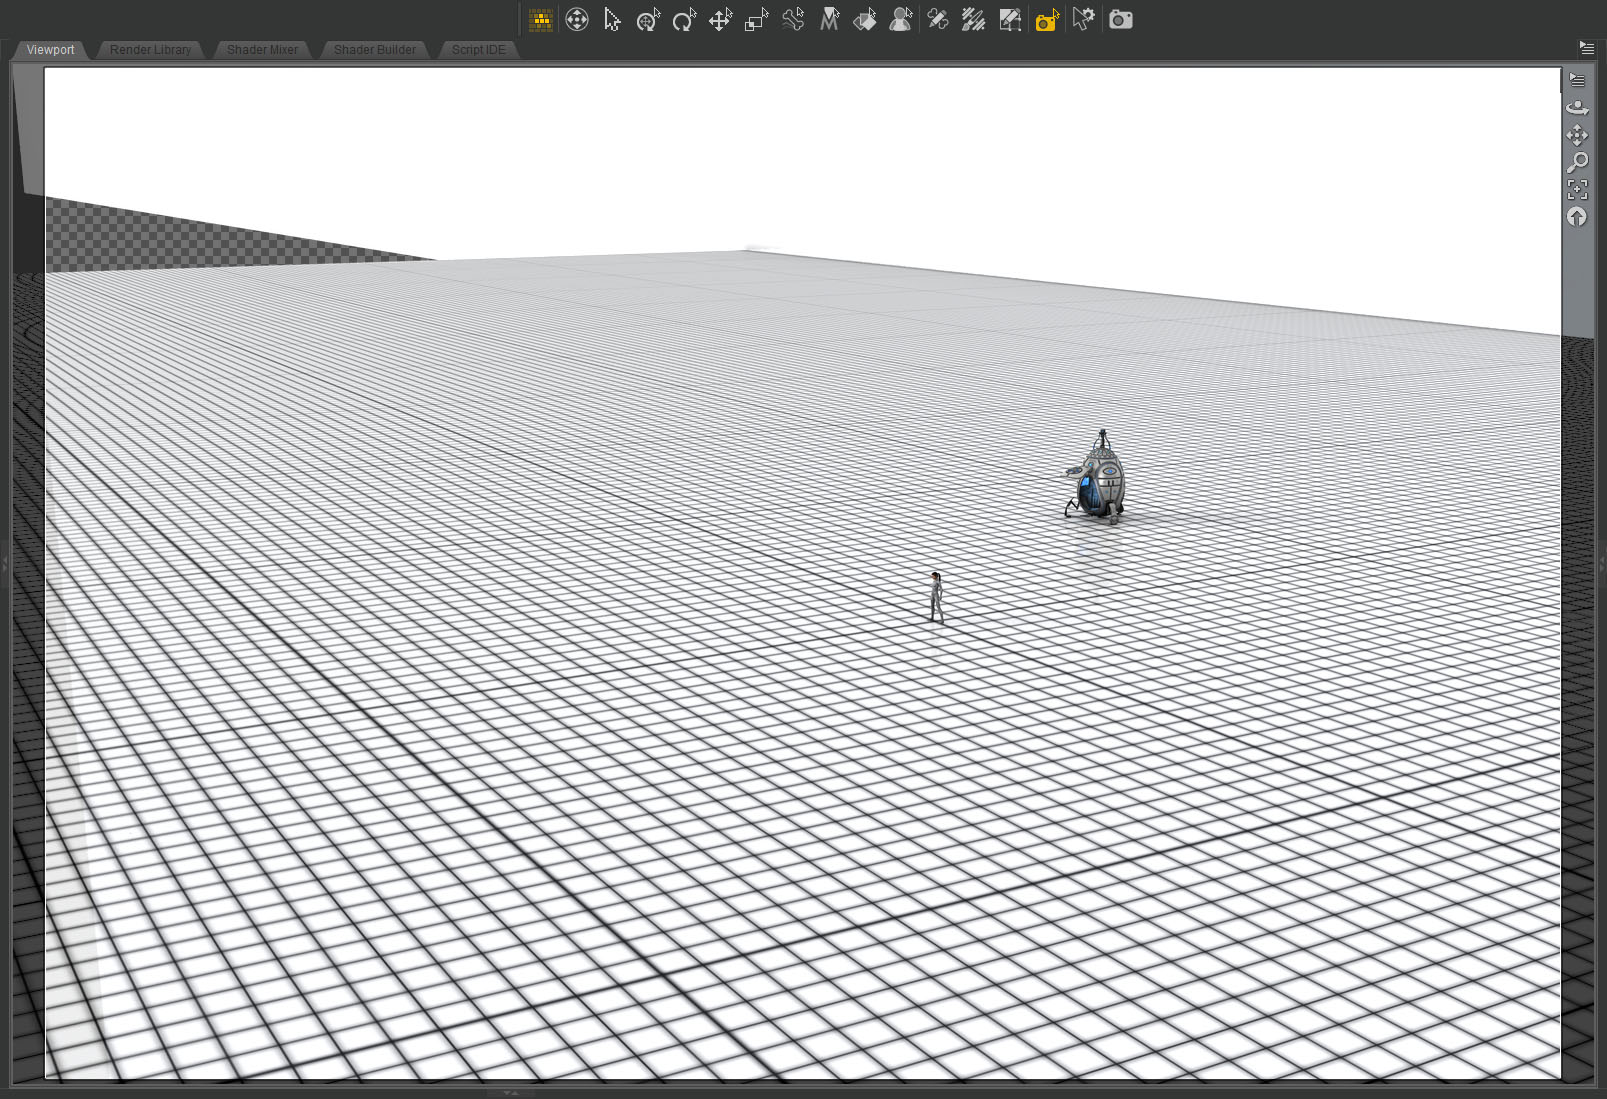
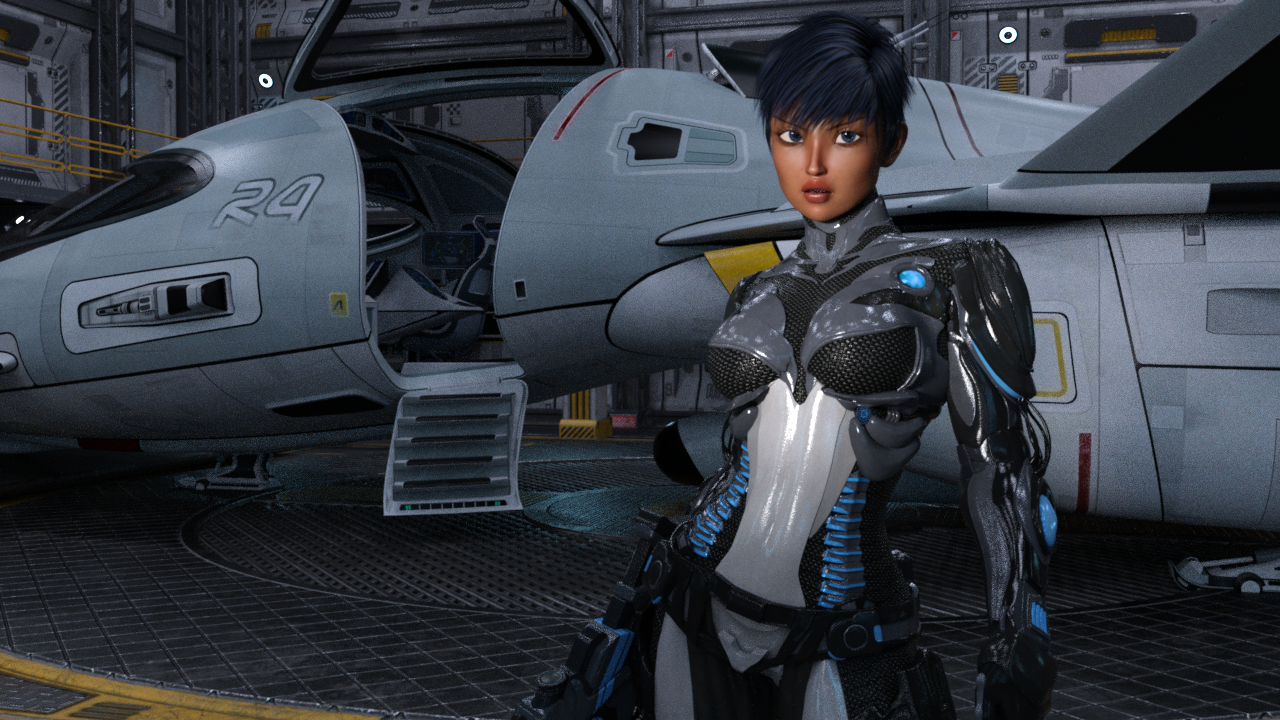 I eventually decided she was a pilot so I put her in a hanger bay with a shuttle. I spent a tremendous amount of time going back and forth deciding if the shuttle doors should be open or closed. I even thought of putting another character inside the ship at one point but I wasn’t able to made that work.
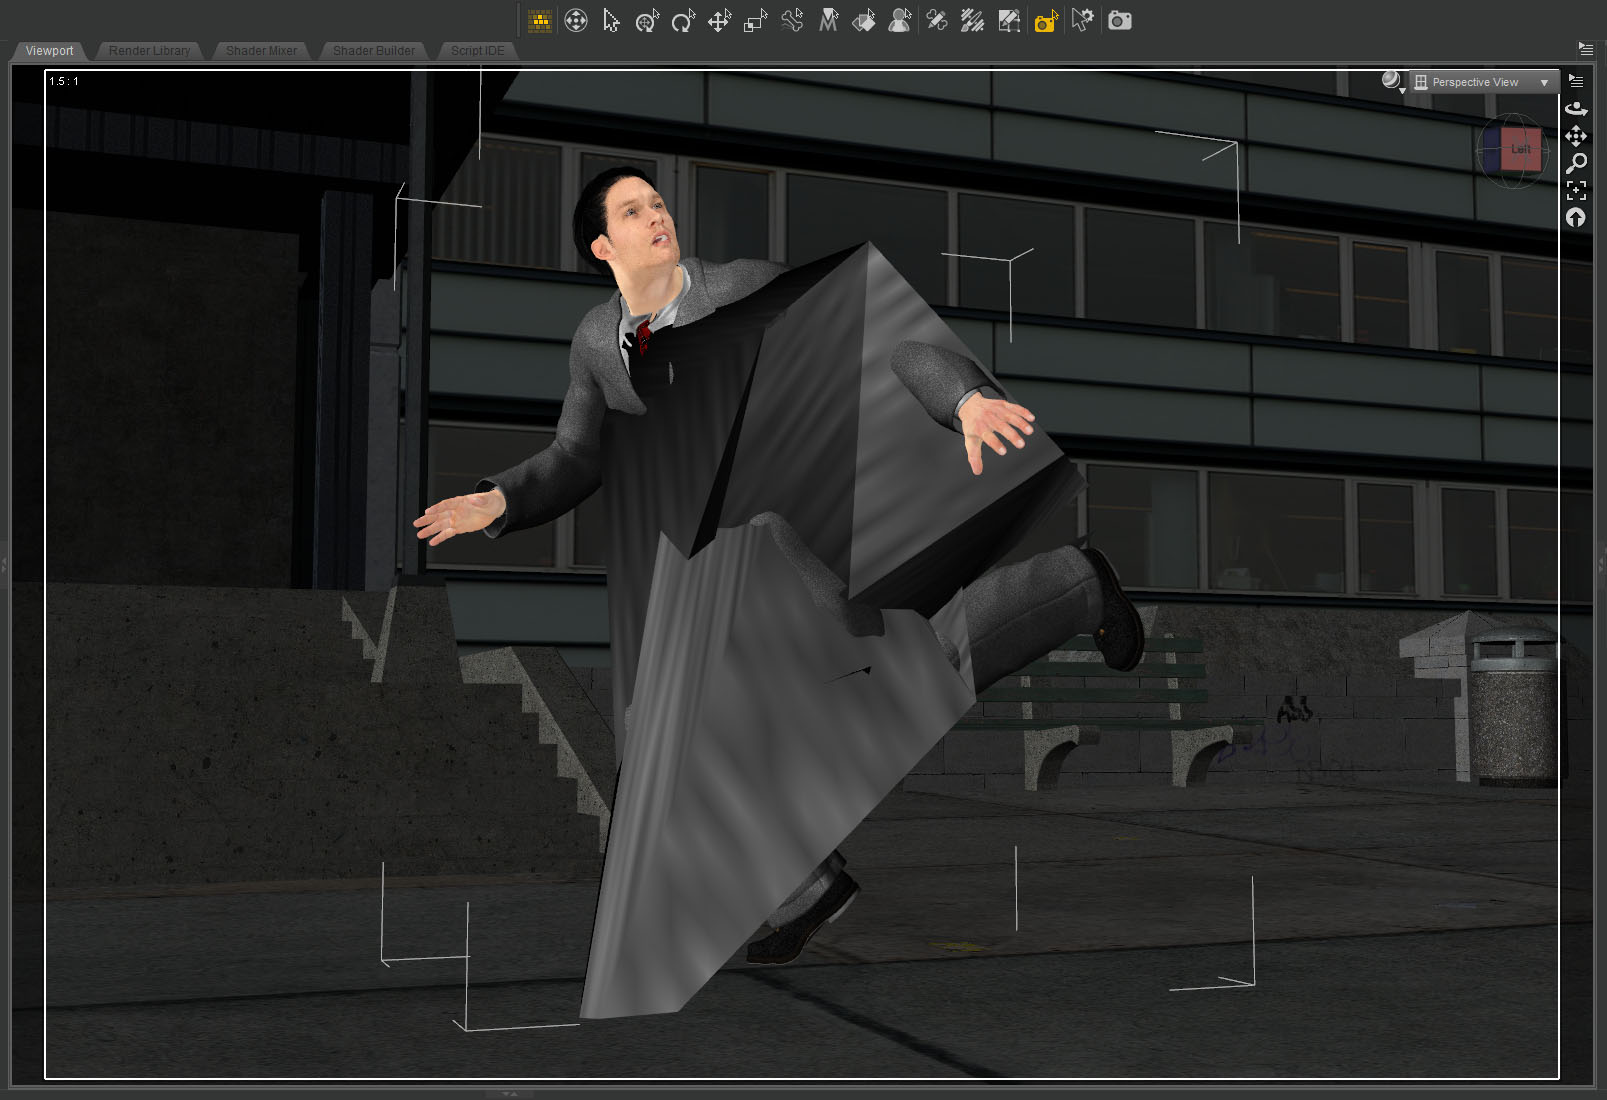
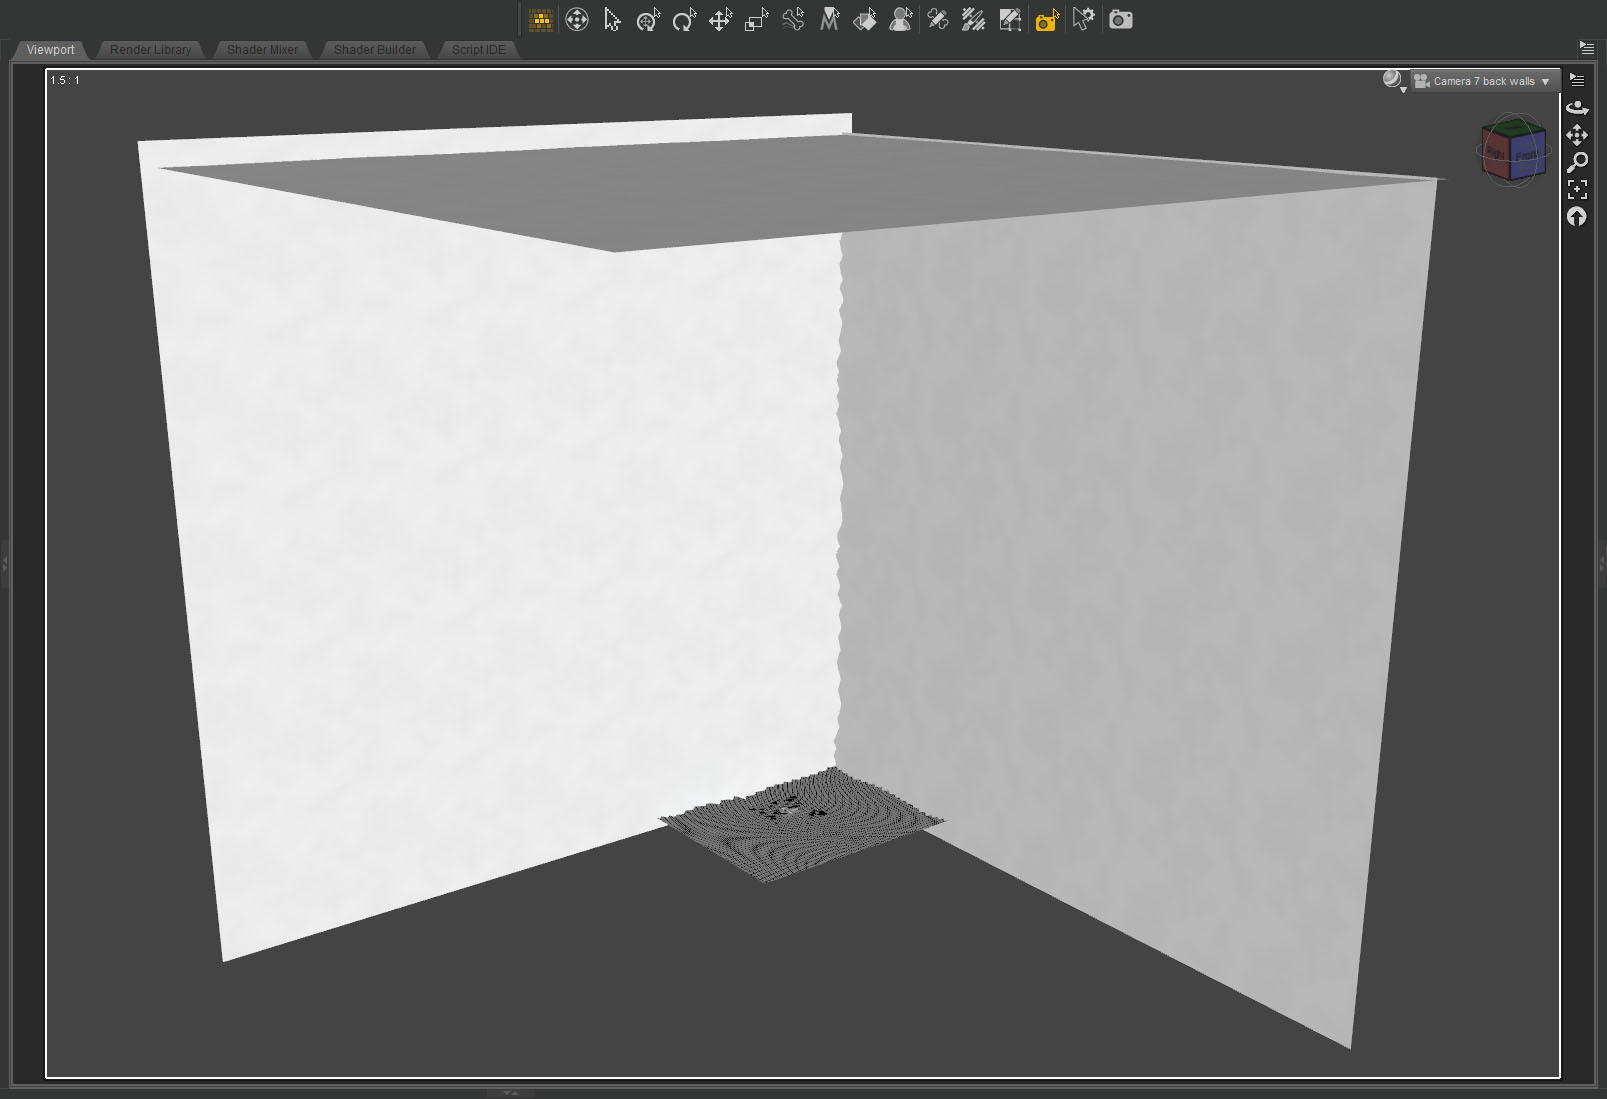
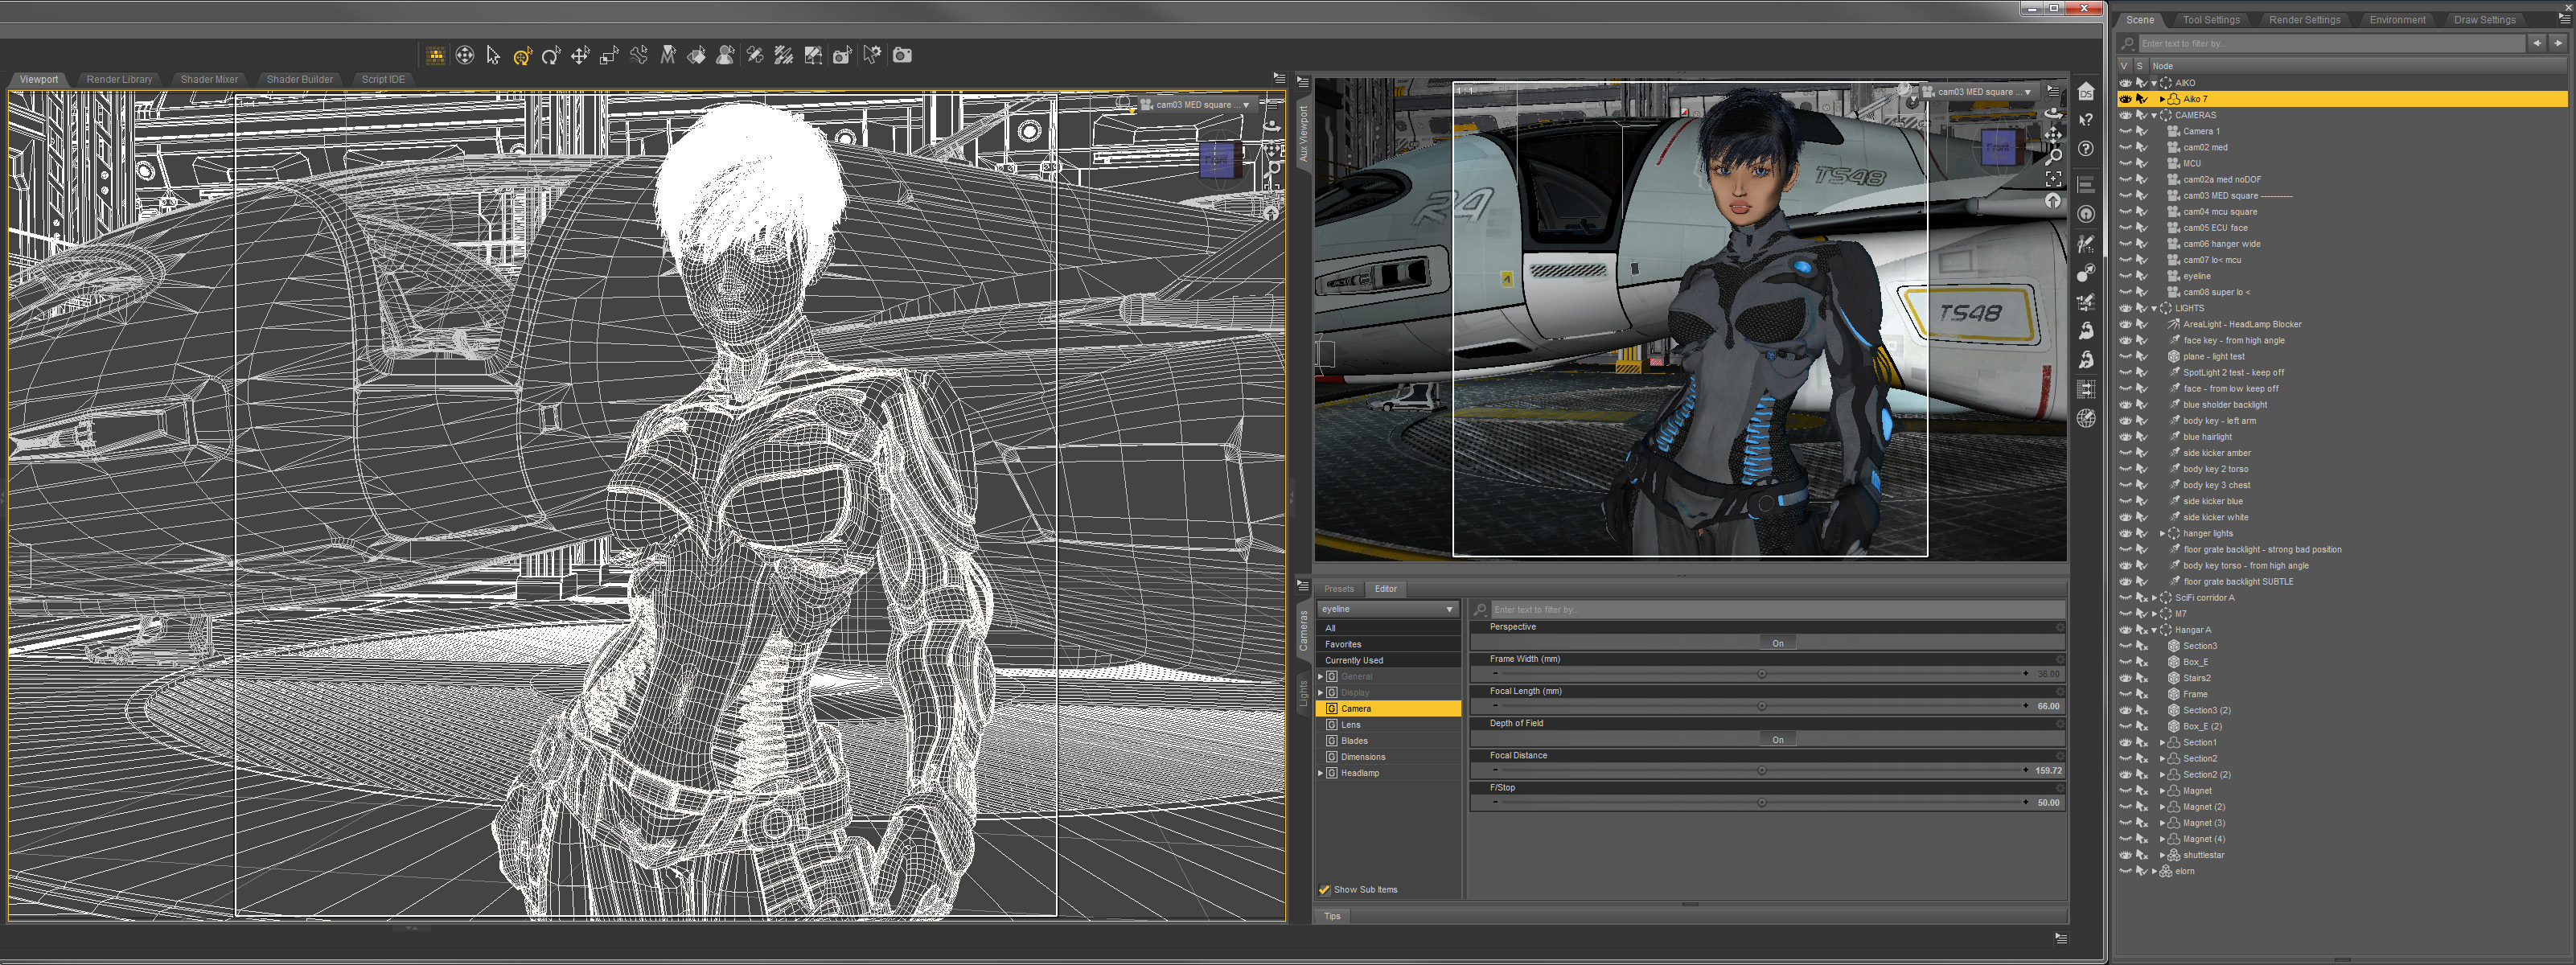 I don’t have much to say about this wire frame screen shot other than it looks cool!
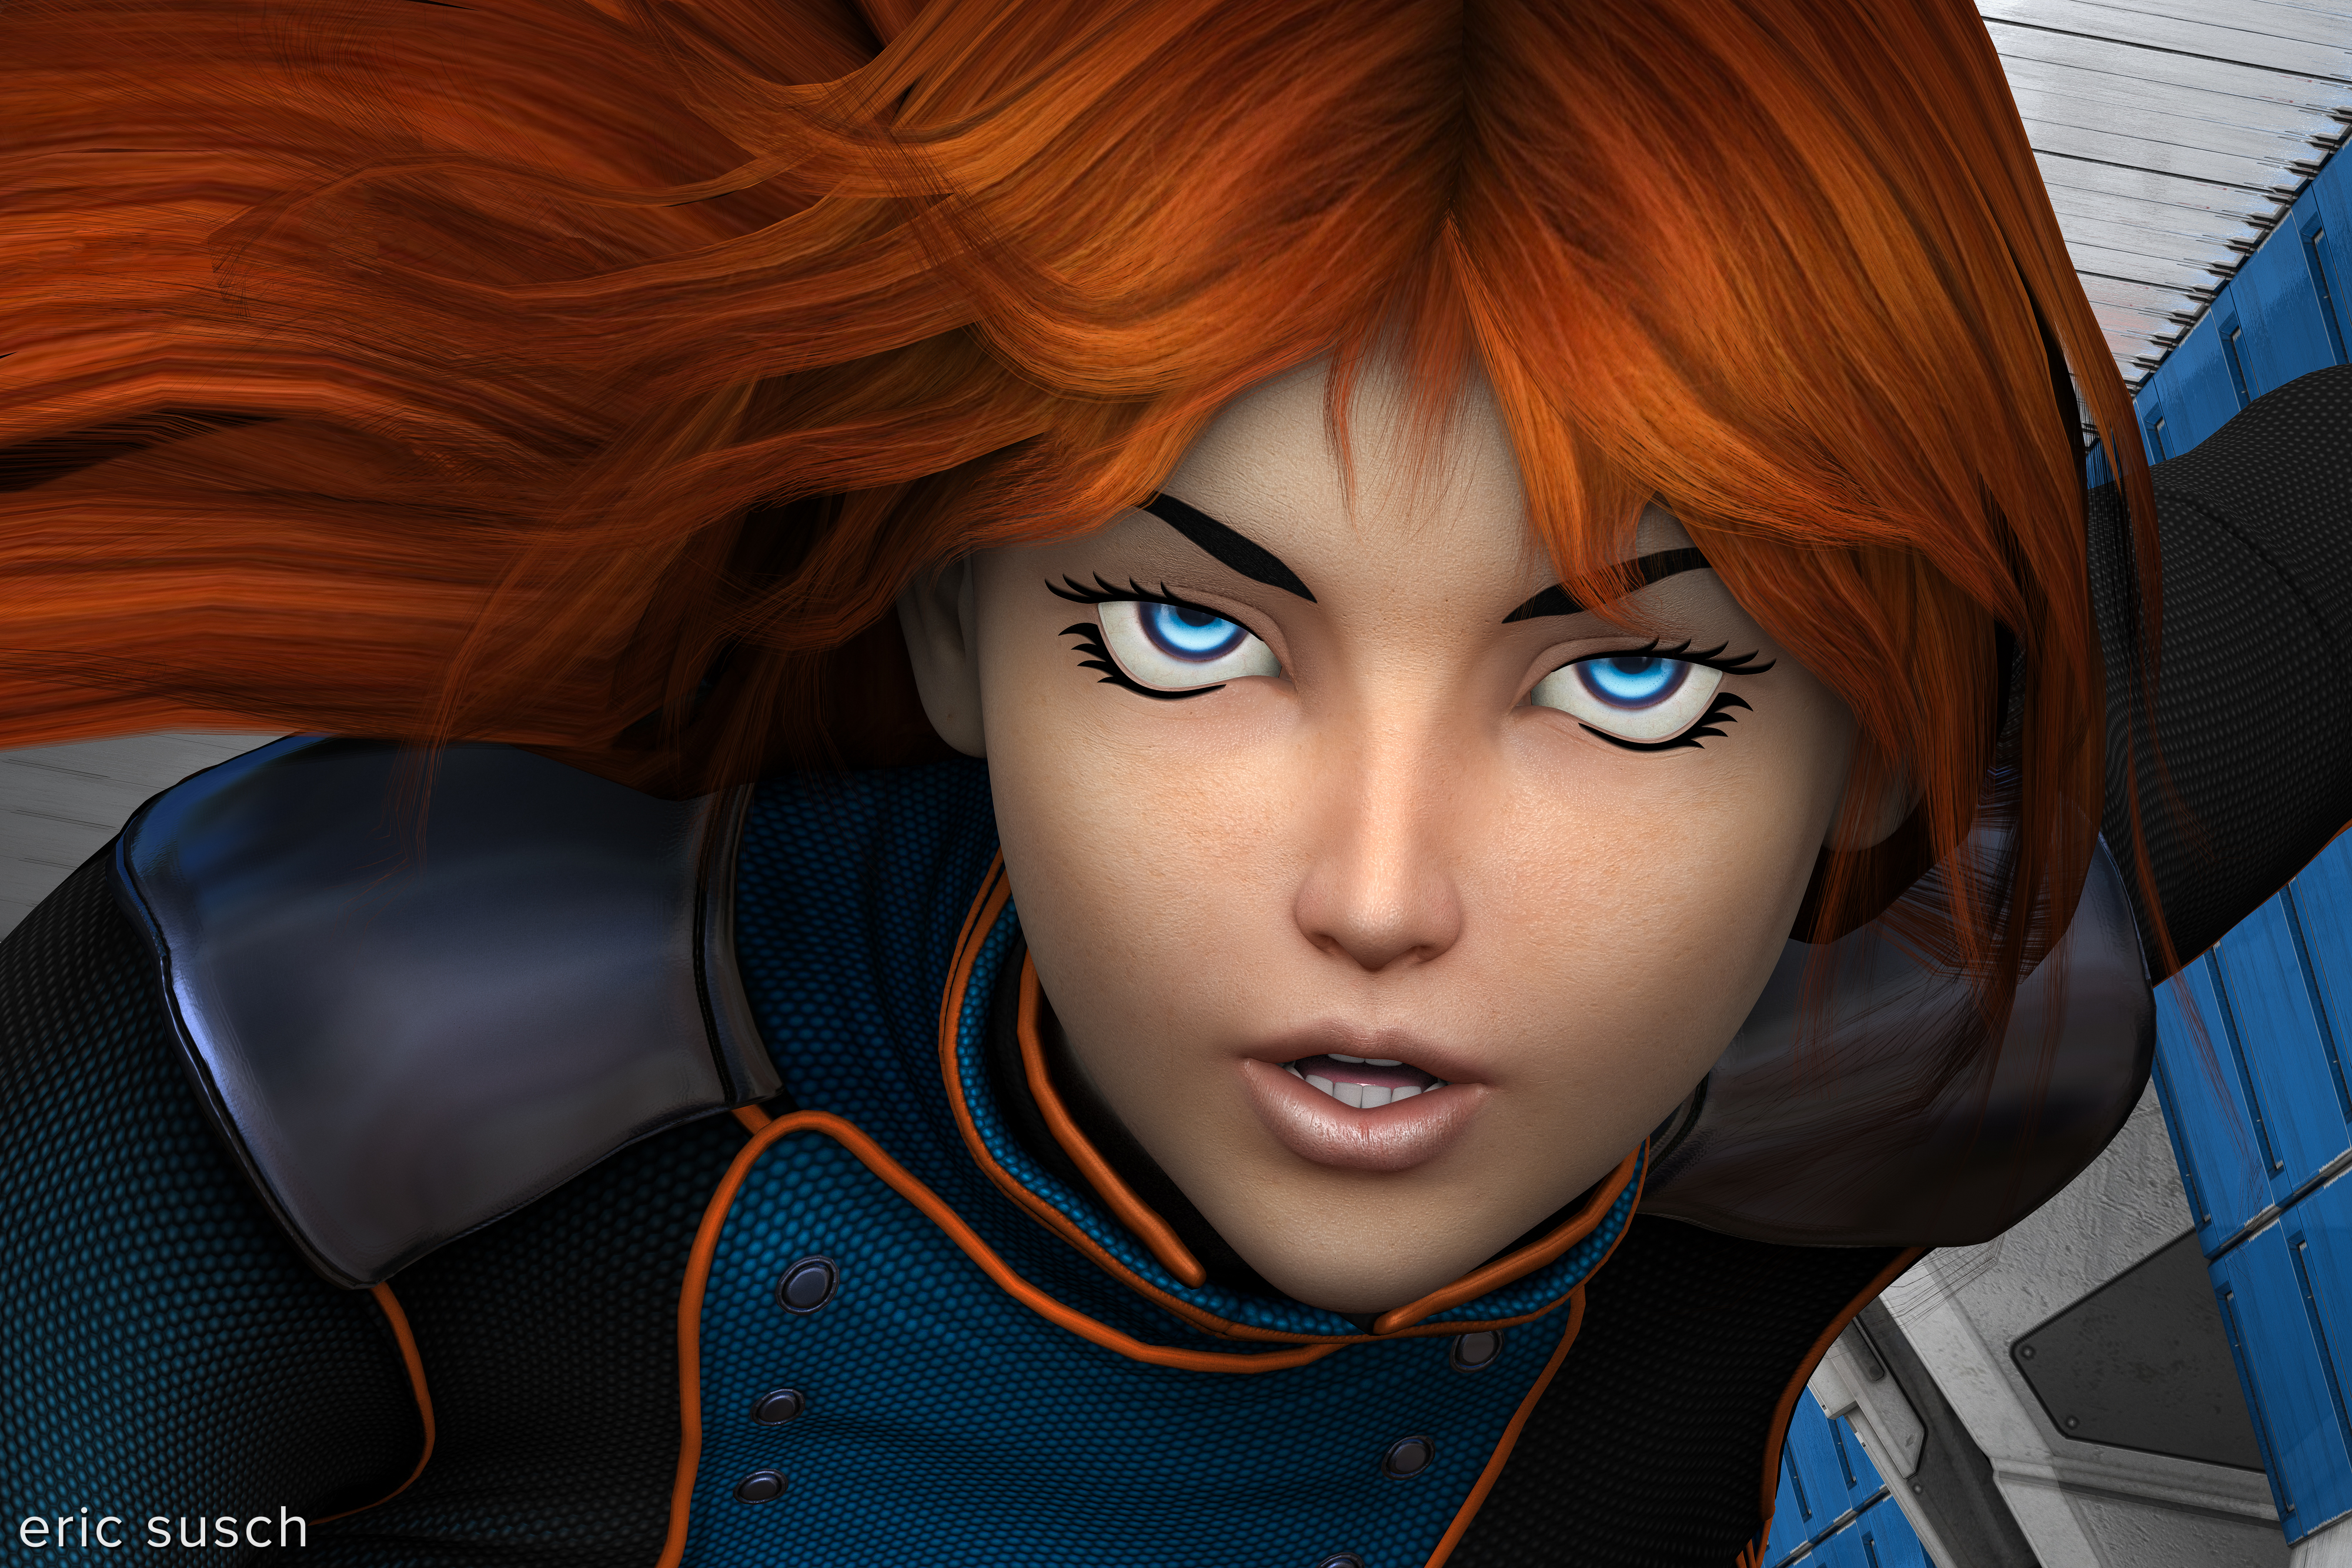
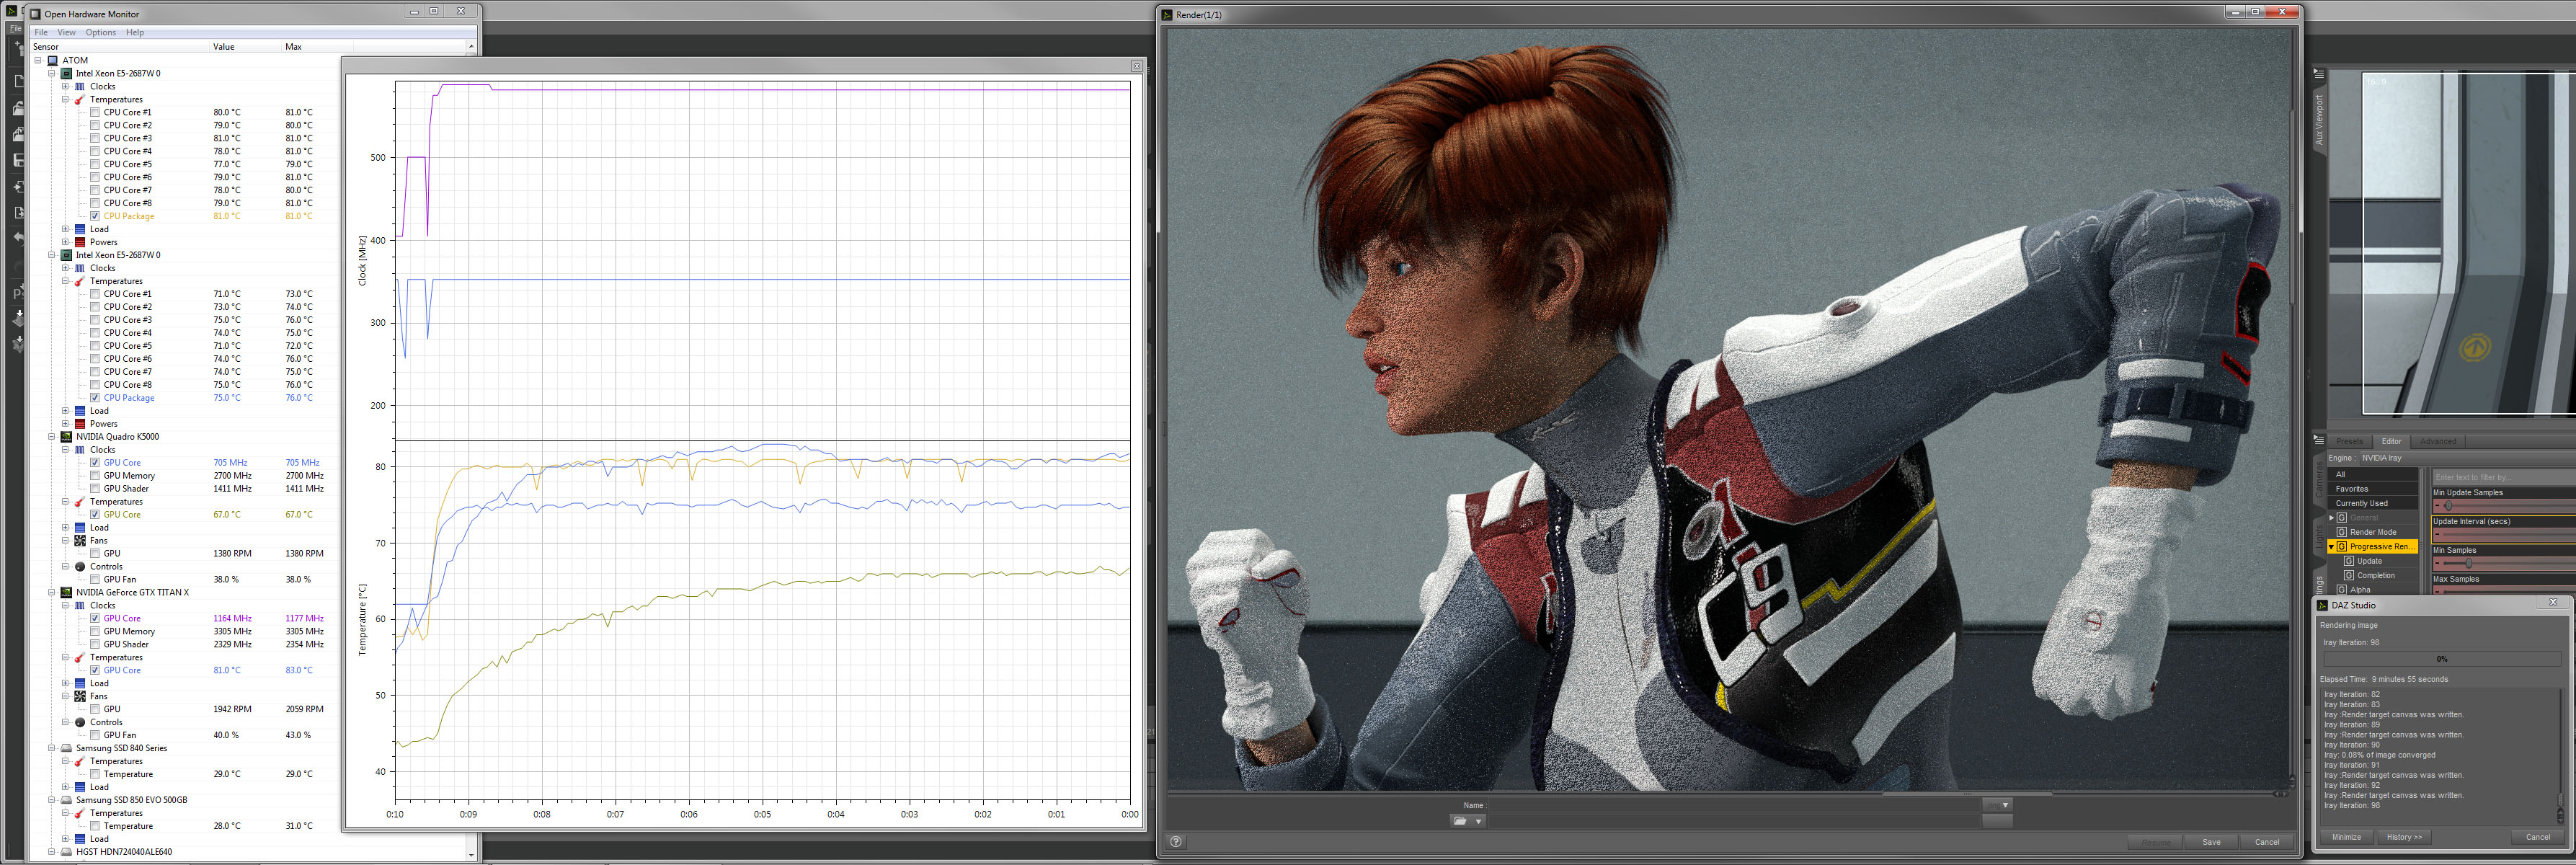
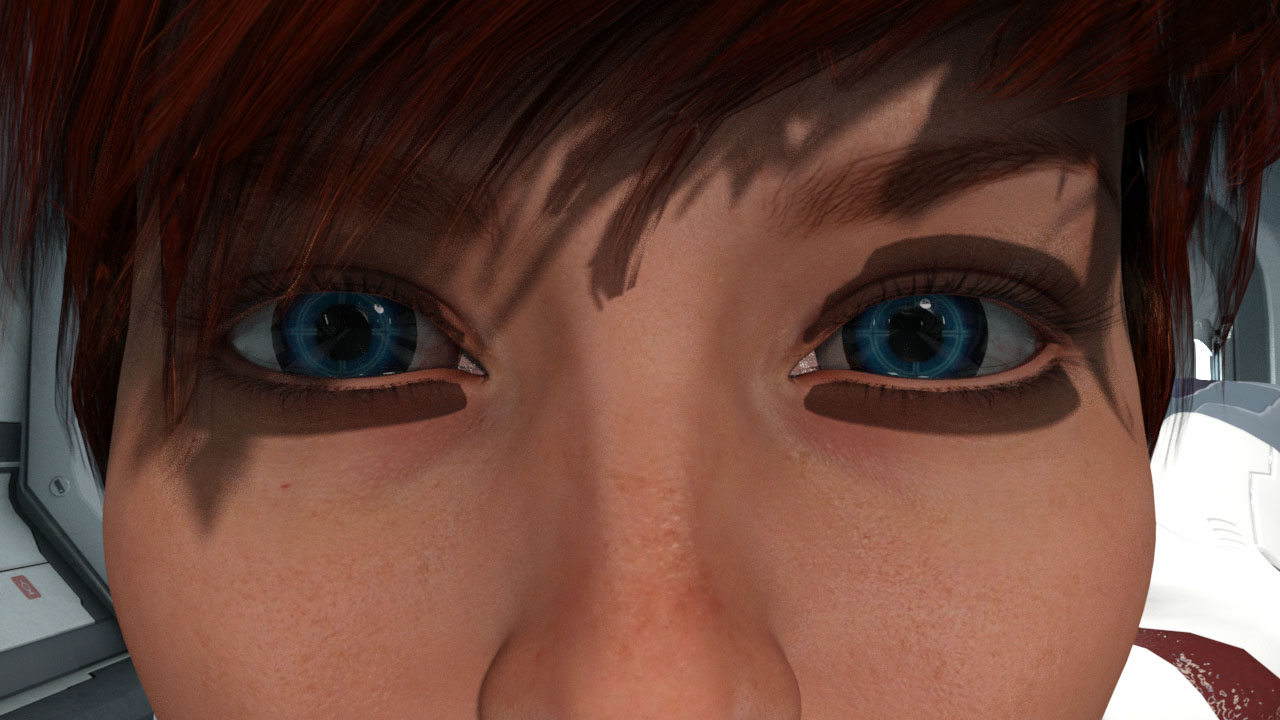
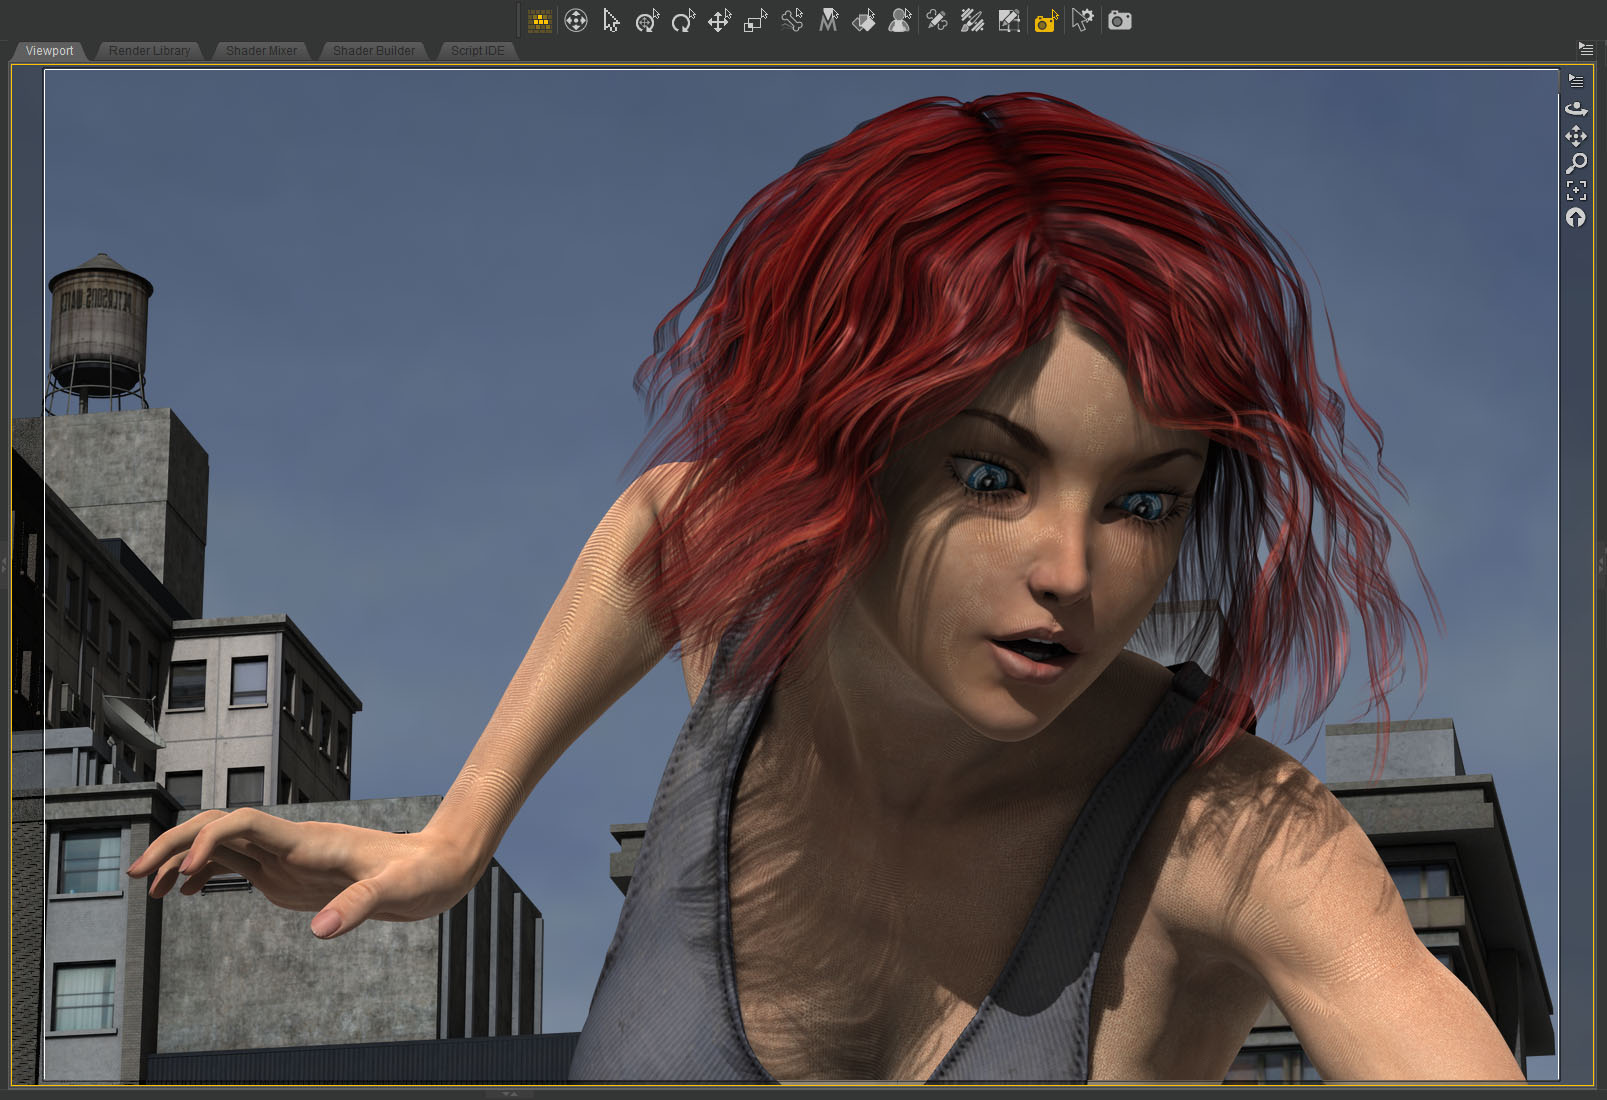
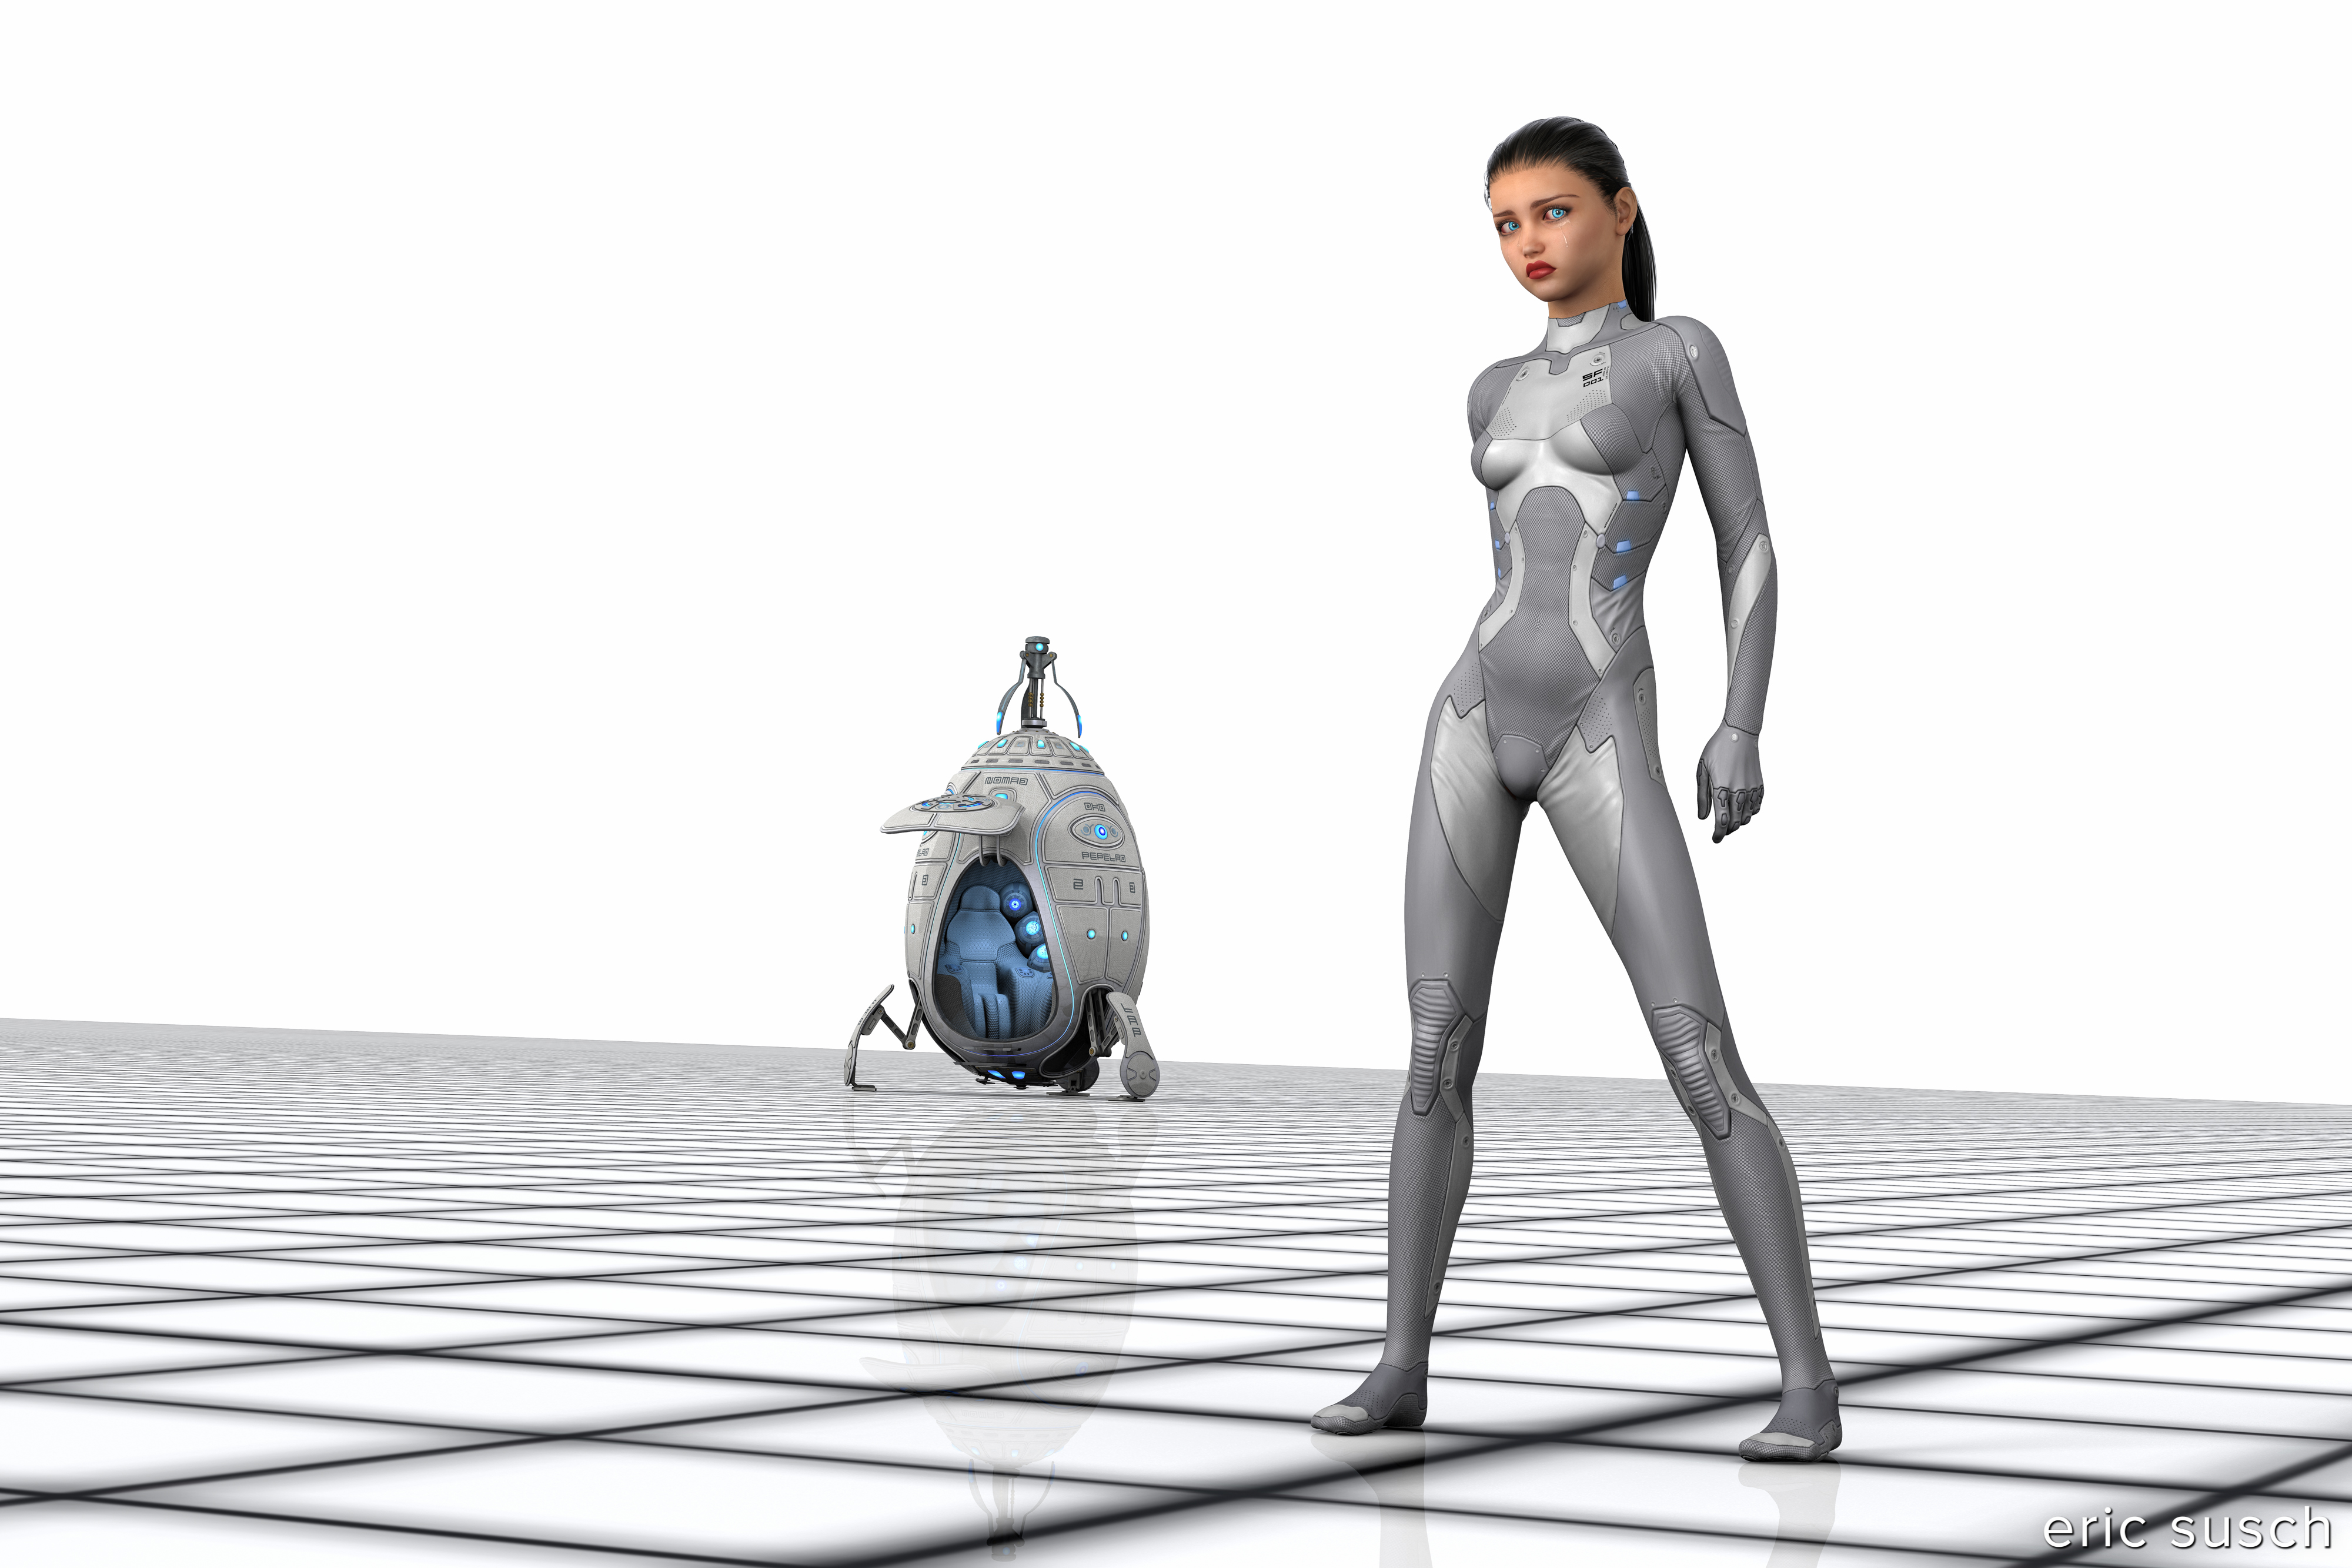
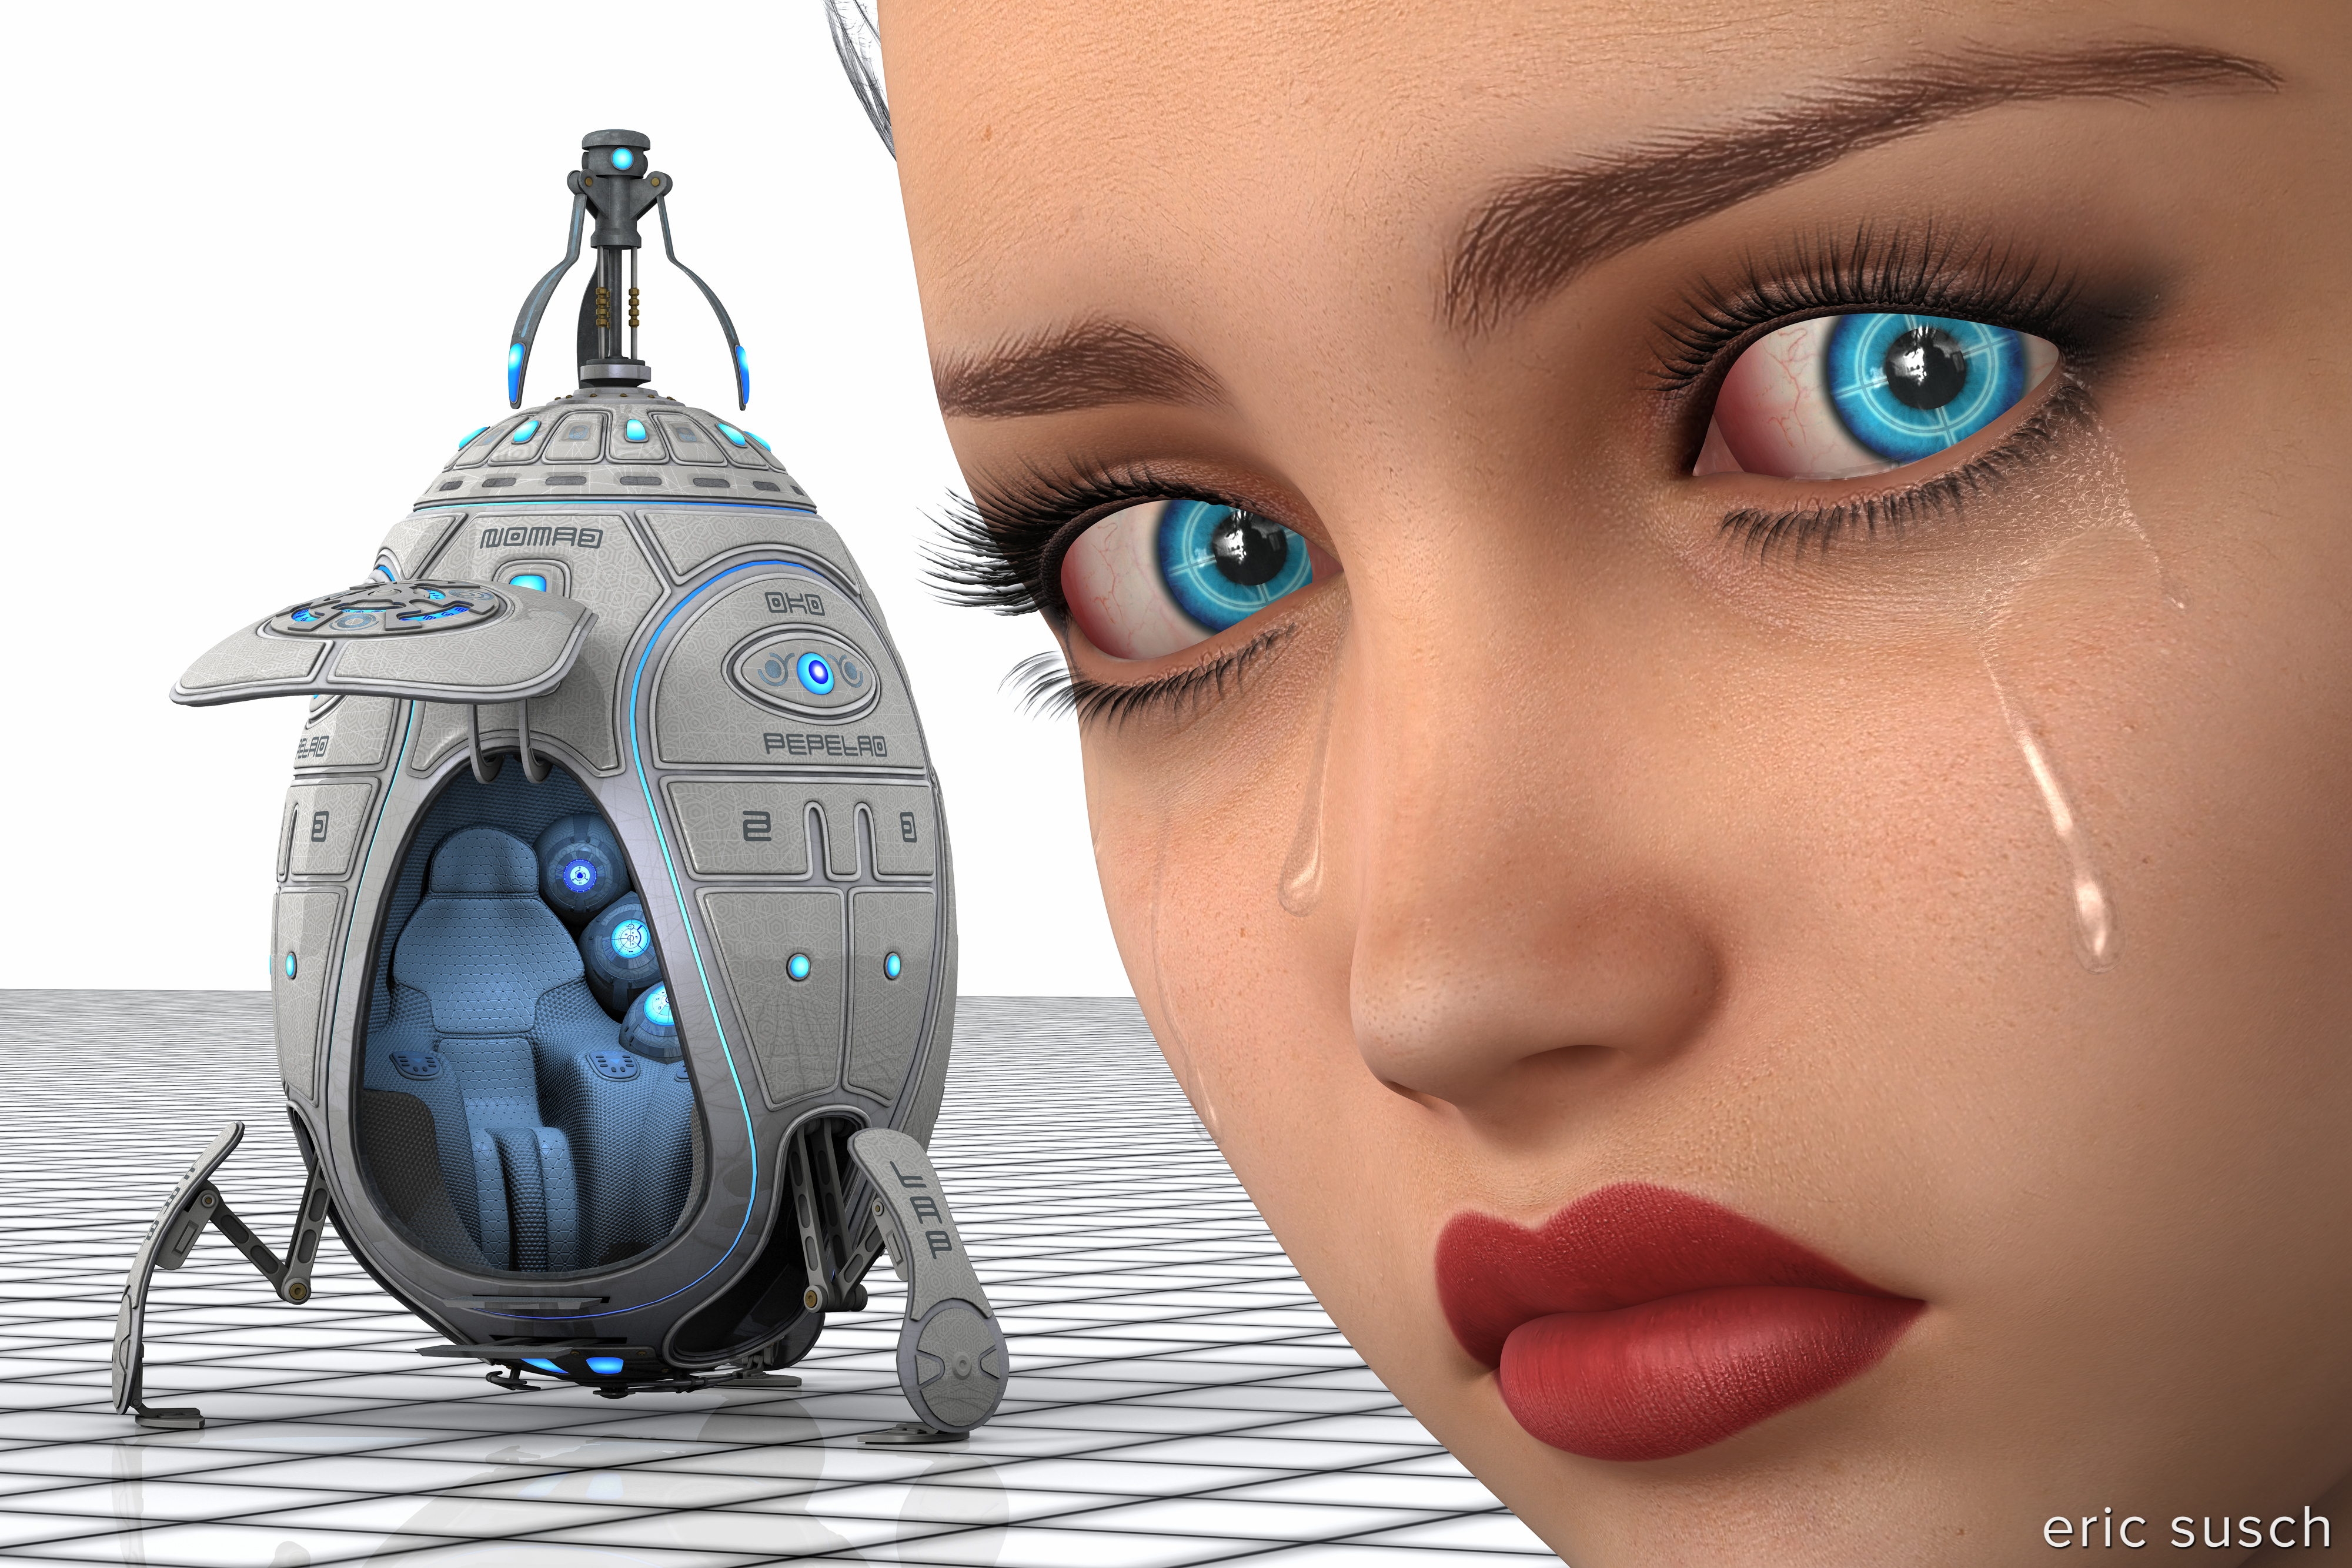
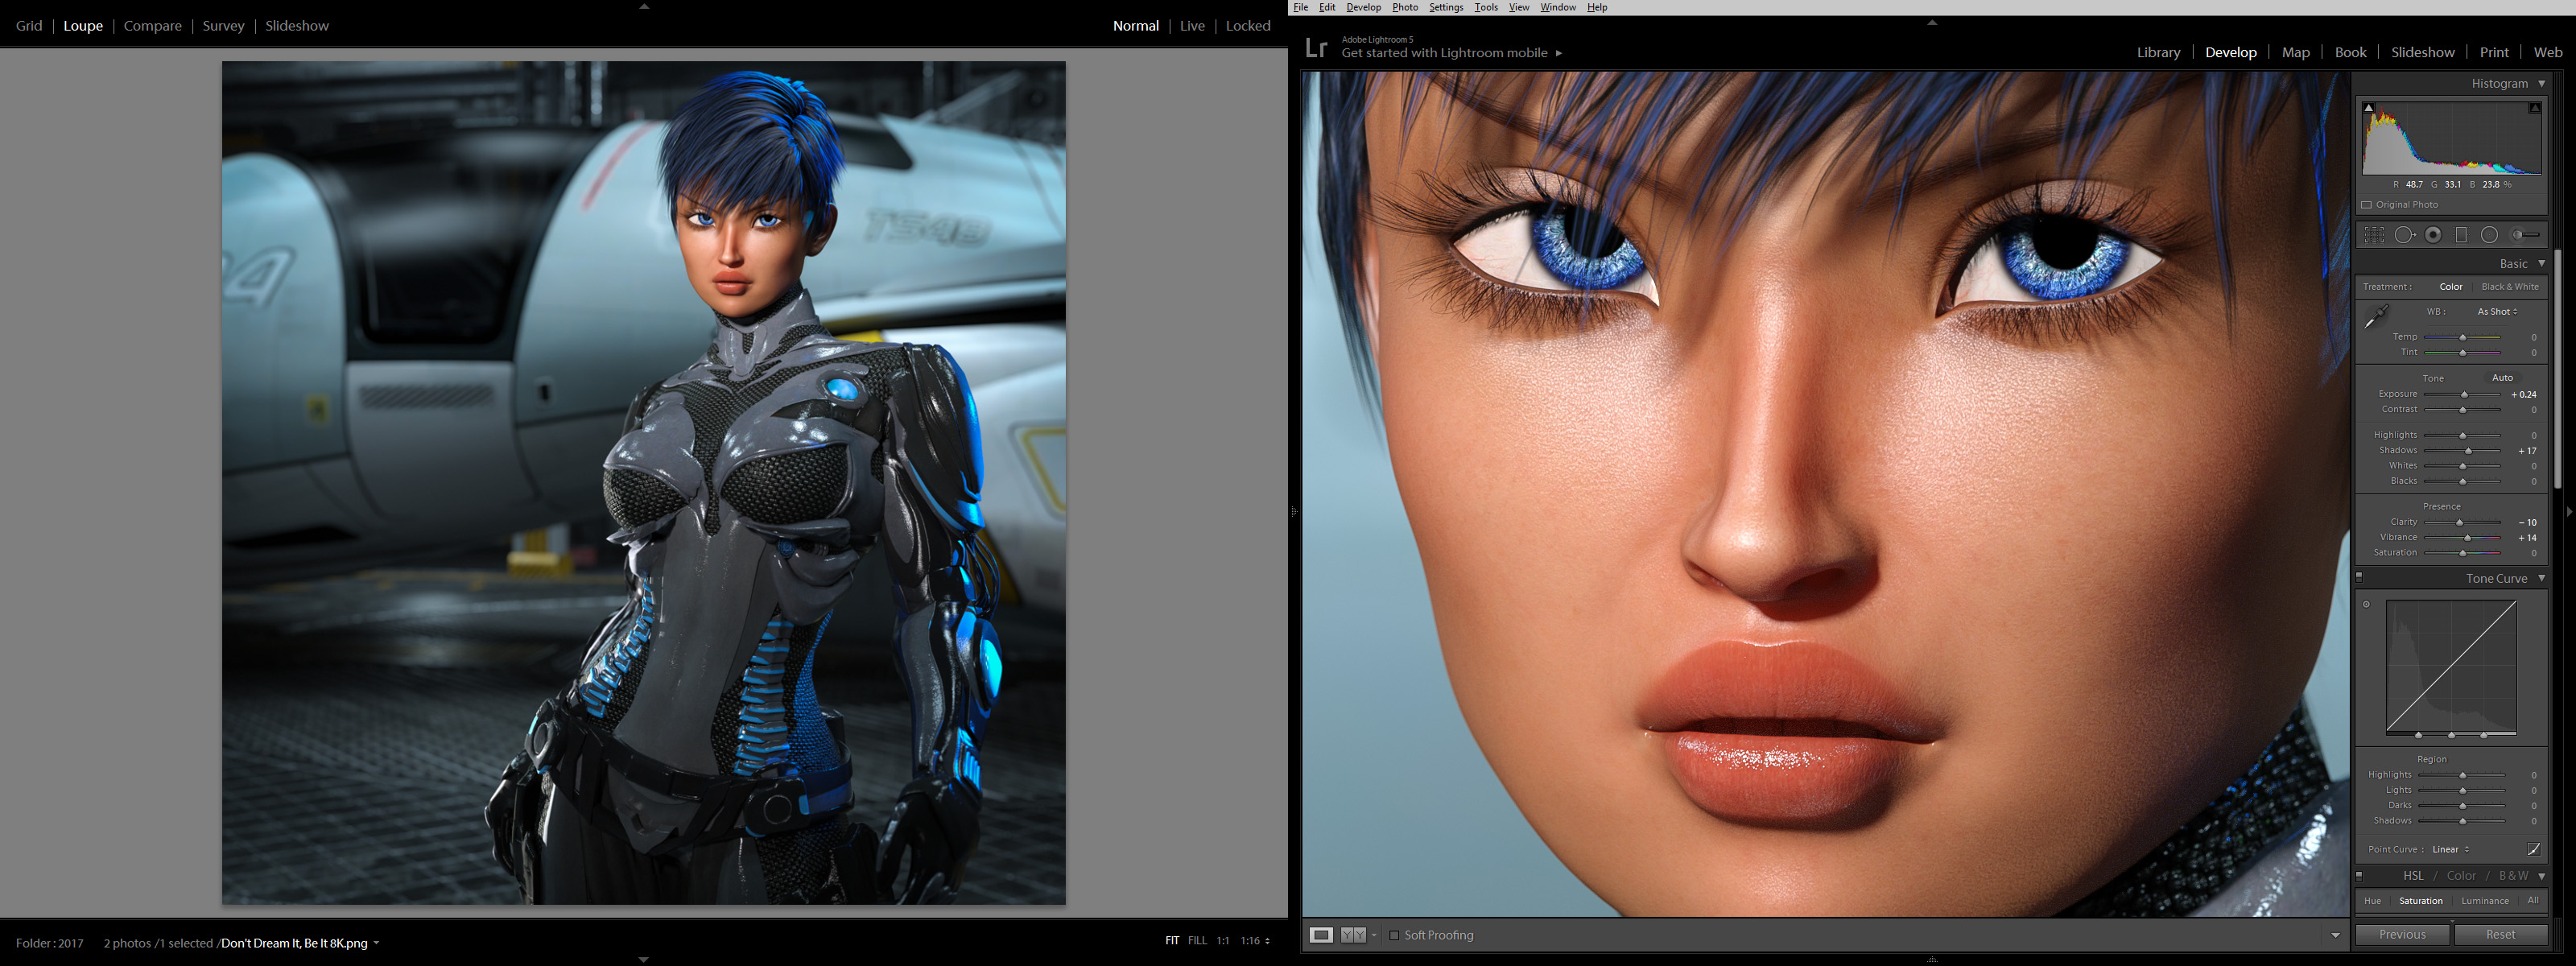 I think I left the bottom too dark when I initially did the color correction. I went back later and brightened it up a bit. The original render is 8000×8000 and the light on the skin looks fabulous at native resolution. Very pleased with how the face came out. (click to embiggen)