Prints of this image are available on my Deviant Art page:
http://ericsusch.deviantart.com/art/The-Creation-of-ATOM-516835191
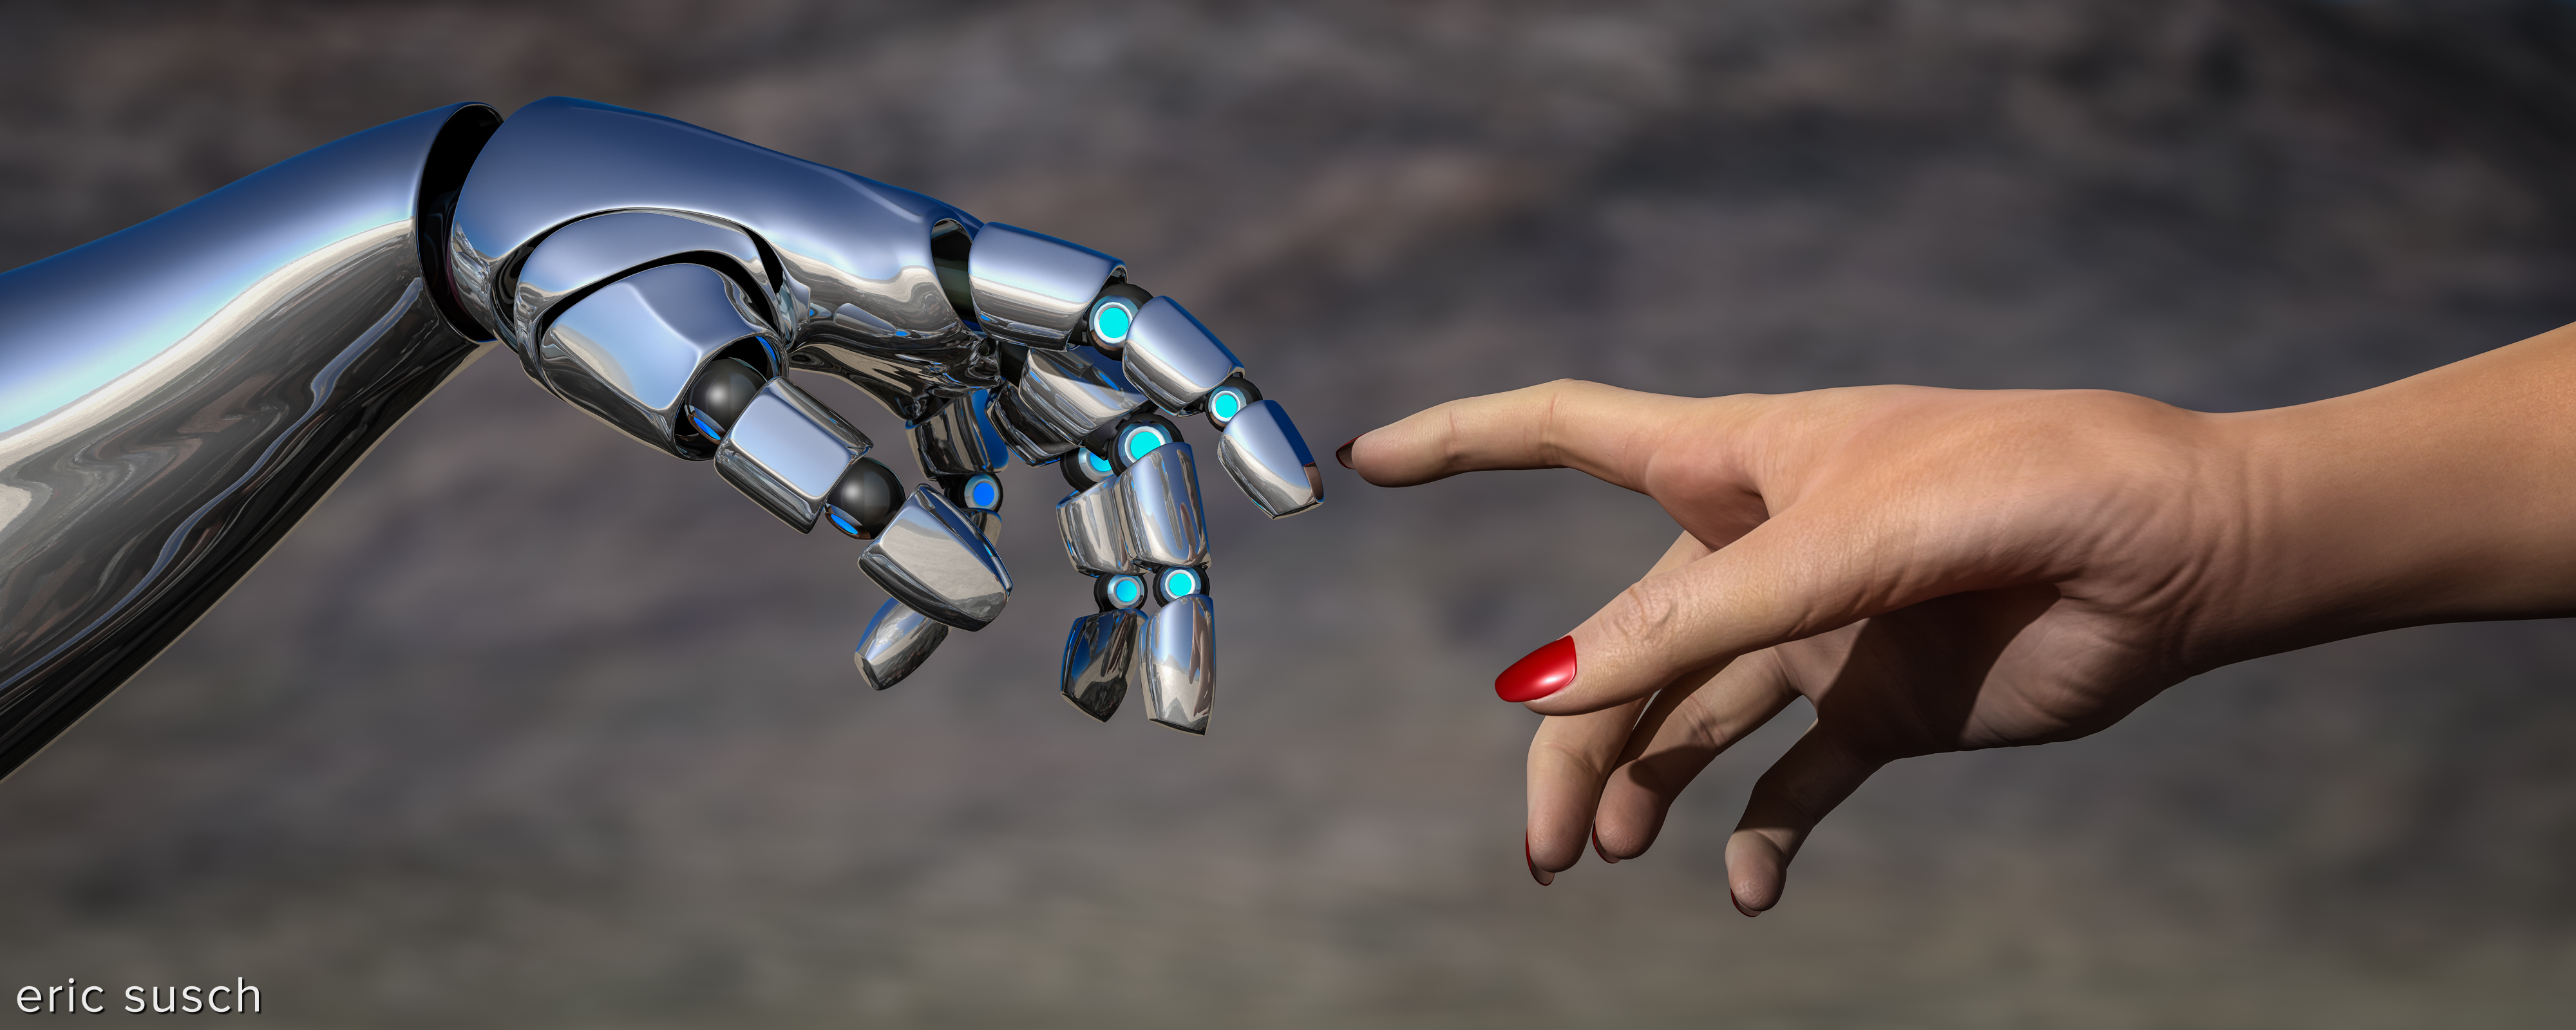
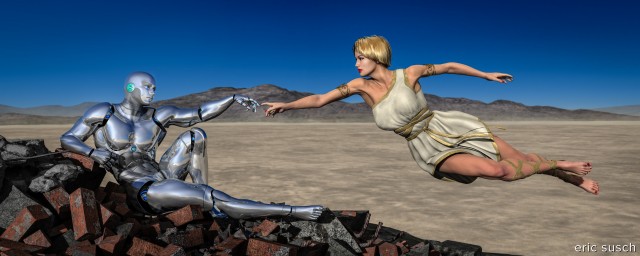 After Man destroys the planet Earth with nuclear weapons, God creates machine life to take his place.
This CGI piece took me awhile. It’s based on the The Creation of Adam by Michelangelo, from the ceiling of the Sistine Chapel at the Vatican. CAT and I were recently in Rome and were able to spend five minutes in the Sistine Chapel admiring all the artwork. You couldn’t take any pictures of course, since the Japanese own the copyright. (The Vatican is a strange place.) So when we got back I decided to make my own creation imagery to hang on the wall.
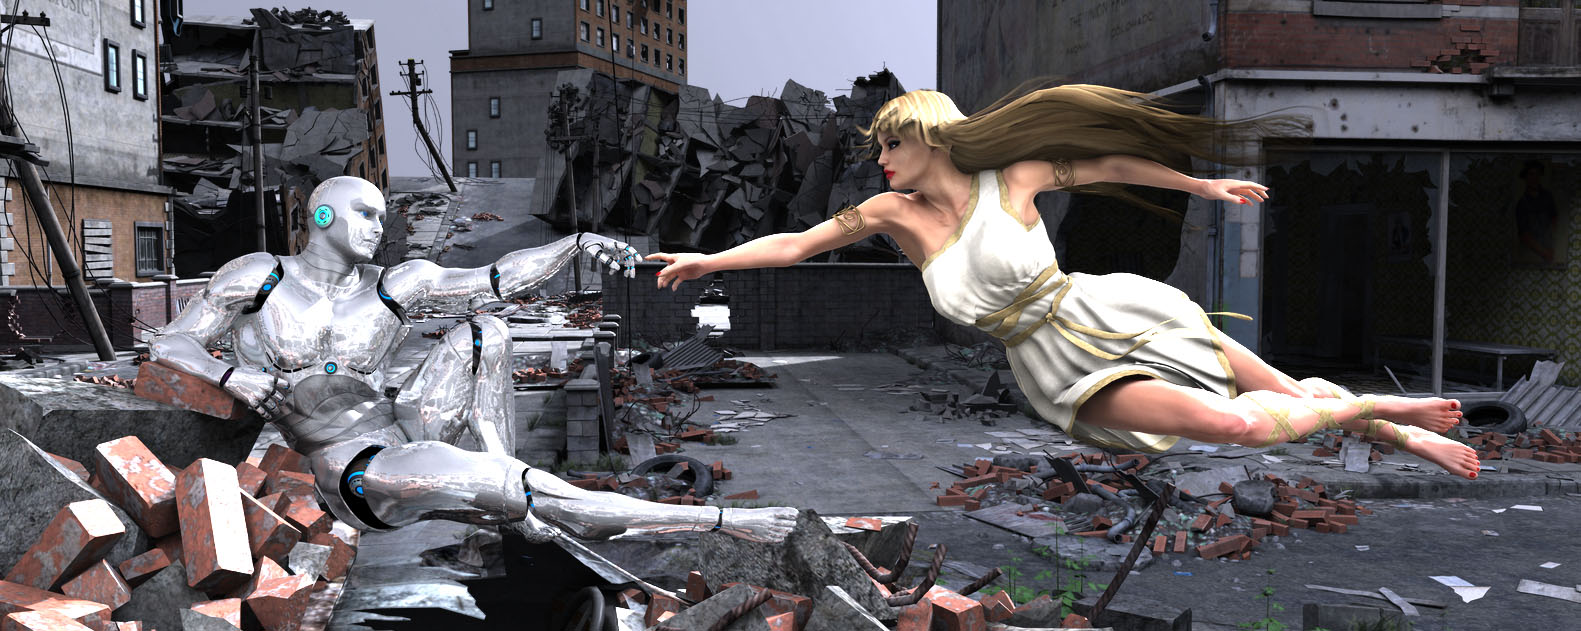
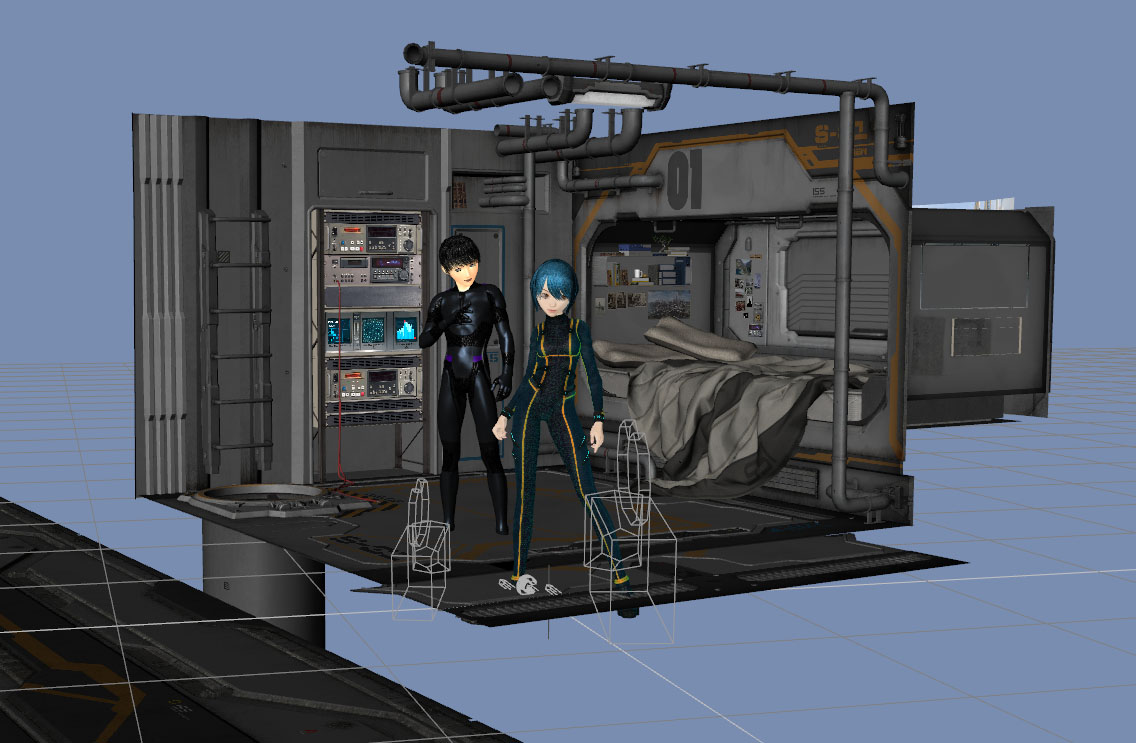
I used this project to learn how to pose characters manually. The poses were iconic and predetermined so I didn’t have to worry what was going to look good, just how to get the characters into position. In the end It took some doing to get everything adjusted in three dimensions and looking correct for the camera.
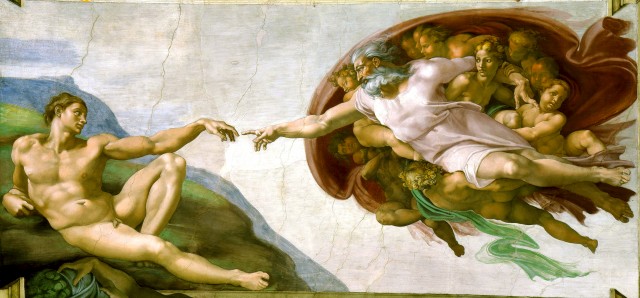
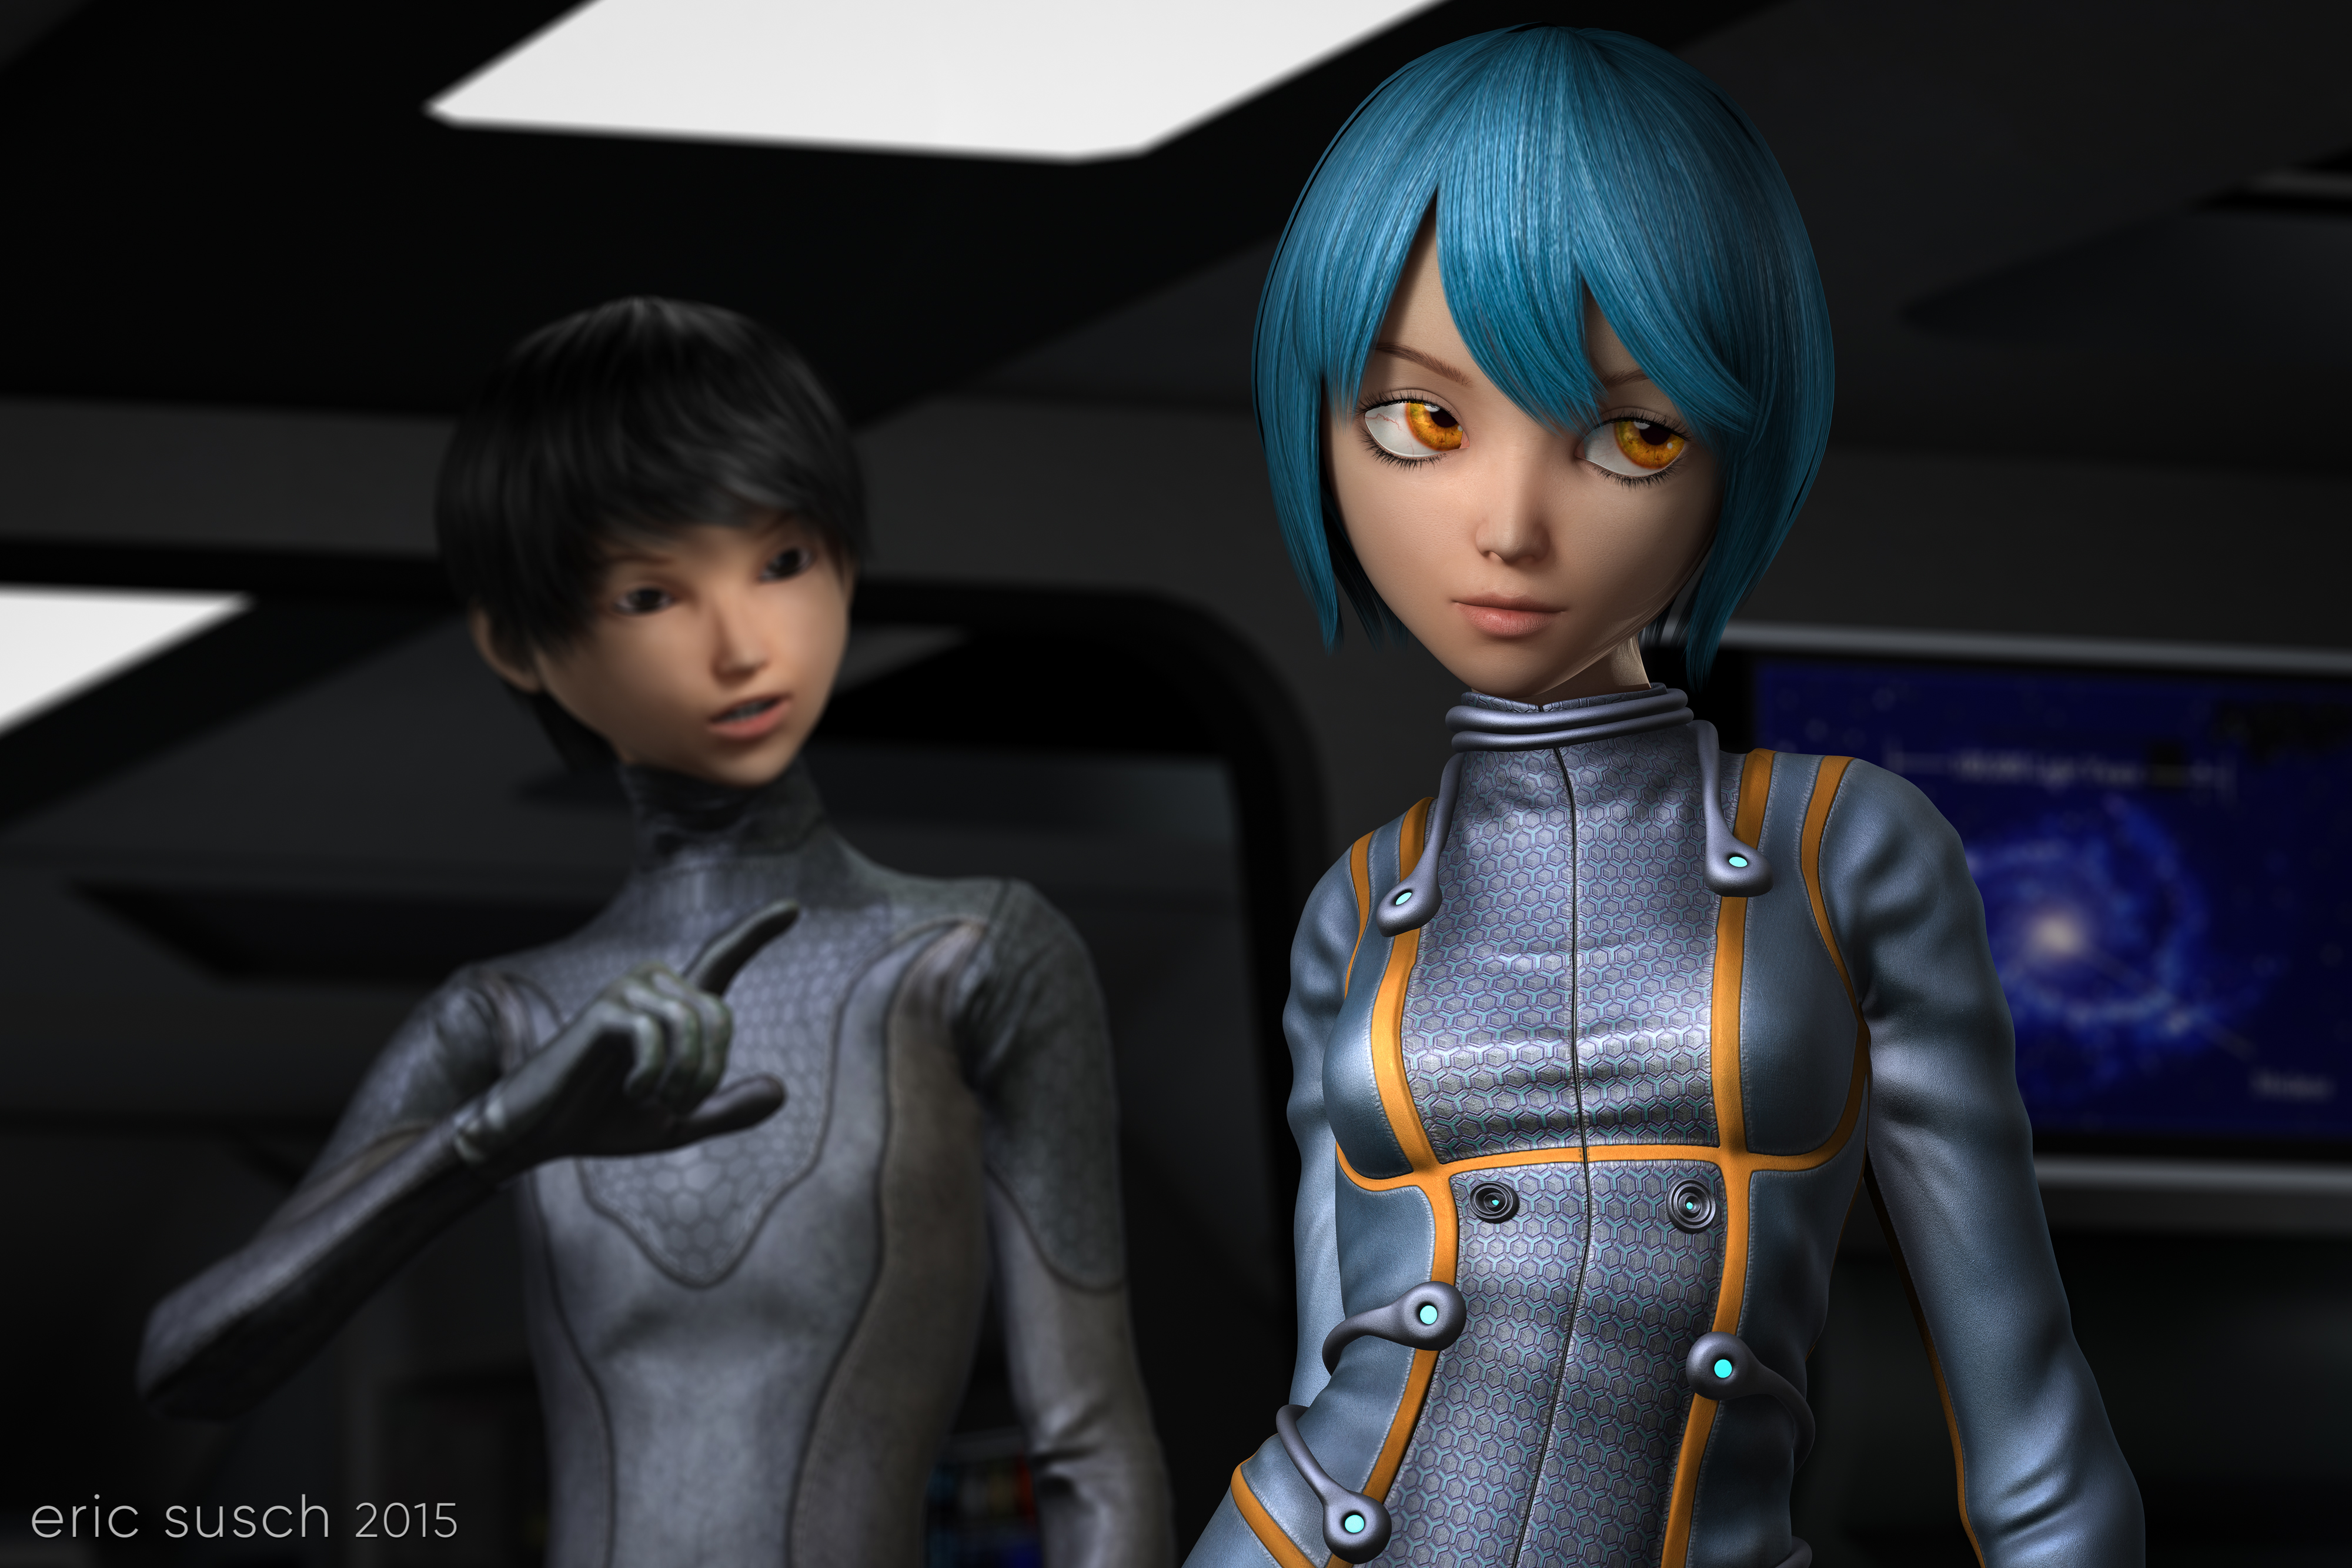
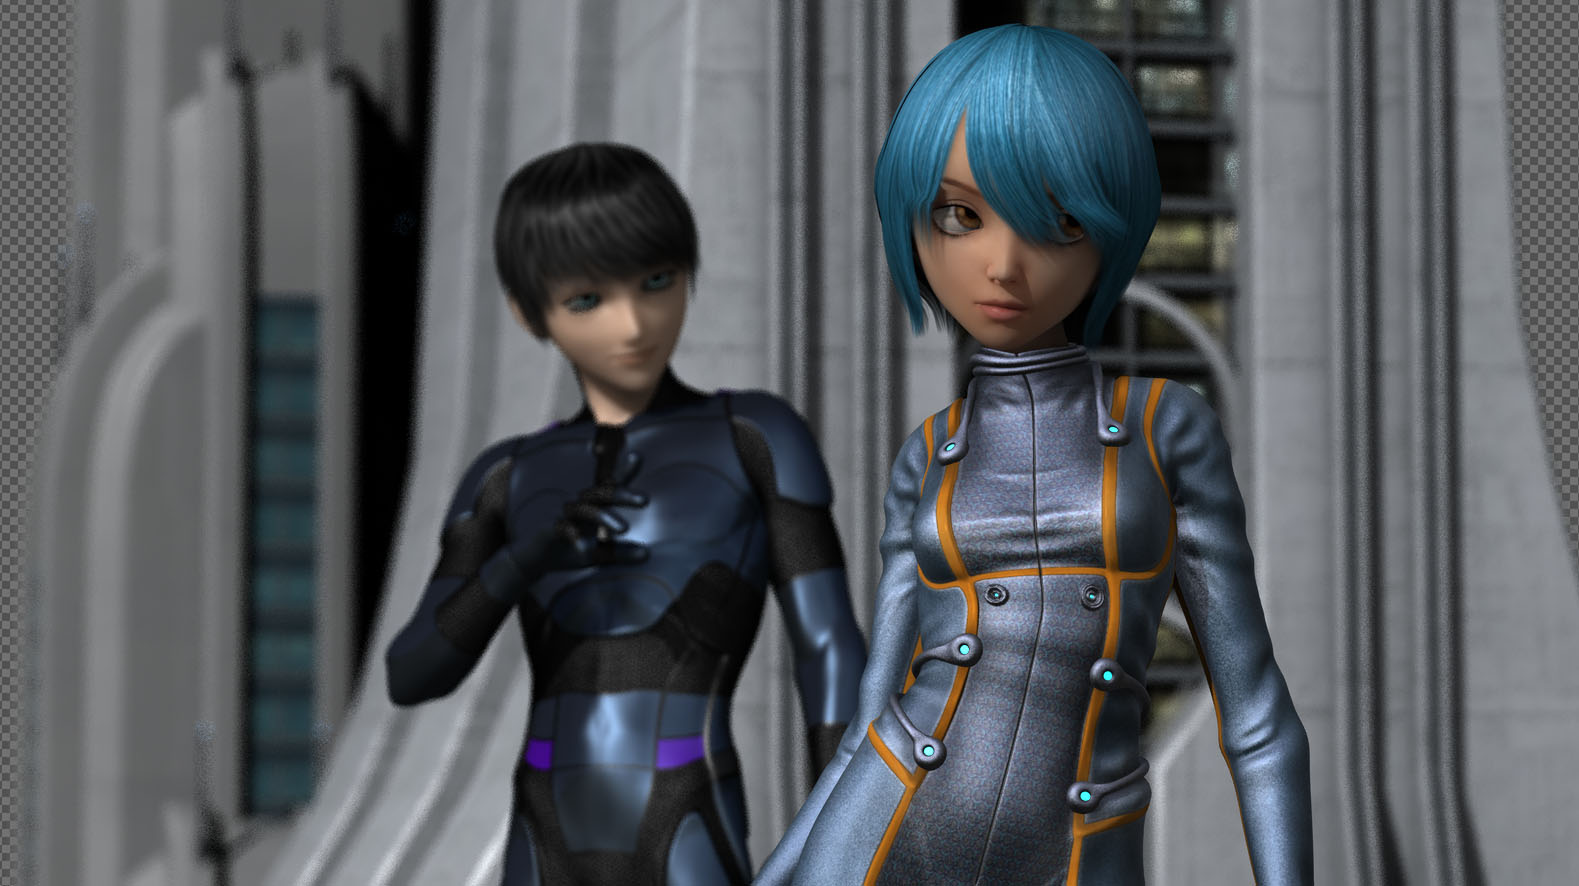
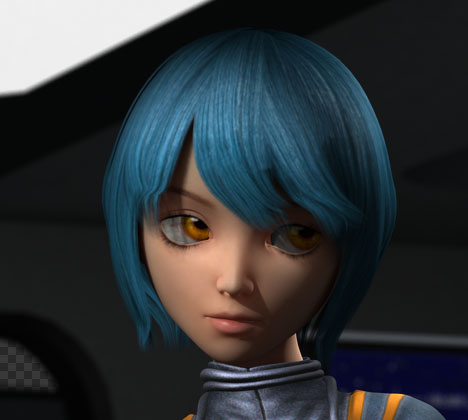
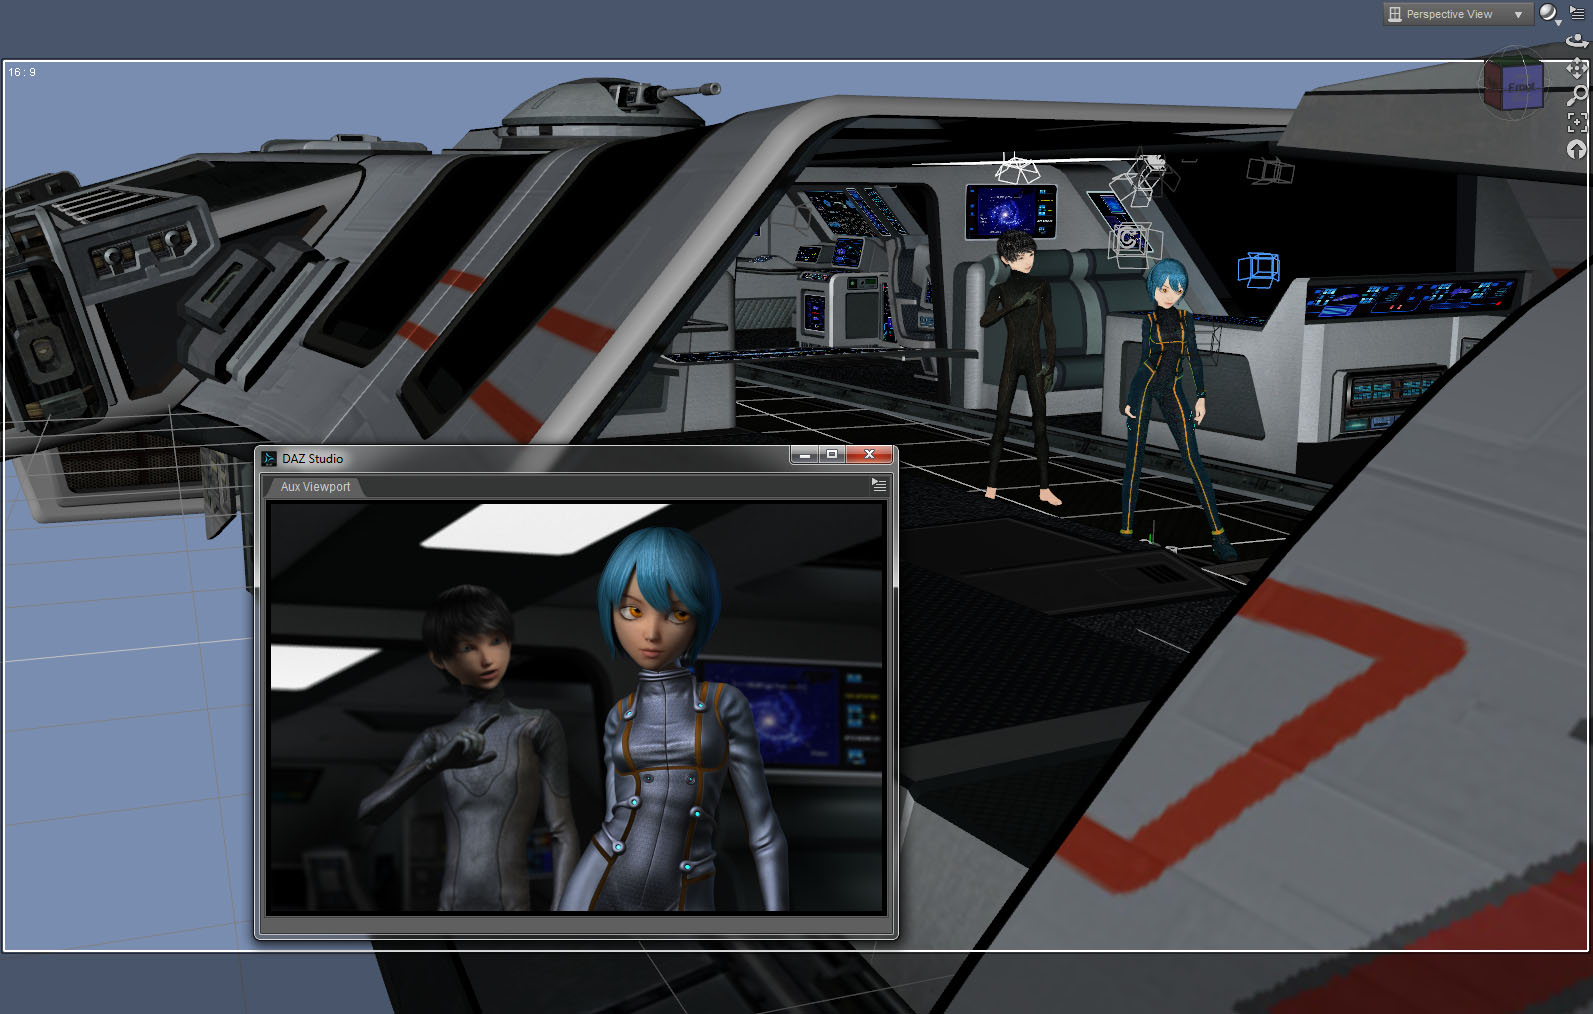
I don’t think a man can actually lean back in the real world the way Adam does in the original, at least an android can’t. I have several of the robot joints pushed way beyond their limit and still he isn’t really in the same position. It’s close enough to get the idea though. The posing process was long and tedious but ultimately rewarding. I’m especially happy with the hands in the center.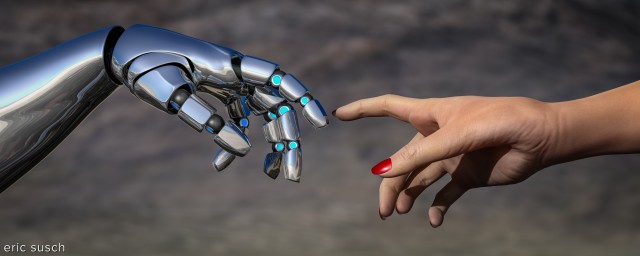 I had problems again with kinky hair. The short style I chose was an older mesh and didn’t have the smoothing control I used in the last piece. I then discovered that the smoothing controls can be added to any object by selecting it and accessing the DAZ Studio menu in the upper right of the scene tab. Select Edit / Apply Smoothing Modifier and then the smoothing controls will appear in the object’s Parameters tab. This fixed the kinks but I still had hair shadow trouble. Some of the underlying shadows were ending abruptly probably because some of the hair was poking into the skull. Adjusting the hair didn’t resolve the problem.
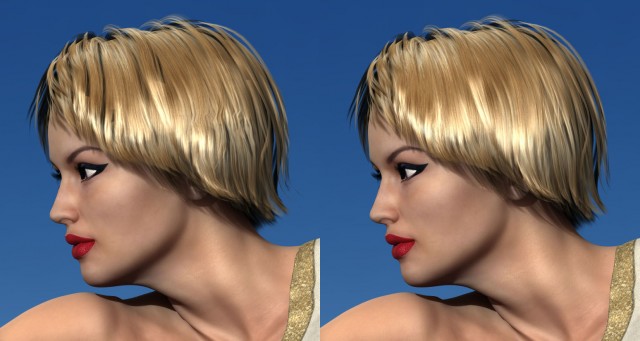 To fix the funky shadows I rendered the hair again without shadows. I then layered this underneath the head and used a matte in Photoshop to erase only the parts of the hair where I wanted to remove the shadows. This left the shadows at the edges and bottom of the hair but eliminated the distracting ones deep within.
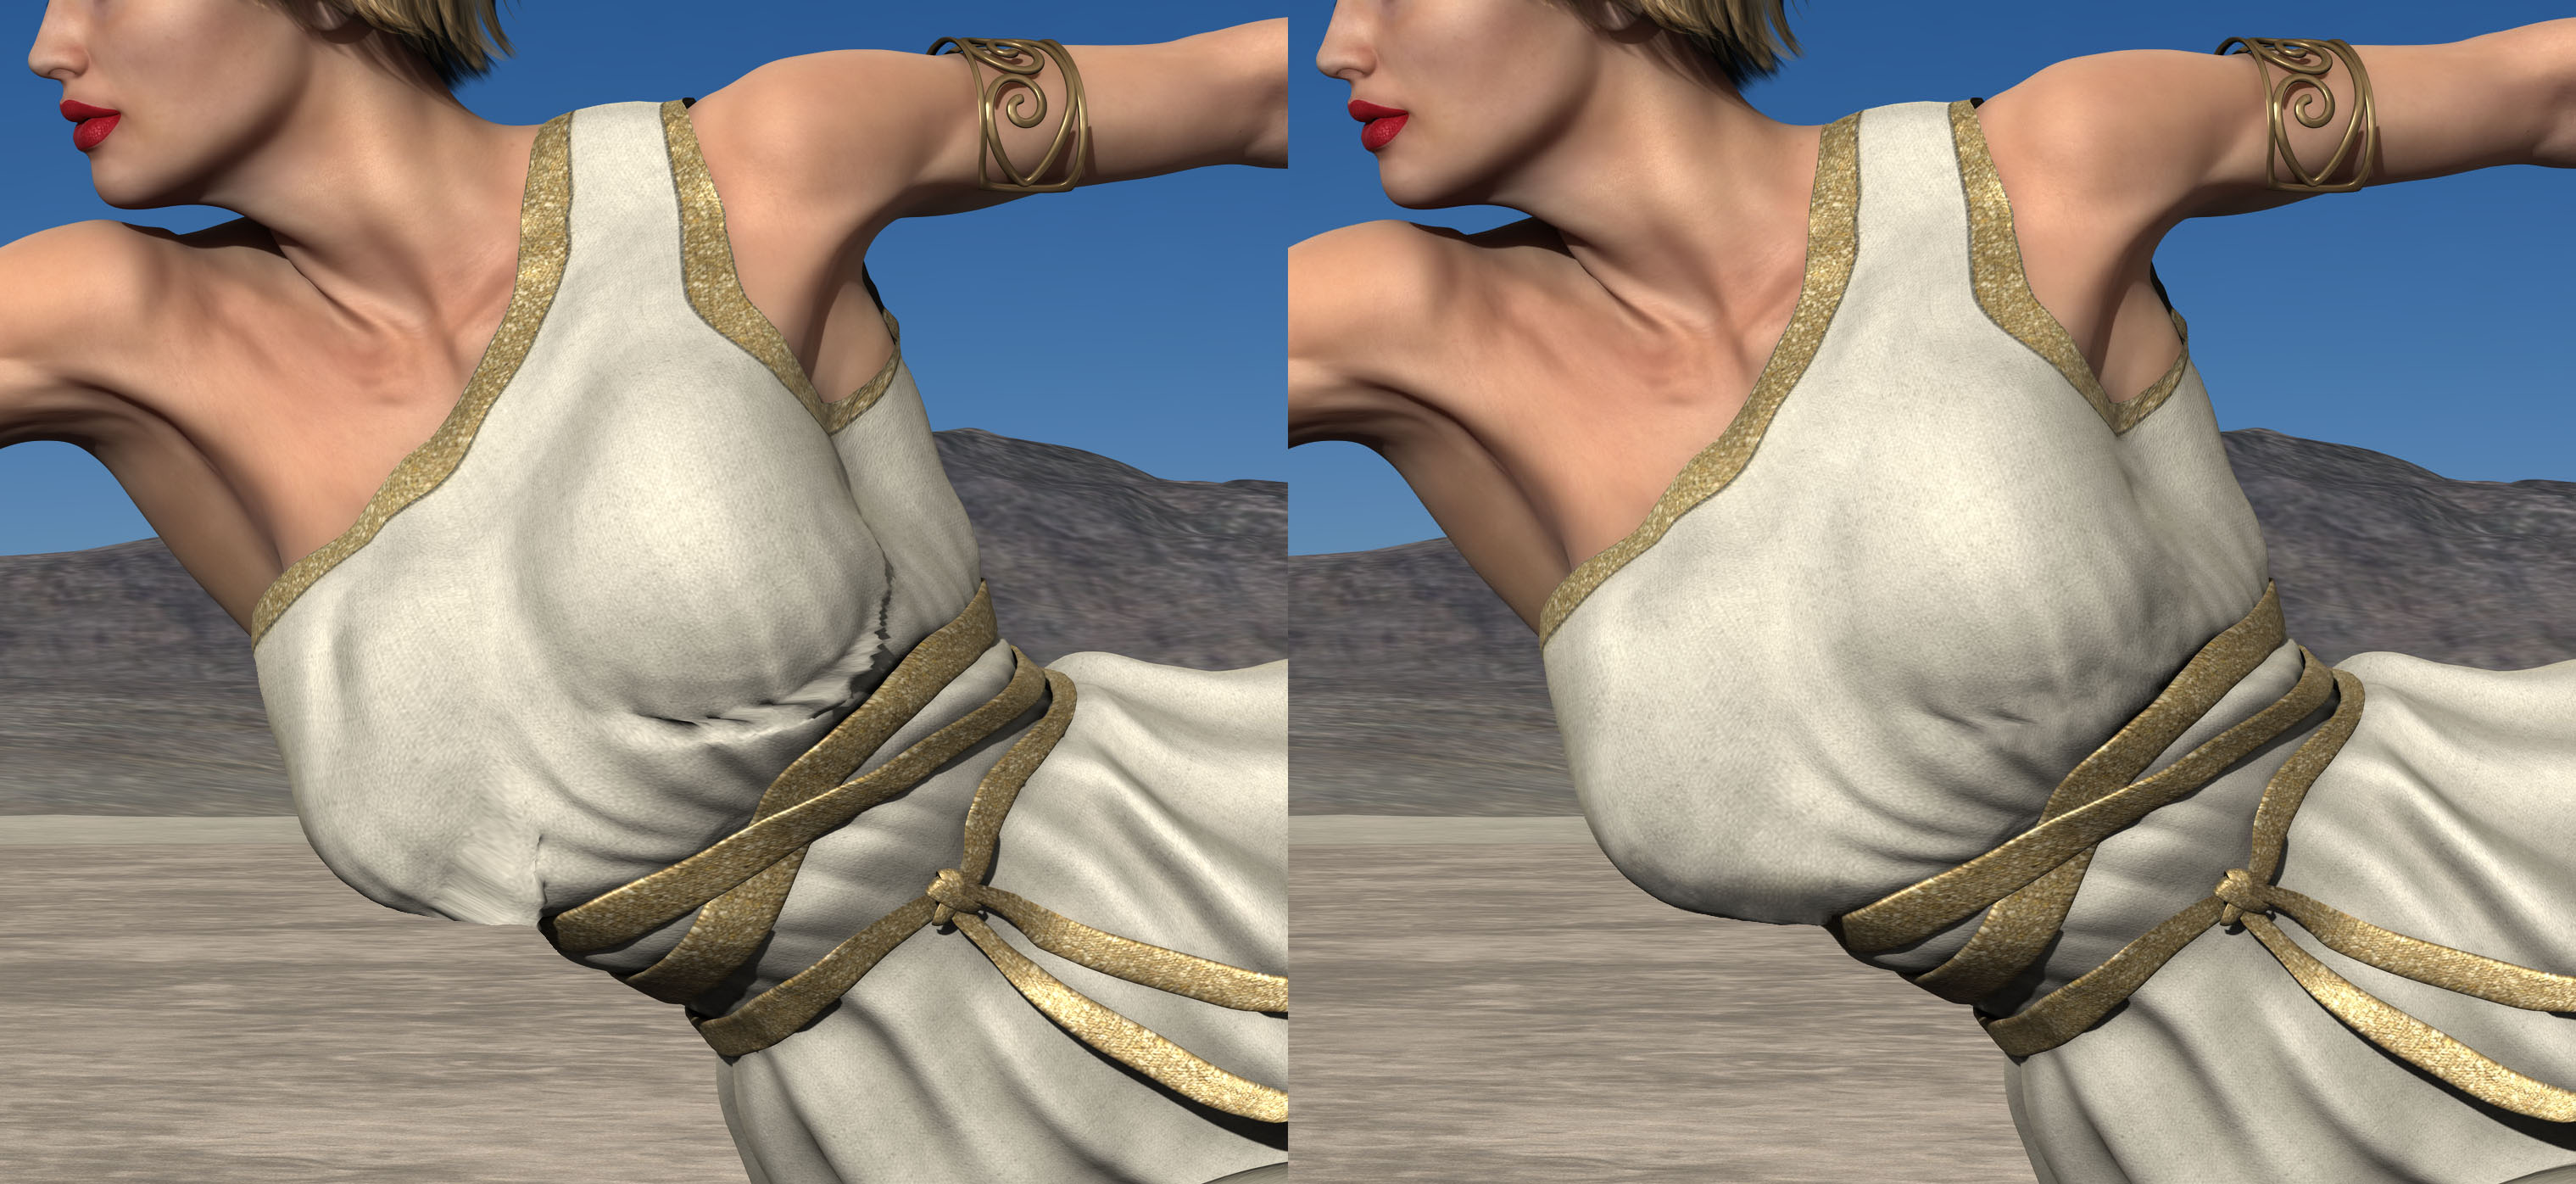
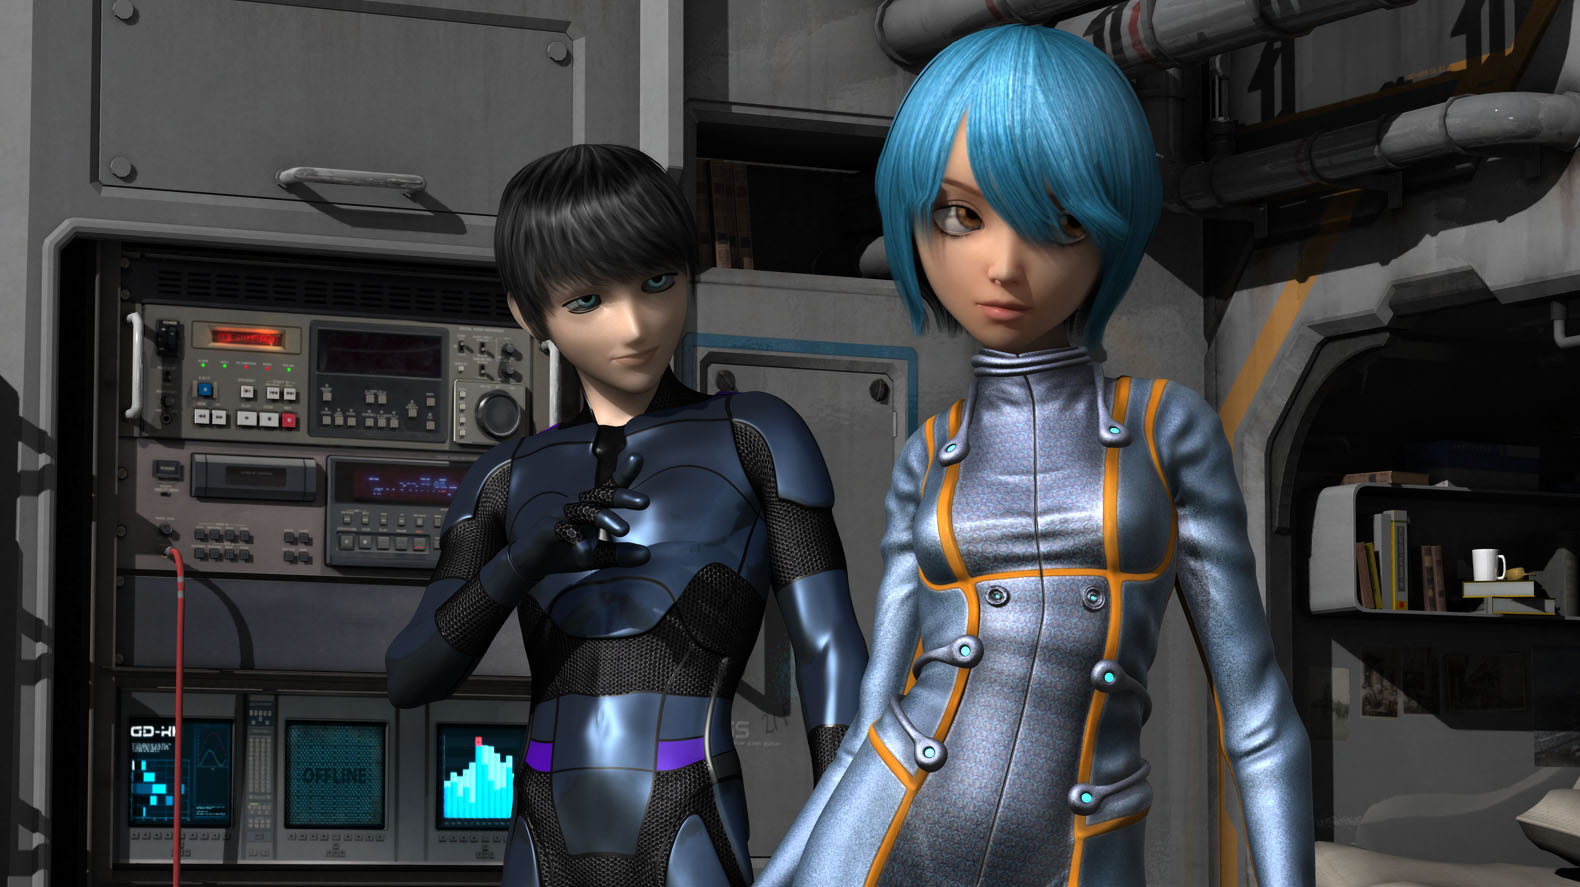
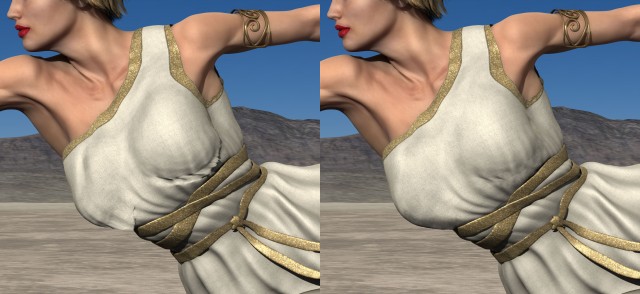
The biggest problem I had was the horrible, horrible dress. I purchased and tried several Greek/Roman toga-esque dresses which were similar to what God is wearing in the original piece. I really liked a dress that had one long sleeve but unfortunately it covered the wrong arm and I couldn’t figure out how to flip it. This next best alternative was nice looking but turned out to be a disaster. It had a million shaping controls but I couldn’t get it to fit correctly without the mesh bunching, tearing, and dripping all along the chest. It was the only dress I had that looked right so I grit my teeth and fixed it with the spot healing brush in Photoshop. That kind of fix isn’t going to work when I get into animation.
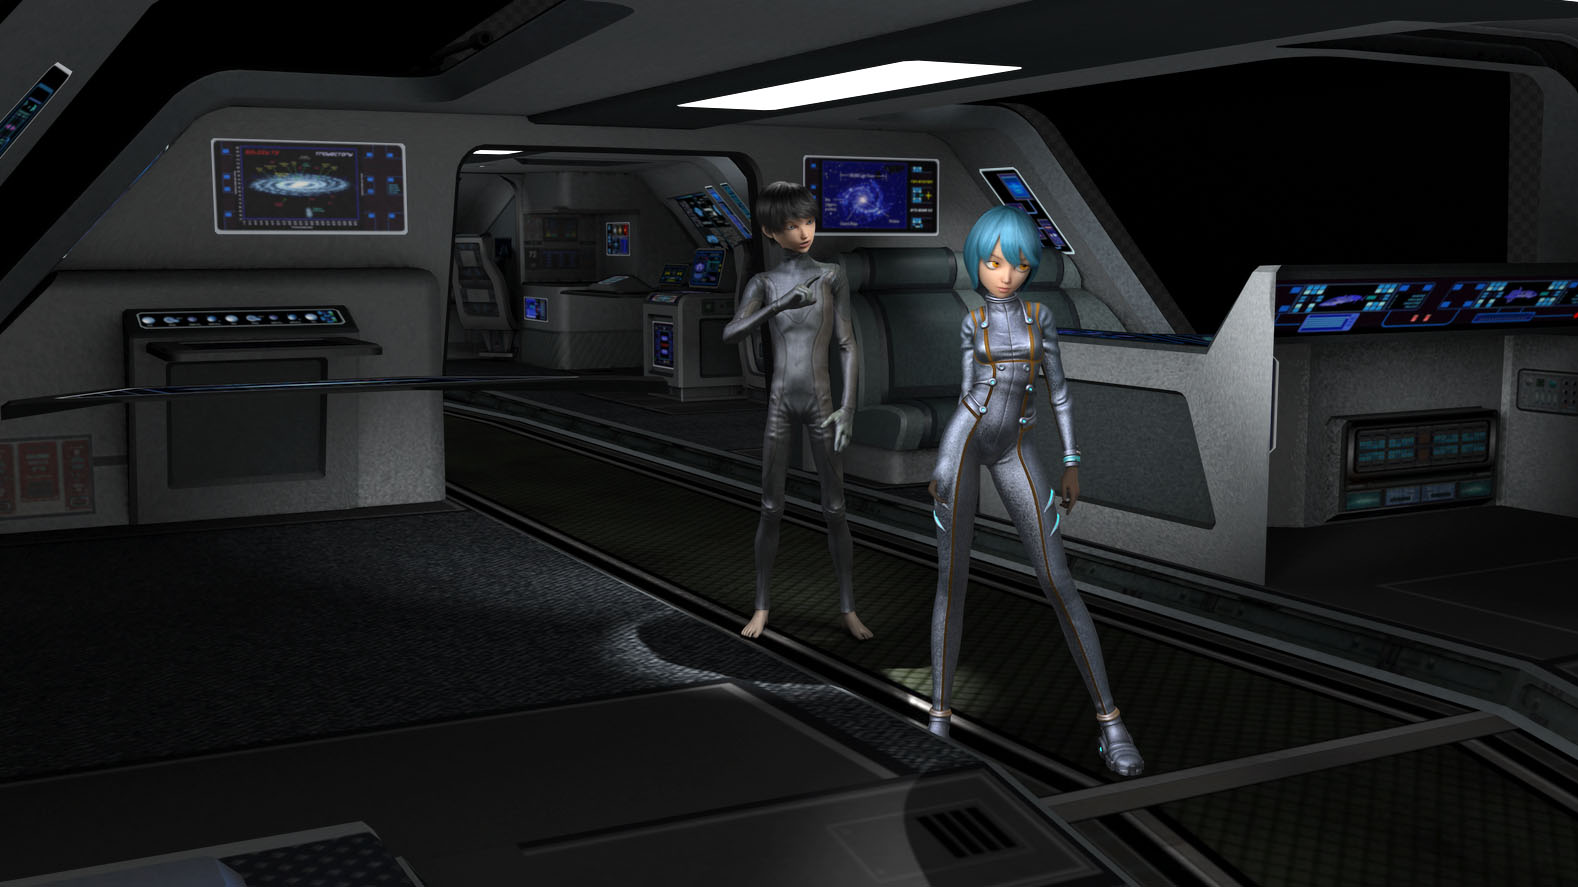
 I struggled with the background again too. The original idea was a destroyed city like after an earthquake or a nuclear attack. It was way too busy and difficult to separate the characters, especially the chrome of the android, from the background. There was just too much detail in the rubble.
 CAT suggested I try a desert background. I wasn’t sure. I didn’t want it to look like an unrelated background photo. After I tried it I changed my mind because the background became a metaphor to me. It suggests nuclear testing, or maybe a Mad Max type social collapse. What do you think?
Created in DAZ Studio
Postwork (fixing hair and dress) in Photoshop
Color Correction in Lightroom
Figures used:
bot Genesis
Lilith 6
City Ruins: Vehicles
Dry Mud Desert
Prints of this image are available on my Deviant Art page:
http://ericsusch.deviantart.com/art/The-Creation-of-ATOM-516835191
 For this comparison I set V6 (on the left) with pose #4 from ‘Perfect 10’ Standing Poses for Genesis 2 Female and converted the mirror pose for V7 via the new Genesis 2 to Genesis 3 Pose Converter. It wasn’t 100 percent. I had to pull the right hand out of V7’s side and her left foot was in the floor a bit but other than that it was a close conversion. The V6 pose is unmodified except for the head turn.