Tag Archives: metal

Midjourney “thinks” and creates a portrait of a cyborg with an electronic brain

Watch as Midjourney “thinks” and creates a portrait of a cyborg with an electronic brain.

EricSusch_portrait_photo_of_a_cyborg_with_electronic_brain_and__8541faa7-7d06-4d58-831d-7a269f35beaf#Art I made with #Midjourney #AI


Is Electronic Love to Blame?

Is Electronic Love to Blame?This piece was a marathon to create.  A perpetual artistic labor.  Unending.  Frustrating.  We had remodeled our kitchen and saved a space on the wall for an art piece, complete with it’s own special spotlight.  The kitchen had taken over a year to complete and this art piece had to live up to that.  It needed to be perfect.  Constantly second guessing my creative choices, it took me a year to finish this, sometimes setting it aside, then diving back in to see if I could perfect it.  Today I’m finally calling it done and I’m presenting it here hoping I haven’t completely strangled the emotional life out of it.

Some of the initial criteria:  It was designed as a large piece, three feet square, so it needed to be extremely detailed.  It had to match the modern aesthetic of our new kitchen. Colors needed to be white and gray with a blue accent.  It needed to be bright, not the dark moody work I usually gravitate towards.  I wanted two characters – an android and a cyborg – in love yet troubled, going through the same ups and downs we all do.  …And it needed to be good.  That was the most important criteria.  It needed to be good.

Cyborg loves Robot test render 14 cc
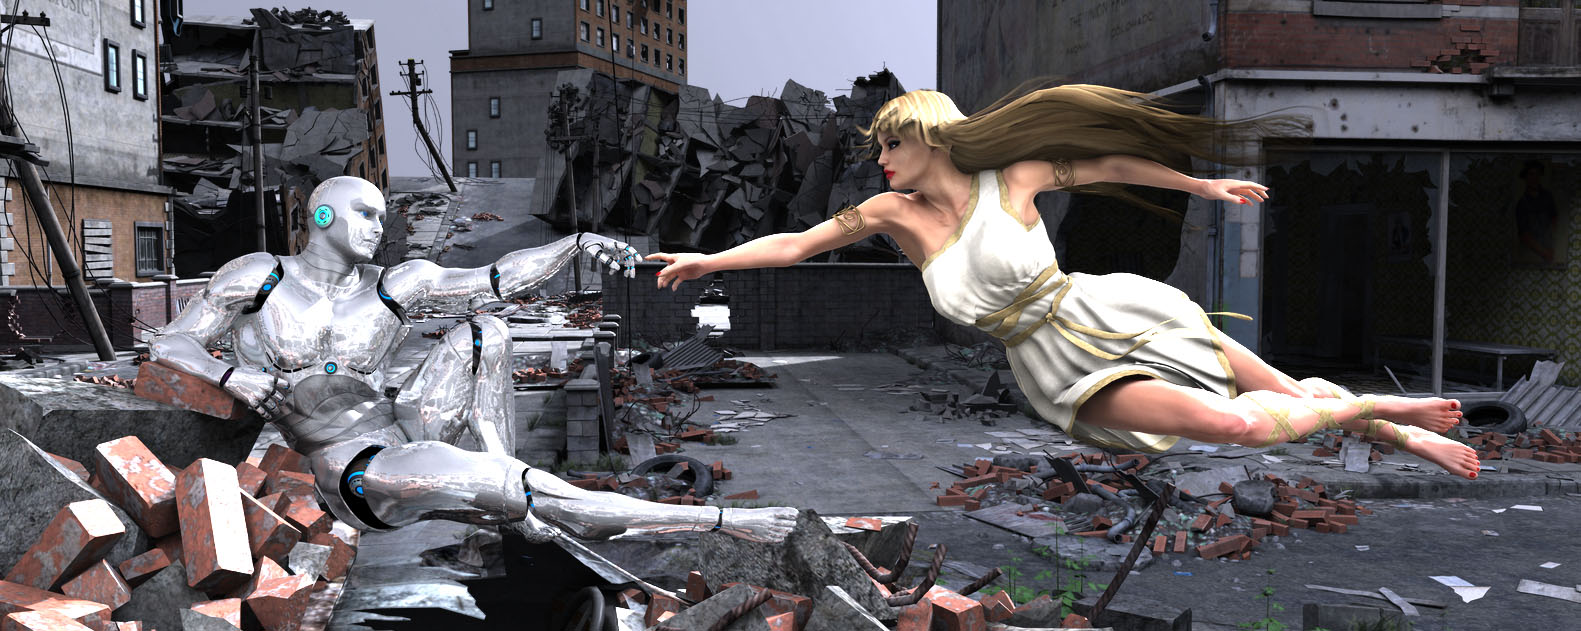
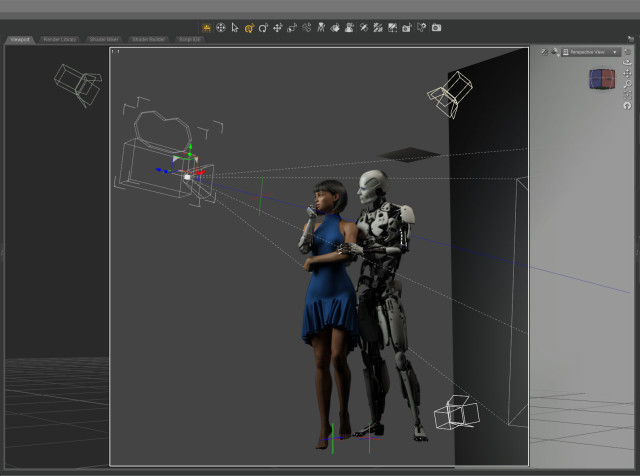
This is an in-progress test render from early on.  As you can see the original composition was wider.  The plan was to have the android’s right arm on her waist and she would be gently touching his metal fingers.

Cyborg loves Robot test render 15 cc
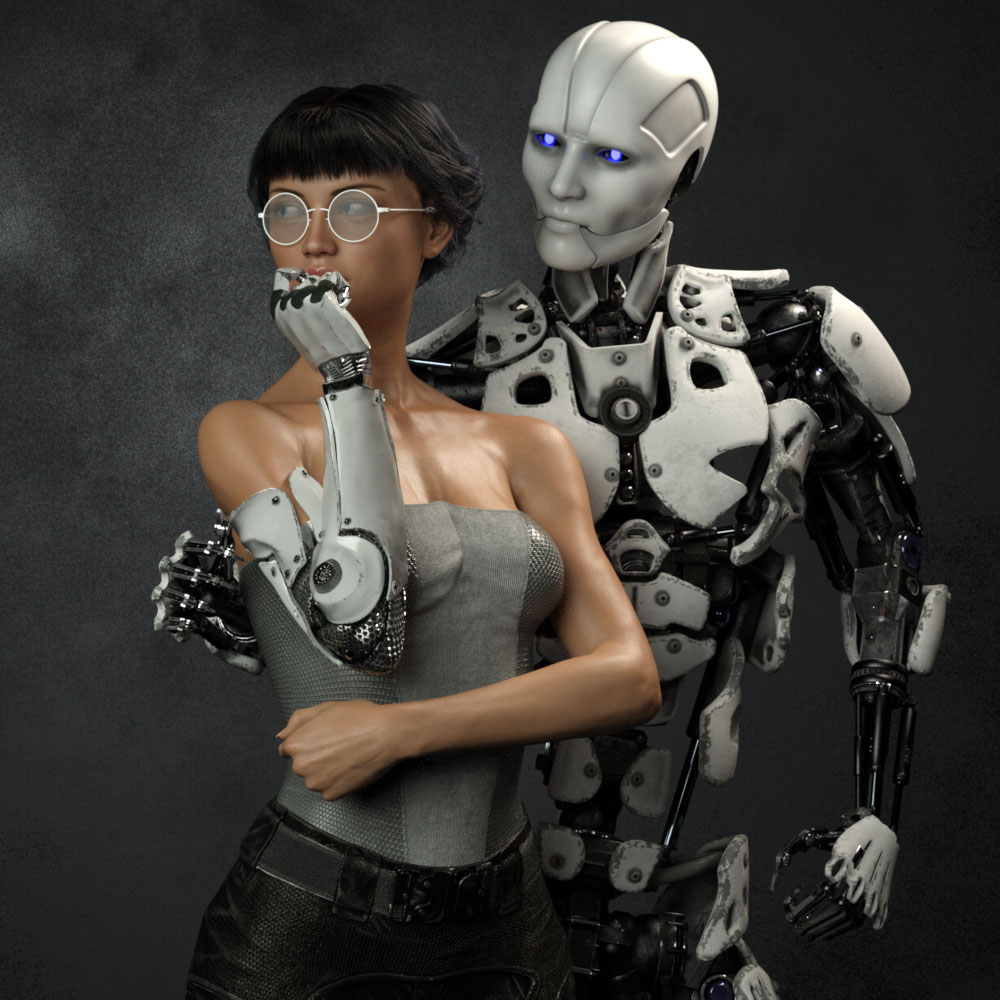
What to wear and what hair?  I obsessed over endless choices.

Cyborg loves Robot test render 23 misumi skin cc
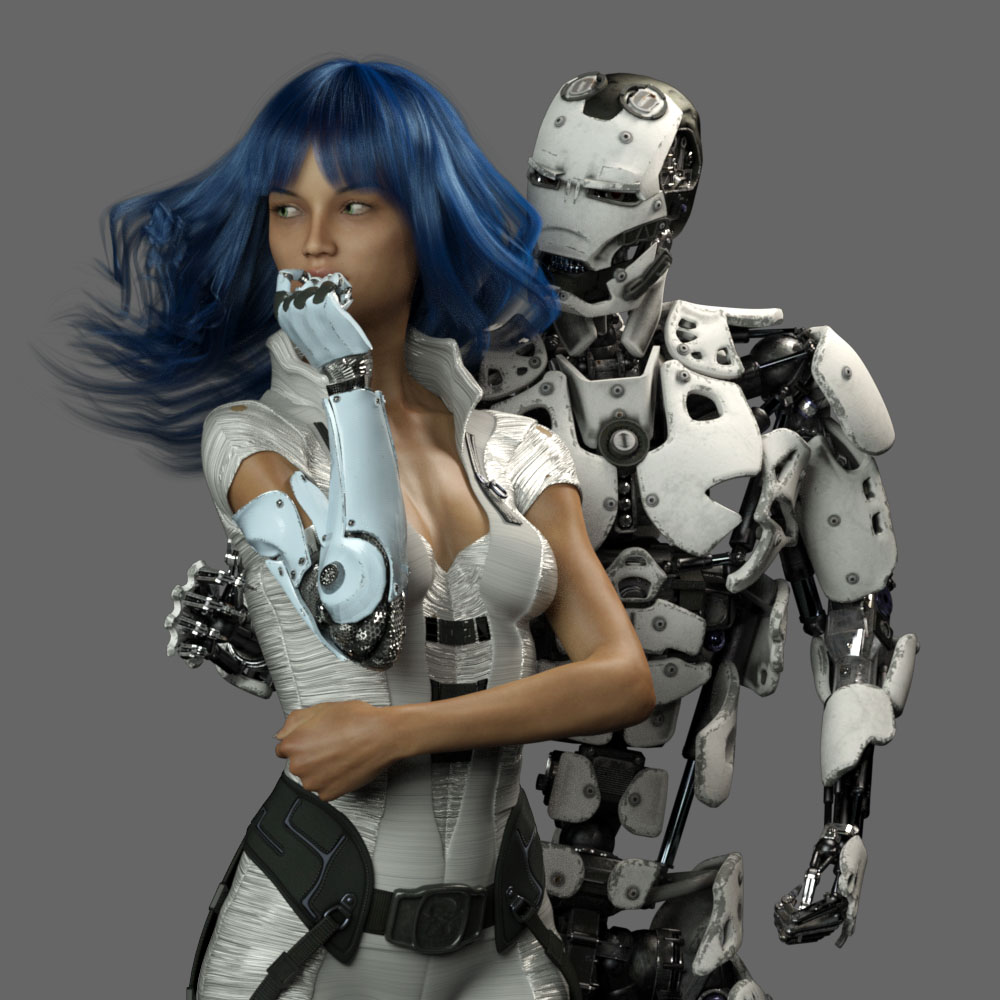
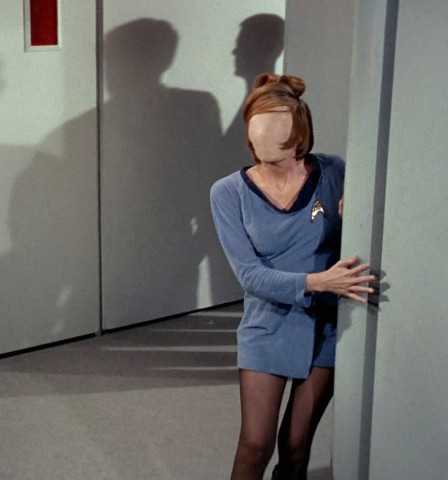
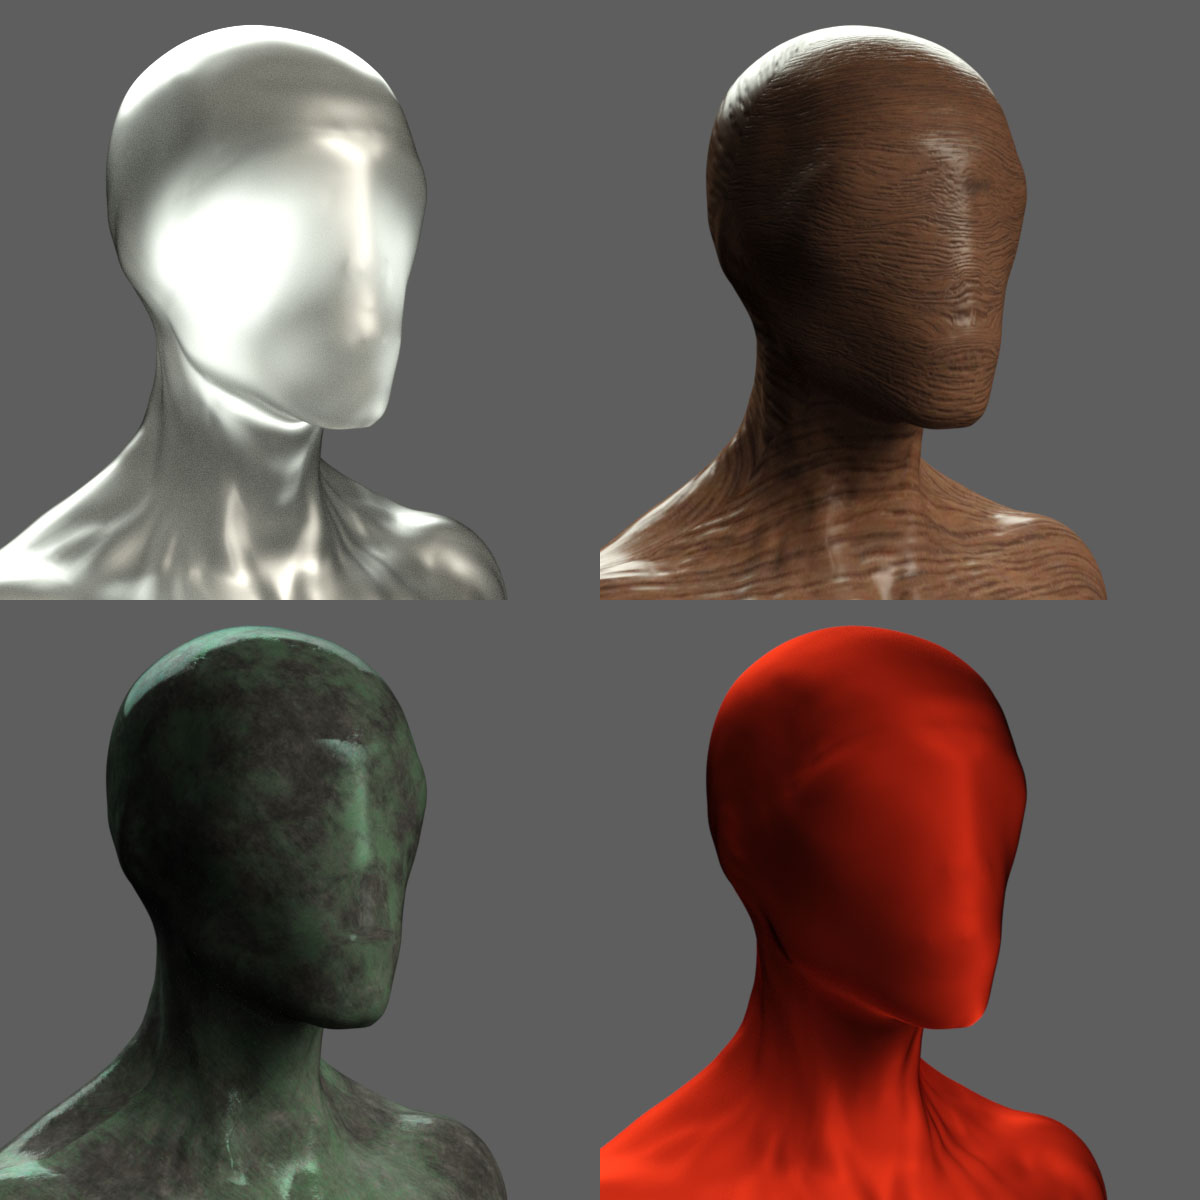
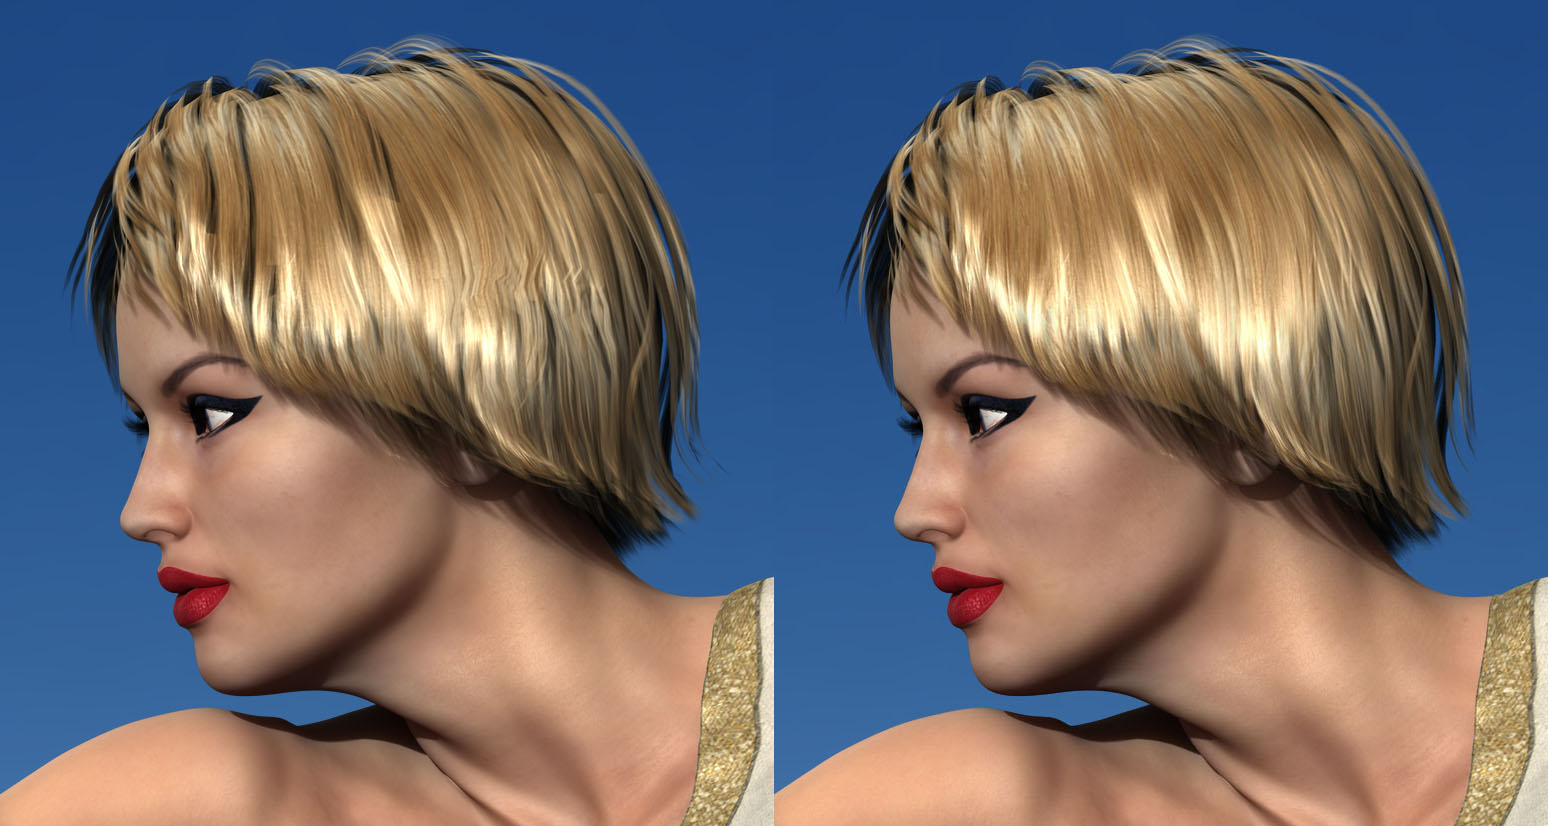
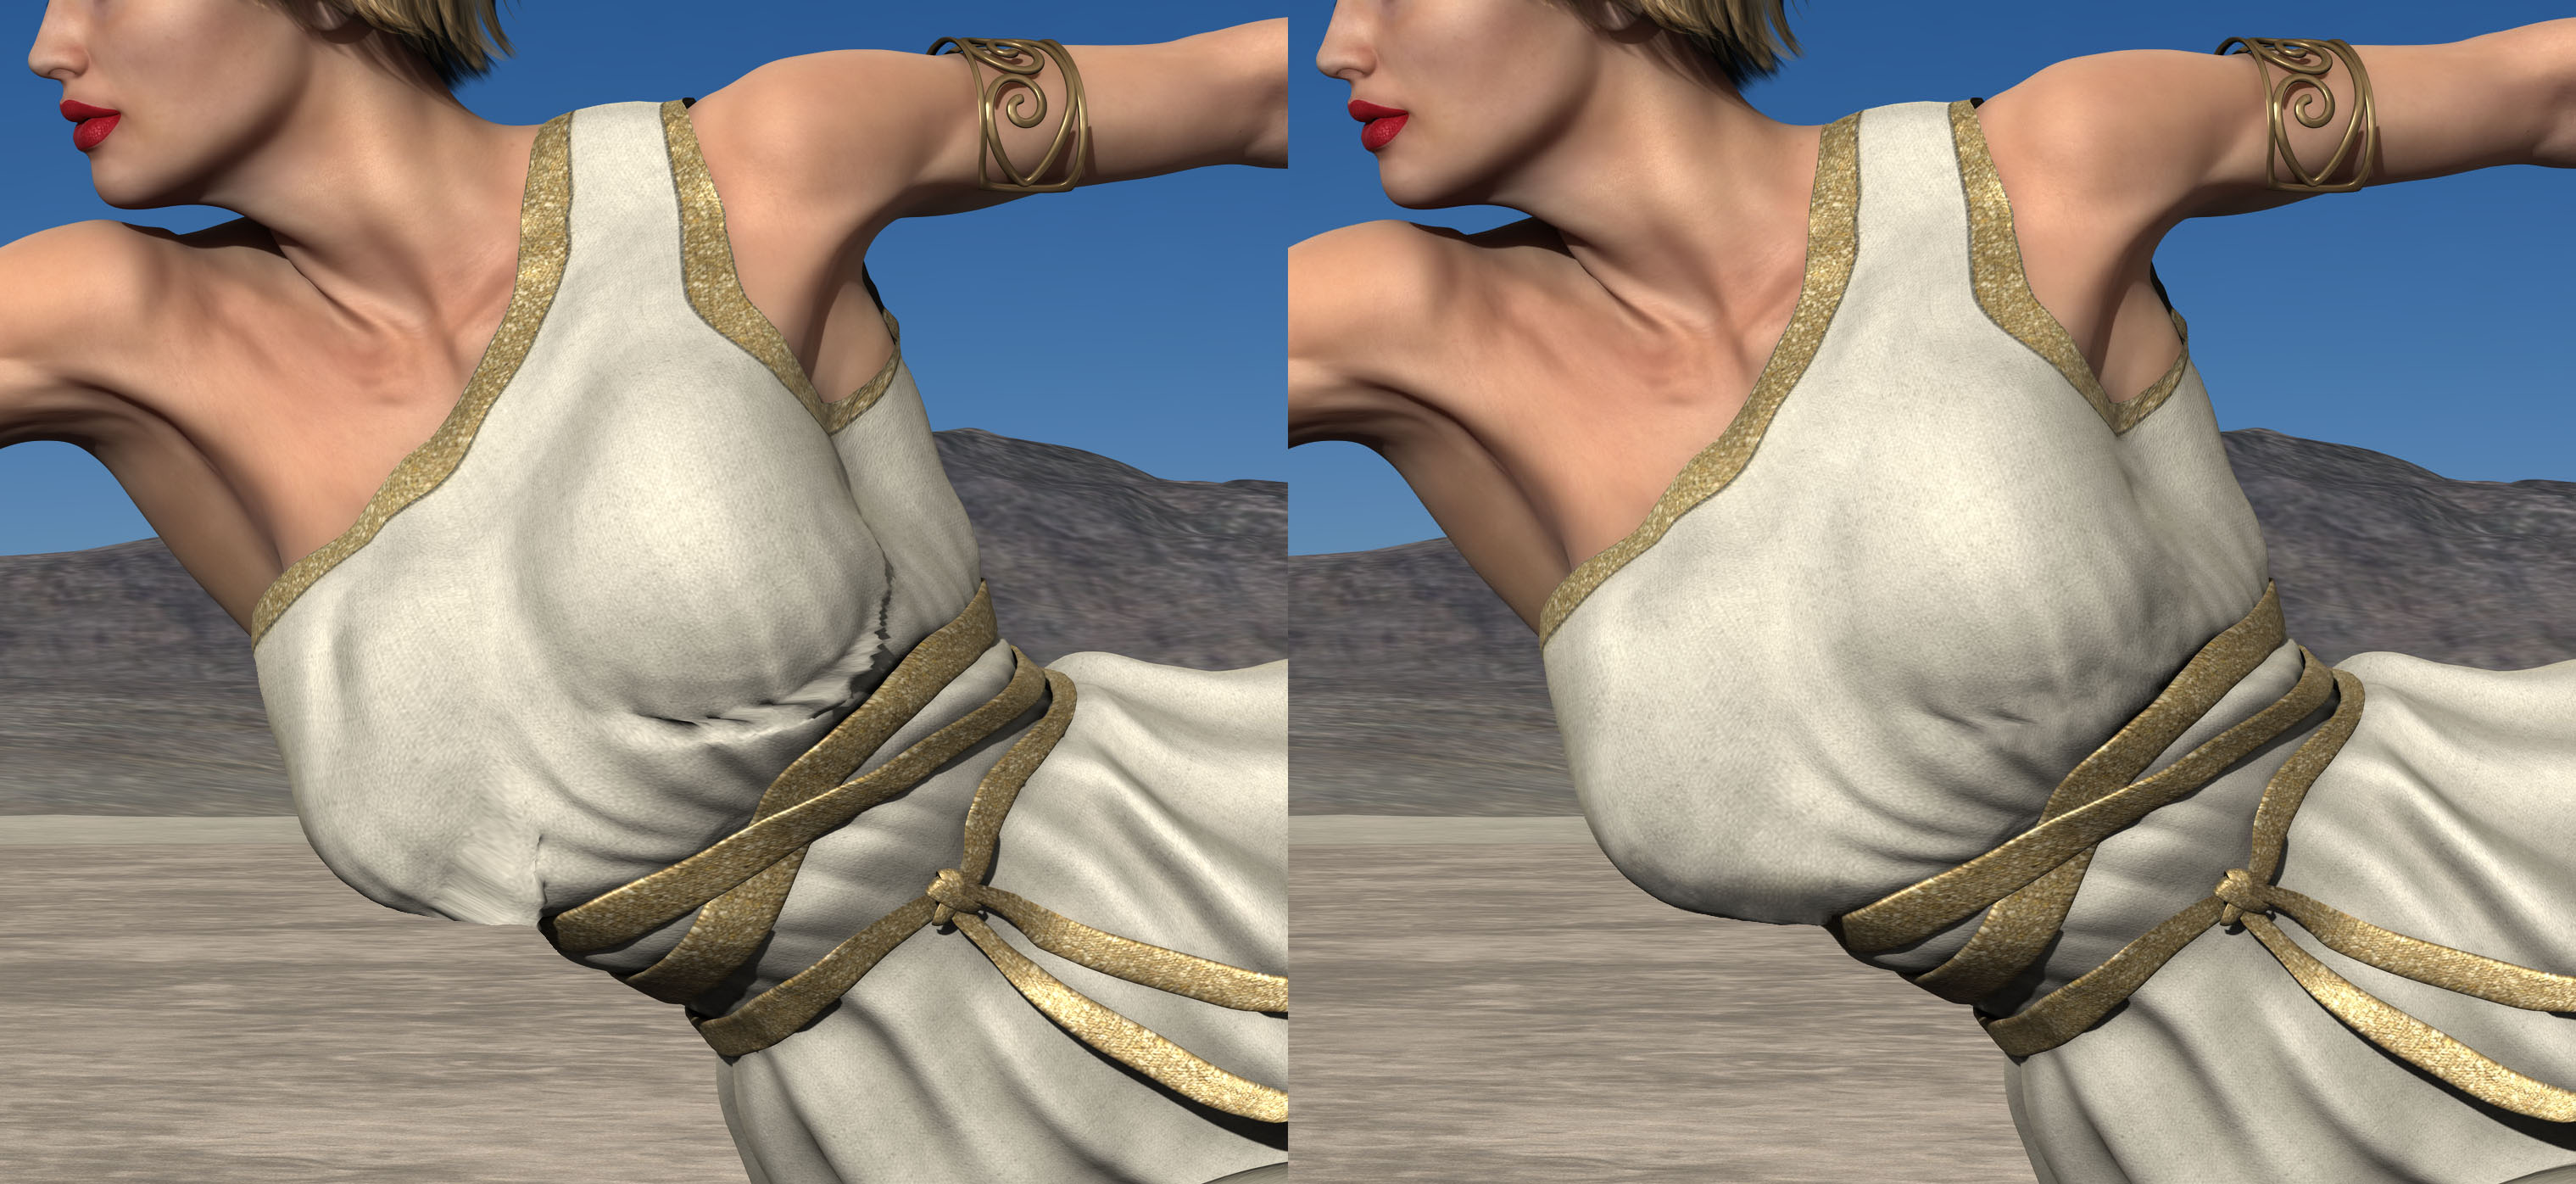
I tried many skin textures for the girl.  I wanted to get the softness just right so it would contrast nicely with the hard metal of the android.

Cyborg loves Robot test render 26 lyflannery skin cc
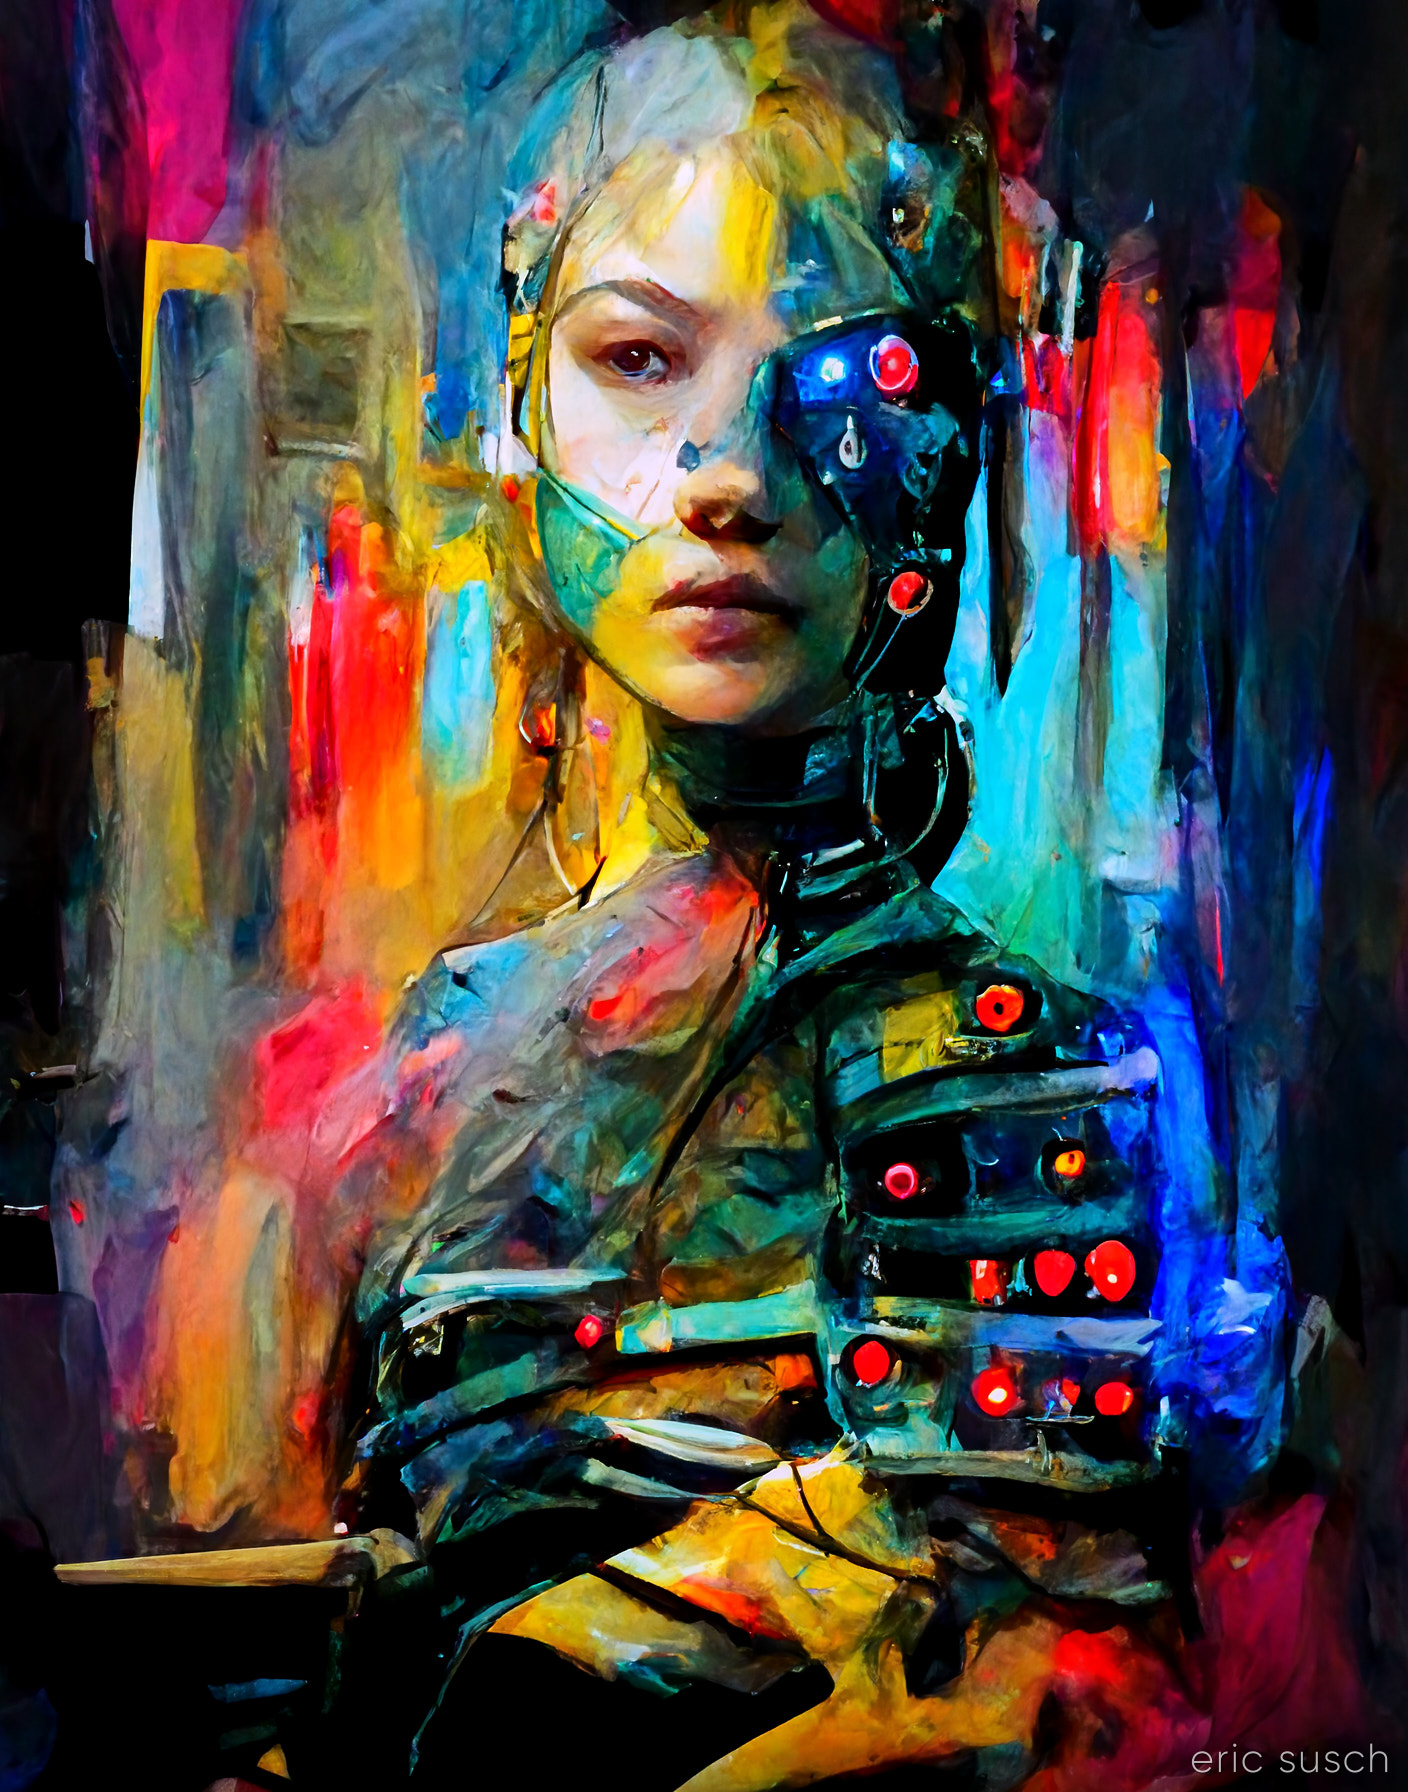
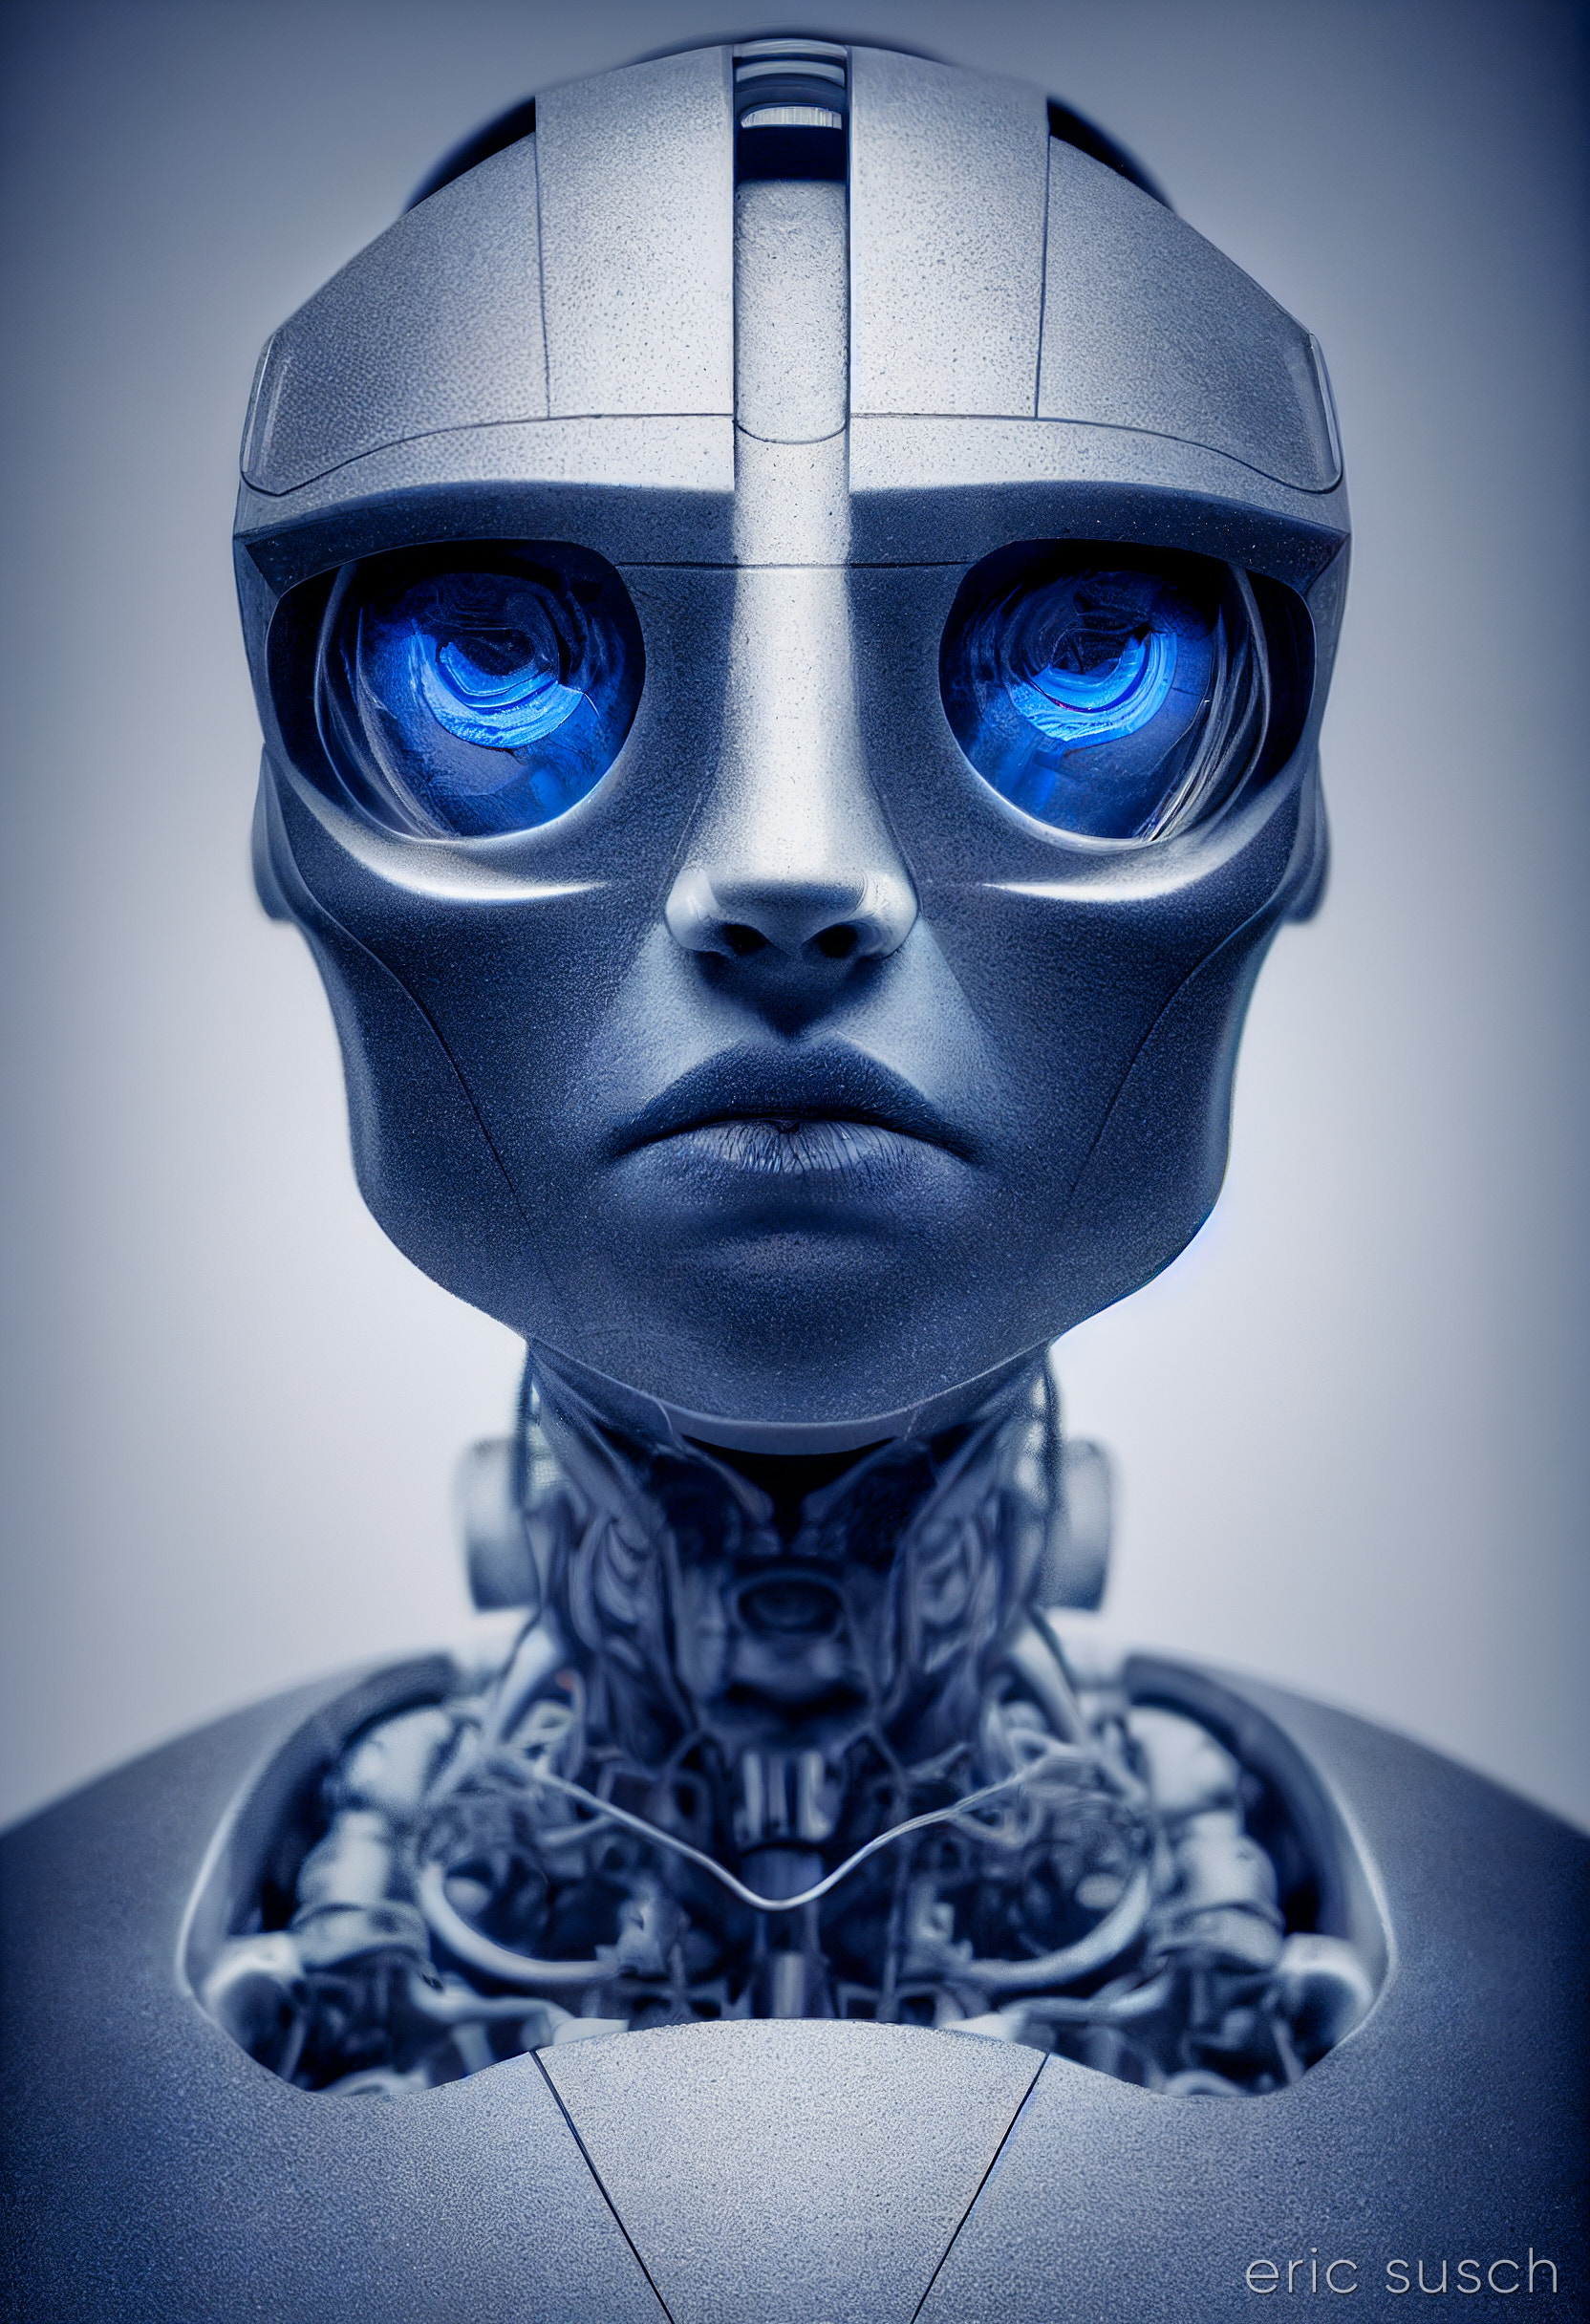
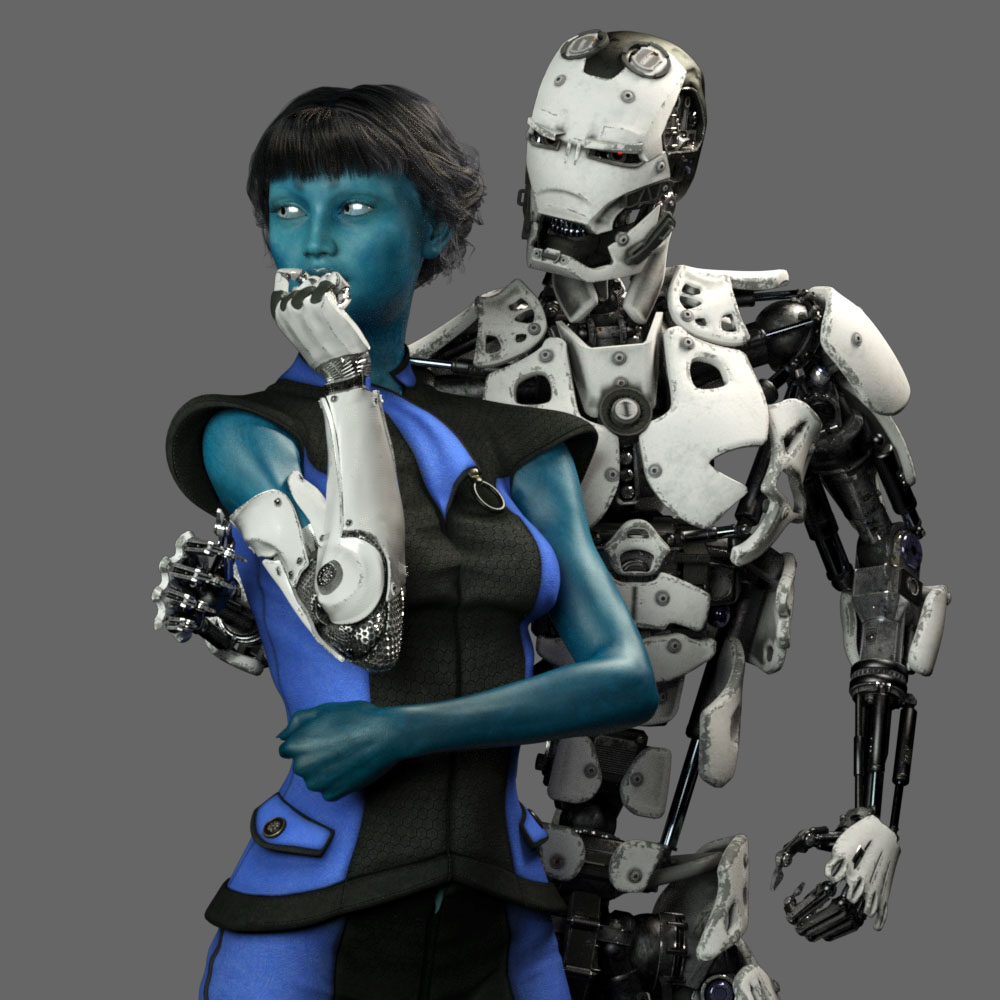
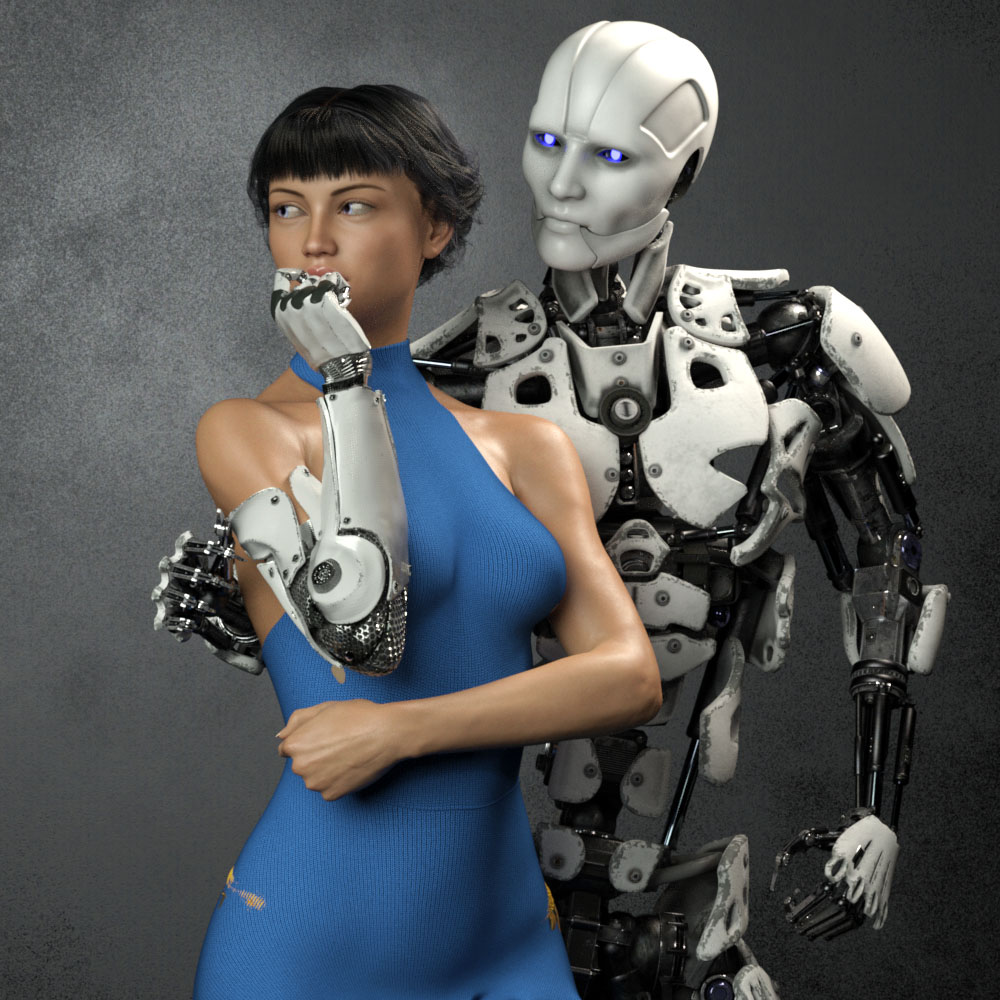
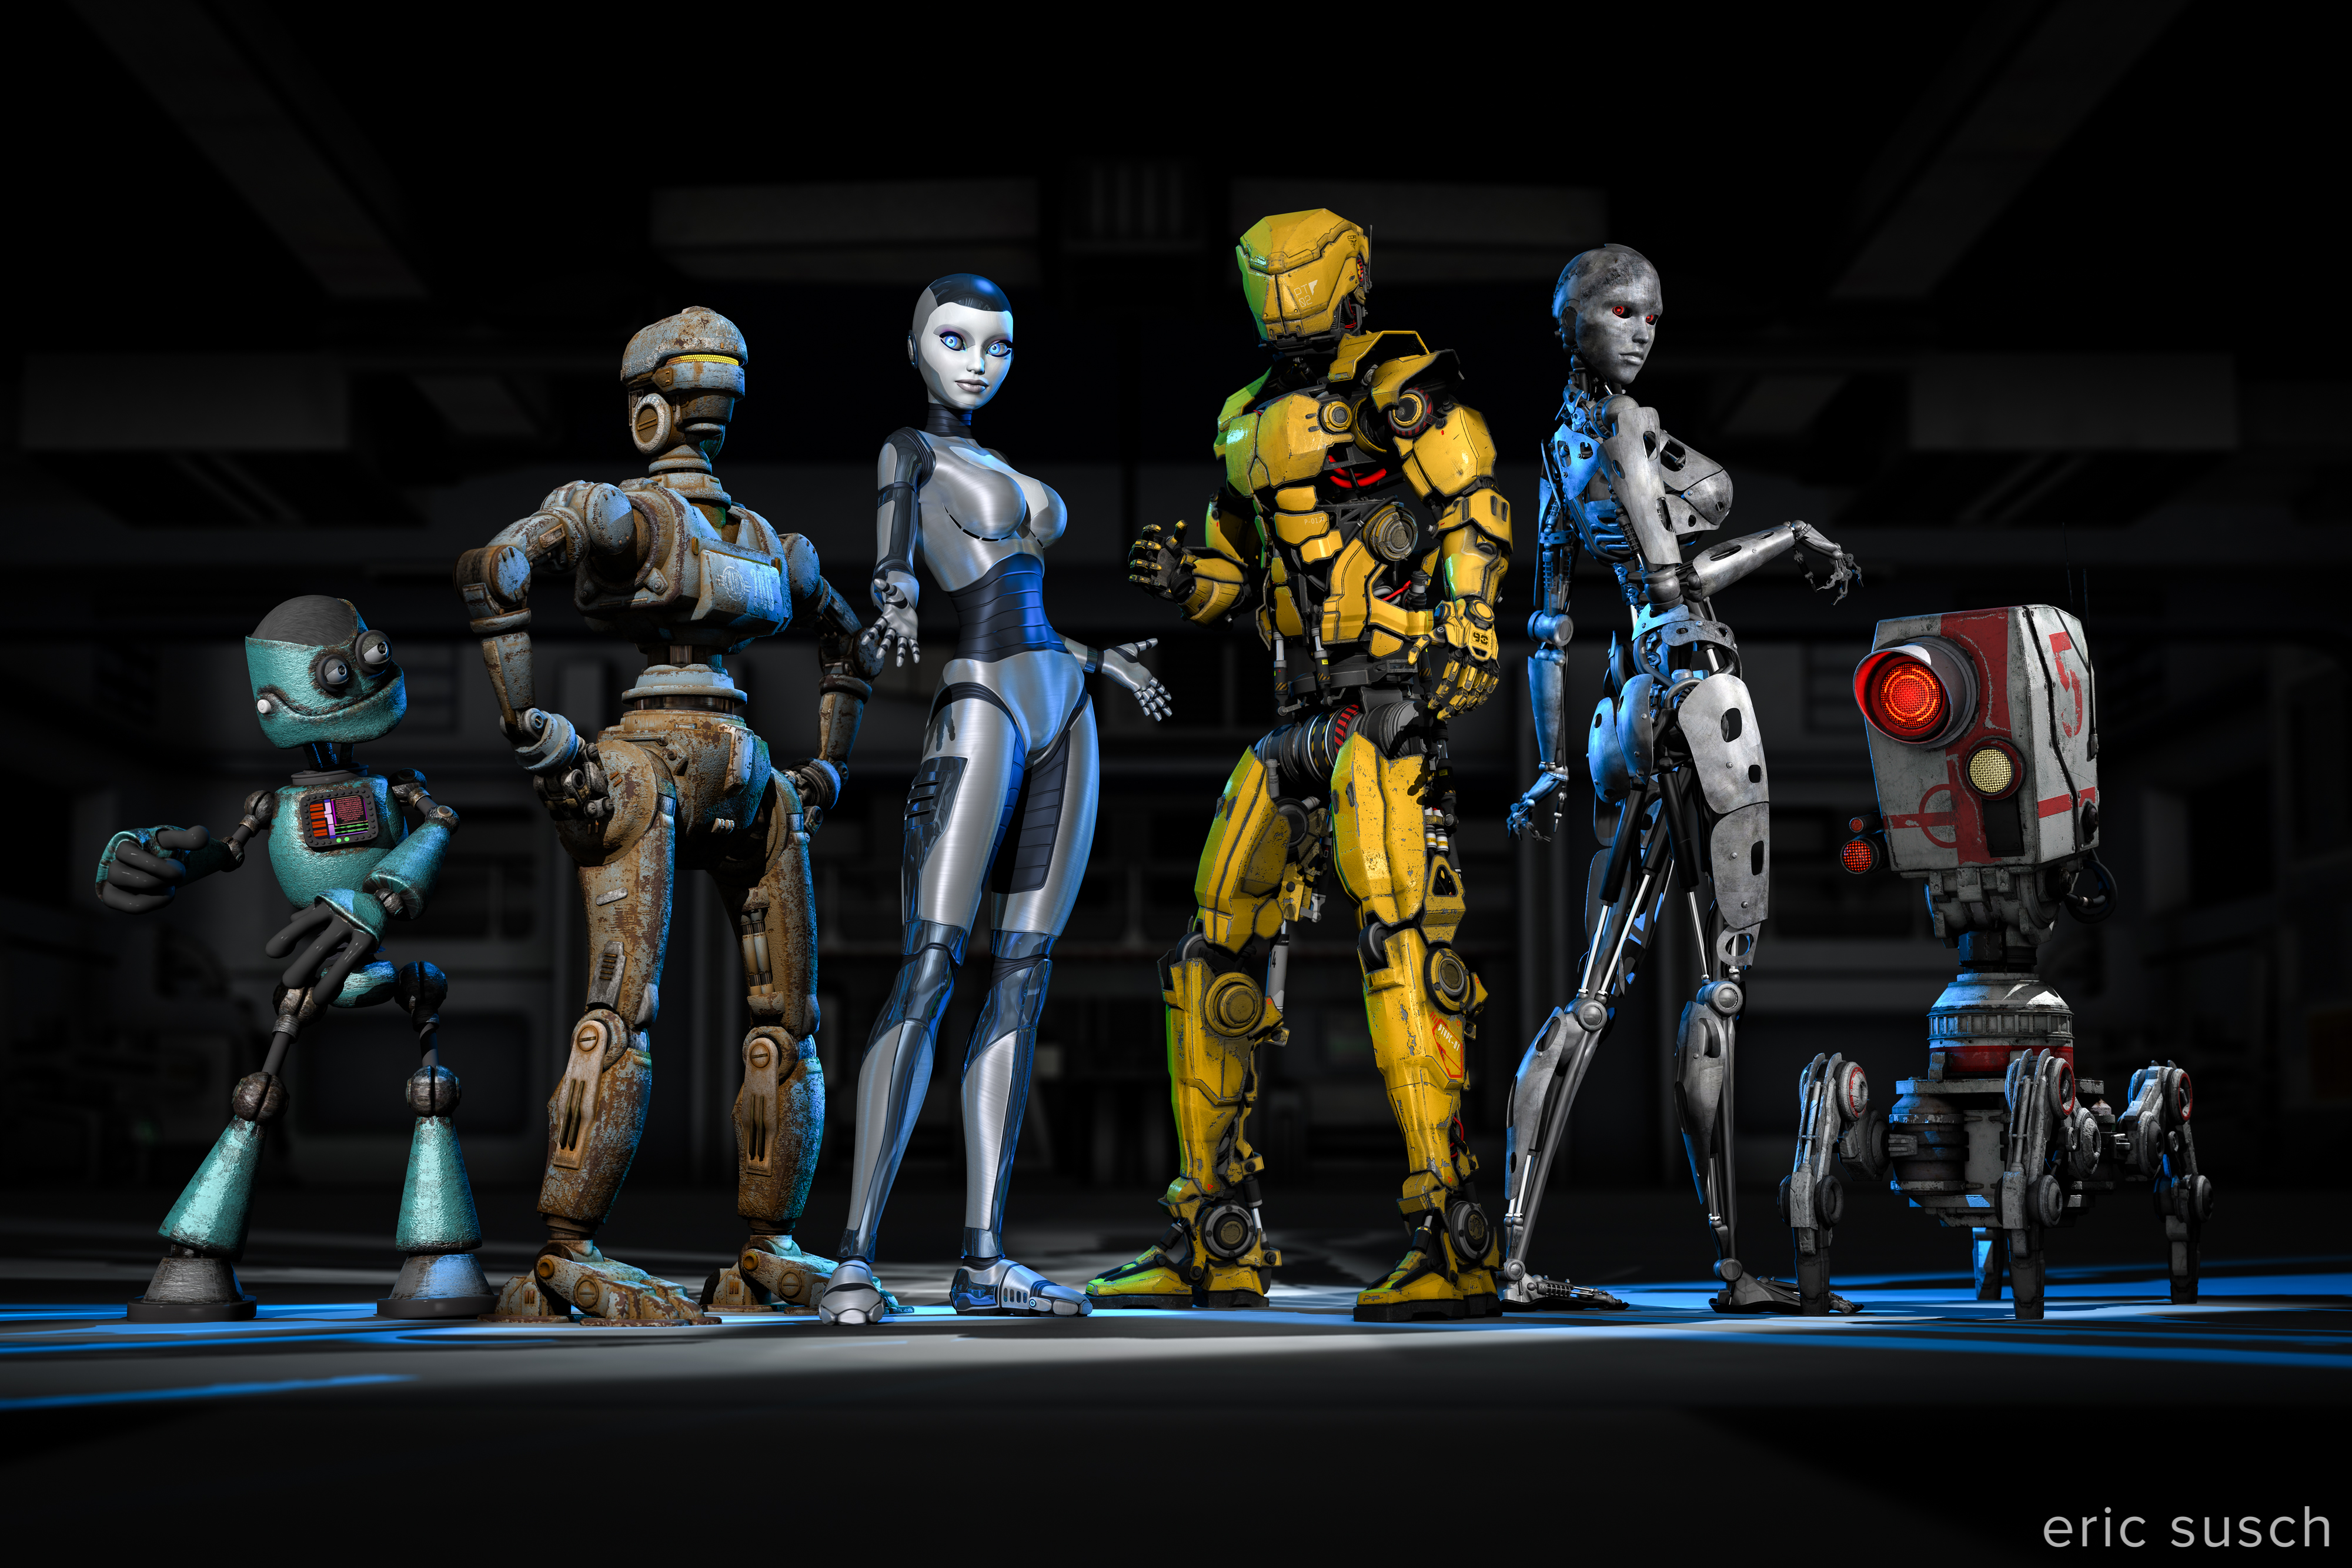
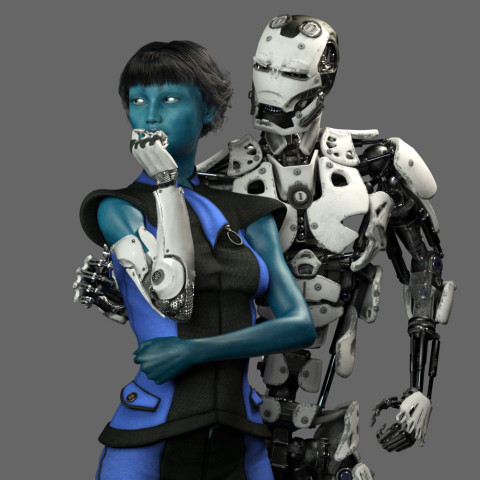
Maybe she should be an alien?  Blue is the accent color so it makes sense.  OK, maybe it’s too dark…

Cyborg loves Robot test render 39 cc
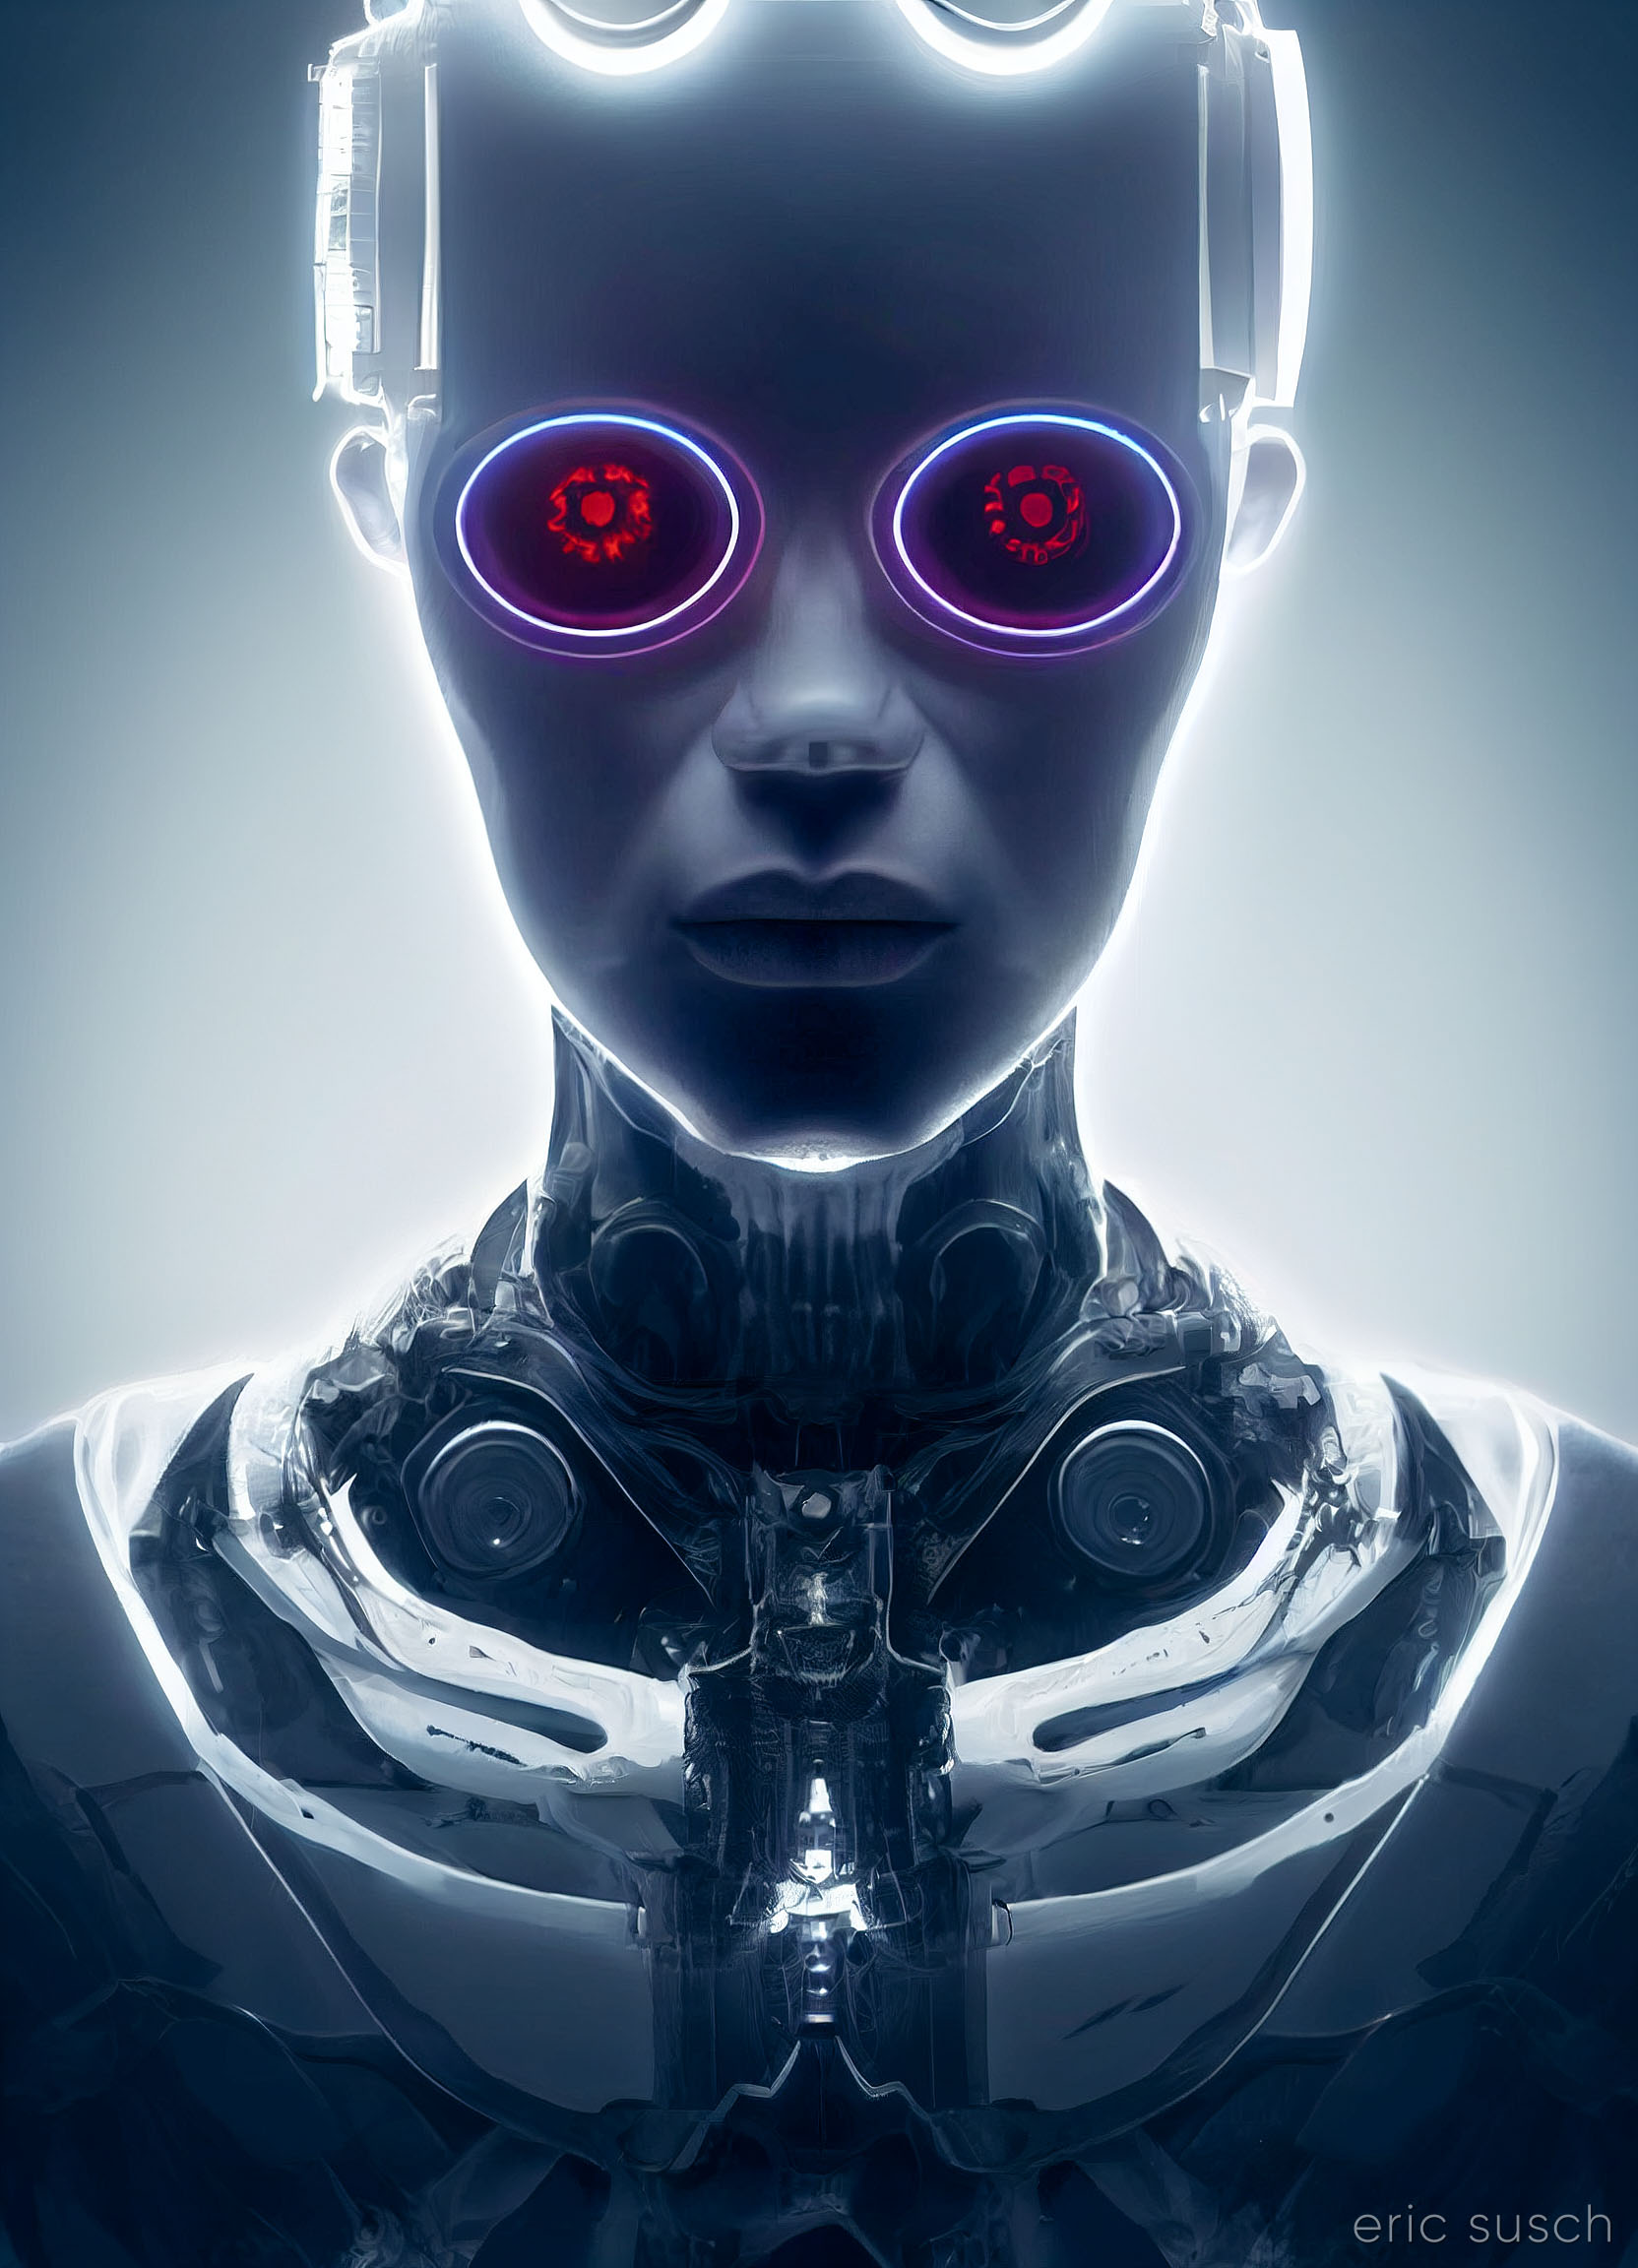
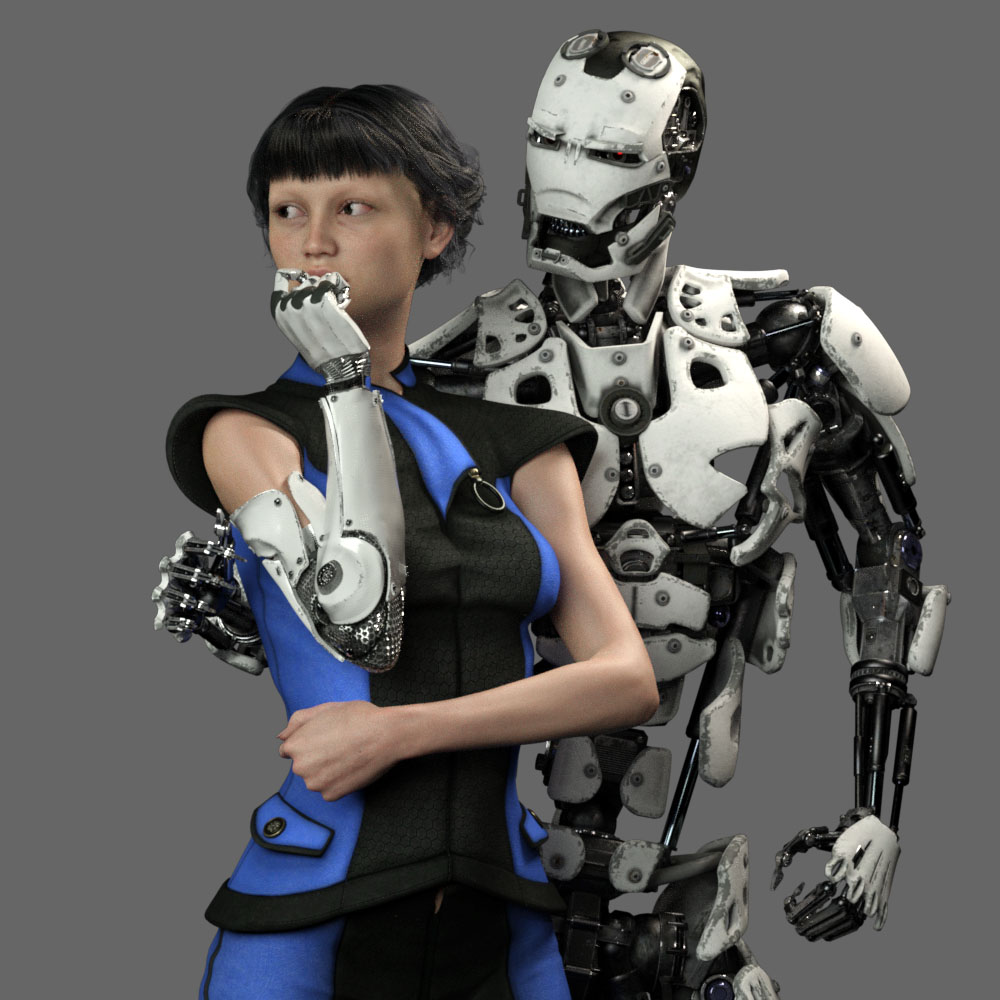
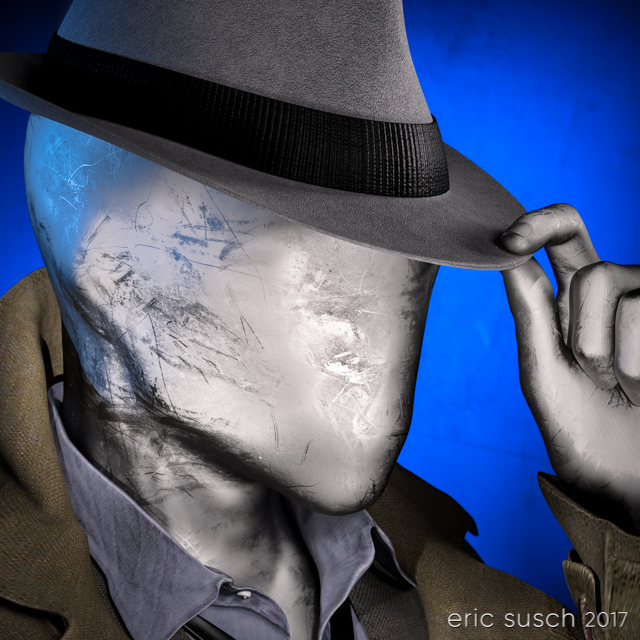
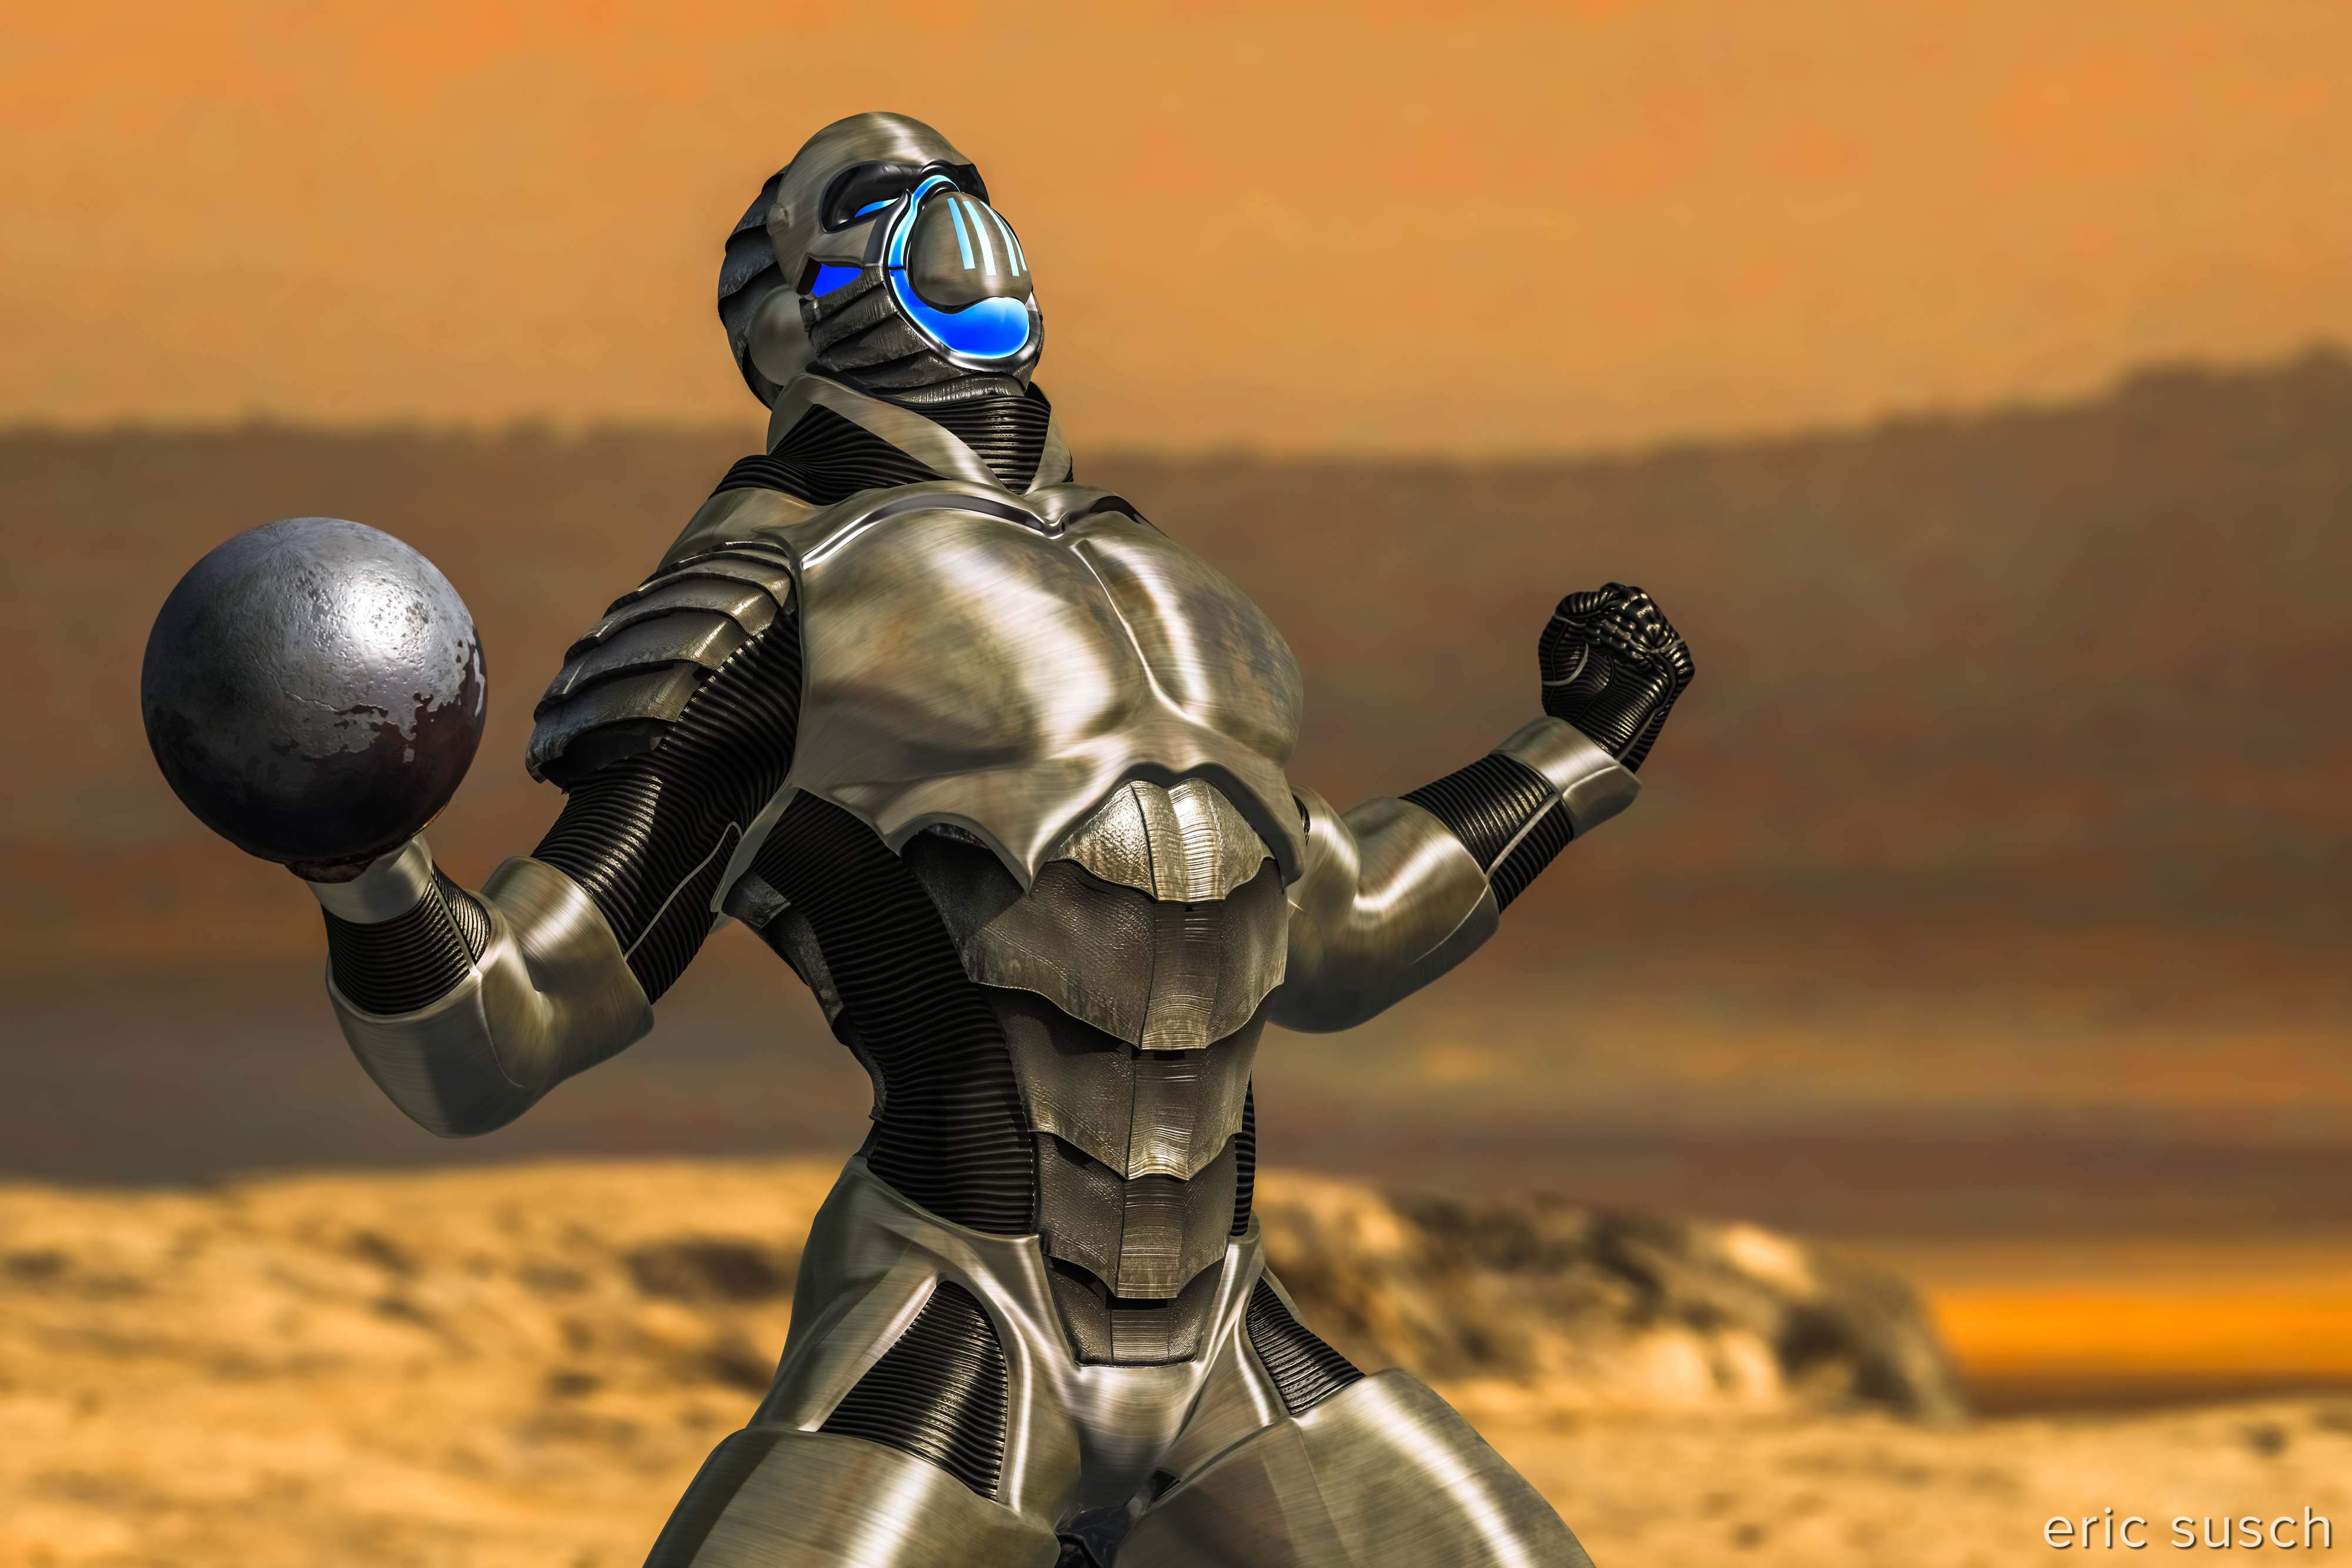
Angry robot face changed to gentle face.  I needed to get some humanity in this android.

Cyborg loves Robot test render 46 fitness 50
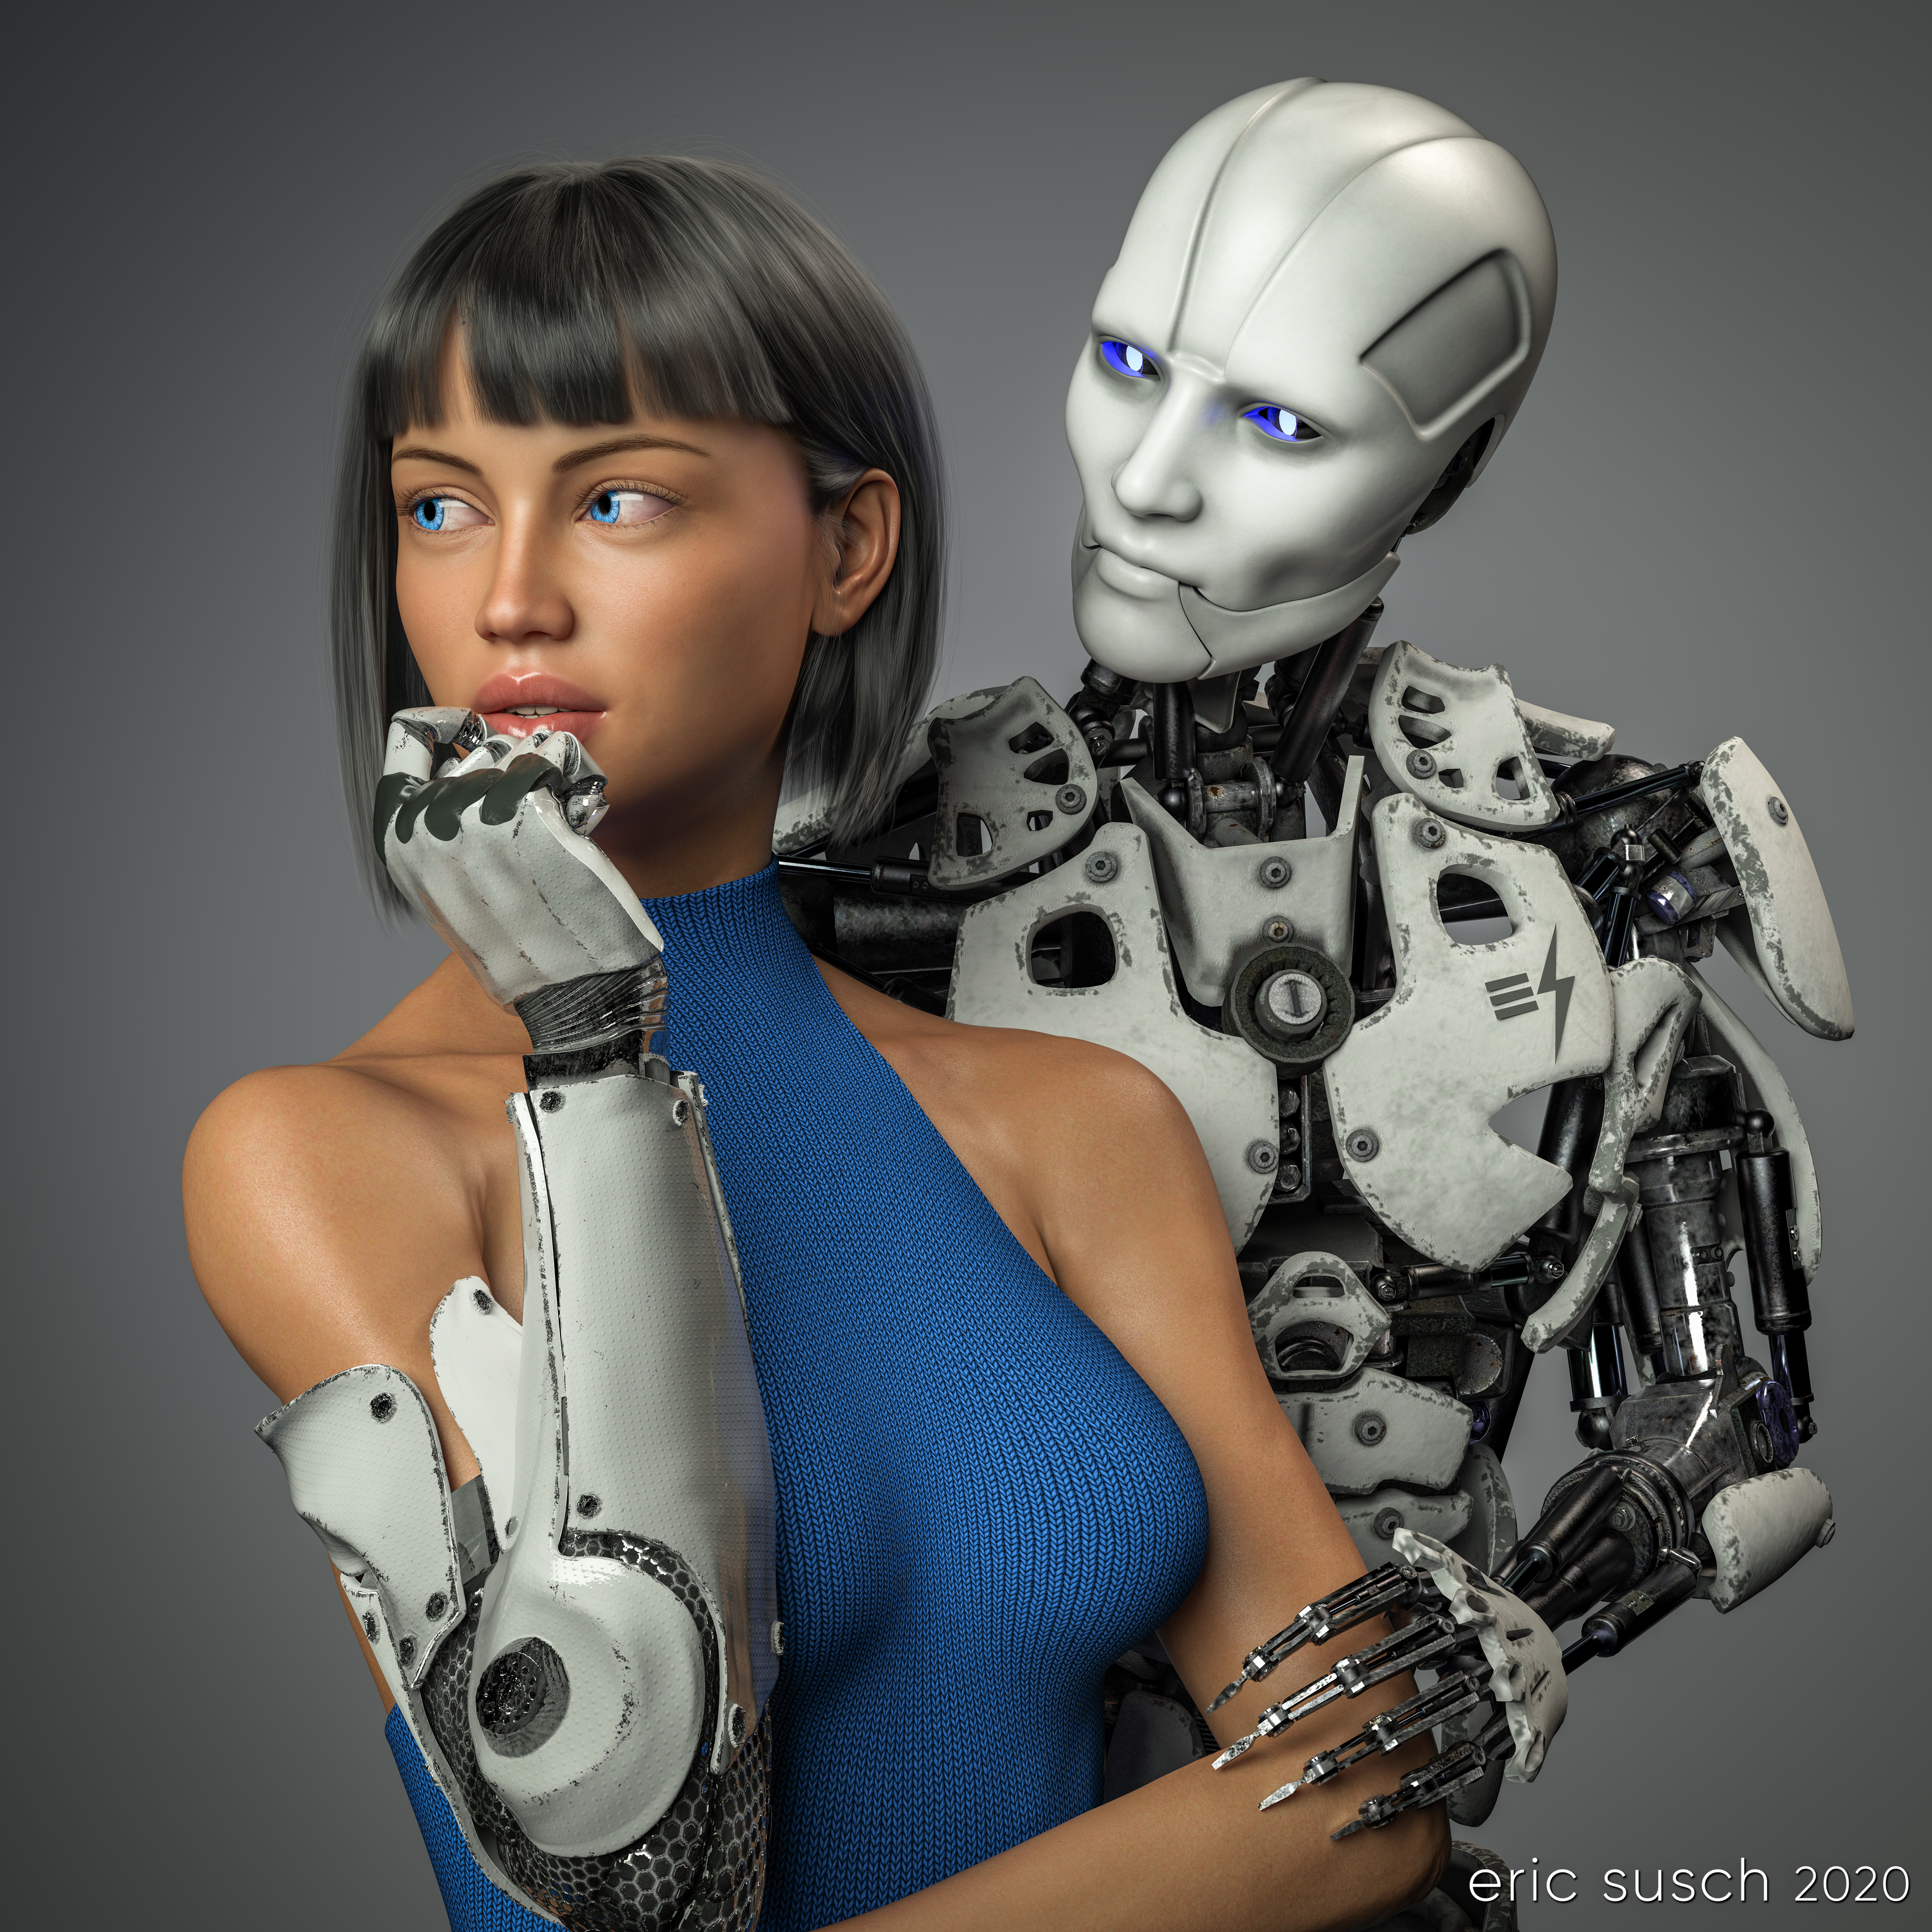
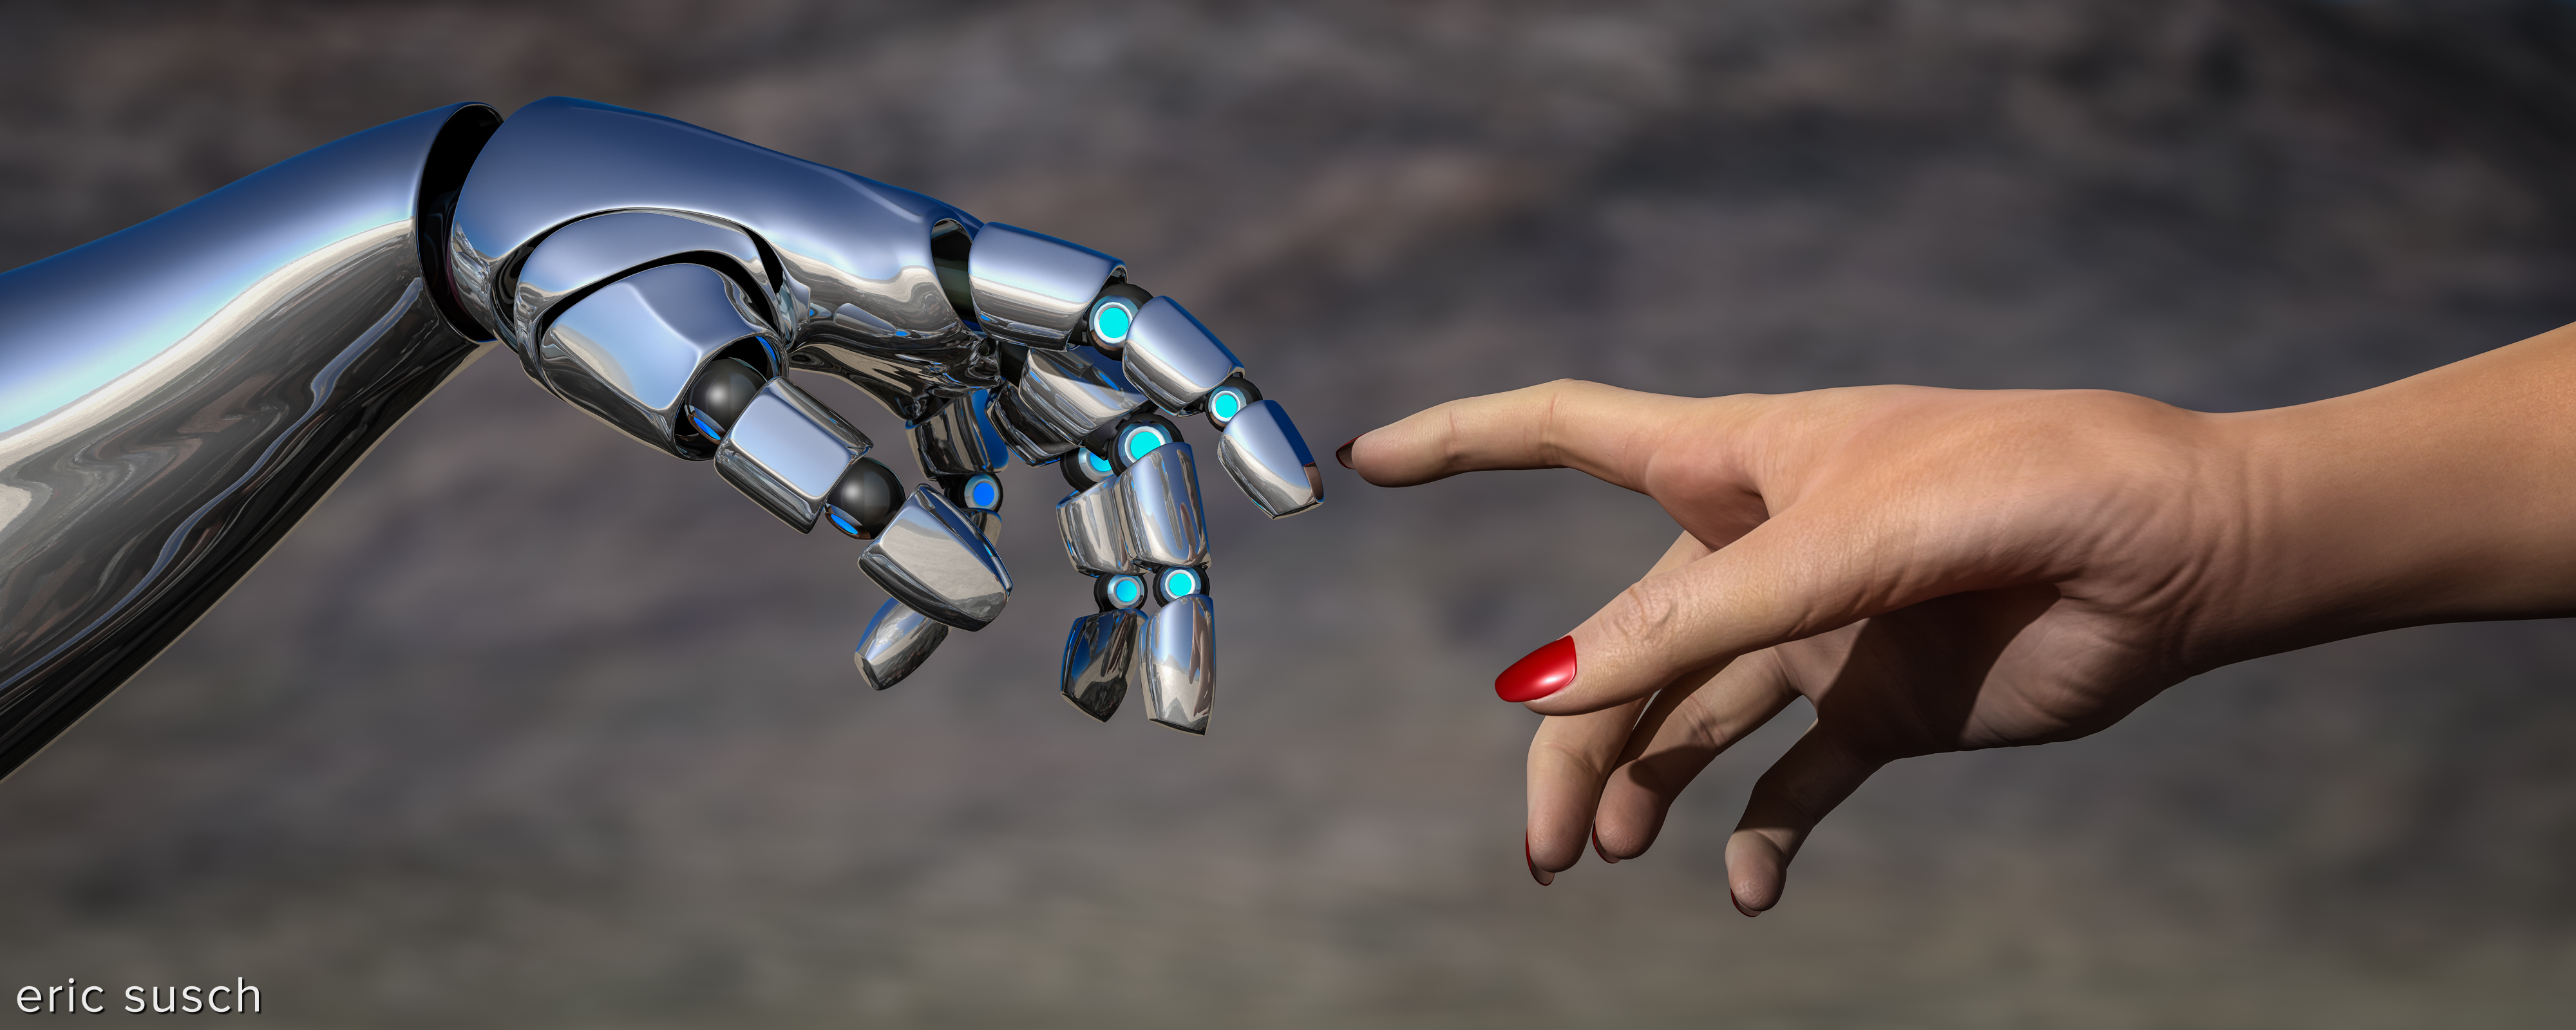
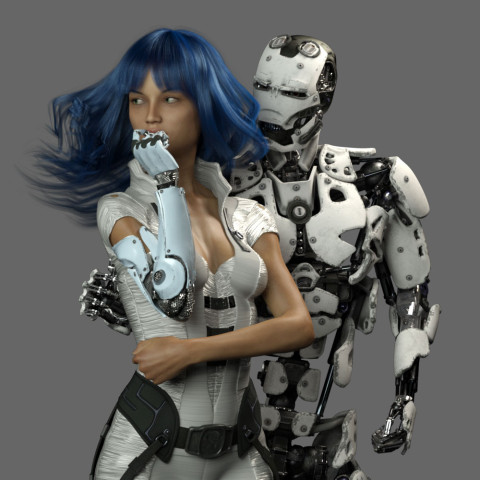
I eventually decided the girl needed bare shoulders to clearly see the cybernetic arm connection.  I wanted it to be clear that she was human and only her arm was mechanical.  This is also the reason I decided to ditch the idea of “space girl” type clothing which tends to be aggressive and hard.  She needed to be soft, the soft spot between the hard metal of her arm and the android.

Is Electronic Love to Blame 12 04 cam 05 cc
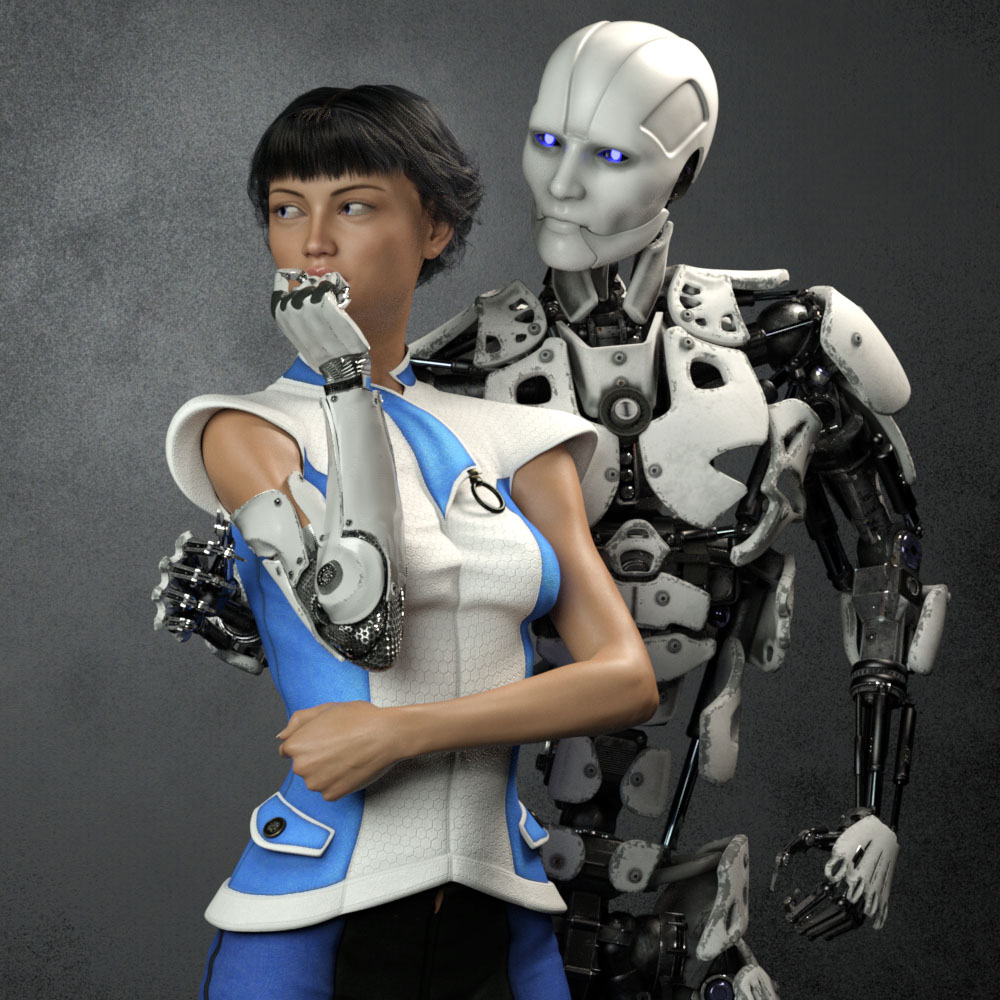
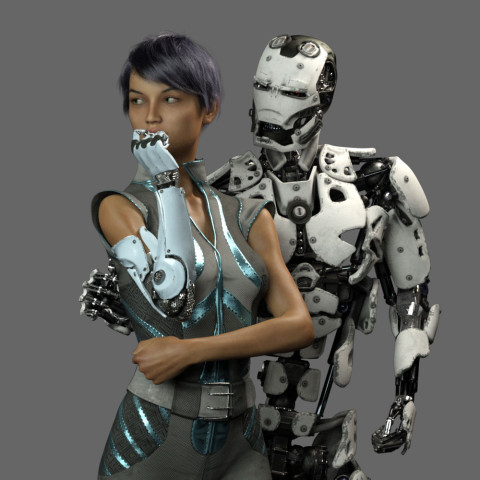
I finally decided to go with this “cold shoulder” dress.  When I was working to make it blue, I changed the original cloth to a knit fabric because my wife CAT is a knitter.  That just made sense to me.

Is Electronic Love to Blame 14 00
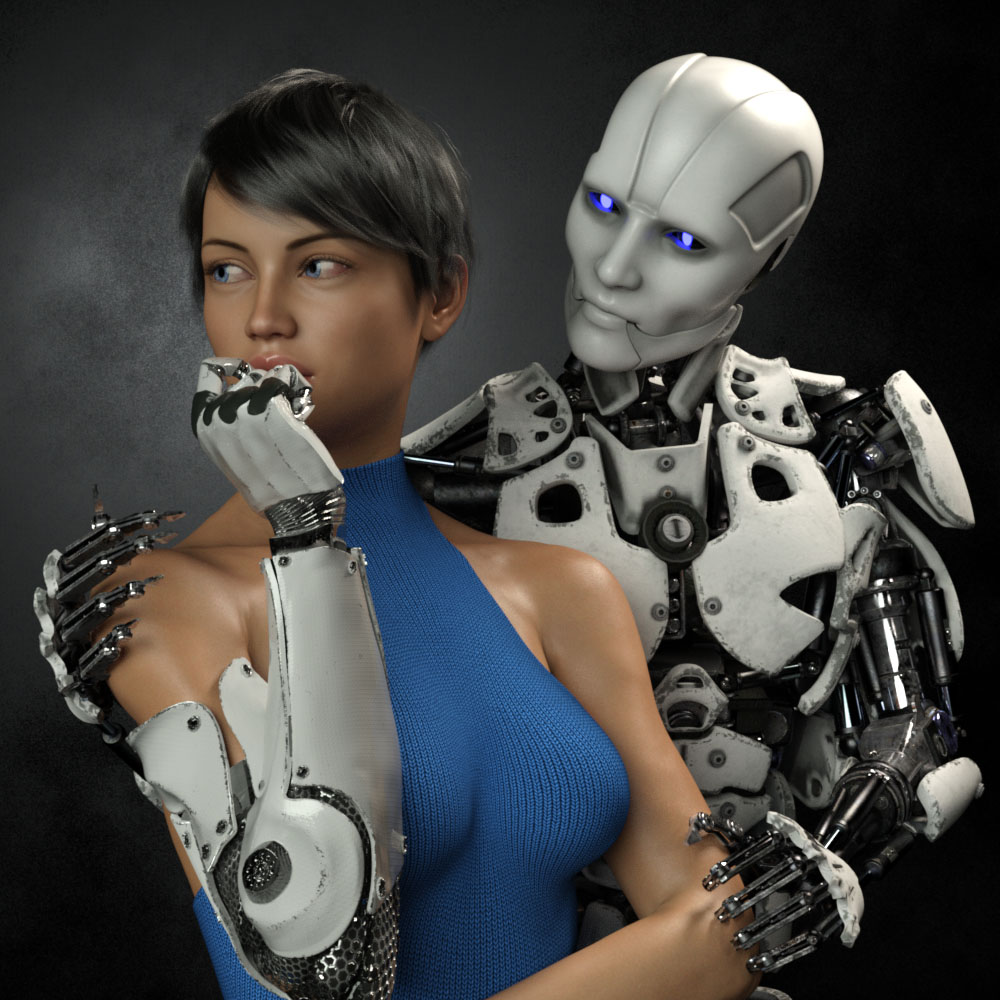
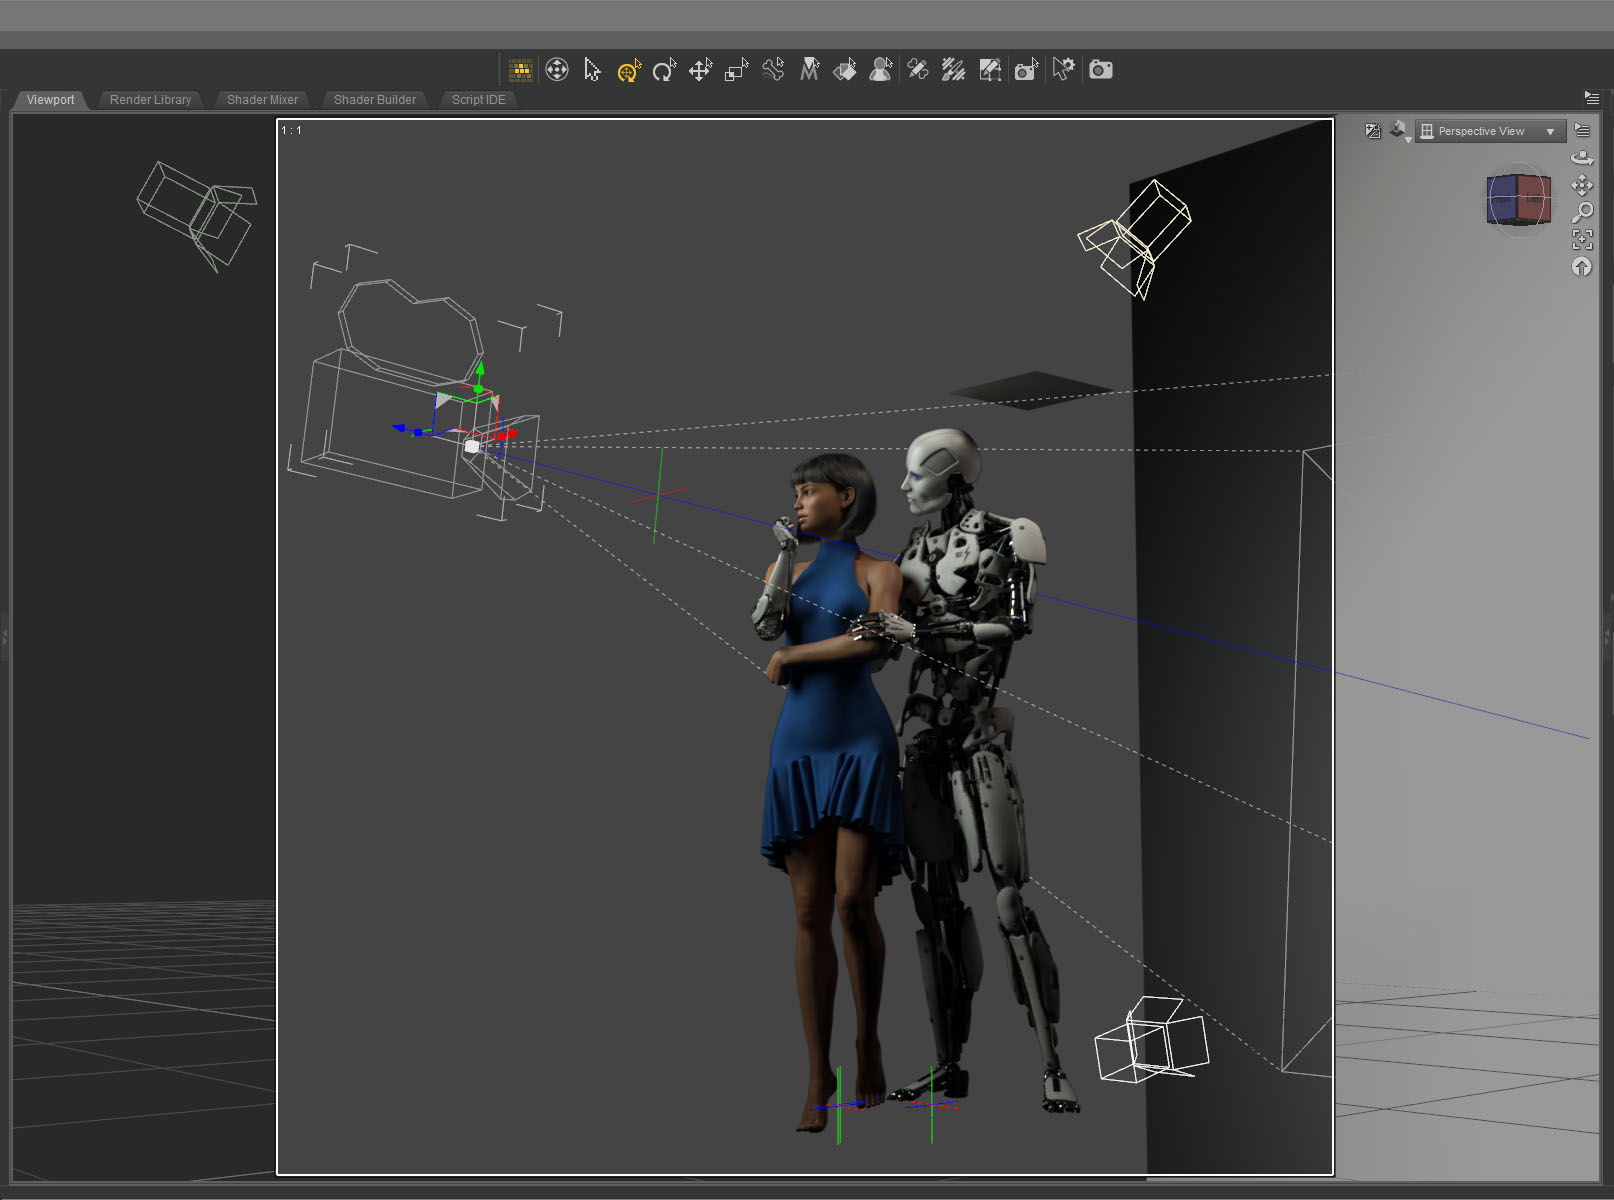
Eventually I realized that I had set the camera too far away, and moved in closer.  This always happens.  It’s always better after I move in.  It’s just part of my process I guess.

Adjusting for the new composition, I tried moving the robots right hand up to her shoulder.  It ended up too creepy though.  Trying to get the sharp metal fingers to show some sensitivity was proving difficult.  It also fouled up the clean skin / machine connection I wanted for her cybernetic arm.  I eventually moved the android’s right hand behind her back out of sight and concentrated on getting the left hand in the correct position.  It took me three tries to get the left arm to look relaxed and gentle.

Cyborg loves Robot BTS skin and machine
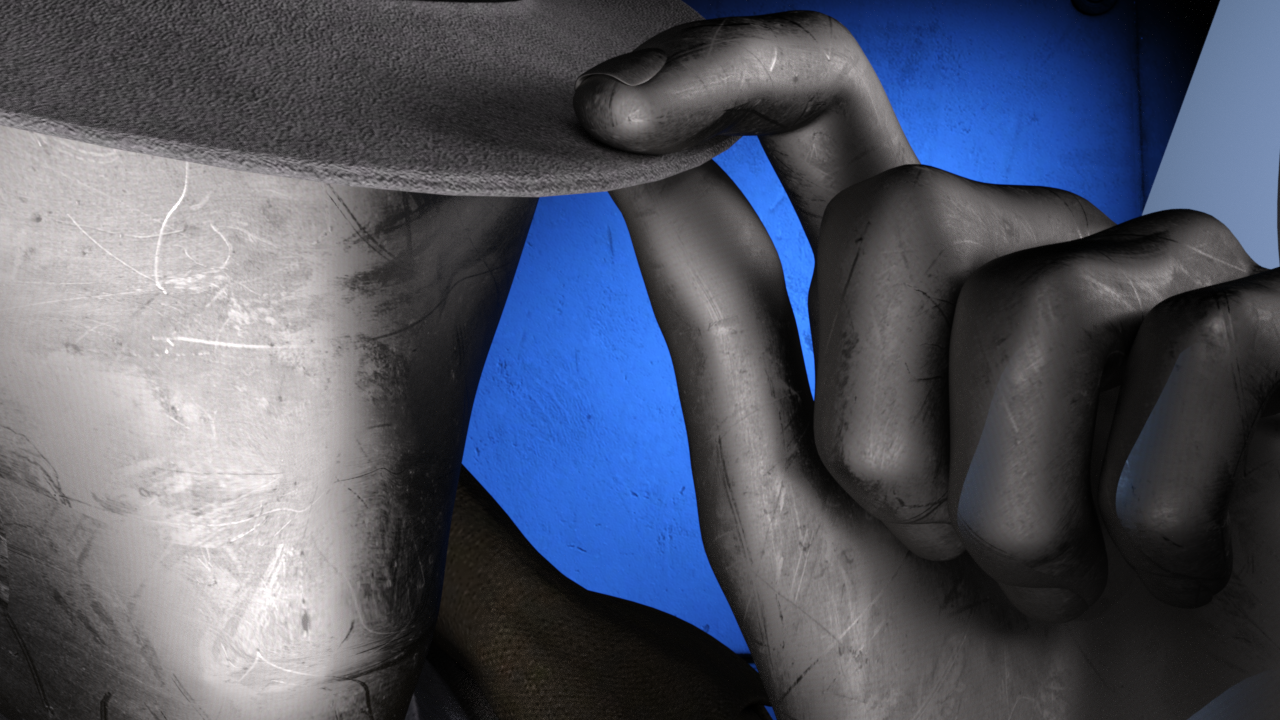
I also spent a tremendous amount of time trying to get the android fingers positioned just right so that they didn’t look like they were gouging the girl’s arm, yet at the same time, catching the light in a nice way.  Skin against machine was becoming a major theme apparently.  Same with the cybernetic fingers and her lips.  I actually moved the camera and lengthened the girl’s neck at one point so you could see more of her mouth.

Is Electronic Love to Blame 23 00 cam 17 lower arms and neck movedThen, of course I second guessed myself and pulled the shot back to re-visit the original concept of the hand around the waist.  Worked on that for awhile but thankfully came to my senses.  Maybe I’ll revisit this wider shot if I do a different version with a vertical aspect ratio.

Cyborg loves Robot BTS camera setup 03
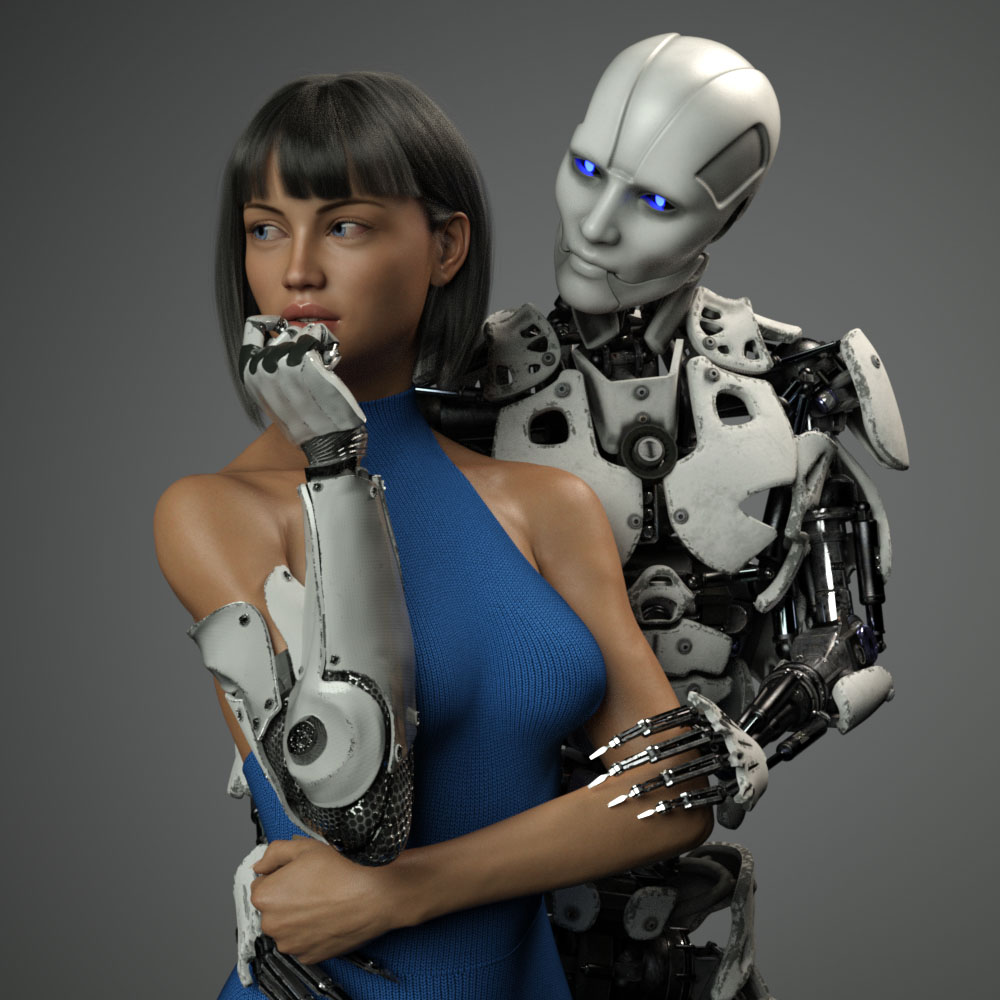
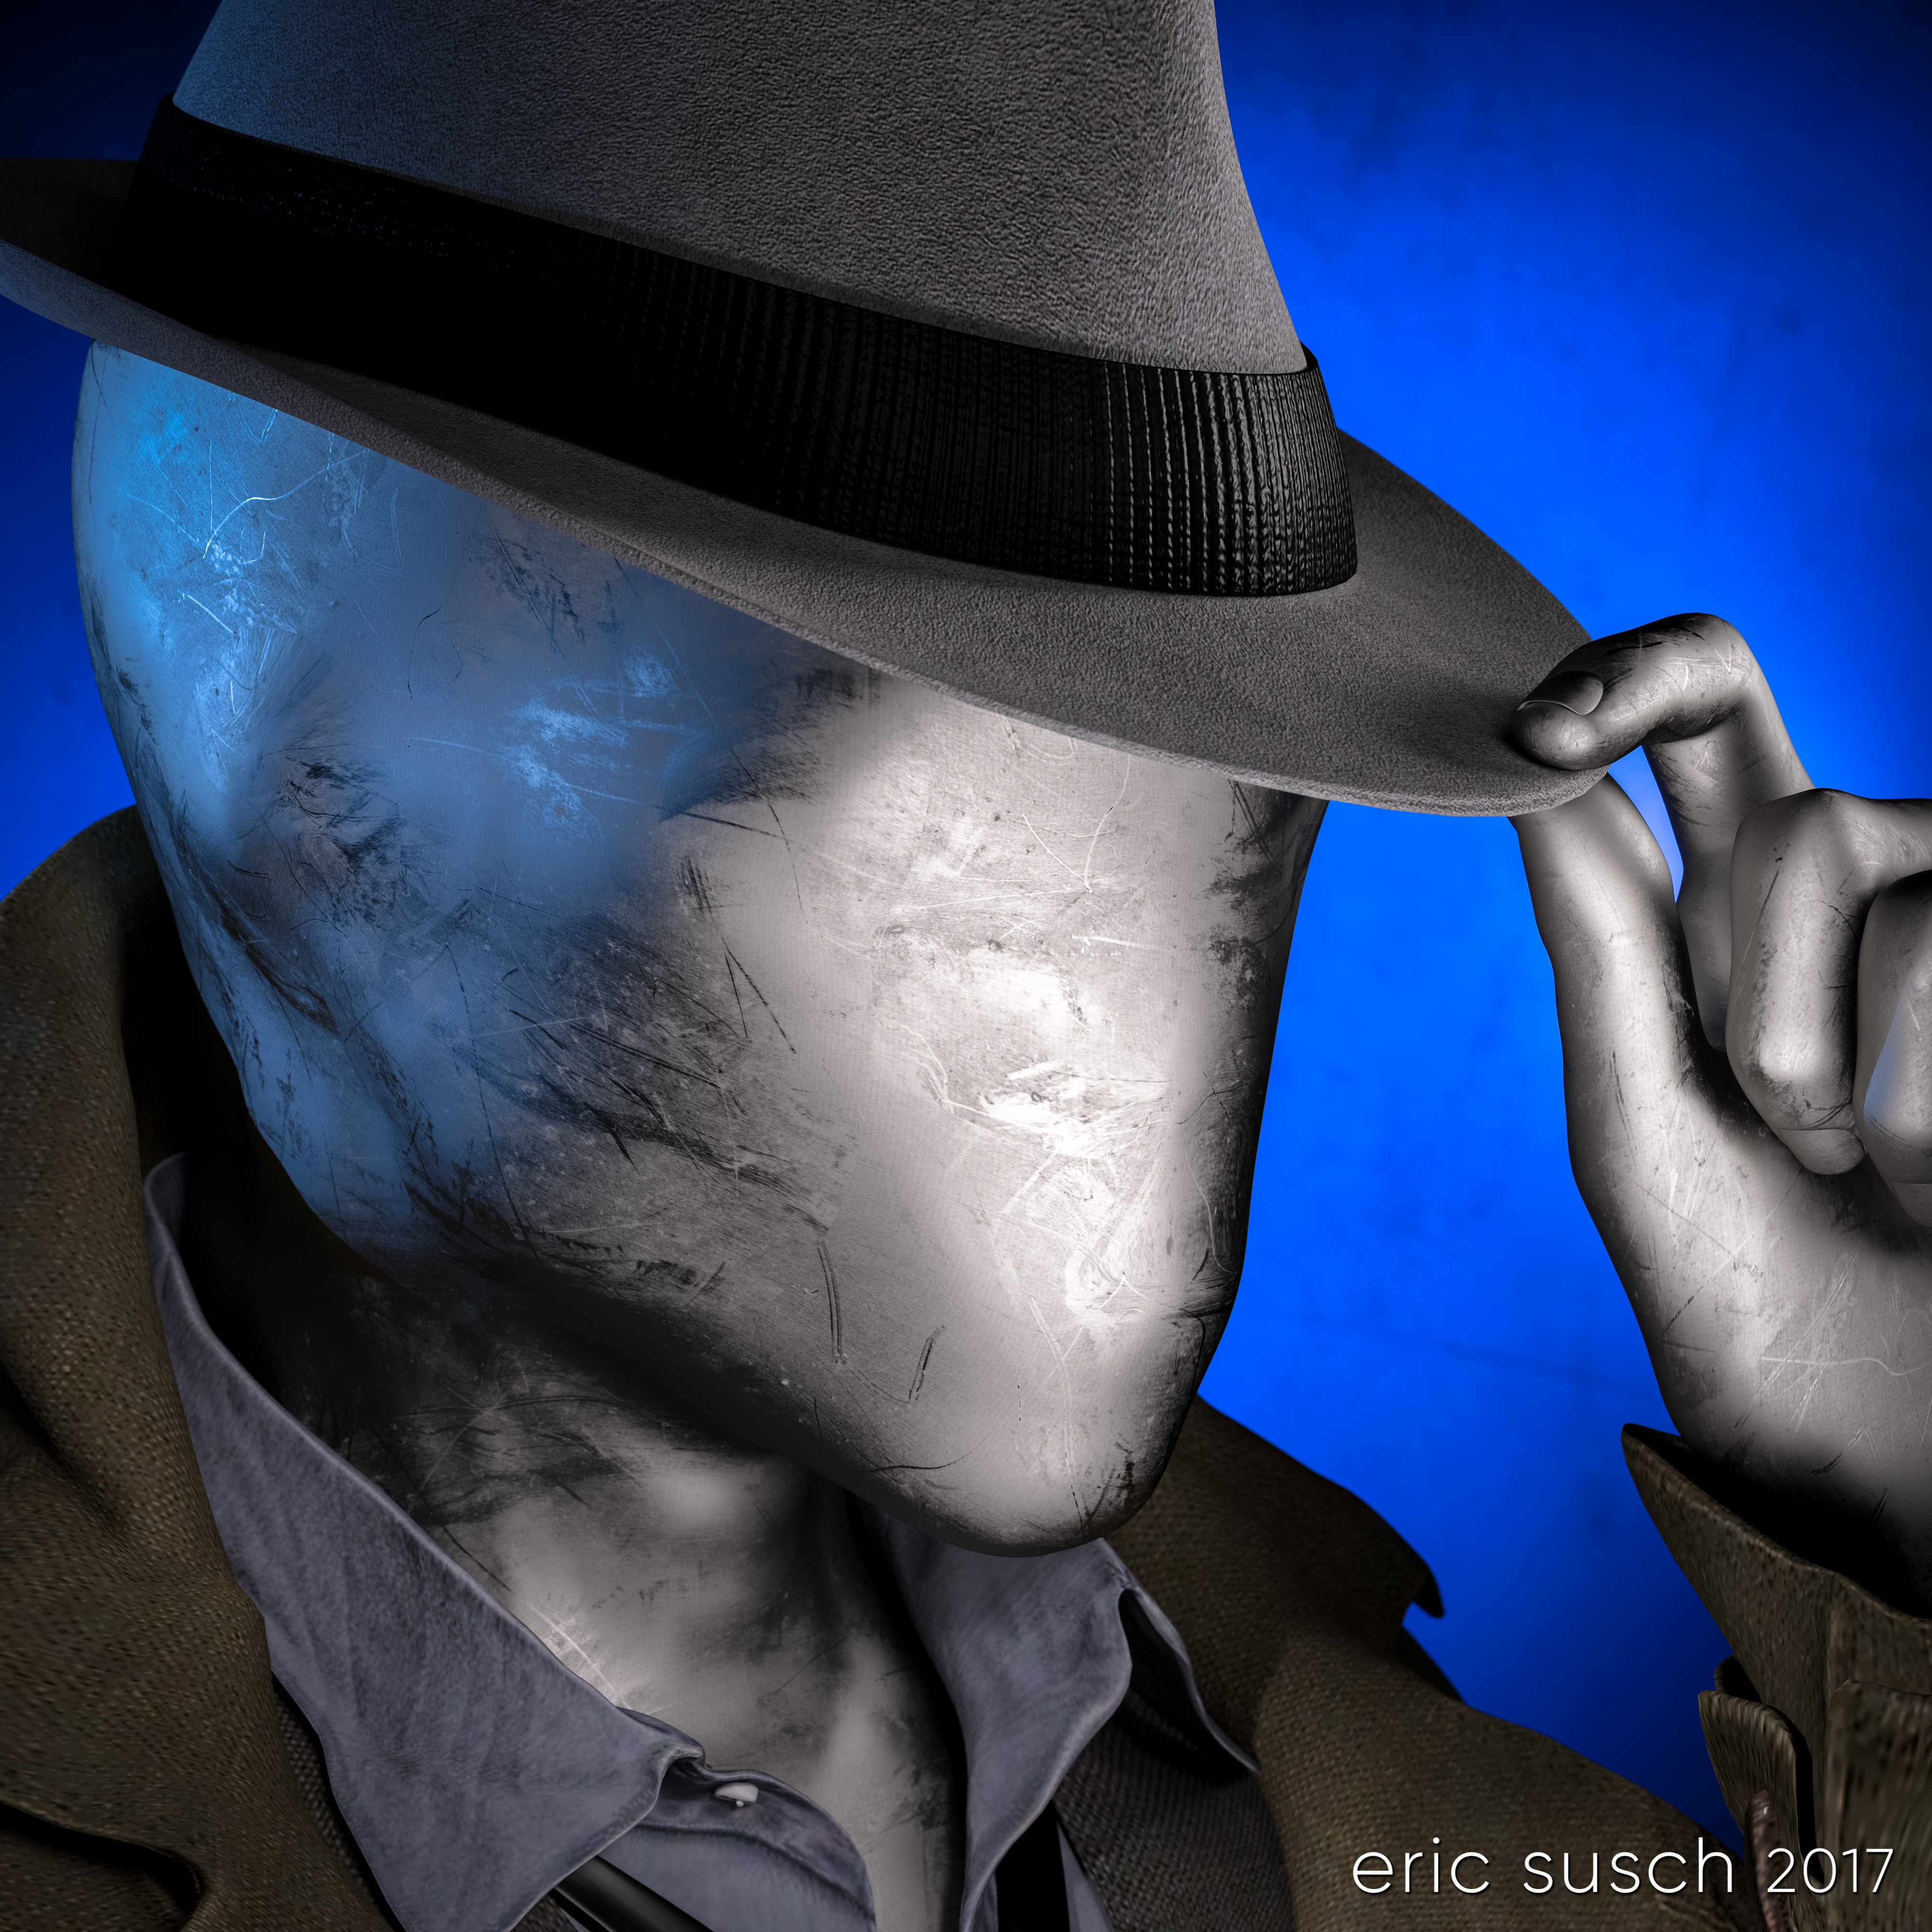
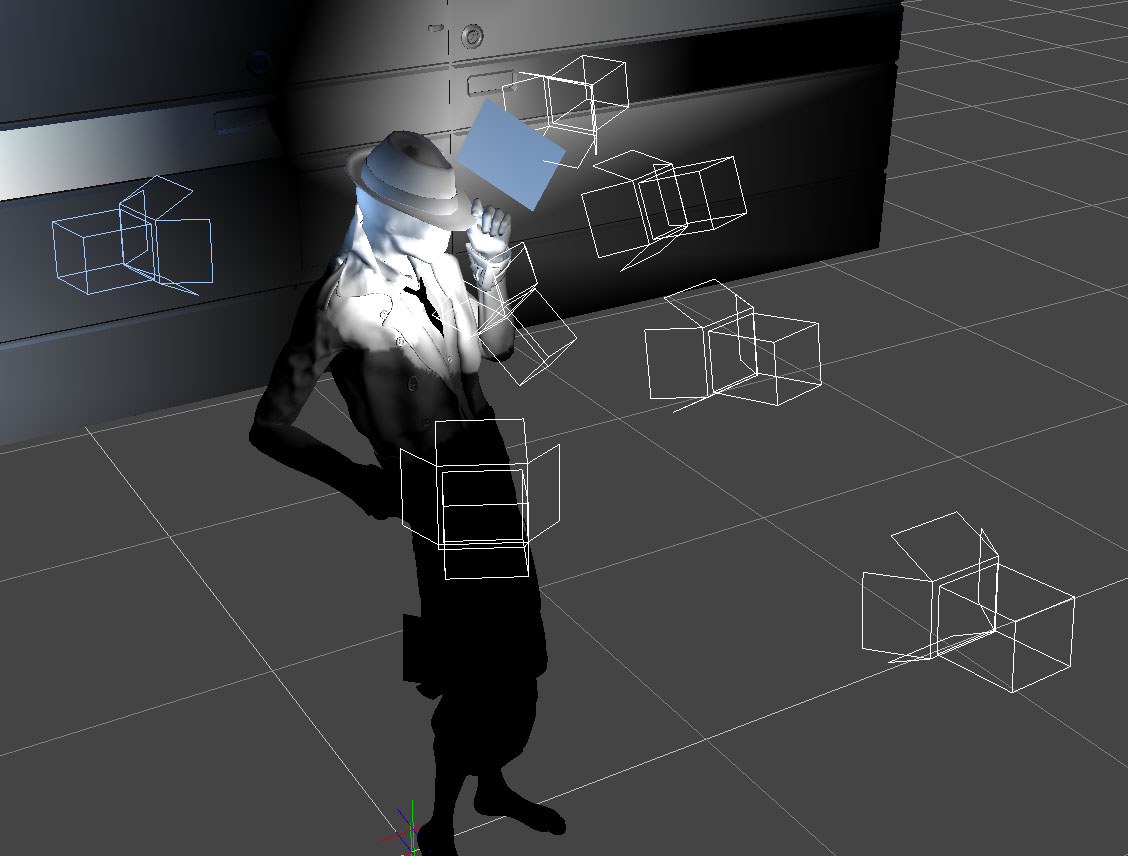
I only needed three lights to illuminate the scene.  A key from the front doing most of the work.  A hair light from the top that was also doubling as a fill light.  And a spot on the gray background plane.  I created another tiny plane just out of frame above the android to cut down the reflection on his white bald head.

Cyborg loves Robot BTS rendering
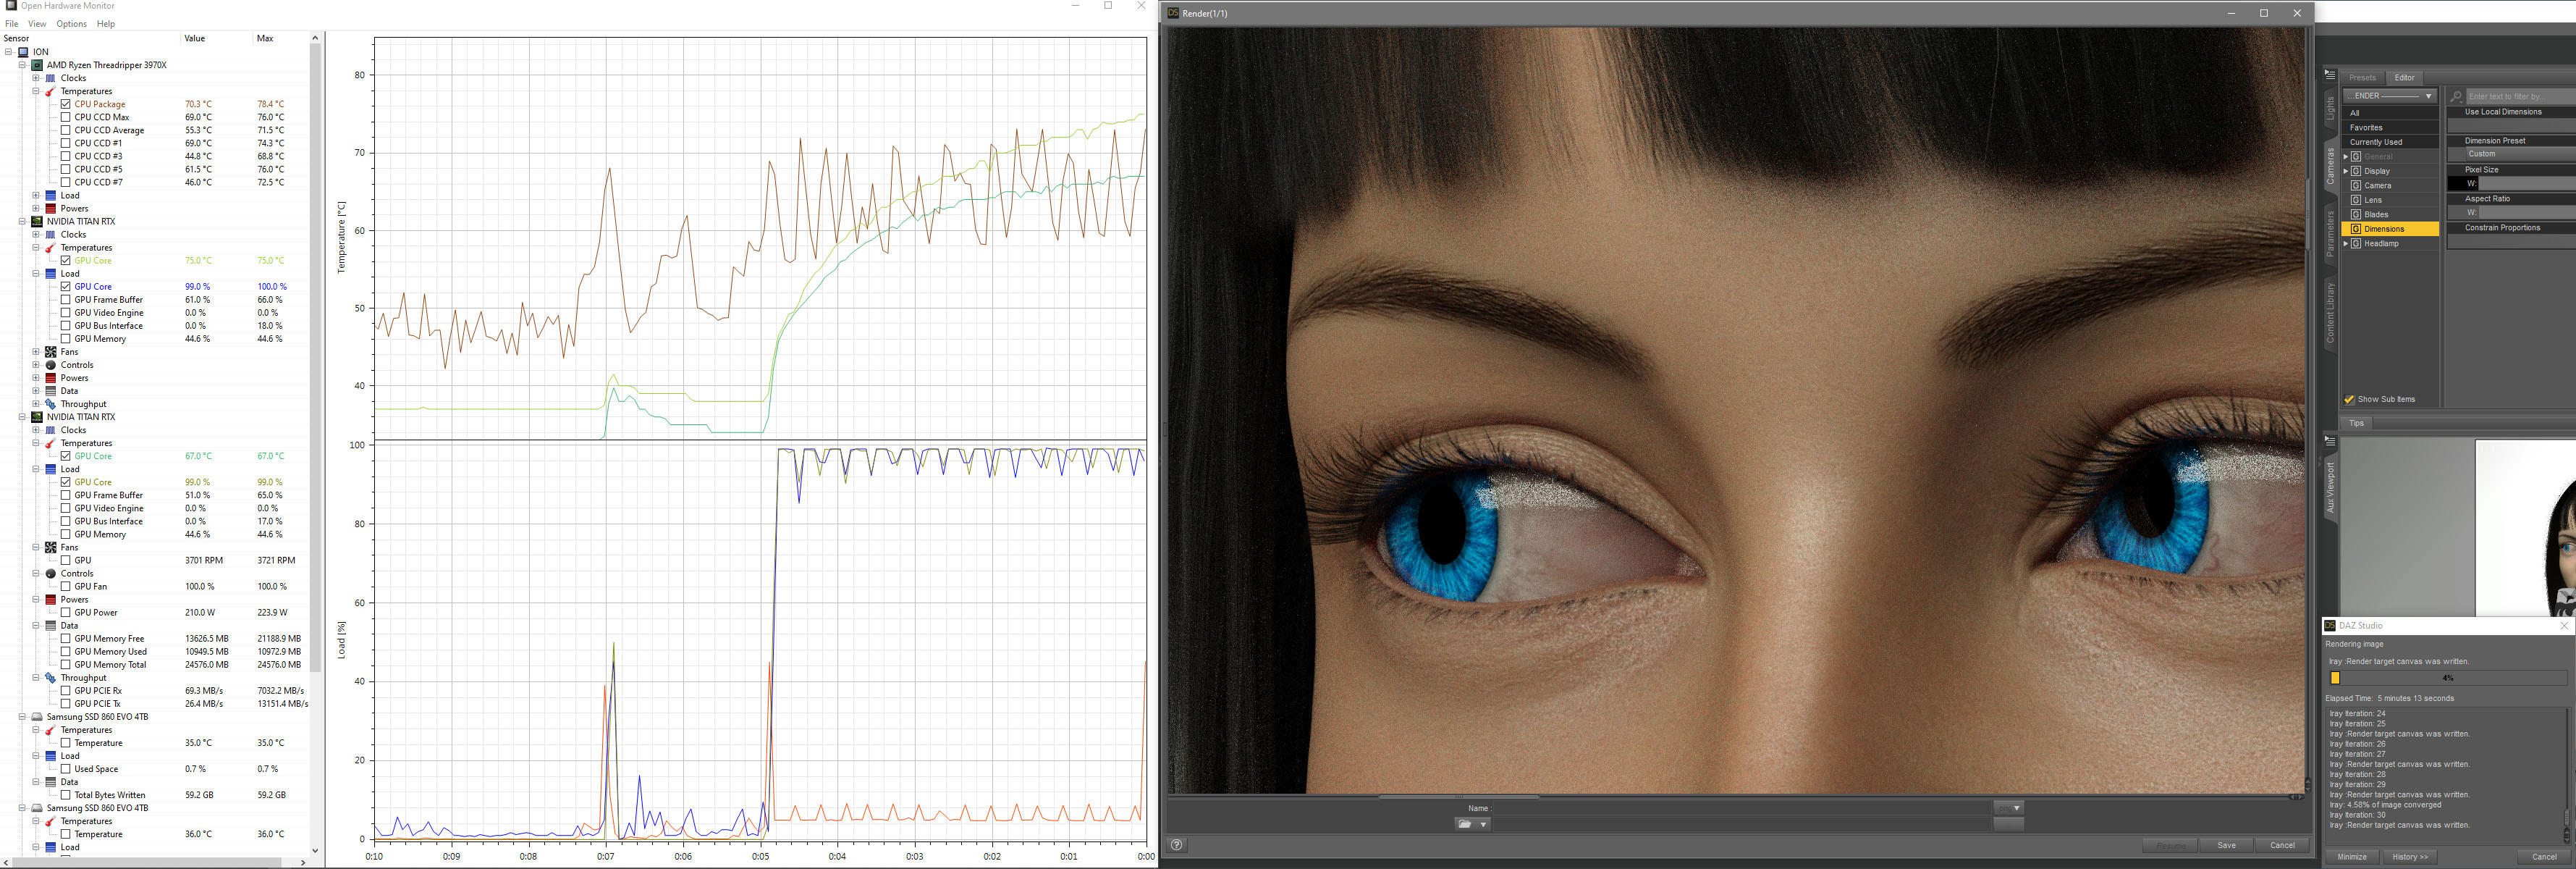
The final Iray render took about two hours at 10800 x 10800 resolution.  I was surprised.  That’s very fast.  I’ve had renders at this resolution go ten hours or more.  I’m guessing the plain background and the overall brightness of the scene helped.

Cyborg loves Robot BTS robot cu
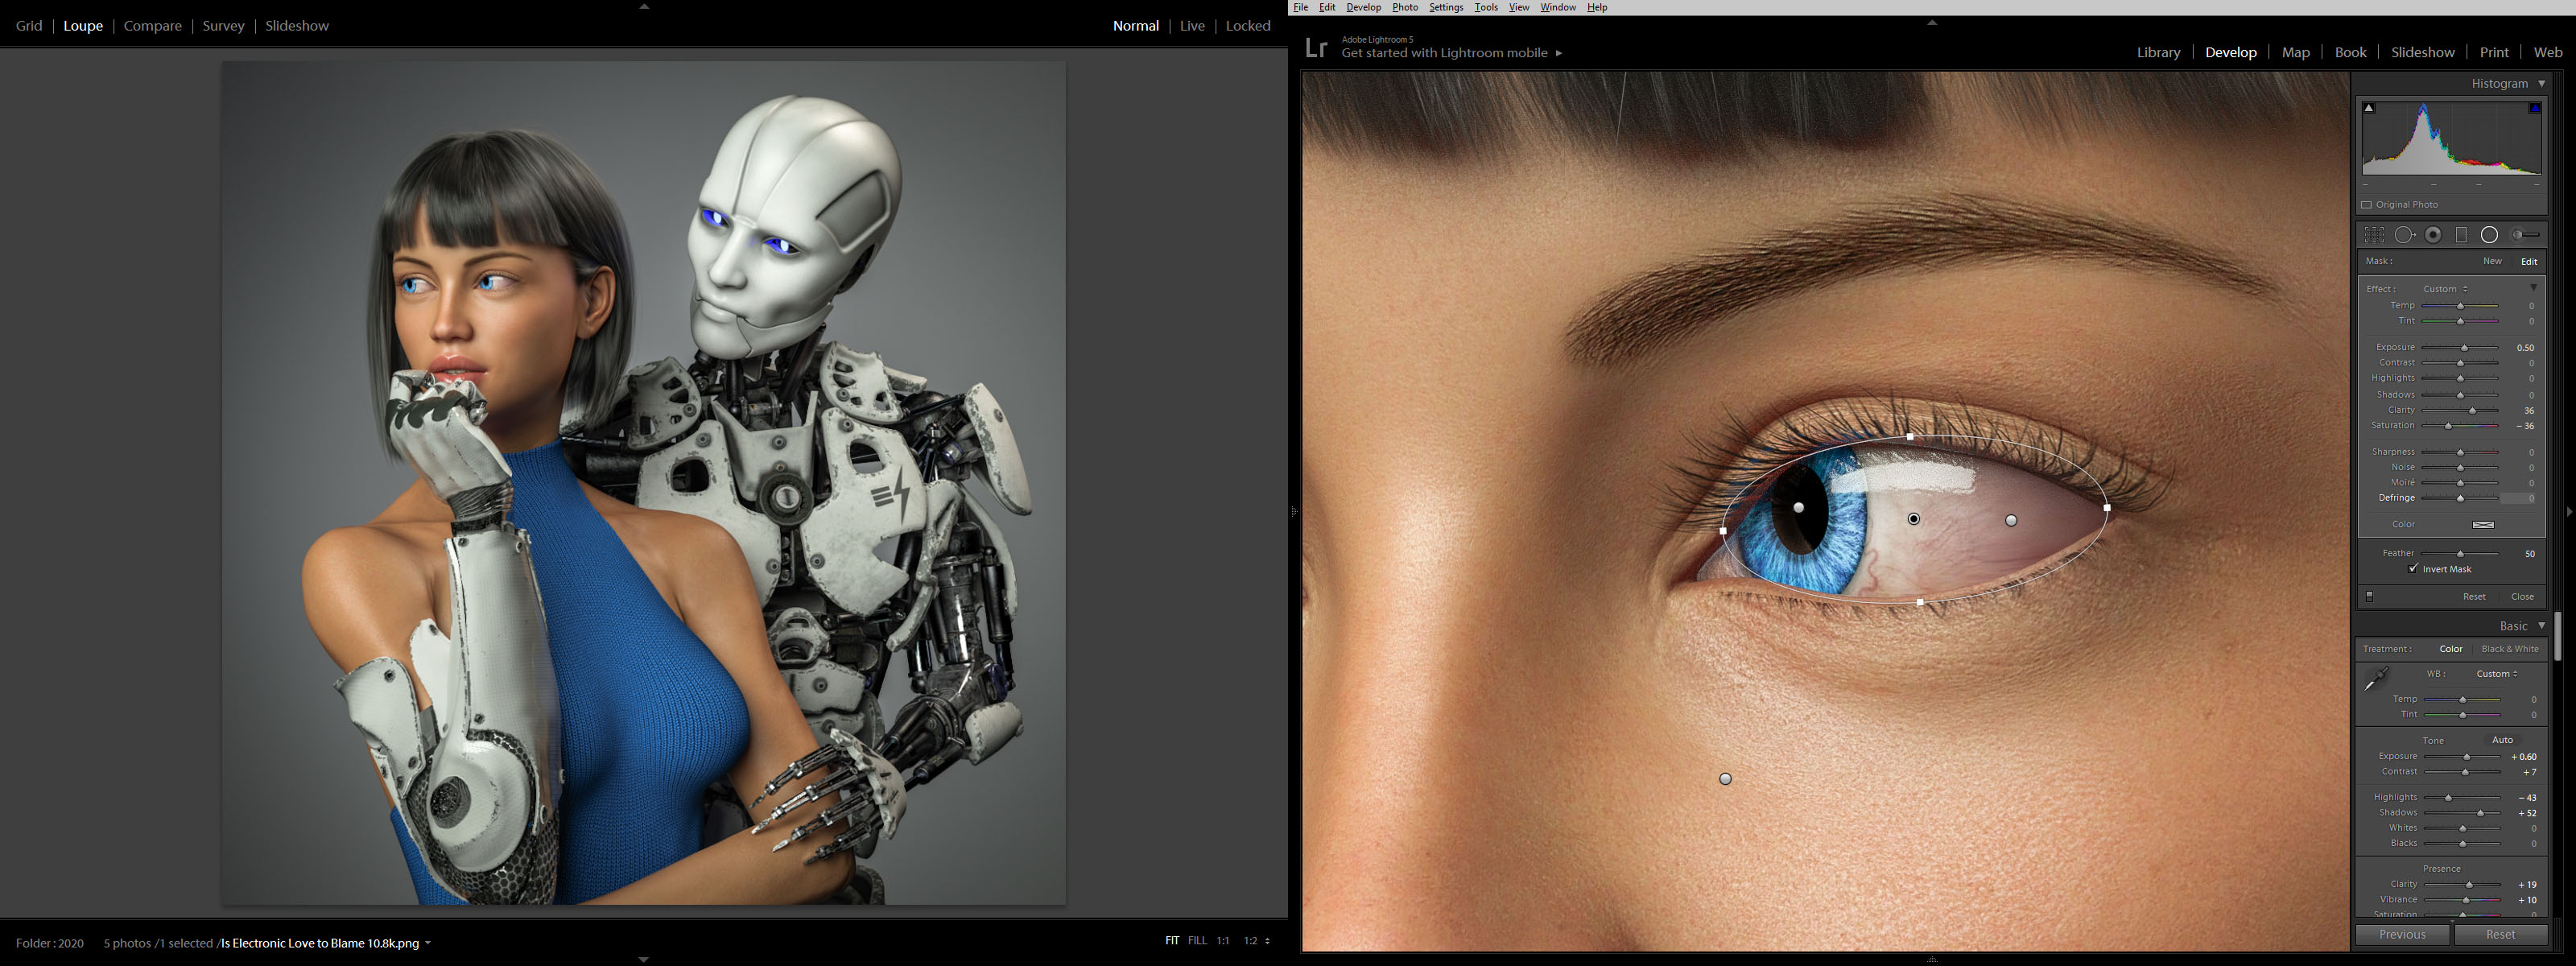
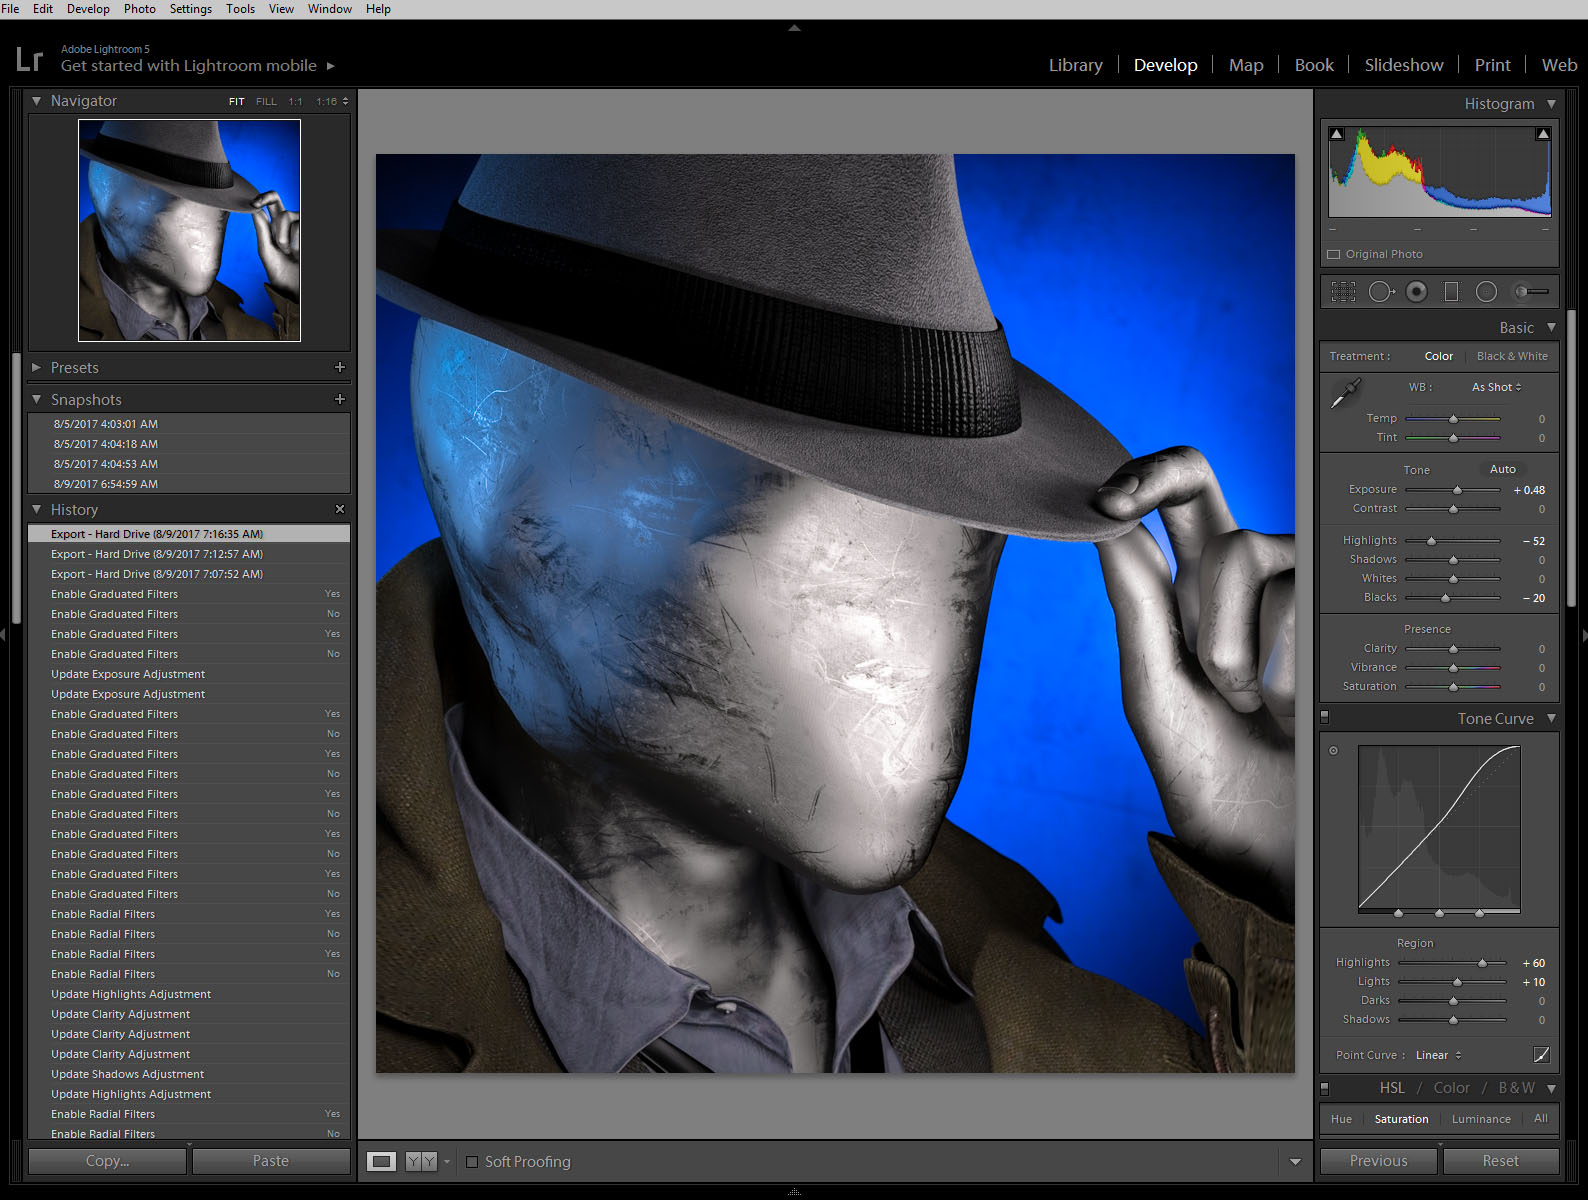
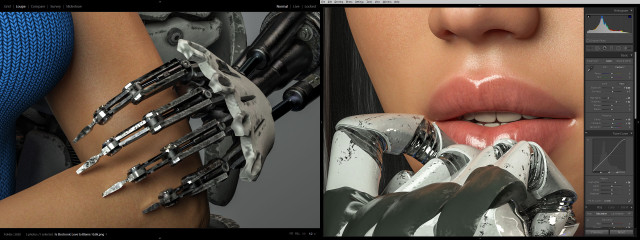
Color correcting in Lightroom I tried to bring out the hardness of the machine and the softness of the skin.

Cyborg loves Robot BTS eye cc 04 final
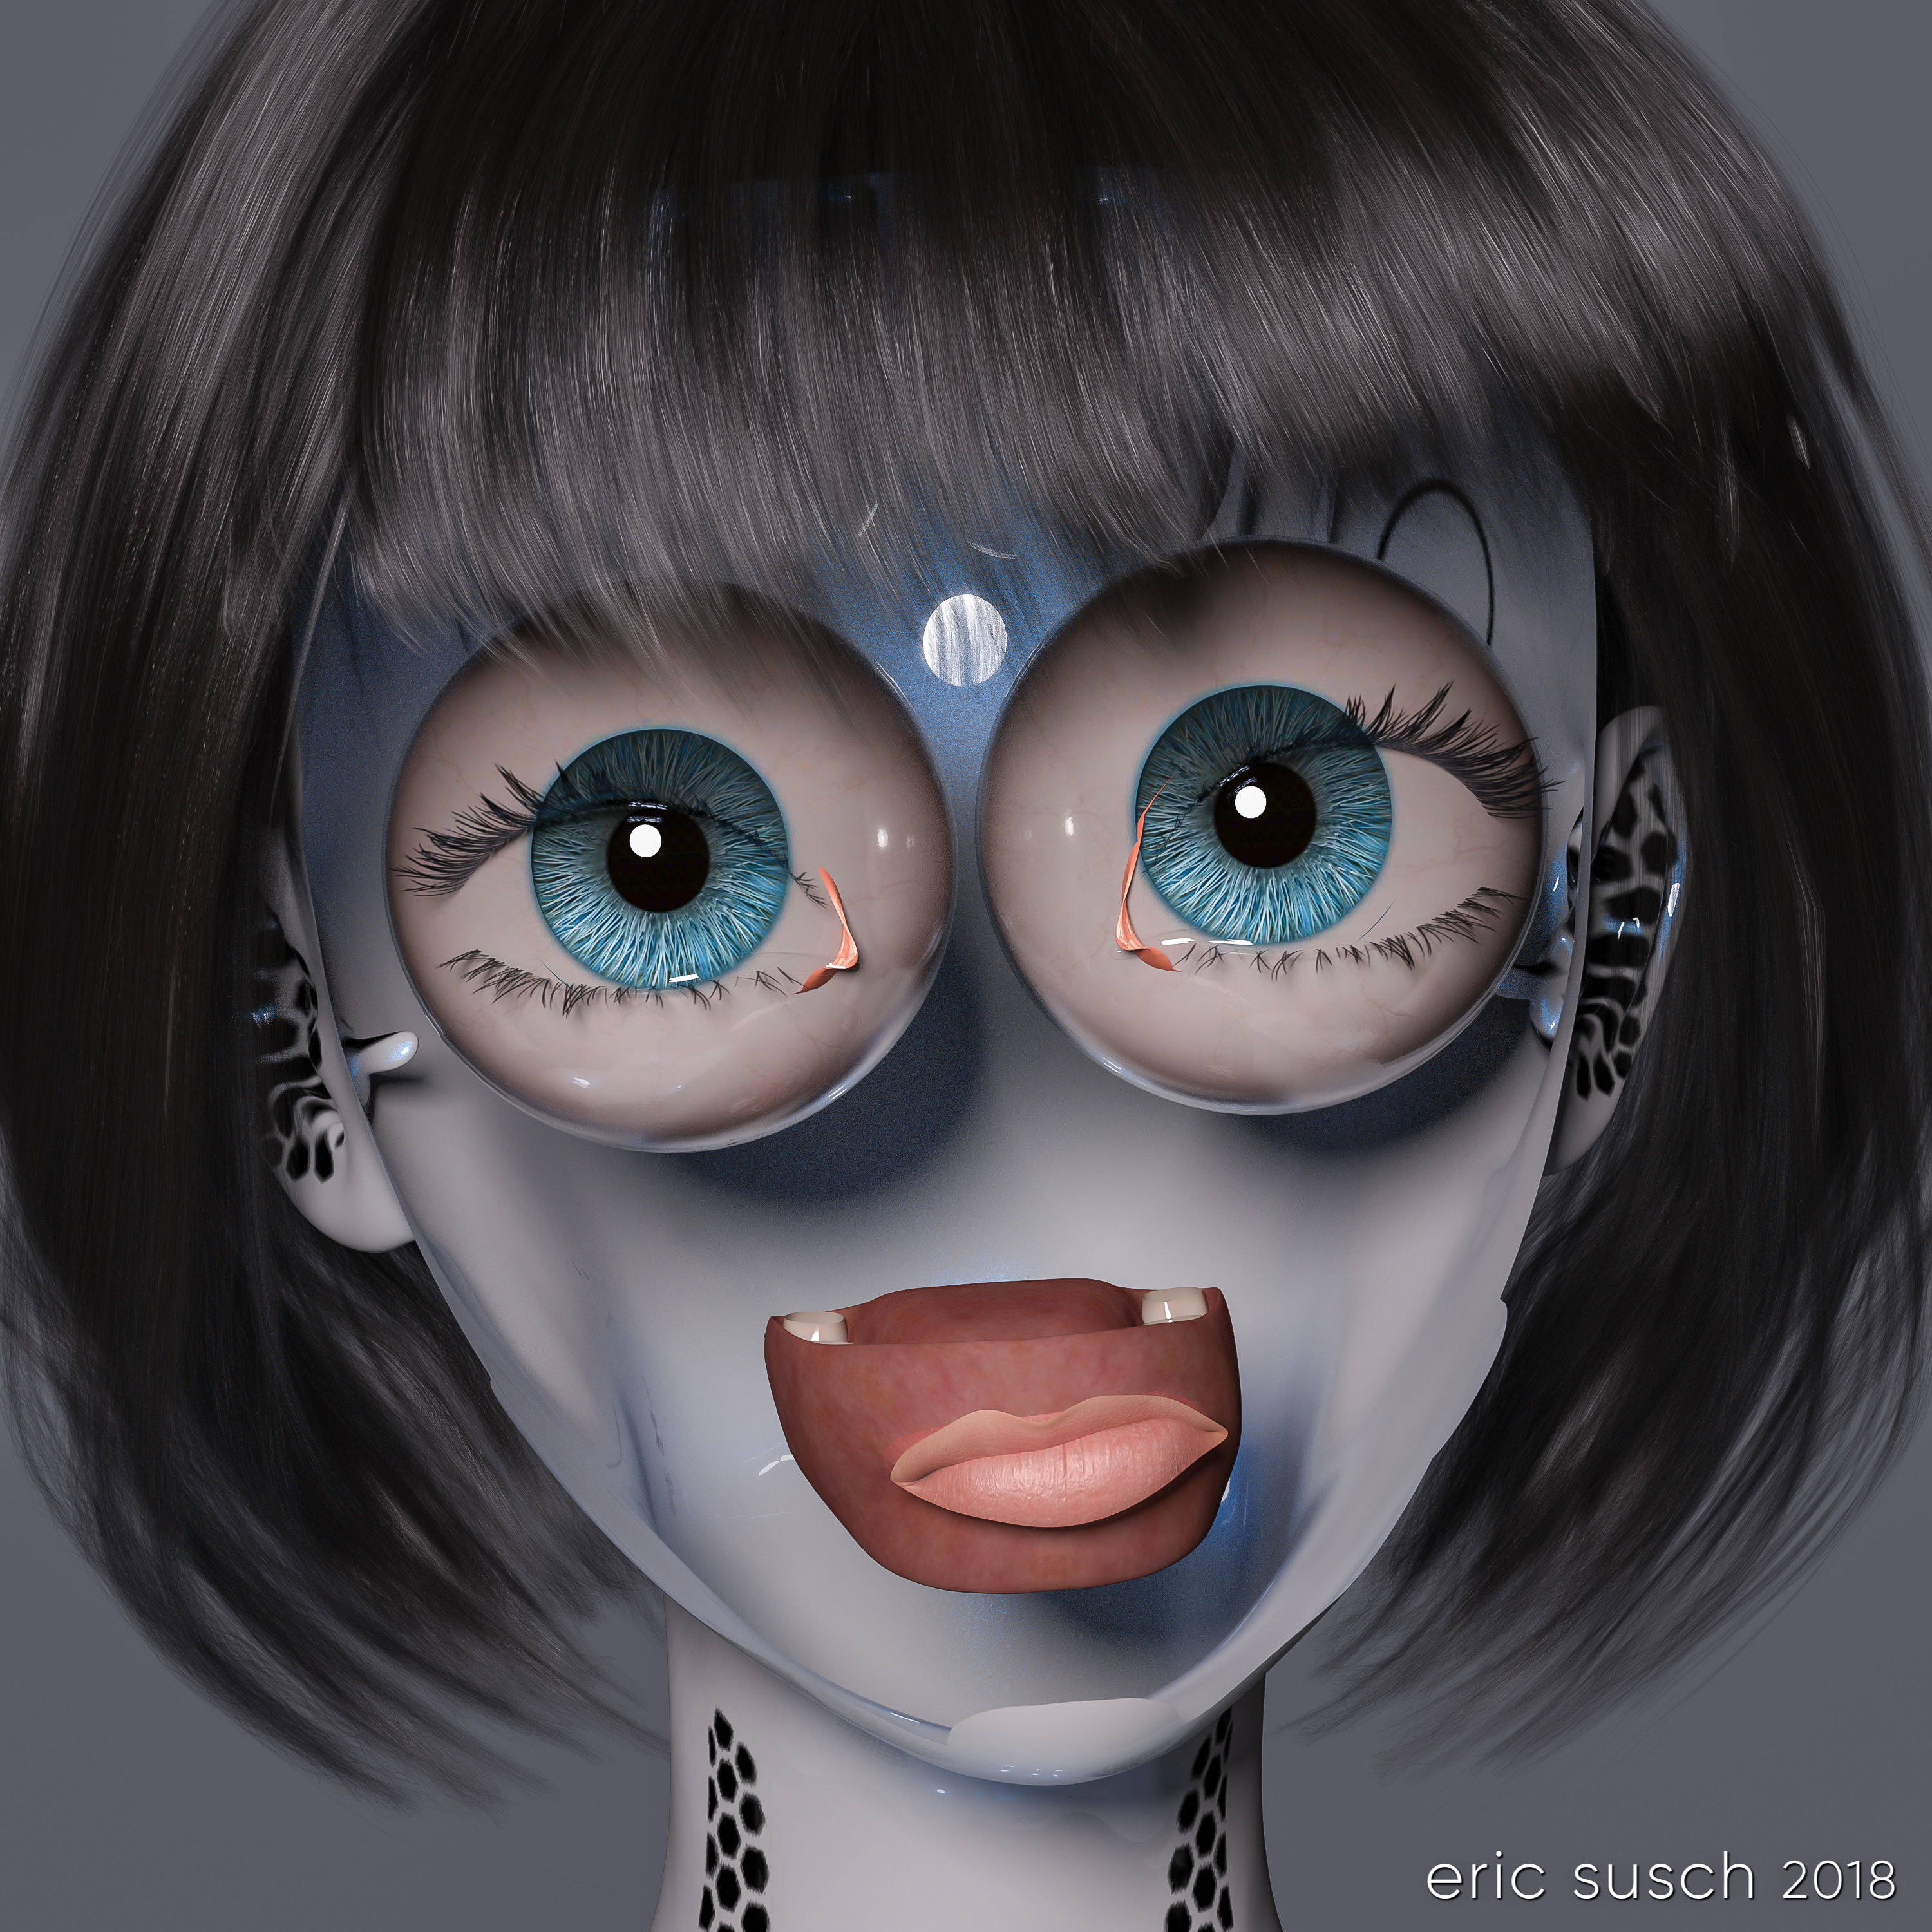
I lightened up the girl’s eyes and obsessed over everything for quite some time.  Overall I brightened everything up and made it punch as much as possible.

Is Electronic Love to Blame 33 06 normal map 1.0
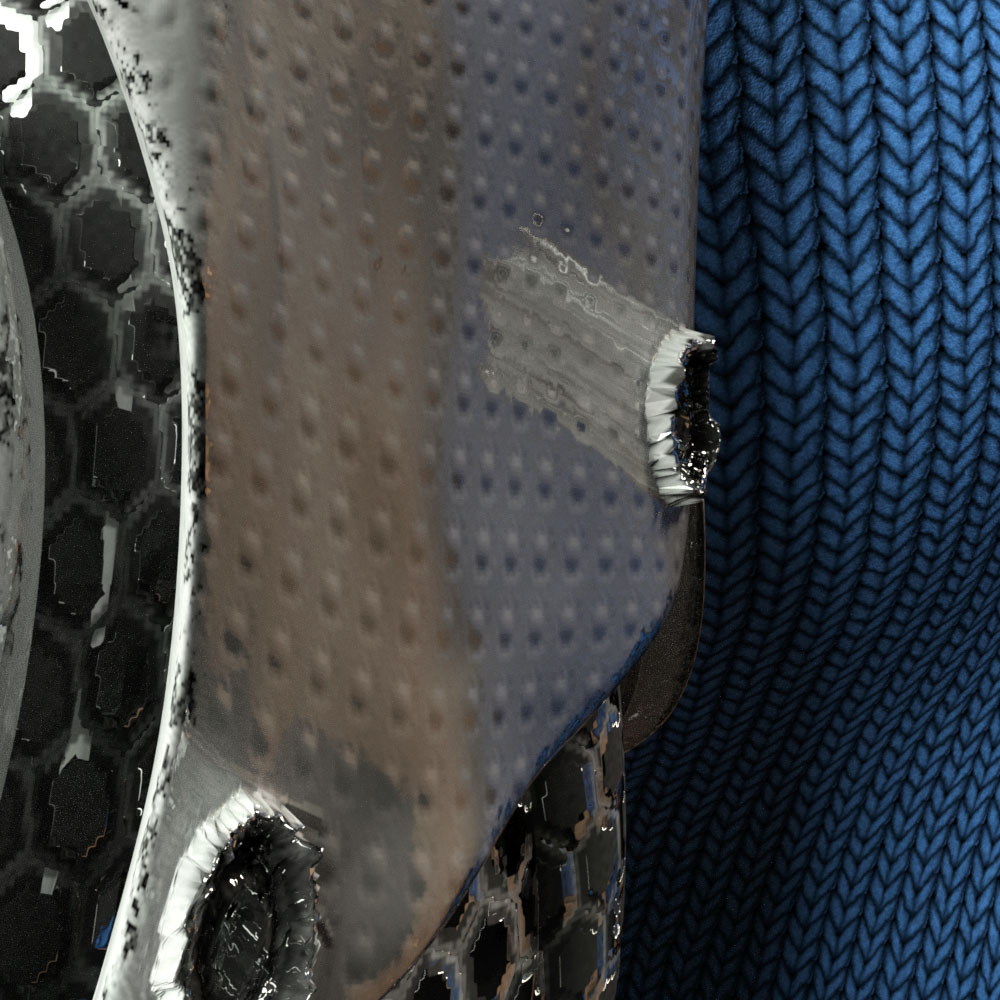
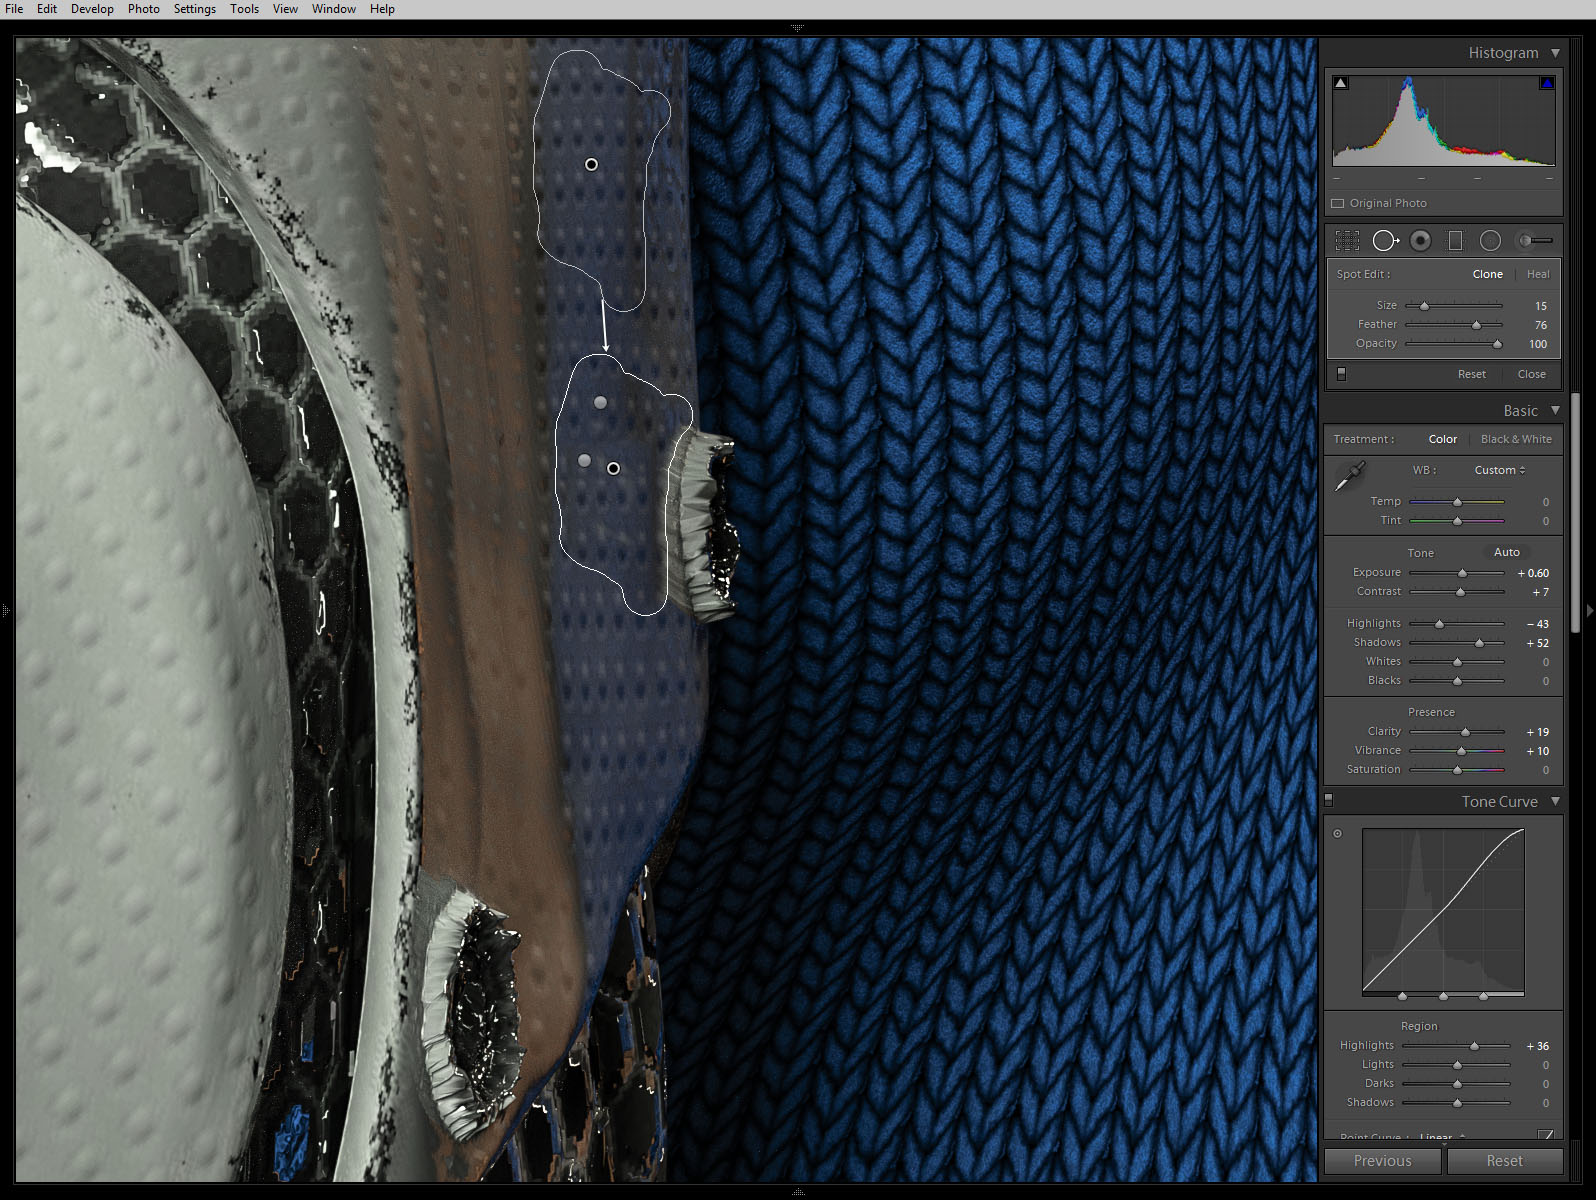
While color correcting I noticed a bizarre reflection coming off one of the poorly formed low-rez “screws” on the cybernetic arm.  It had something to do with the normal map which wasn’t doing much on this surface.  The screws were created with the displacement map.  Not sure what was going on.

Cyborg loves Robot BTS screw reflection fixAnyway, I couldn’t figure out how to fix it in DAZ Studio without changing the character of the rest of the arm surface so I just used the spot remover in lightroom.

Is Electronic Love to Blame?So what do you think?  Did I over think it and create something stilted?  Or did I continually refine it and make it great?  I can’t tell anymore.

Next step: print it and see what it looks like on the wall…

Created in DAZ Studio 4.12
Rendered with Iray
Color Correction in Lightroom

I Reveal My Innermost Self

While I was working on a previous art piece called Quirky Girl, I stumbled through a wormhole and accidentally created this:

I Reveal My Innermost SelfI stopped everything and rendered it out immediately!  Enjoy!

I Reveal My Innermost Self

Created in DAZ Studio 4.11
Rendered with Iray
Color Correction in Lightroom

Figures used:
HPFK Lenora for Star 2.0 and Aiko 7
System 50 for G3F
Classic Bob Hair for G3+8F

Mister Zero

Mister ZeroMy eternal quest for the perfect CGI avatar continues.  I’ve grown tired of my current avatar artwork.  People think it’s a picture of me and I have to explain that it’s CGI.  I need something that doesn’t look human.  Perhaps something creepy…

What to do?

Mannequins and faceless people have always freaked me out ever since I was young.  I attribute that to this scene from Star Trek…

charliexhd487crop…and the Anything People on Sesame Street.

A freaky “no face” avatar would be cool and no one would think it was supposed to be me.  Perfect!

Building a Mannequin

I started with a faceless character model I had and I replaced the skin like surface with a different shader.  I experimented with many, many different surfaces trying to find something cool.

no face shader test 01I tried cloth, wood, metal, rock, plastic, glass, grunge, paint, rubber, wax, anything I could think of.

no face shader test 02I tried to avoid chrome because I had done that several times in the past but in the end I caved, because I really liked this particular dusty anodized aluminum surface.

no face 02 chrome headI posed the figure tipping his hat with a 1960s fedora.  I wanted him to be creepy and friendly at the same time.  A sloppy overcoat and loose necktie seemed to fit so I added that too.

no face 01 test 03 dome and sceneGive that man a hand

The fingers of the alien no-face character were creepy long, which looks OK but I like to make everything difficult so I decided to try and replace the hand with one that was human sized.

To do that I had to add another entire human sized figure and position the hand in the same place, grabbing the hat.  It took awhile but I got it into position.  Then I “turned off” (made invisible) the rest of that human character.  For the no-face character I turned off the hand.  The sleeve of the jacket was just long enough to hide the fact that the arm and hand didn’t meet exactly correctly.  Everything came together when I layered the same aluminum shader on the human hand.

hand shader tile 08 looks goodDramatic Light

The lighting was difficult because of the reflective metal on the face.  I ended up with a lot more spotlights than usual for a simple head shot just to get the reflections right.  There are seven spot lights on the character and one blue spot on the background, which is just a gray wall panel.

no face BTS lights After rendering it out I pumped up the color a little in Lightroom…

Mr Zero cc lightroom BTS…and uploaded the avatar to Facebook.

facebook avatar

Unfortunately I saw almost immediately that you couldn’t tell what the picture was at very small sizes.  It was the high contrast lighting, the same problem I had before on my first CGI avatar.  It looked fine at larger sizes but when it was super tiny the bright shine of the face looked like an unrecognizable white blob on a blue background.

Flat Light

I went back into DAZ Studio and tried to even out the lighting.  The best way was to set up a few more lights to fill in the dark spots.  I didn’t like it as much when I was done but I rendered it out anyway just to test it on facebook.  This is the “flat light” version.Mister Zero (flat light)It worked better at small sizes as you can see but still not as well as other avatars I’ve created.  Humans are programed to recognize faces easily, which is why facebook can make their avatars so small.  I’m asking people to recognize “no face” so I guess that’s more difficult.

facebook flat light avatar 02So it sort of works at the tiny sizes and doesn’t look as good as it could at larger sizes.  I guess that makes this avatar attempt a bit of a failure.  I still like it though, so I’m going to keep it for a time before I try again.  I can also upload the first version to other sites that don’t have such small avatars.  What do you think?

Mister ZeroCreated in DAZ Studio 4.9
Rendered with Iray
Color Correction in Lightroom

Figures used:
The Slim Man for Genesis 3 Male
Mec4d PBS Shaders vol.3 for Iray
Amazing Hat
Eldritch Seeker

The Creation of ATOM (hands)

After Man destroys the planet Earth with nuclear weapons, God creates machine life to take his place.

The Creation of ATOM - handsIn light of the close up experiment I did last week, this one was a no-brainier.  Once again I didn’t just crop the original image.  I went back into the 3D space, set another camera in the exact position, and composed a new shot with a longer focal length.  That allowed me to create a new 10K render and also control the focus on the mountains in the background.

As I was color correcting this piece I noticed that you could see a reflection of God’s face in the machine-man’s middle finger.  Not sure what that means but it’s obviously important.

Created in DAZ Studio 4.8 beta
Rendered with 3Delight
Color Correction in Lightroom

Figures used:
bot Genesis
Lilith 6
Dry Mud Desert

The Creation of ATOM

A Collection of Rusty Robots

Can six rusty robots fight crime without driving each other crazy?

A Collection of Rusty RobotsThis one was complicated. Six characters and twenty-five lights.

I was trying to emulate a team freeze frame at the end of an anime intro. I wanted to capture the uniqueness of each character. I even wrote out a short description of each robot to help me differentiate them. Looking at this piece now though, I think it ended up a little too “characters just standing there.” It could do with a few more action poses, but it’s done now so here it is.

I’m going to post my usual more in depth behind-the-scenes info but that will have to wait a few days since this piece is so complicated. It’ll probably end up as multiple posts. For now I’ll leave you with the character descriptions I wrote. Let me know what you think!

Meet the team!

(from left to right)

Gomer is a wise guy. He always has an opinion and he doesn’t take lip from anybody. He thinks he’s the leader but nobody else listens to him. When attacking a bad guy’s hideout the others always make him crawl in thru the air ducts which pisses him off. He thinks Brigitte is “hot stuff.”

Barney is a “can do” fella. He can fix just about anything. Knows how to make explosives too. He gets the job done while the rest are goofing around. Currently he’s in a romantic relationship with Alice.

Alice is a fighter. She can swiftly and silently take out a whole gang of bad guys. She’s a bit fussy though and, unlike the others, she likes to stay clean. She avoids the general dirt and grime of crime fighting. She’s in love with Barney even though he always seems to be a bit dirty. It’s OK though because she’s confident she can change him.

Jim is the leader of the team. He’s a powerful warrior but is totally lost trying to get the rest of the team to work together. He thinks Alice is his girlfriend even though she wants nothing to do with him. Alice thinks Jim is too full of himself.

Brigitte is a master of disguise and can wear a rubber mask to look human. She doesn’t really enjoy fighting crime but she hangs around because she likes Jim. Gomer is in love with Bridget but she can’t stand him.

Gronk (AKA “Five”) has a powerful Plasma Death Ray to blast holes in buildings and blow up cars. He wants to do more but doesn’t really have the ability. He trys.

Buy a print here –> http://www.deviantart.com/print/38109712/

The Creation of ATOM

Prints of this image are available on my Deviant Art page:
http://ericsusch.deviantart.com/art/The-Creation-of-ATOM-516835191

The Creation of ATOMAfter Man destroys the planet Earth with nuclear weapons, God creates machine life to take his place.

This CGI piece took me awhile. It’s based on the The Creation of Adam by Michelangelo, from the ceiling of the Sistine Chapel at the Vatican.  CAT and I were recently in Rome and were able to spend five minutes in the Sistine Chapel admiring all the artwork.  You couldn’t take any pictures of course, since the Japanese own the copyright.  (The Vatican is a strange place.)  So when we got back I decided to make my own creation imagery to hang on the wall.

I used this project to learn how to pose characters manually.  The poses were iconic and predetermined so I didn’t have to worry what was going to look good, just how to get the characters into position.  In the end It took some doing to get everything adjusted in three dimensions and looking correct for the camera.

Creación_de_Adám

I don’t think a man can actually lean back in the real world the way Adam does in the original, at least an android can’t.  I have several of the robot joints pushed way beyond their limit and still he isn’t really in the same position.  It’s close enough to get the idea though.  The posing process was long and tedious but ultimately rewarding.  I’m especially happy with the hands in the center.The Creation of ATOM - handsI had problems again with kinky hair.  The short style I chose was an older mesh and didn’t have the smoothing control I used in the last piece.  I then discovered that the smoothing controls can be added to any object by selecting it and accessing the DAZ Studio menu in the upper right of the scene tab.  Select Edit / Apply Smoothing Modifier and then the smoothing controls will appear in the object’s Parameters tab.  This fixed the kinks but I still had hair shadow trouble.  Some of the underlying shadows were ending abruptly probably because some of the hair was poking into the skull.  Adjusting the hair didn’t resolve the problem.

The Creation of ATOM - bad hair 03To fix the funky shadows I rendered the hair again without shadows.  I then layered this underneath the head and used a matte in Photoshop to erase only the parts of the hair where I wanted to remove the shadows.  This left the shadows at the edges and bottom of the hair but eliminated the distracting ones deep within.

The biggest problem I had was the horrible, horrible dress.  I purchased and tried several Greek/Roman toga-esque dresses which were similar to what God is wearing in the original piece.  I really liked a dress that had one long sleeve but unfortunately it covered the wrong arm and I couldn’t figure out how to flip it.  This next best alternative was nice looking but turned out to be a disaster.  It had a million shaping controls but I couldn’t get it to fit correctly without the mesh bunching, tearing, and dripping all along the chest.  It was the only dress I had that looked right so I grit my teeth and fixed it with the spot healing brush in Photoshop.  That kind of fix isn’t going to work when I get into animation.

The Creation of ATOM - bad dress 03I struggled with the background again too.  The original idea was a destroyed city like after an earthquake or a nuclear attack.  It was way too busy and difficult to separate the characters, especially the chrome of the android, from the background.  There was just too much detail in the rubble.

creation of ADAM BTS 04CAT suggested I try a desert background.  I wasn’t sure.  I didn’t want it to look like an unrelated background photo.  After I tried it I changed my mind because the background became a metaphor to me.  It suggests nuclear testing, or maybe a Mad Max type social collapse.  What do you think?

The Creation of ATOMCreated in DAZ Studio
Postwork (fixing hair and dress) in Photoshop
Color Correction in Lightroom

Figures used:
bot Genesis
Lilith 6
City Ruins: Vehicles
Dry Mud Desert

Prints of this image are available on my Deviant Art page:
http://ericsusch.deviantart.com/art/The-Creation-of-ATOM-516835191

This World is MINE!

Prints of this image are available on my Deviant Art page.This World is MINE!

In keeping with my goal of making my images look like stills from a motion picture, I set the camera on this piece low with a long lens.  If I were shooting this as a film that’s what I would do.  Unfortunately that makes the background environment flatten and, in this particular image, I think it makes it look like a layered composite over a still.  I spent a lot of time trying to adjust the depth of field and the camera angle to make it look “whole” but I think I was ultimately unsuccessful.  There may be several reasons for this but I think it may be partially psychological.  In a film this style is common and accepted without question, but here we know beforehand that the image is synthetic and therefore our eye is on the lookout for signs of fakery.

One thing I learned from my early experience with actual physical model making is that a shallow depth of field will make the model look small, regardless of how well it’s done.  You always need everything in focus to fool the eye and make it look bigger, otherwise the eye will notice other cues and the actual scale will be revealed.

I really don’t want to be limited in that way with my CGI work.  I need to find a way to use a shallow depth of field and make it look right, especially on medium and close shots.

Rendered in DAZ Studio
Color correction in Lightroom

Prints are available on my Deviant Art page.  Hang one on your wall today!