 #Art I made with #Midjourney #AI
#Art I made with #Midjourney #AI
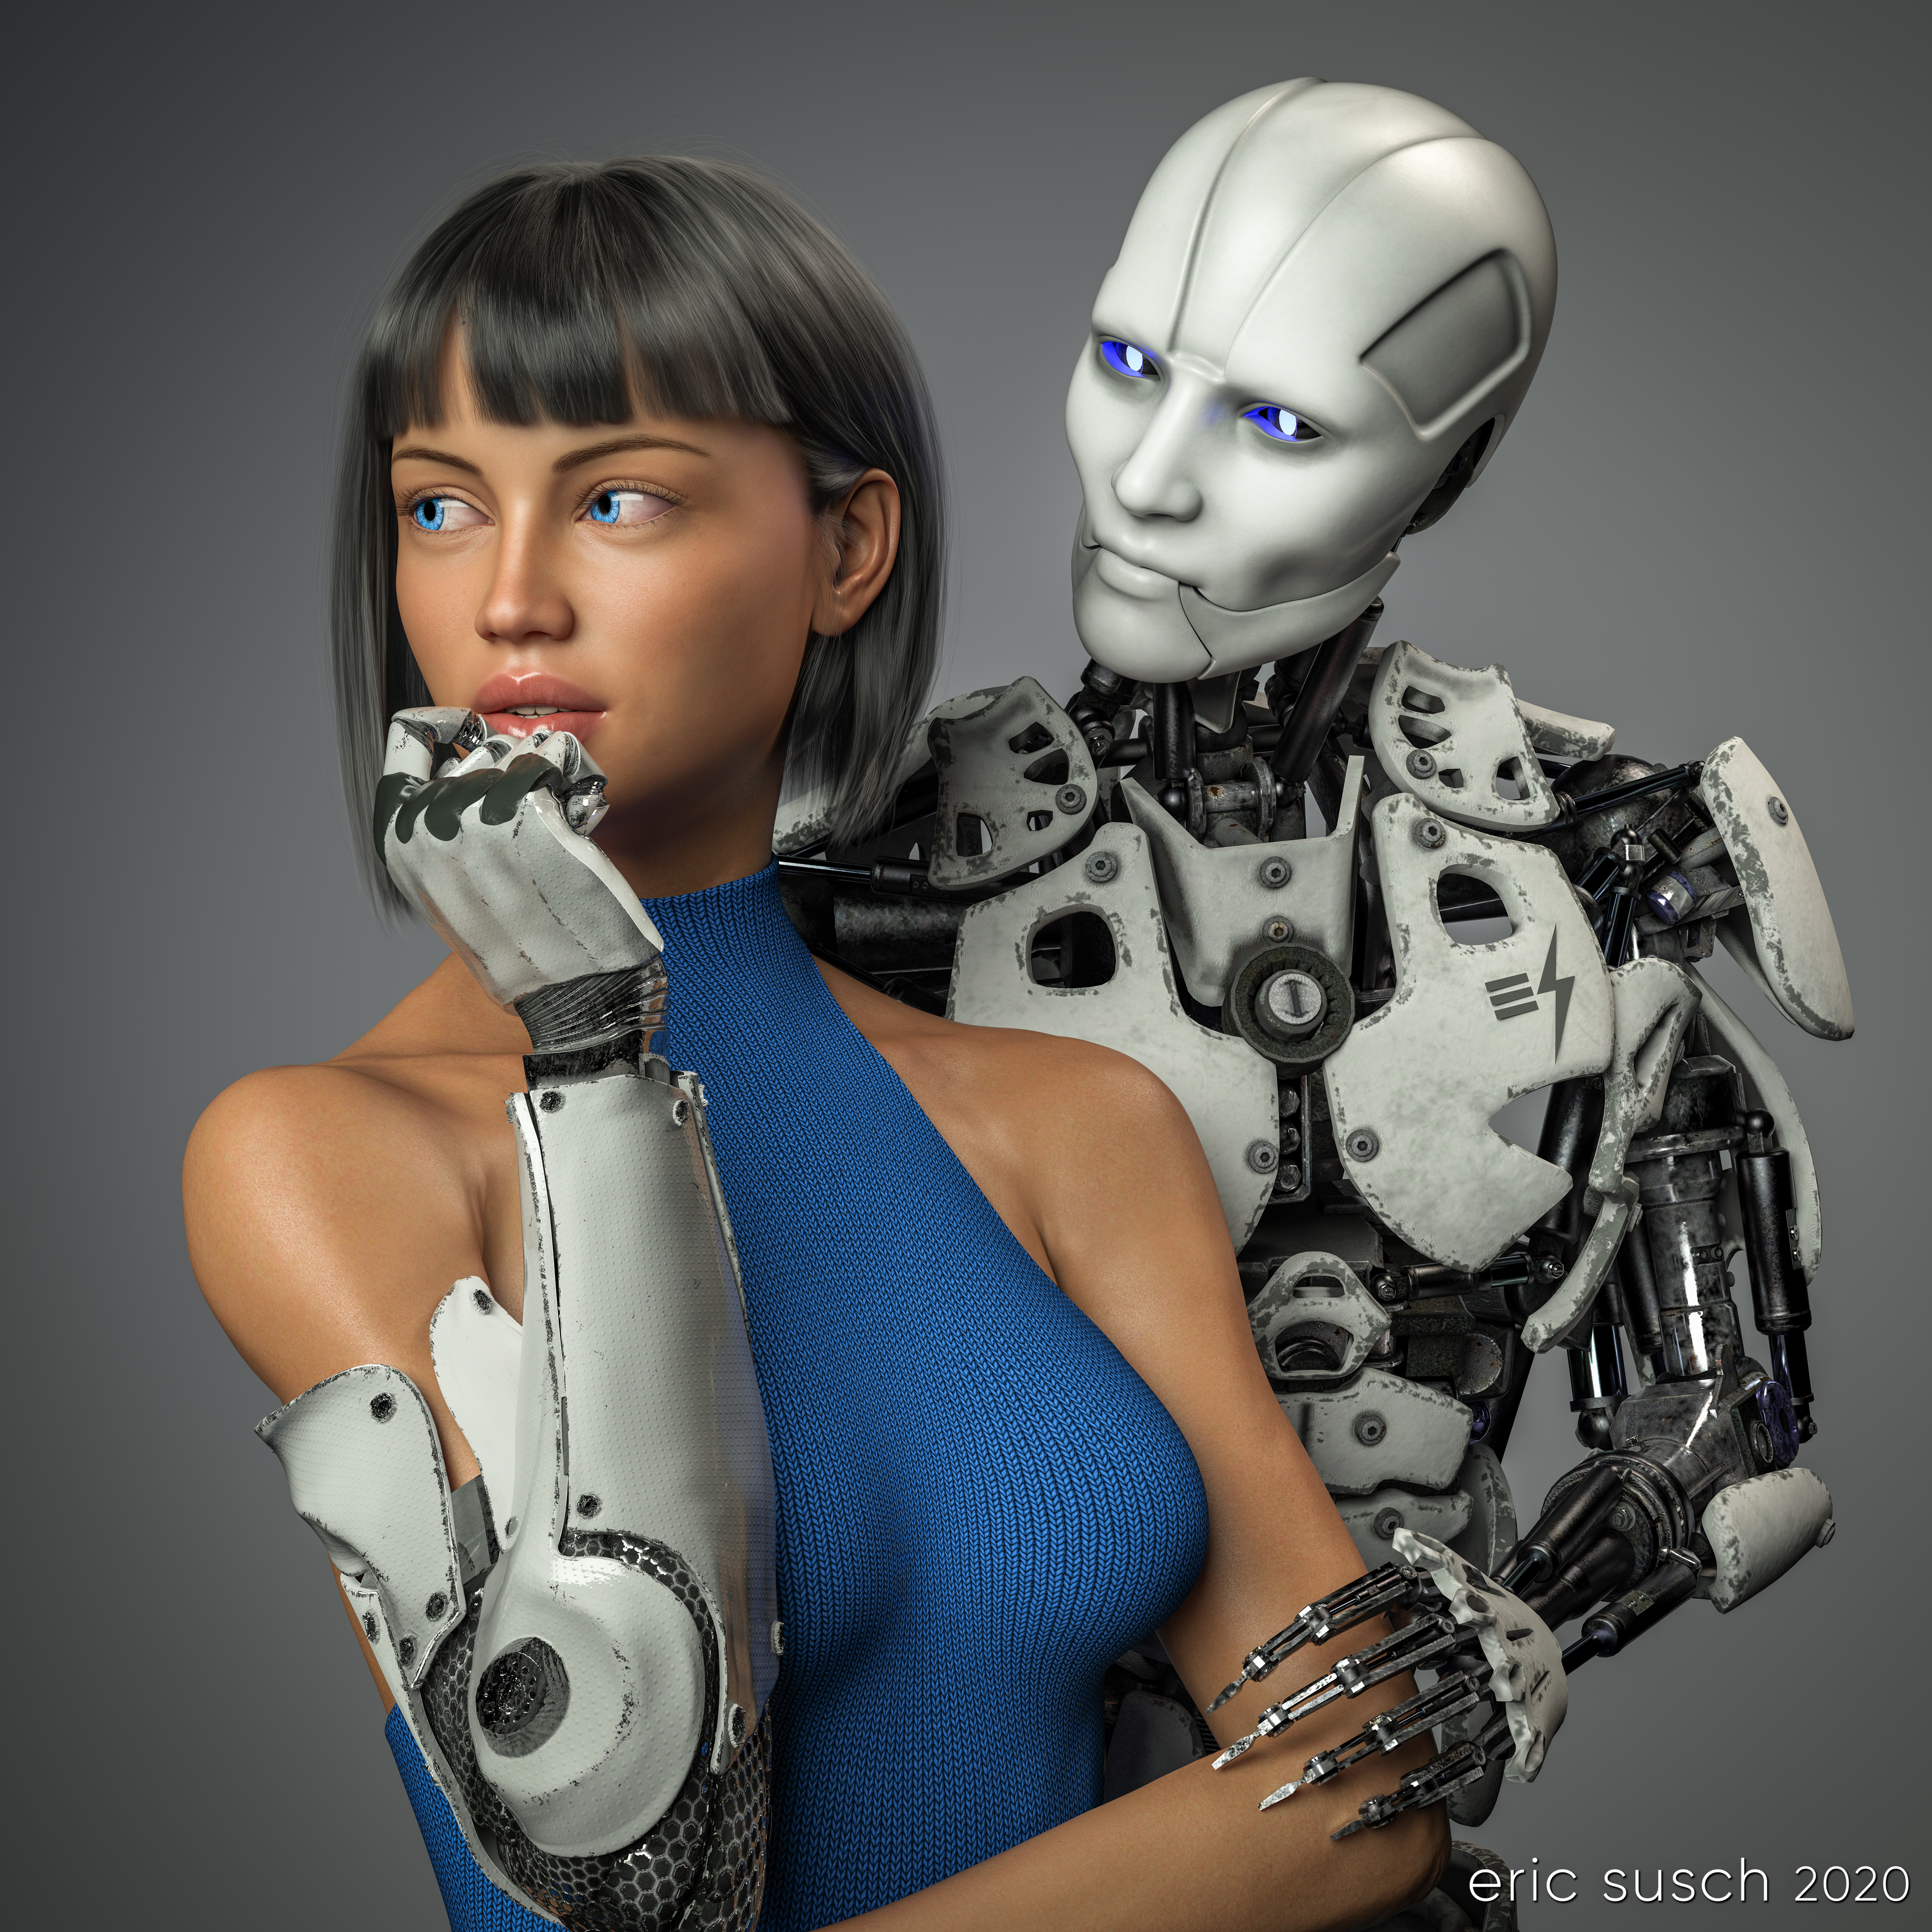 This piece was a marathon to create. A perpetual artistic labor. Unending. Frustrating. We had remodeled our kitchen and saved a space on the wall for an art piece, complete with it’s own special spotlight. The kitchen had taken over a year to complete and this art piece had to live up to that. It needed to be perfect. Constantly second guessing my creative choices, it took me a year to finish this, sometimes setting it aside, then diving back in to see if I could perfect it. Today I’m finally calling it done and I’m presenting it here hoping I haven’t completely strangled the emotional life out of it.
Some of the initial criteria: It was designed as a large piece, three feet square, so it needed to be extremely detailed. It had to match the modern aesthetic of our new kitchen. Colors needed to be white and gray with a blue accent. It needed to be bright, not the dark moody work I usually gravitate towards. I wanted two characters – an android and a cyborg – in love yet troubled, going through the same ups and downs we all do. …And it needed to be good. That was the most important criteria. It needed to be good.
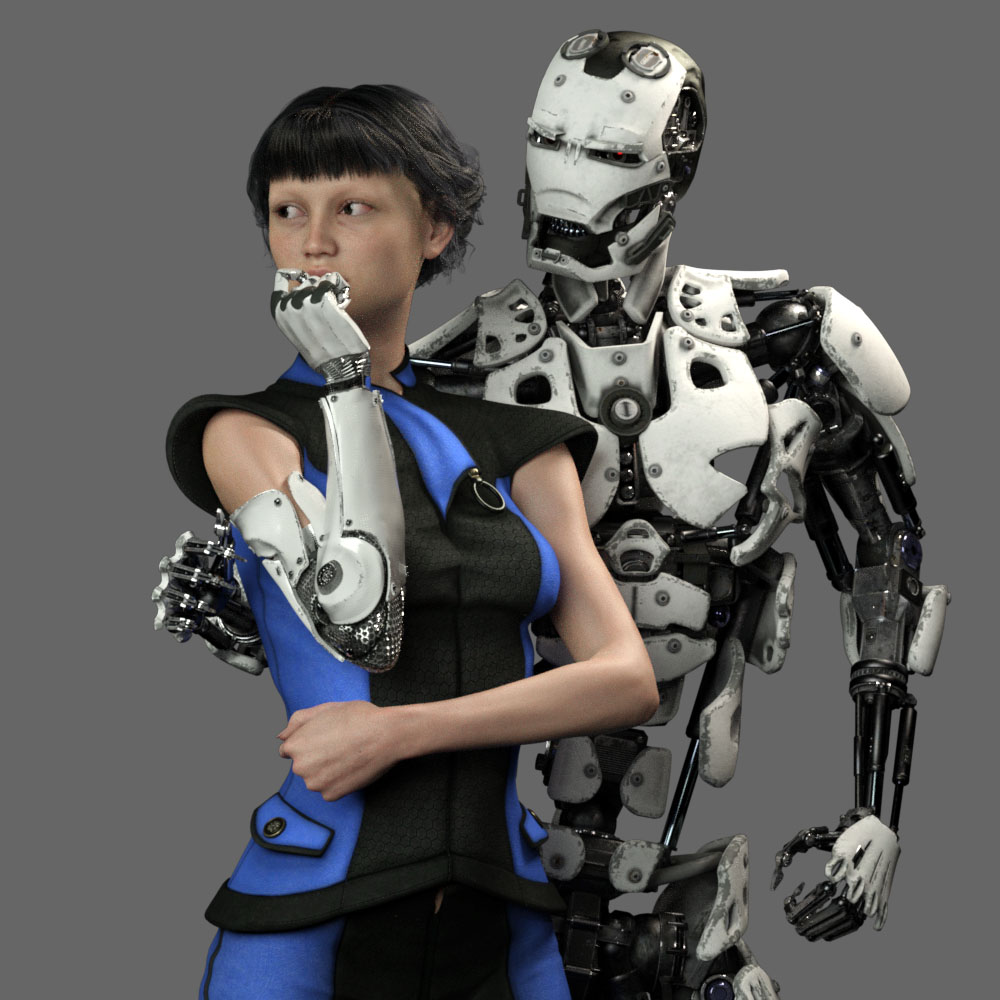
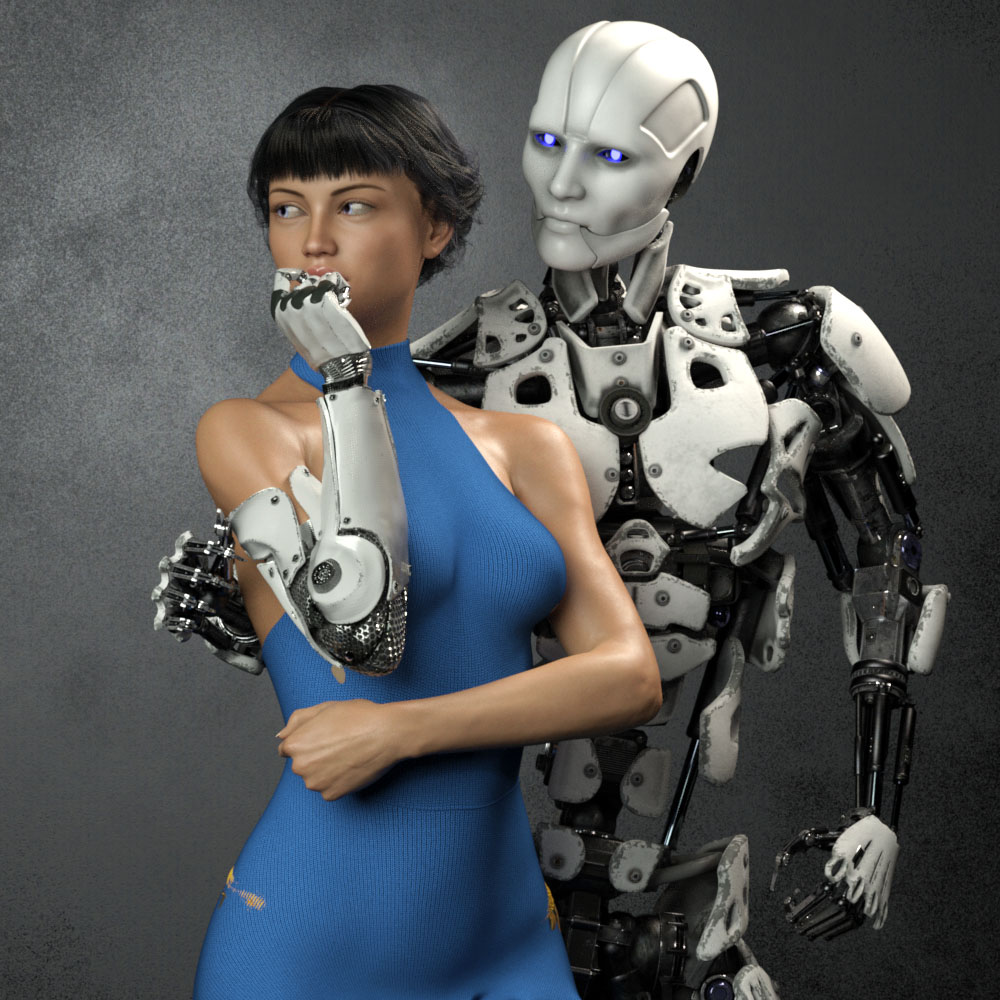
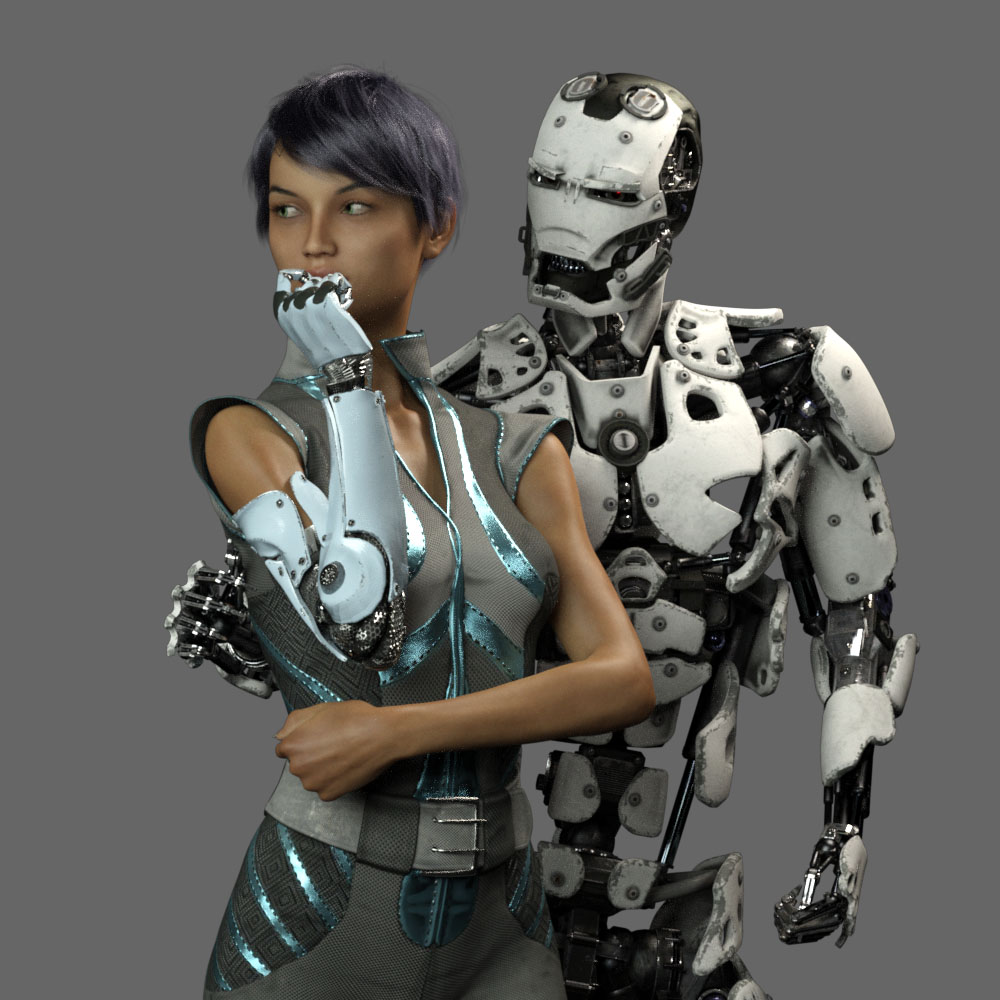 This is an in-progress test render from early on. As you can see the original composition was wider. The plan was to have the android’s right arm on her waist and she would be gently touching his metal fingers.
 What to wear and what hair? I obsessed over endless choices.
 I tried many skin textures for the girl. I wanted to get the softness just right so it would contrast nicely with the hard metal of the android.
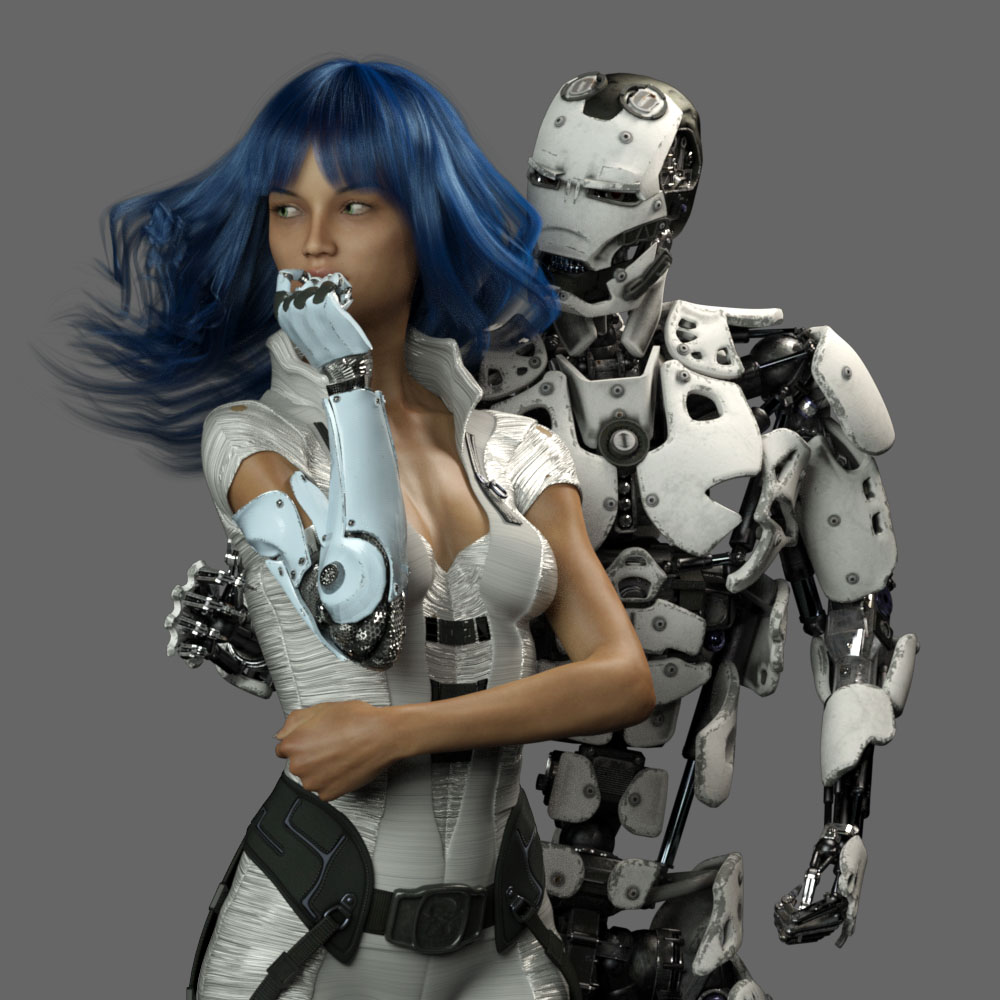
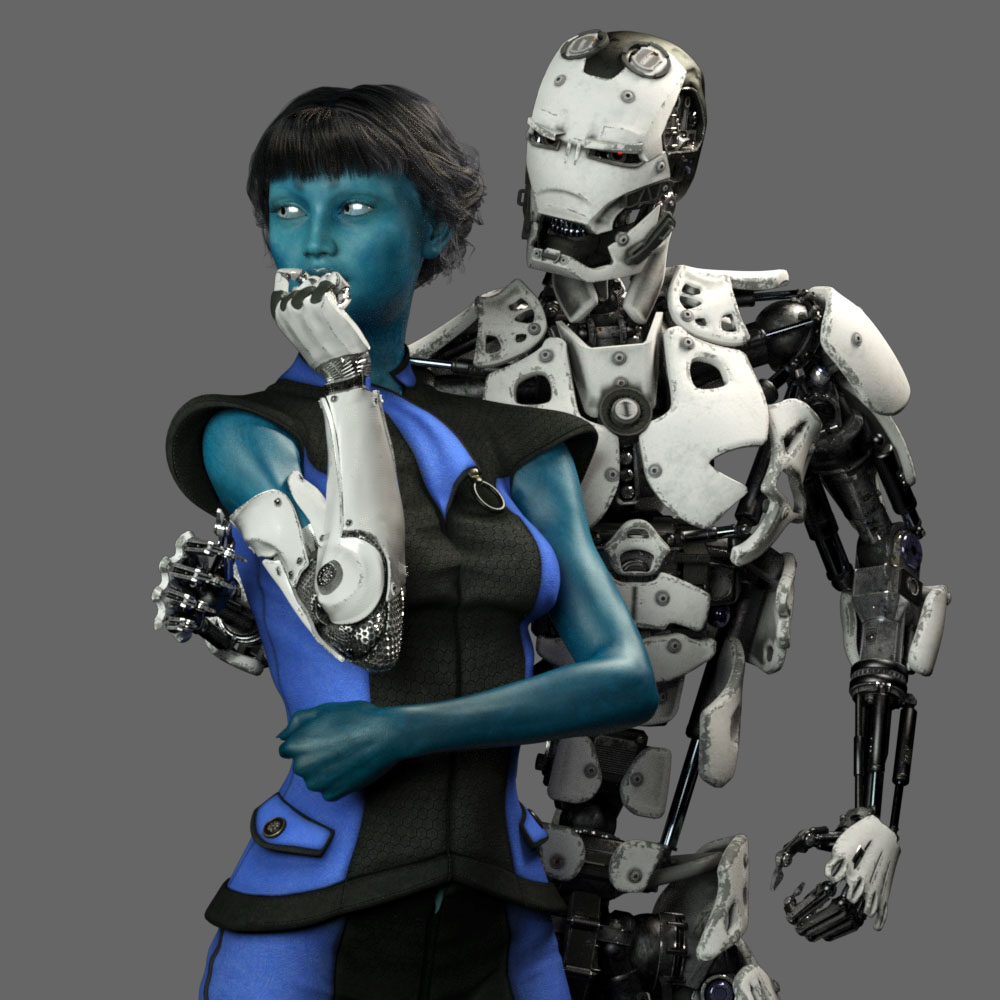 Maybe she should be an alien? Blue is the accent color so it makes sense. OK, maybe it’s too dark…
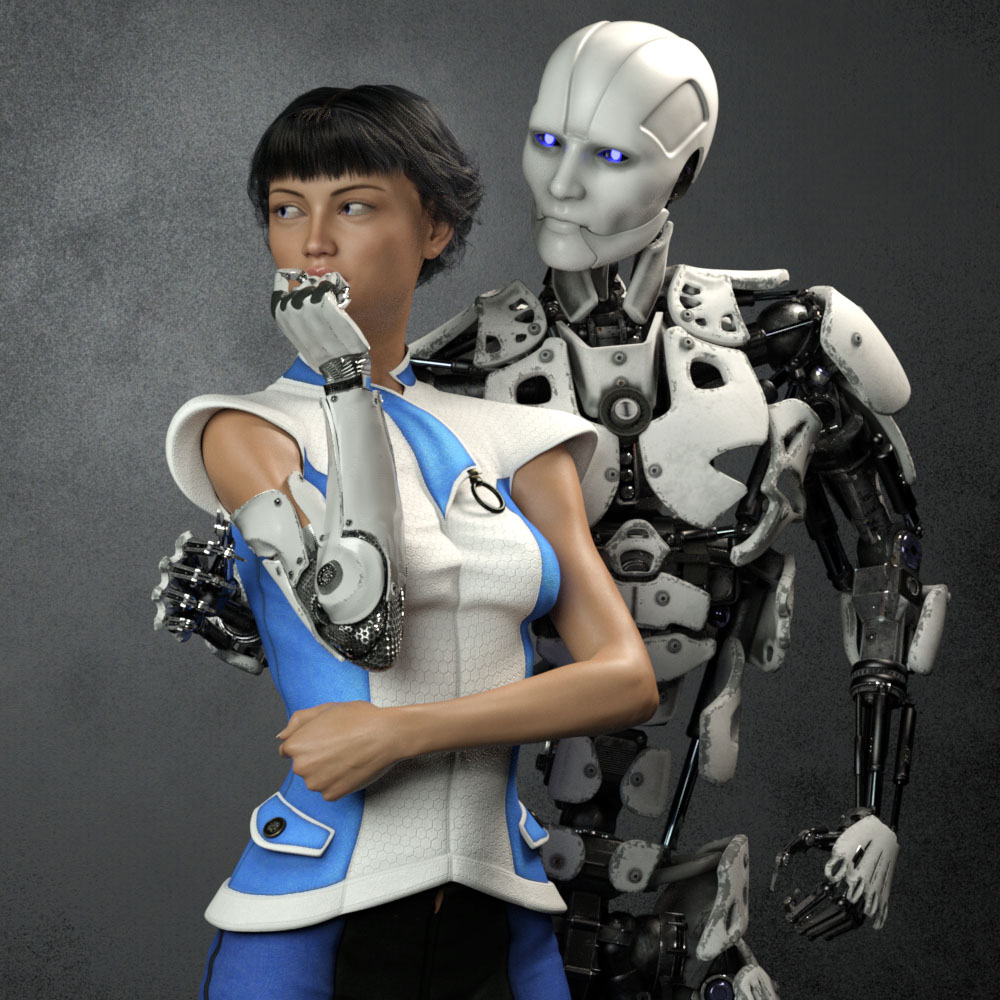 Angry robot face changed to gentle face. I needed to get some humanity in this android.
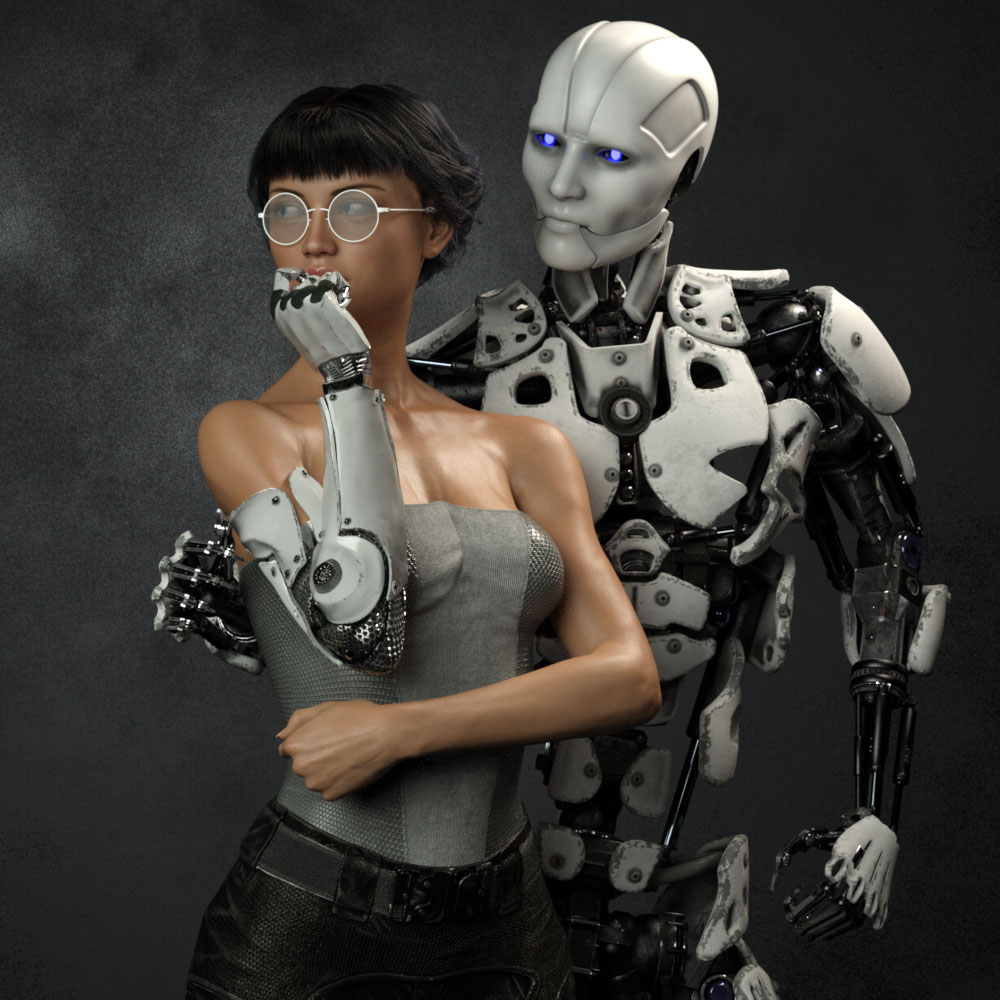 I eventually decided the girl needed bare shoulders to clearly see the cybernetic arm connection. I wanted it to be clear that she was human and only her arm was mechanical. This is also the reason I decided to ditch the idea of “space girl” type clothing which tends to be aggressive and hard. She needed to be soft, the soft spot between the hard metal of her arm and the android.
 I finally decided to go with this “cold shoulder” dress. When I was working to make it blue, I changed the original cloth to a knit fabric because my wife CAT is a knitter. That just made sense to me.
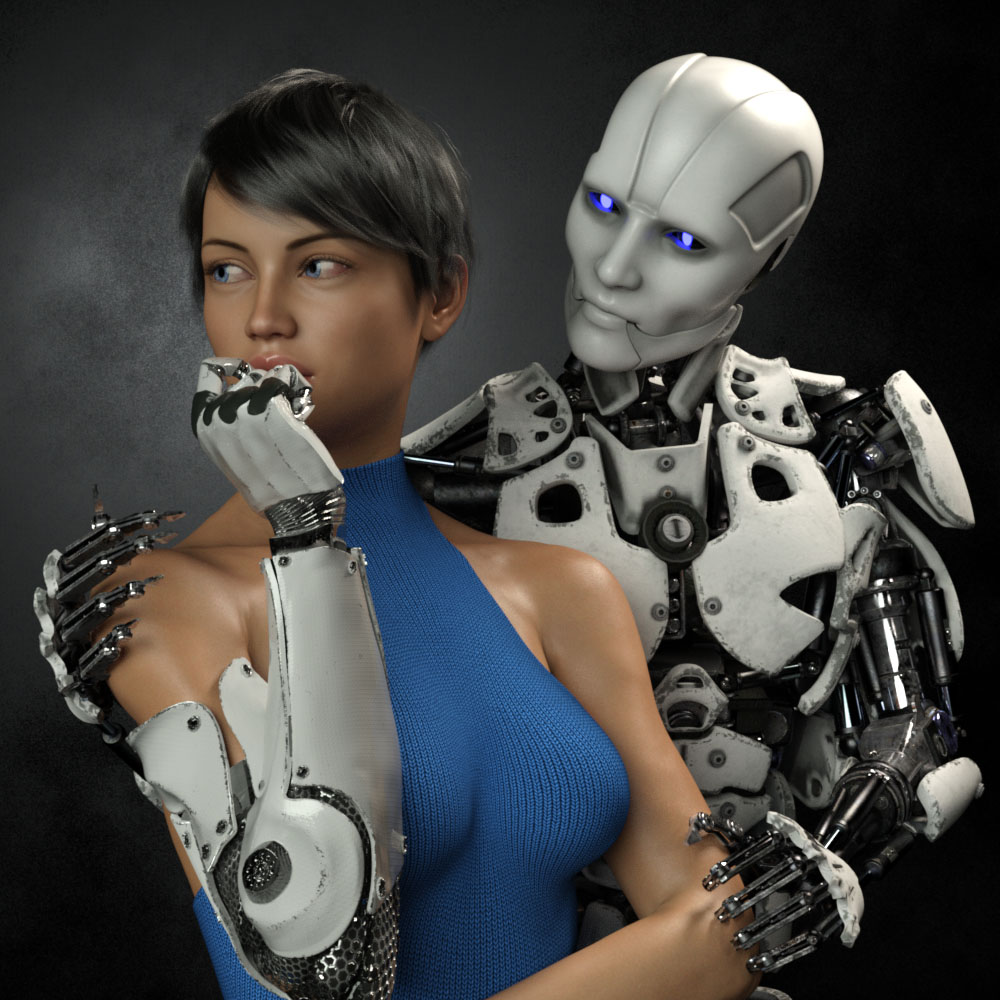 Eventually I realized that I had set the camera too far away, and moved in closer. This always happens. It’s always better after I move in. It’s just part of my process I guess.
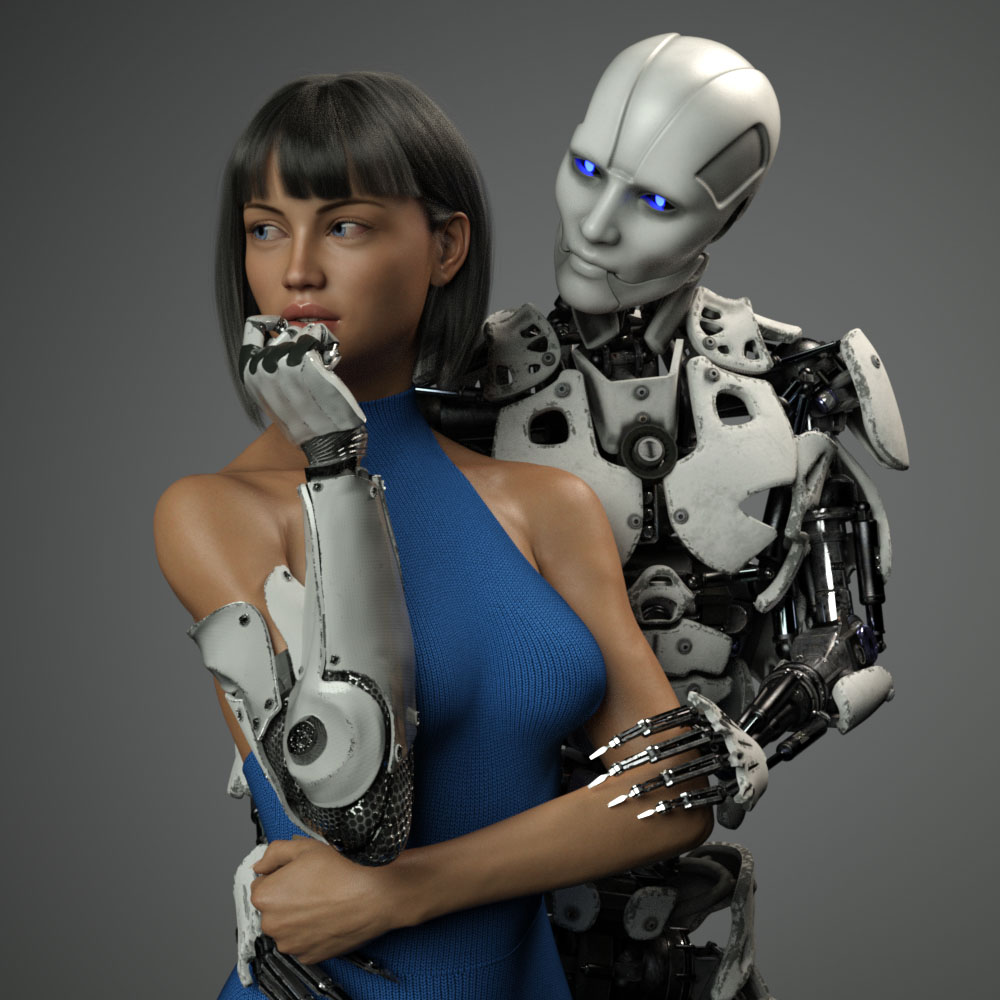
Adjusting for the new composition, I tried moving the robots right hand up to her shoulder. It ended up too creepy though. Trying to get the sharp metal fingers to show some sensitivity was proving difficult. It also fouled up the clean skin / machine connection I wanted for her cybernetic arm. I eventually moved the android’s right hand behind her back out of sight and concentrated on getting the left hand in the correct position. It took me three tries to get the left arm to look relaxed and gentle.
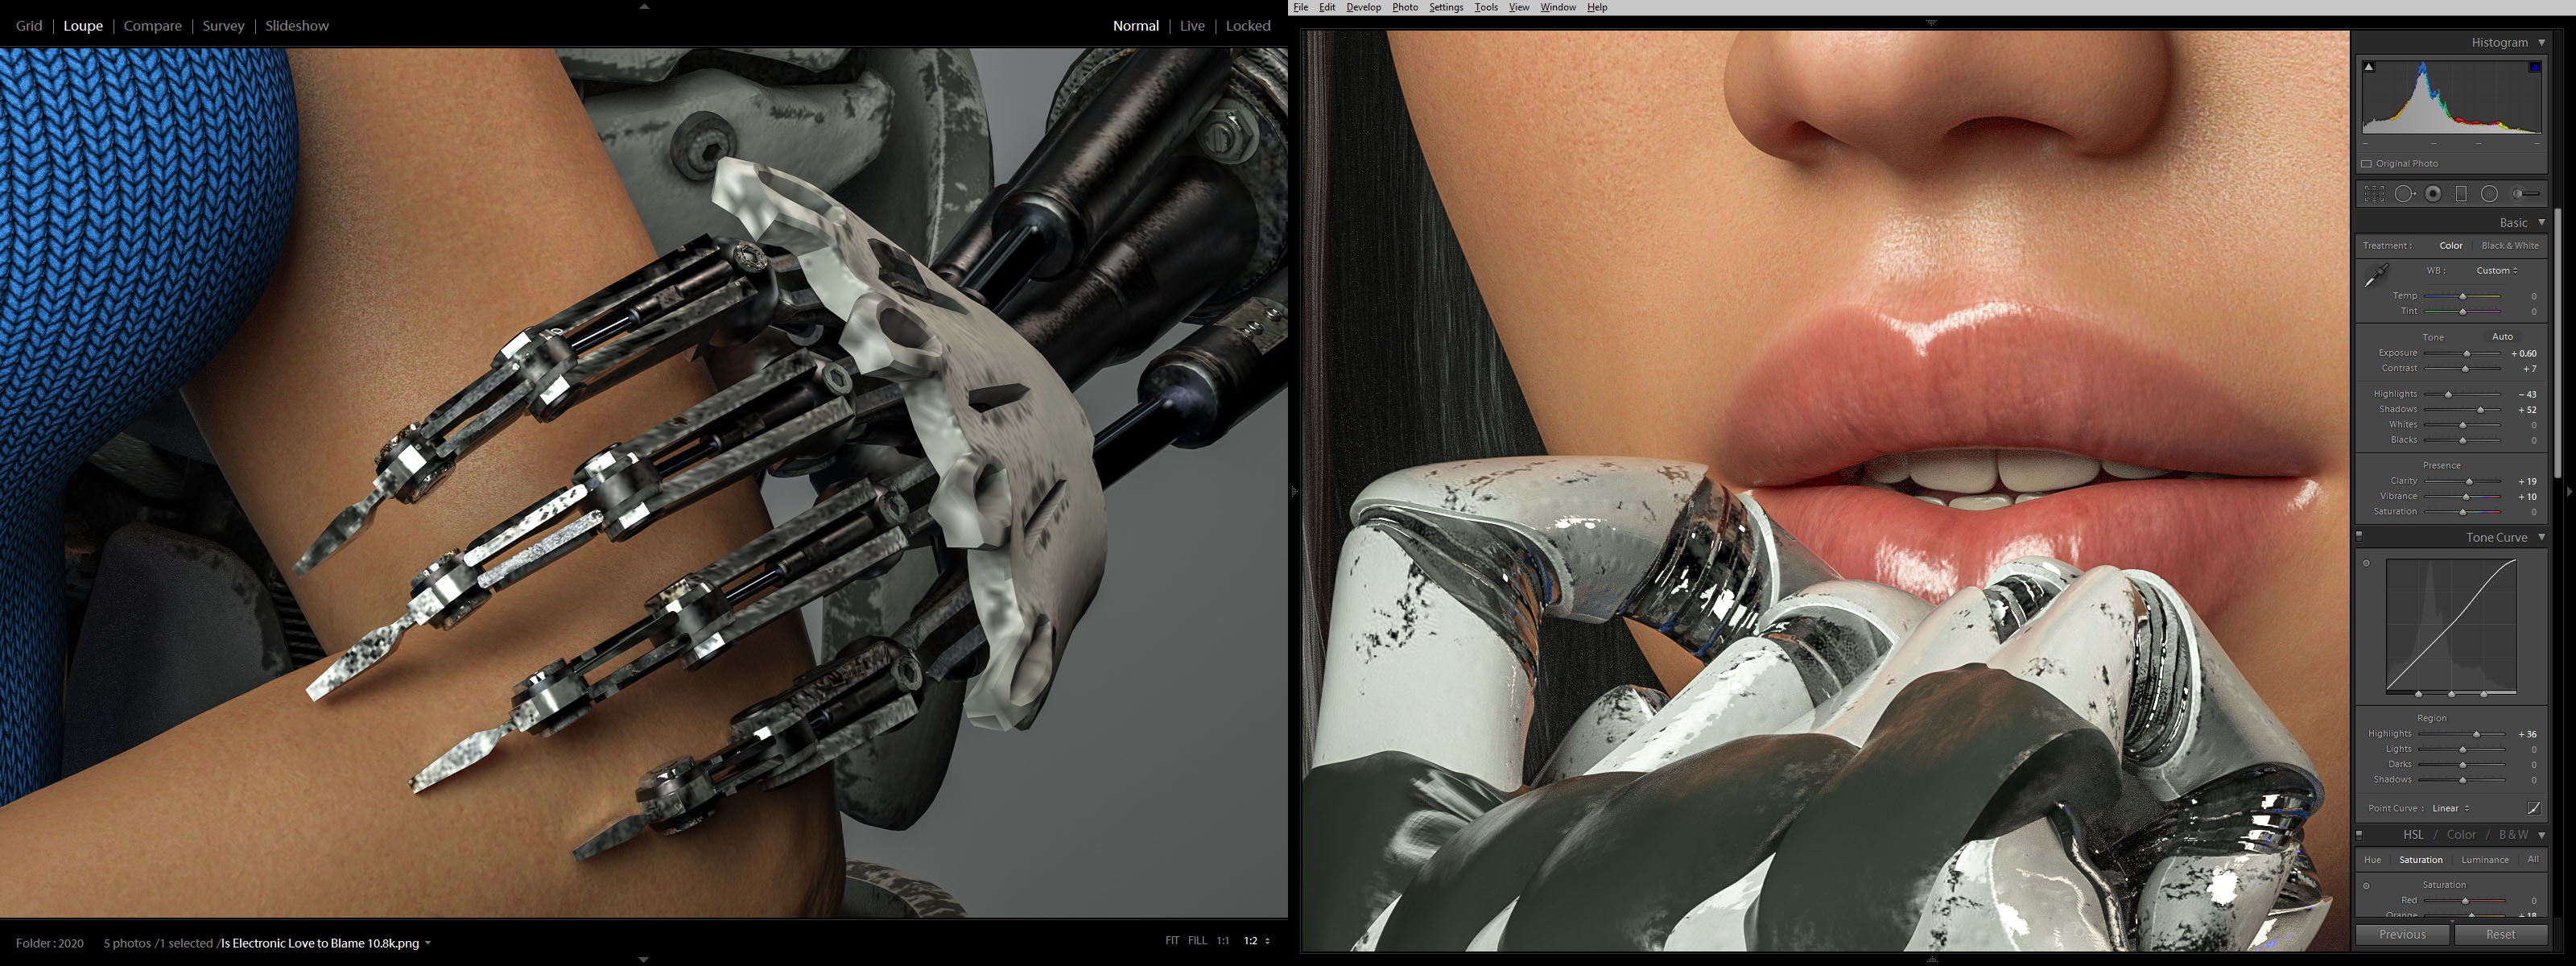 I also spent a tremendous amount of time trying to get the android fingers positioned just right so that they didn’t look like they were gouging the girl’s arm, yet at the same time, catching the light in a nice way. Skin against machine was becoming a major theme apparently. Same with the cybernetic fingers and her lips. I actually moved the camera and lengthened the girl’s neck at one point so you could see more of her mouth.
 Then, of course I second guessed myself and pulled the shot back to re-visit the original concept of the hand around the waist. Worked on that for awhile but thankfully came to my senses. Maybe I’ll revisit this wider shot if I do a different version with a vertical aspect ratio.
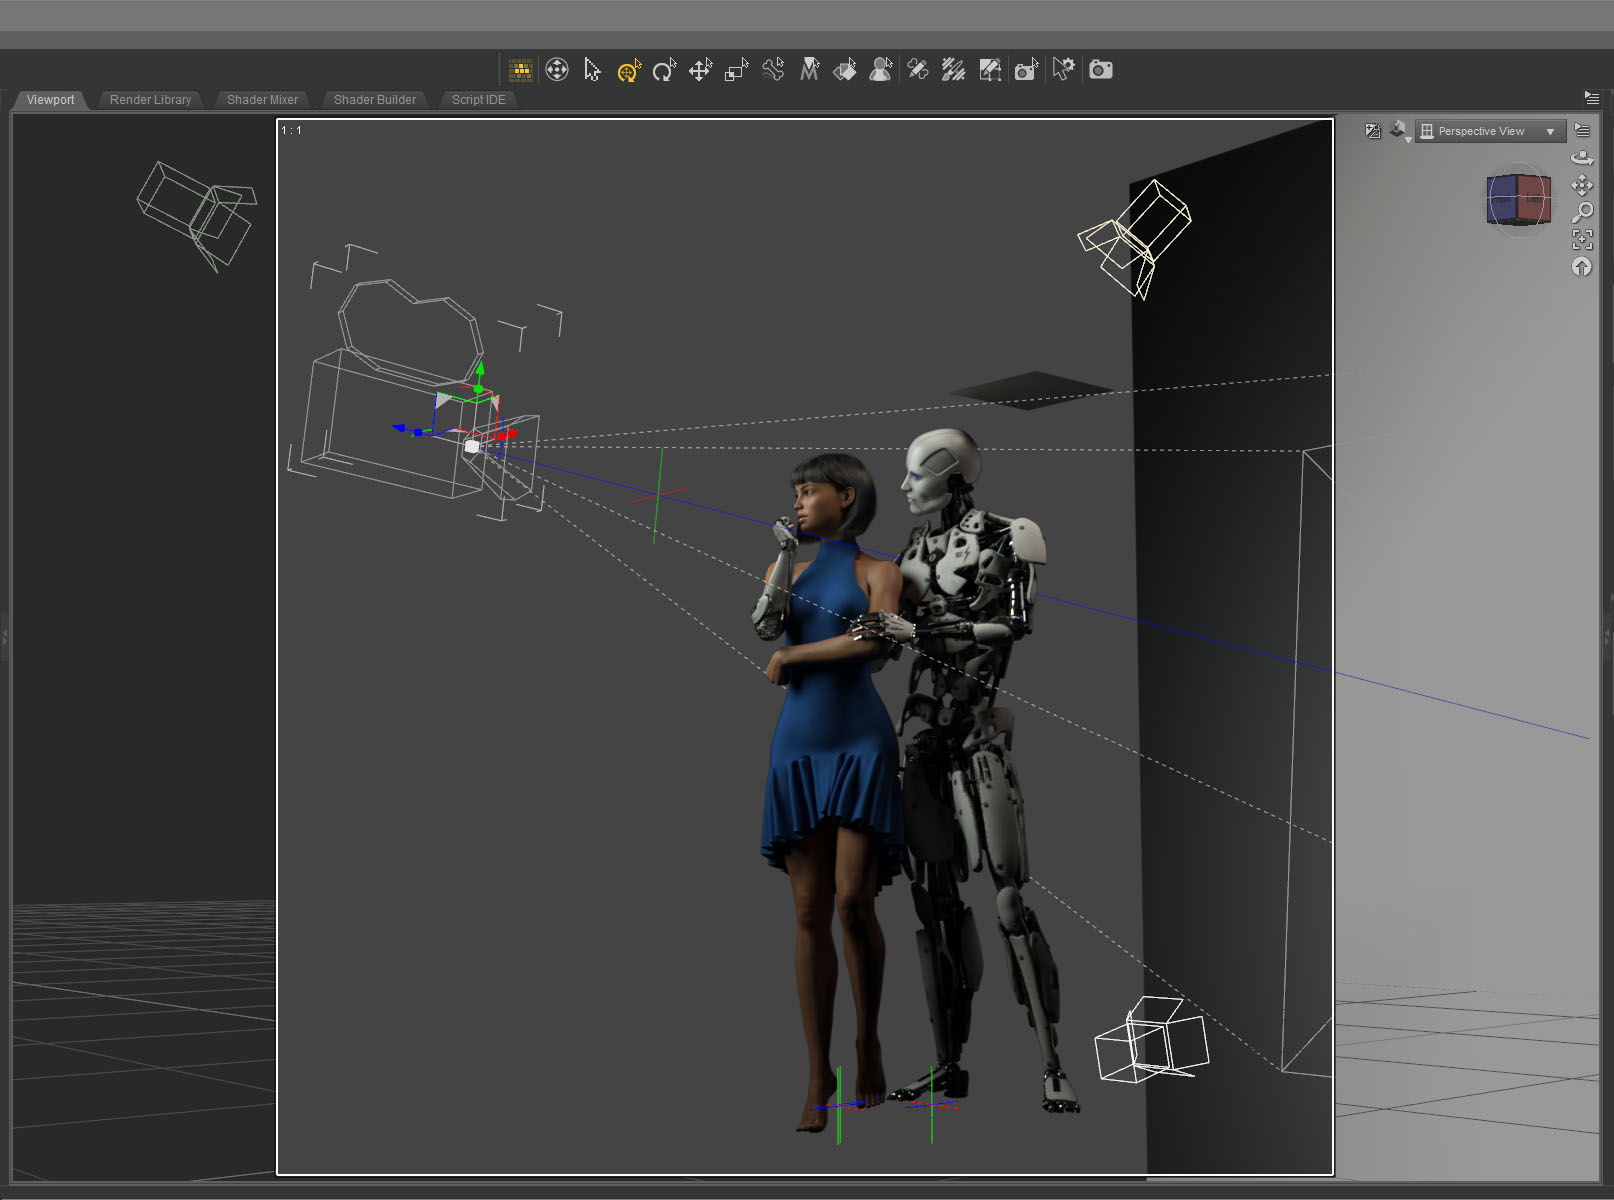 I only needed three lights to illuminate the scene. A key from the front doing most of the work. A hair light from the top that was also doubling as a fill light. And a spot on the gray background plane. I created another tiny plane just out of frame above the android to cut down the reflection on his white bald head.
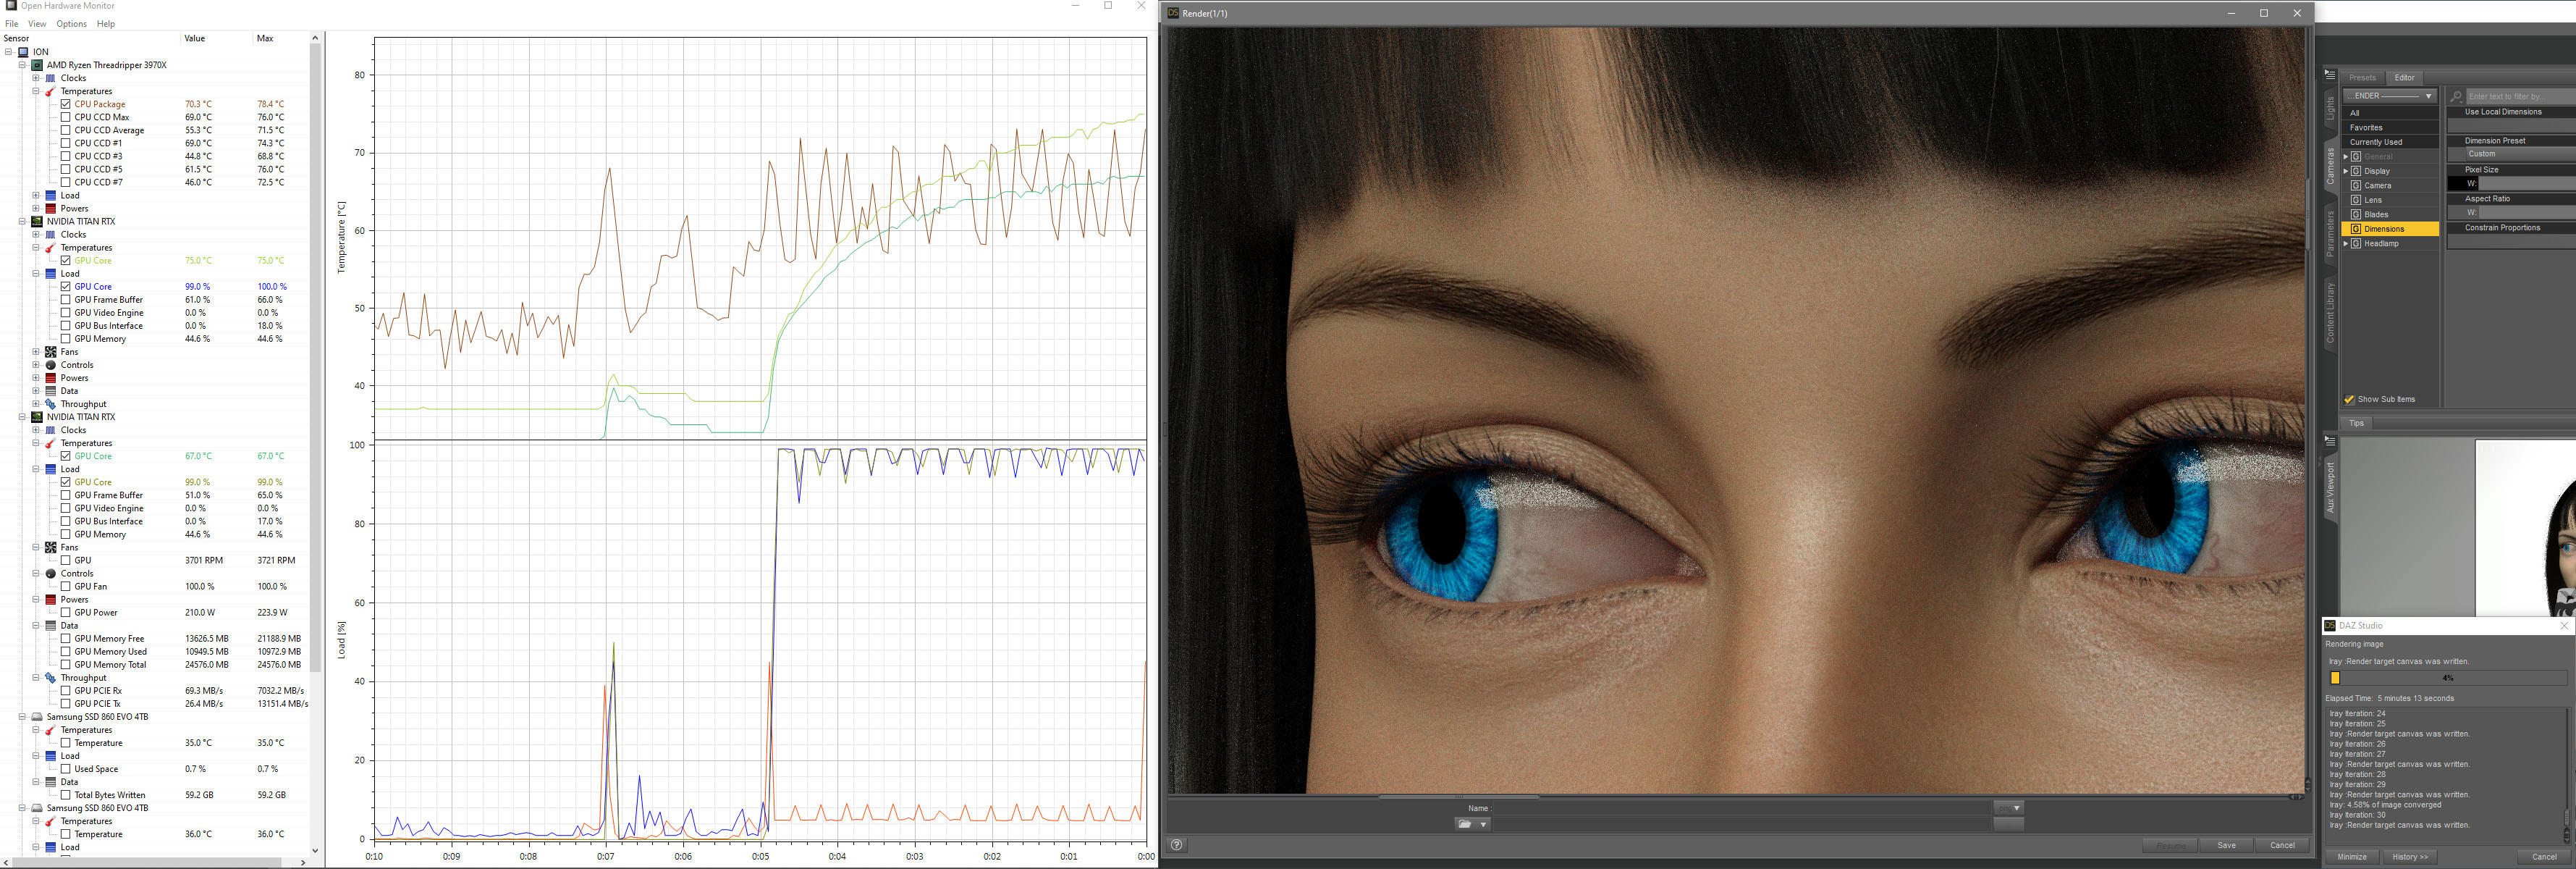 The final Iray render took about two hours at 10800 x 10800 resolution. I was surprised. That’s very fast. I’ve had renders at this resolution go ten hours or more. I’m guessing the plain background and the overall brightness of the scene helped.
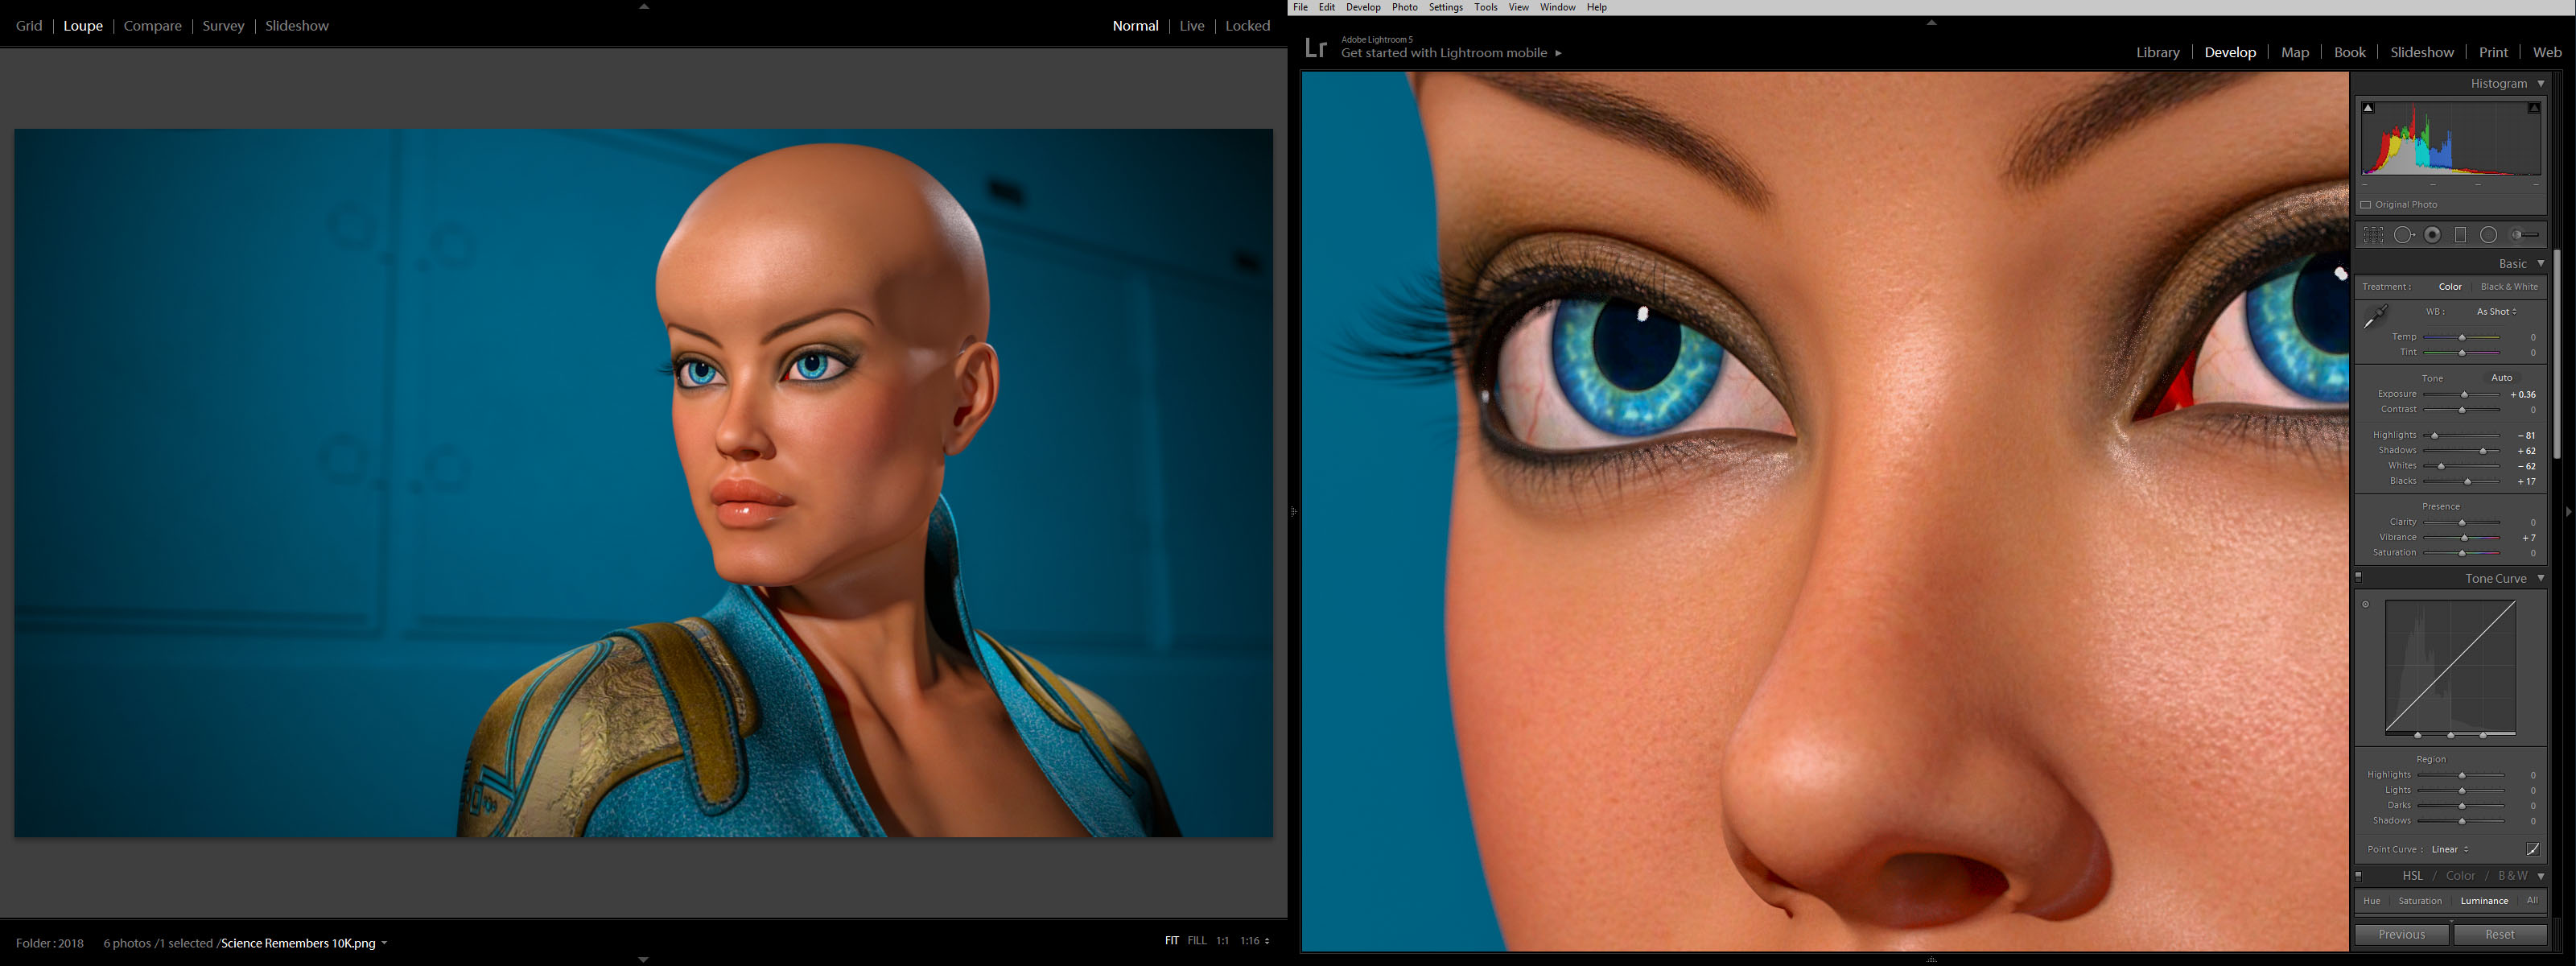
 Color correcting in Lightroom I tried to bring out the hardness of the machine and the softness of the skin.
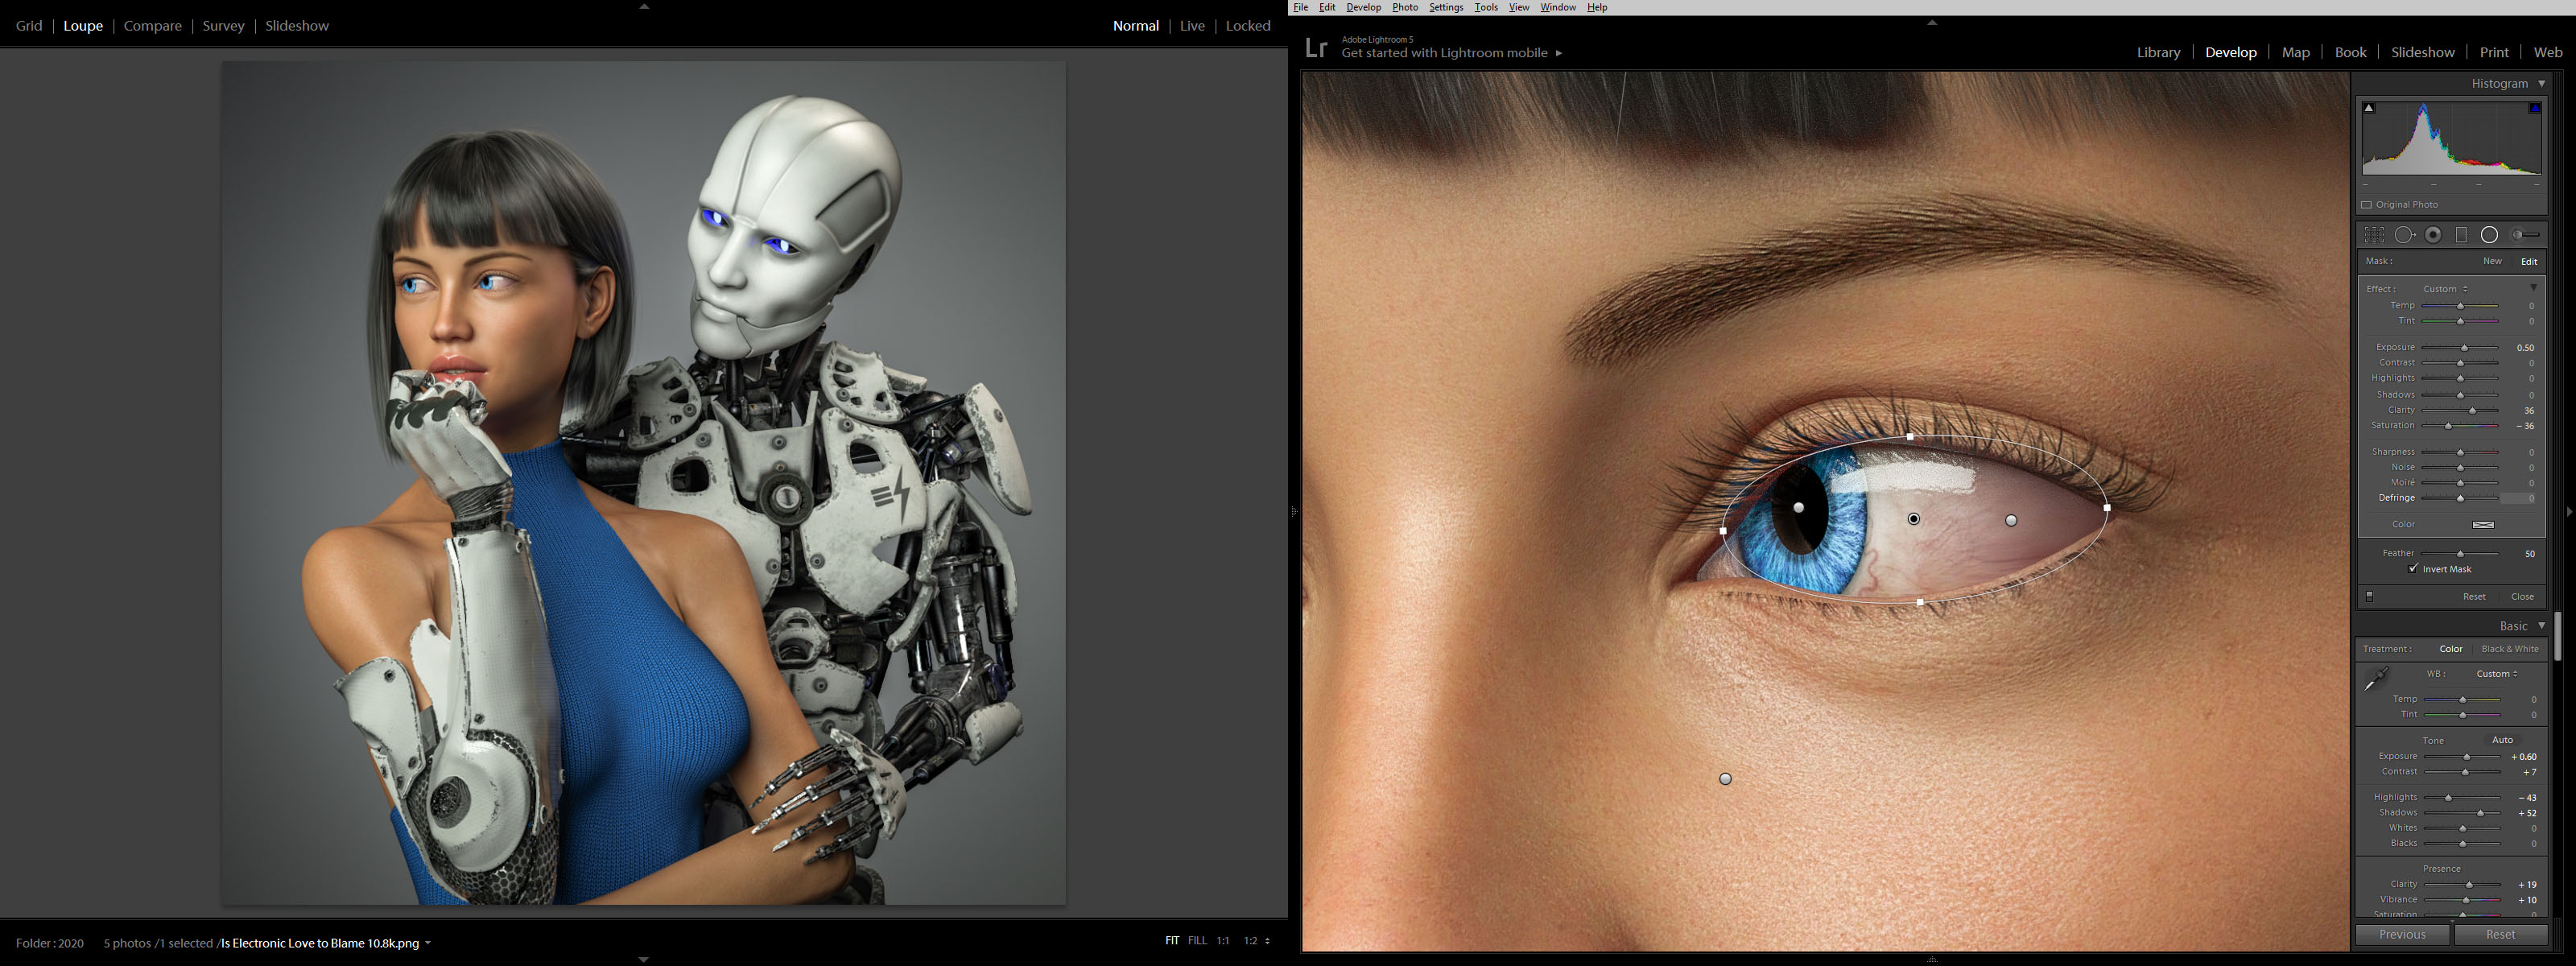 I lightened up the girl’s eyes and obsessed over everything for quite some time. Overall I brightened everything up and made it punch as much as possible.
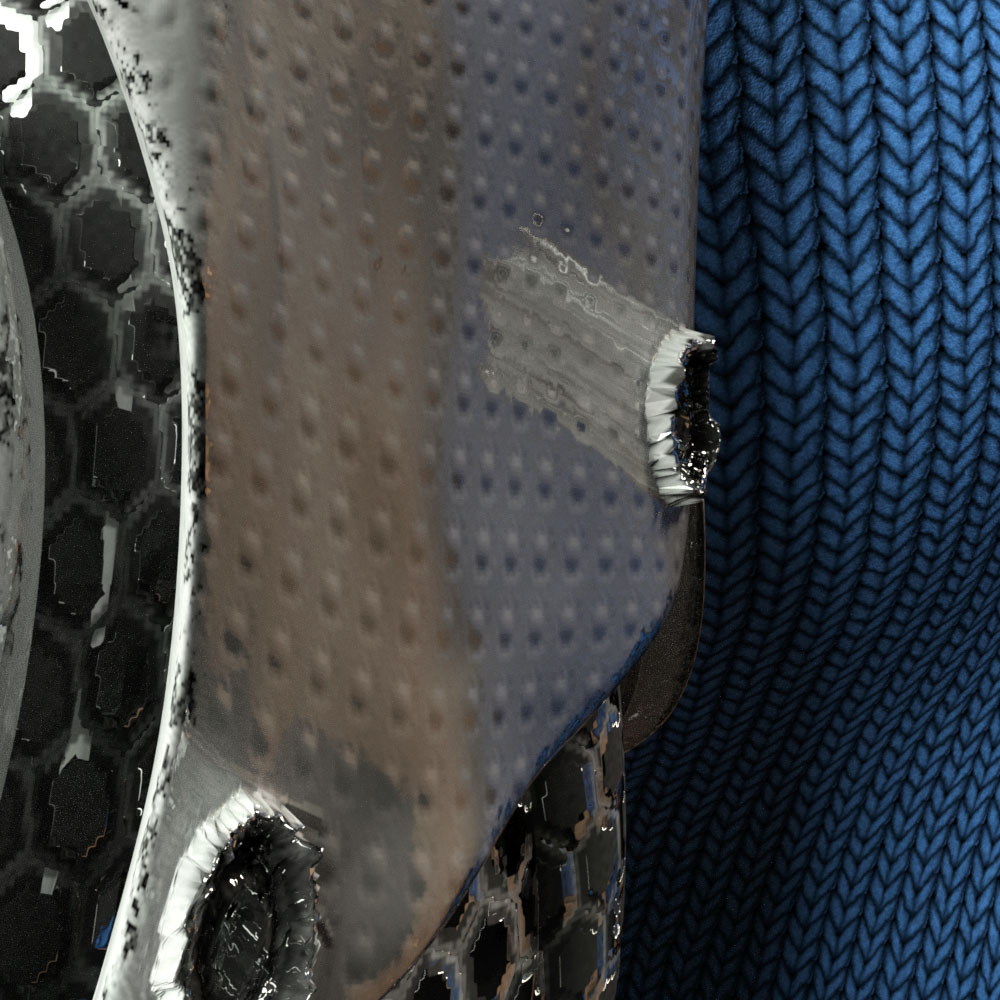 While color correcting I noticed a bizarre reflection coming off one of the poorly formed low-rez “screws” on the cybernetic arm. It had something to do with the normal map which wasn’t doing much on this surface. The screws were created with the displacement map. Not sure what was going on.
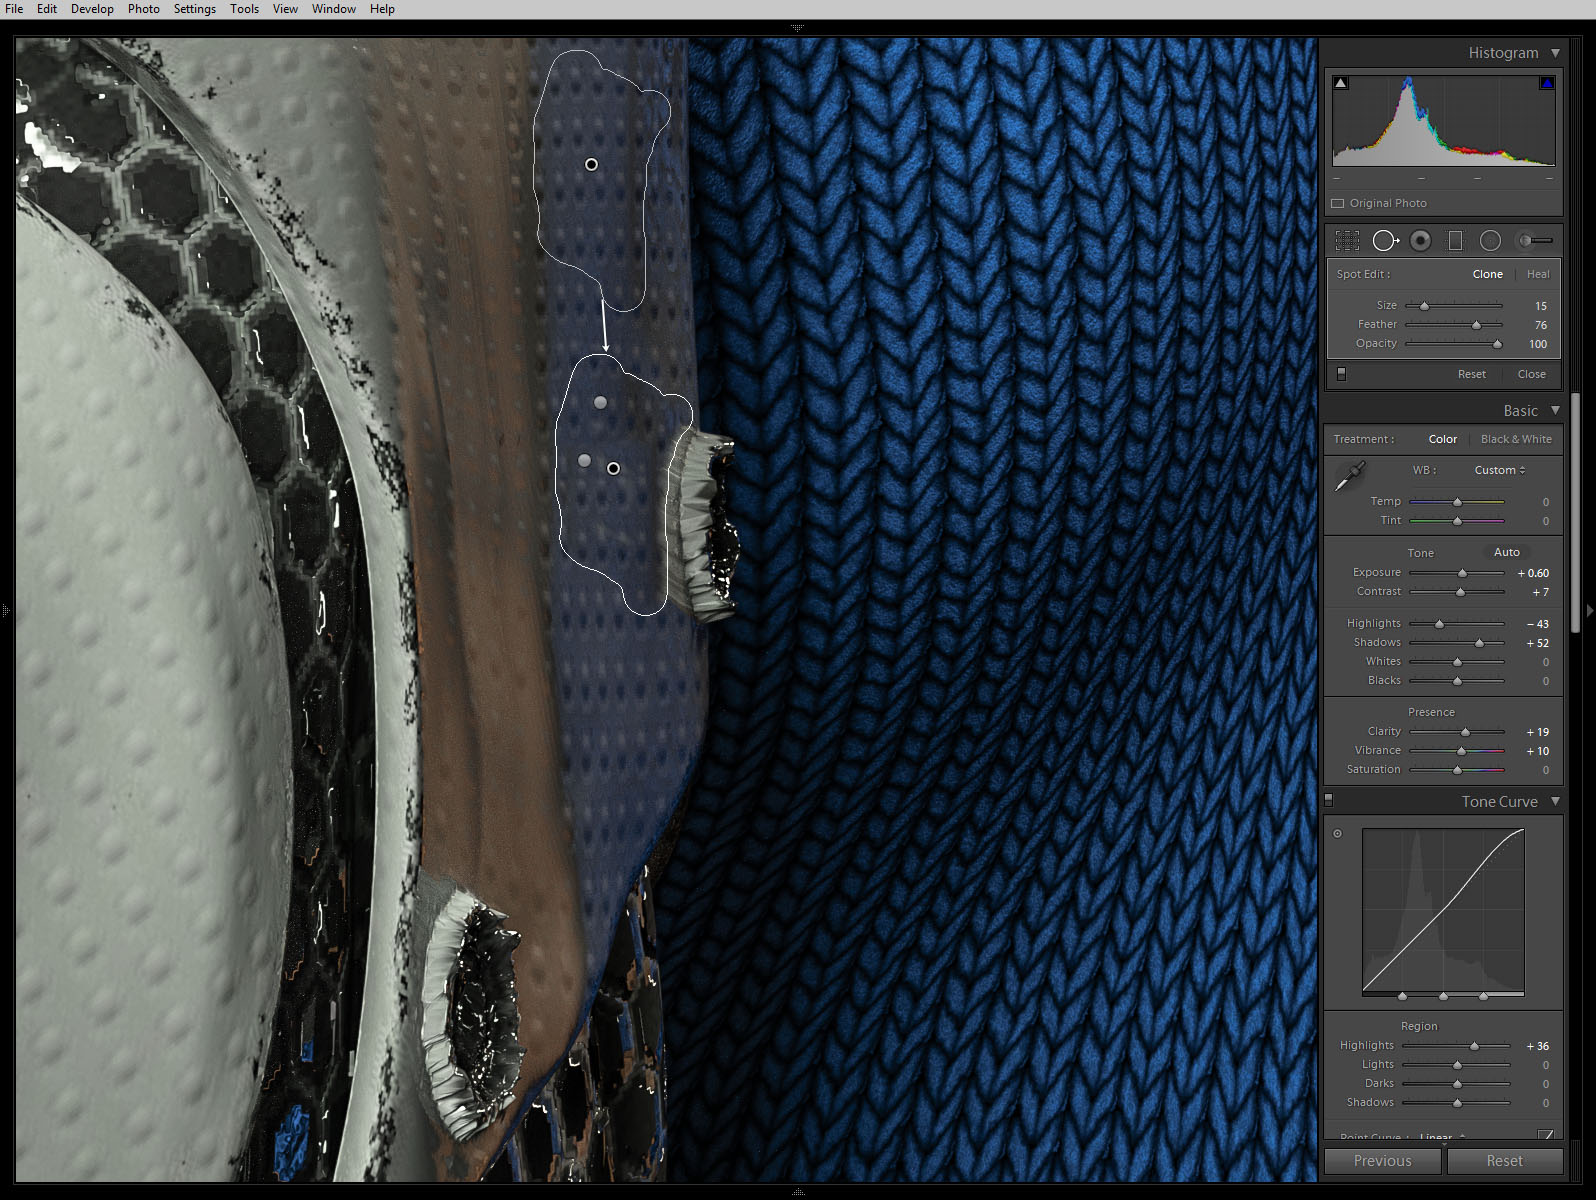 Anyway, I couldn’t figure out how to fix it in DAZ Studio without changing the character of the rest of the arm surface so I just used the spot remover in lightroom.
So what do you think? Did I over think it and create something stilted? Or did I continually refine it and make it great? I can’t tell anymore.
Next step: print it and see what it looks like on the wall…
Created in DAZ Studio 4.12
Rendered with Iray
Color Correction in Lightroom
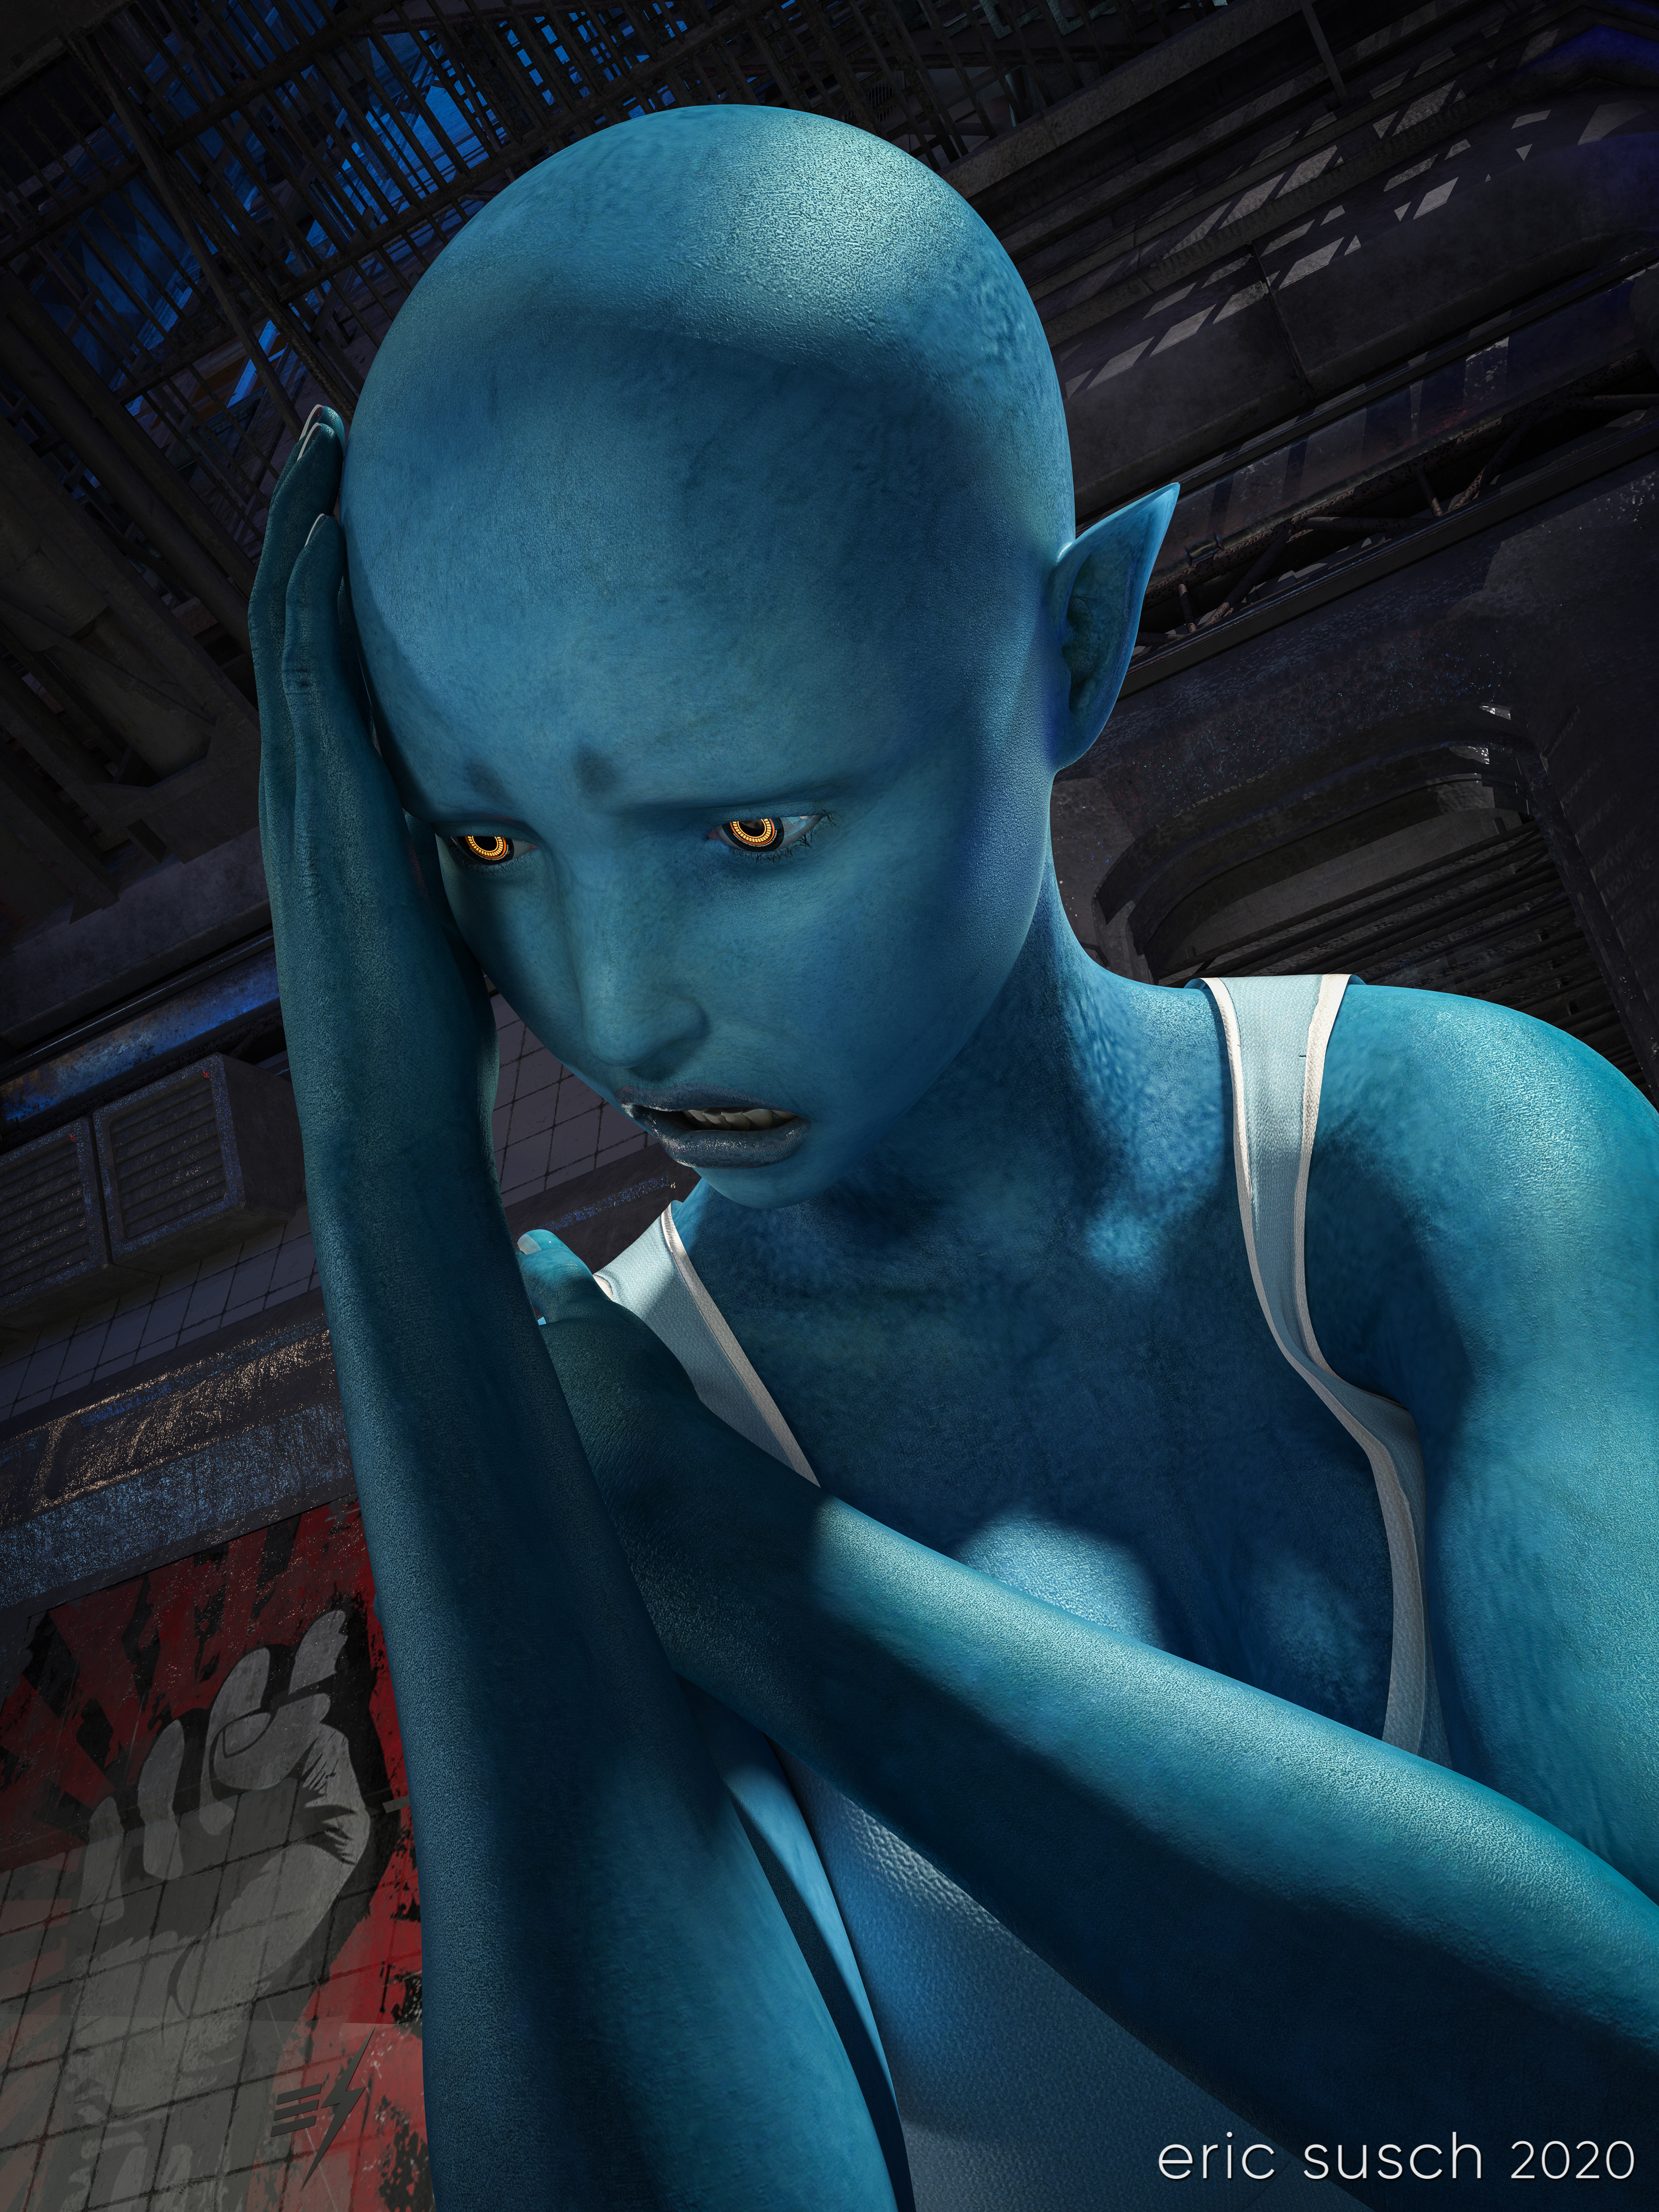 After George Floyd was killed and a week of protesting around the world, this was how I felt. I created a TikTok video where the camera cranes down from a fire escape and eventually tilts up on this character. You can see the video here: Despair on TikTok
After a bit of re-adjusting in DAZ Studio I came up with this high rez still version of the final frame. I rendered it at 10000 x 7500 pixels so I could print it out big and hang it on the wall.
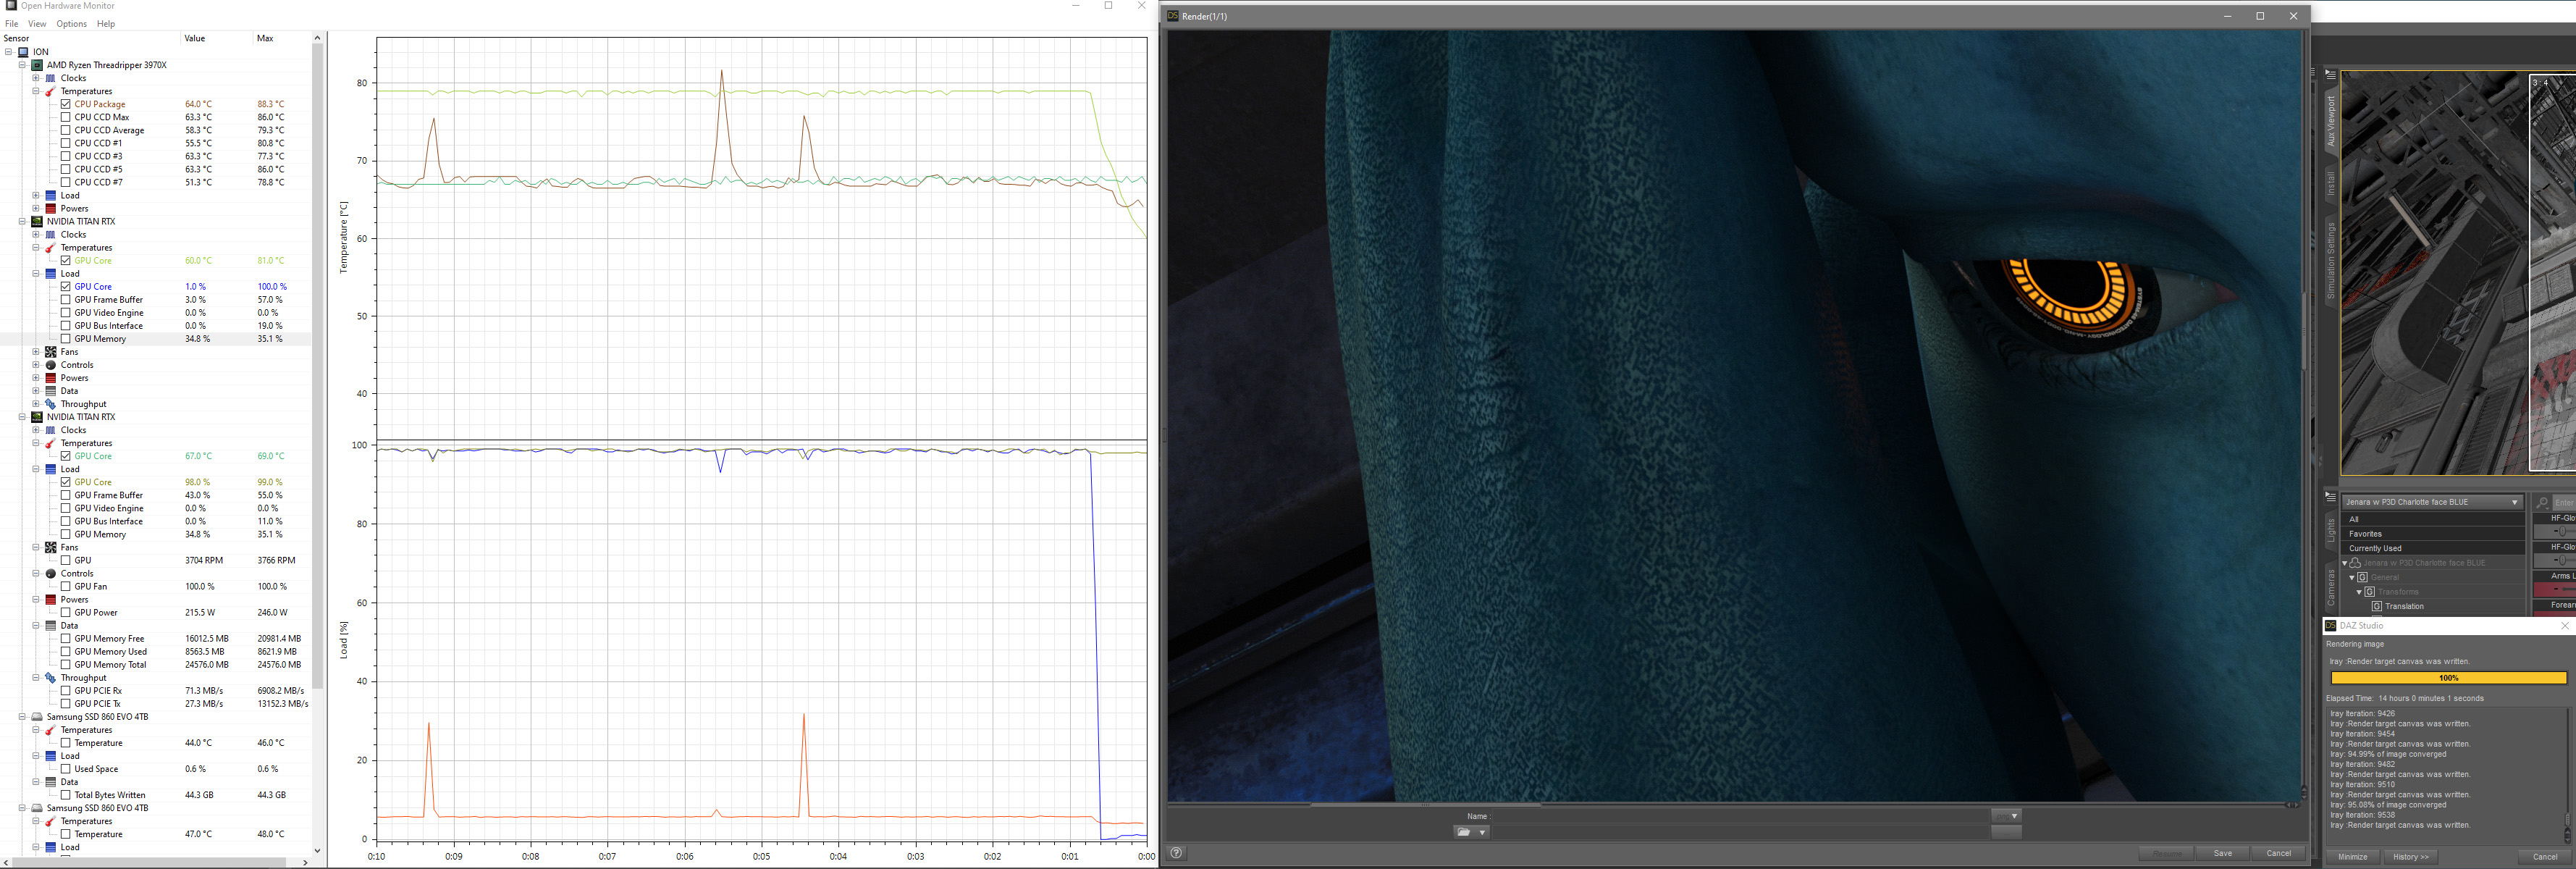
Shadow areas take a long time to render in Iray, especially if the canvas is large. With two Titan RTX graphic cards continuously screaming at 79 degrees Celsius, this image took fourteen hours to render. Not the longest render I’ve ever done (that would be 48 hours) but still a good exercise for my new computer workstation.
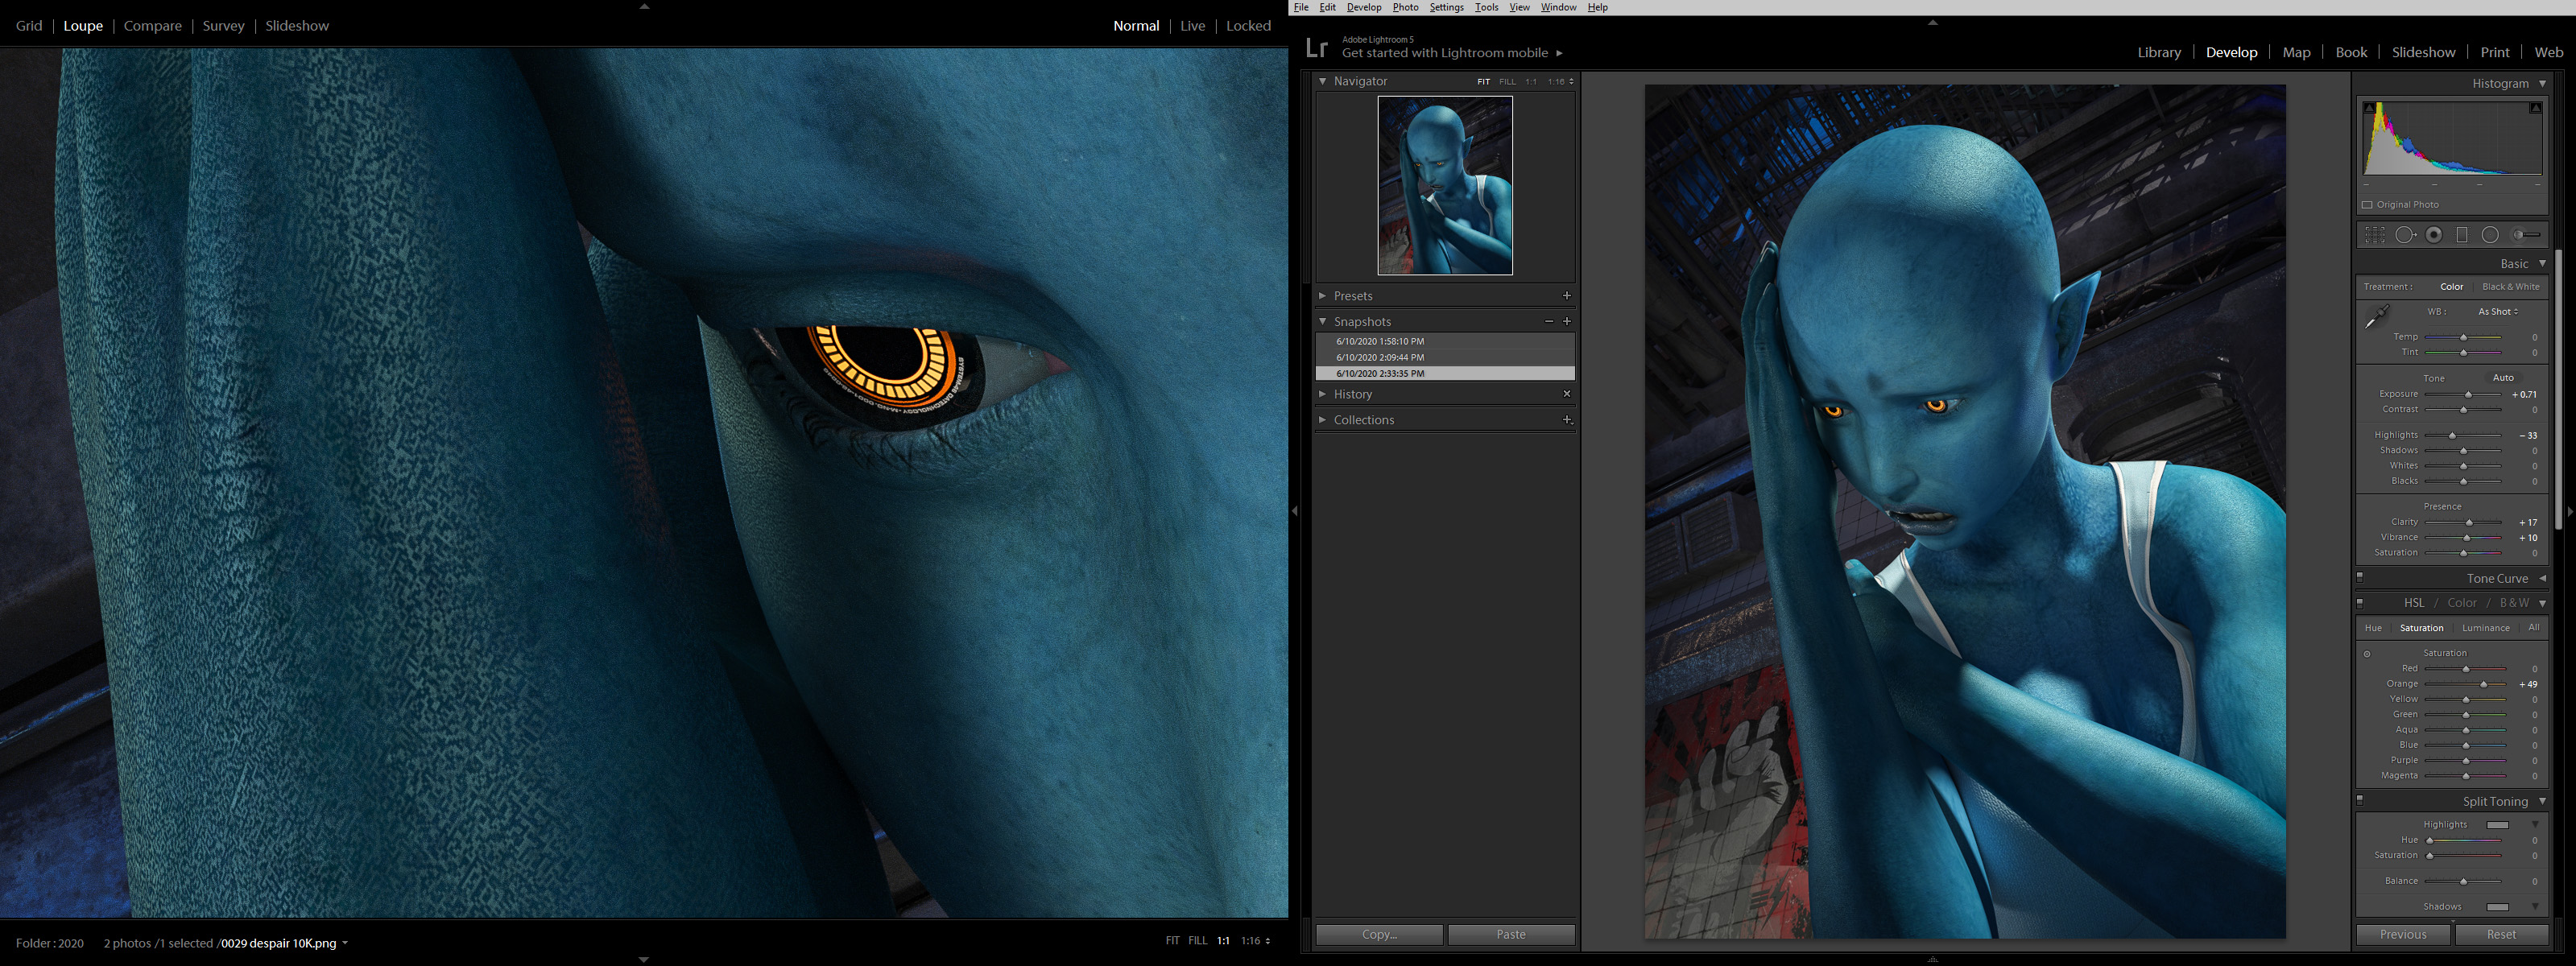
 Color correction in lightroom was relatively simple, essentially just brightening up everything so it pops and so all the shadow areas don’t print out too dark.
 Created in DAZ Studio 4.12
Rendered with Iray
Color Correction in Lightroom
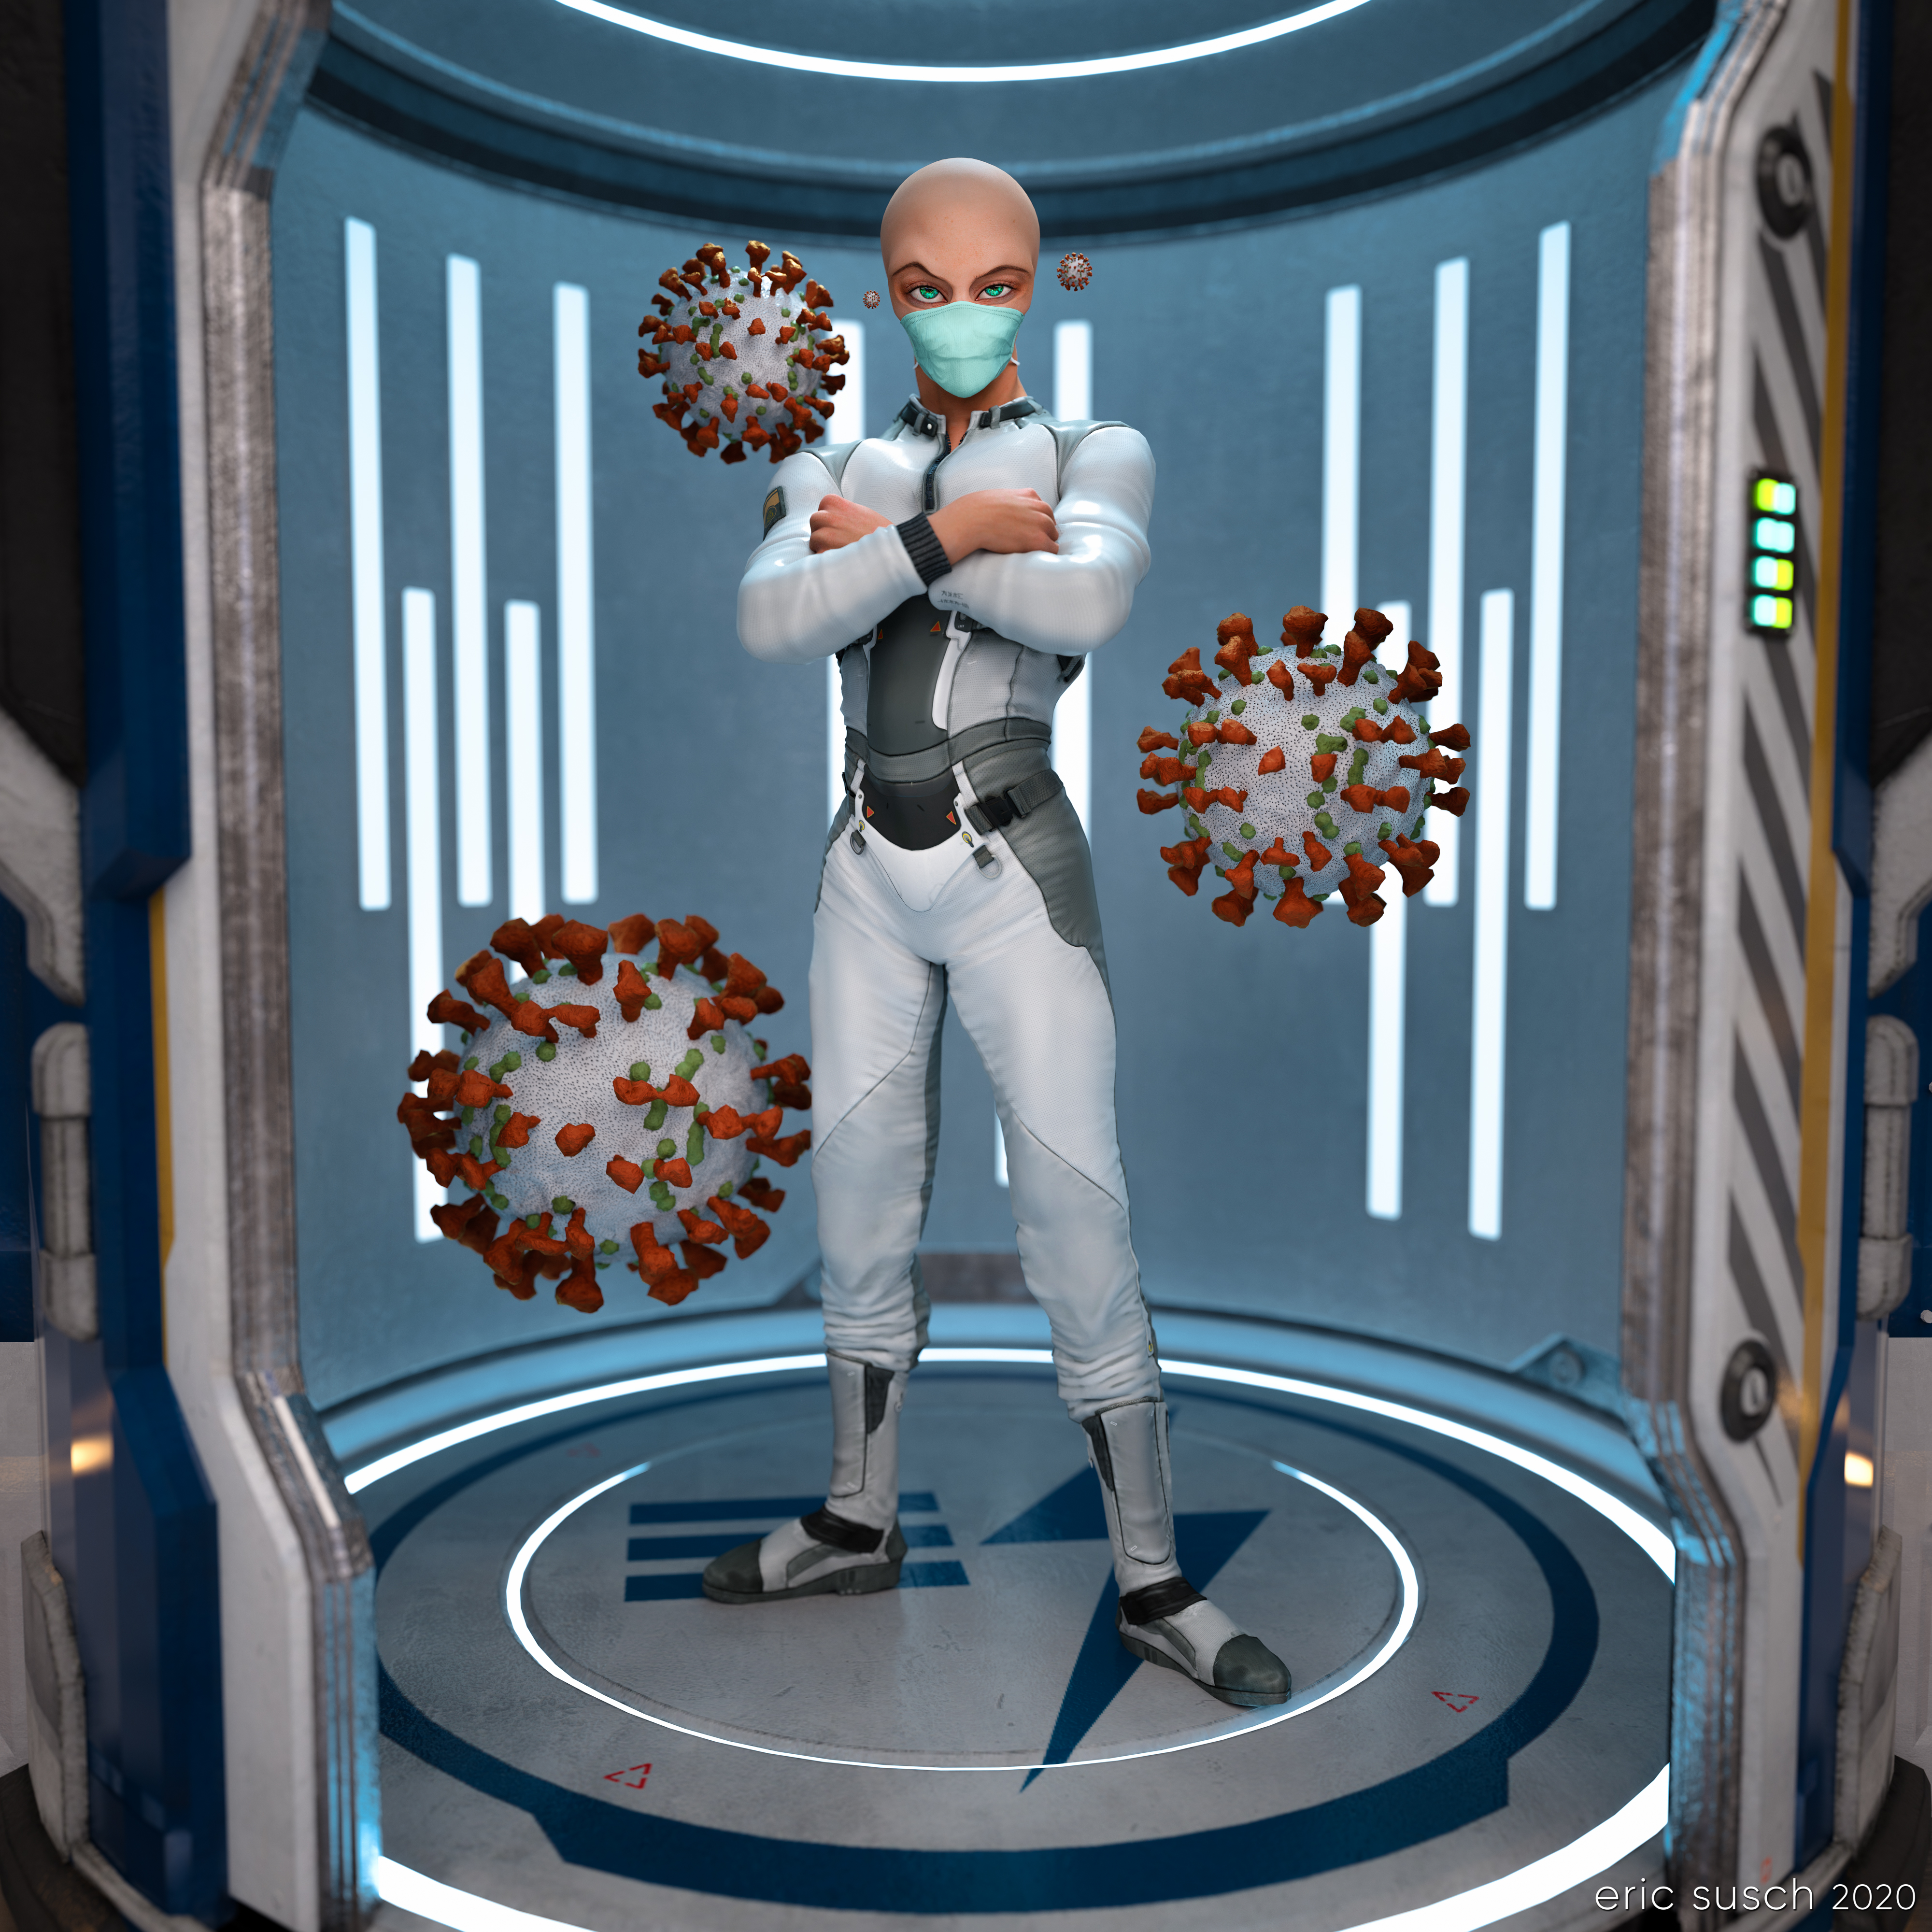 What is outside the door when it opens? This is the question I ask myself everyday now. Some alien organism hitchhiking on a friend? Wear a mask!
For this piece I went back to one of my TikTok animations, set up another camera with a square aspect ratio, and exported a high rez still.
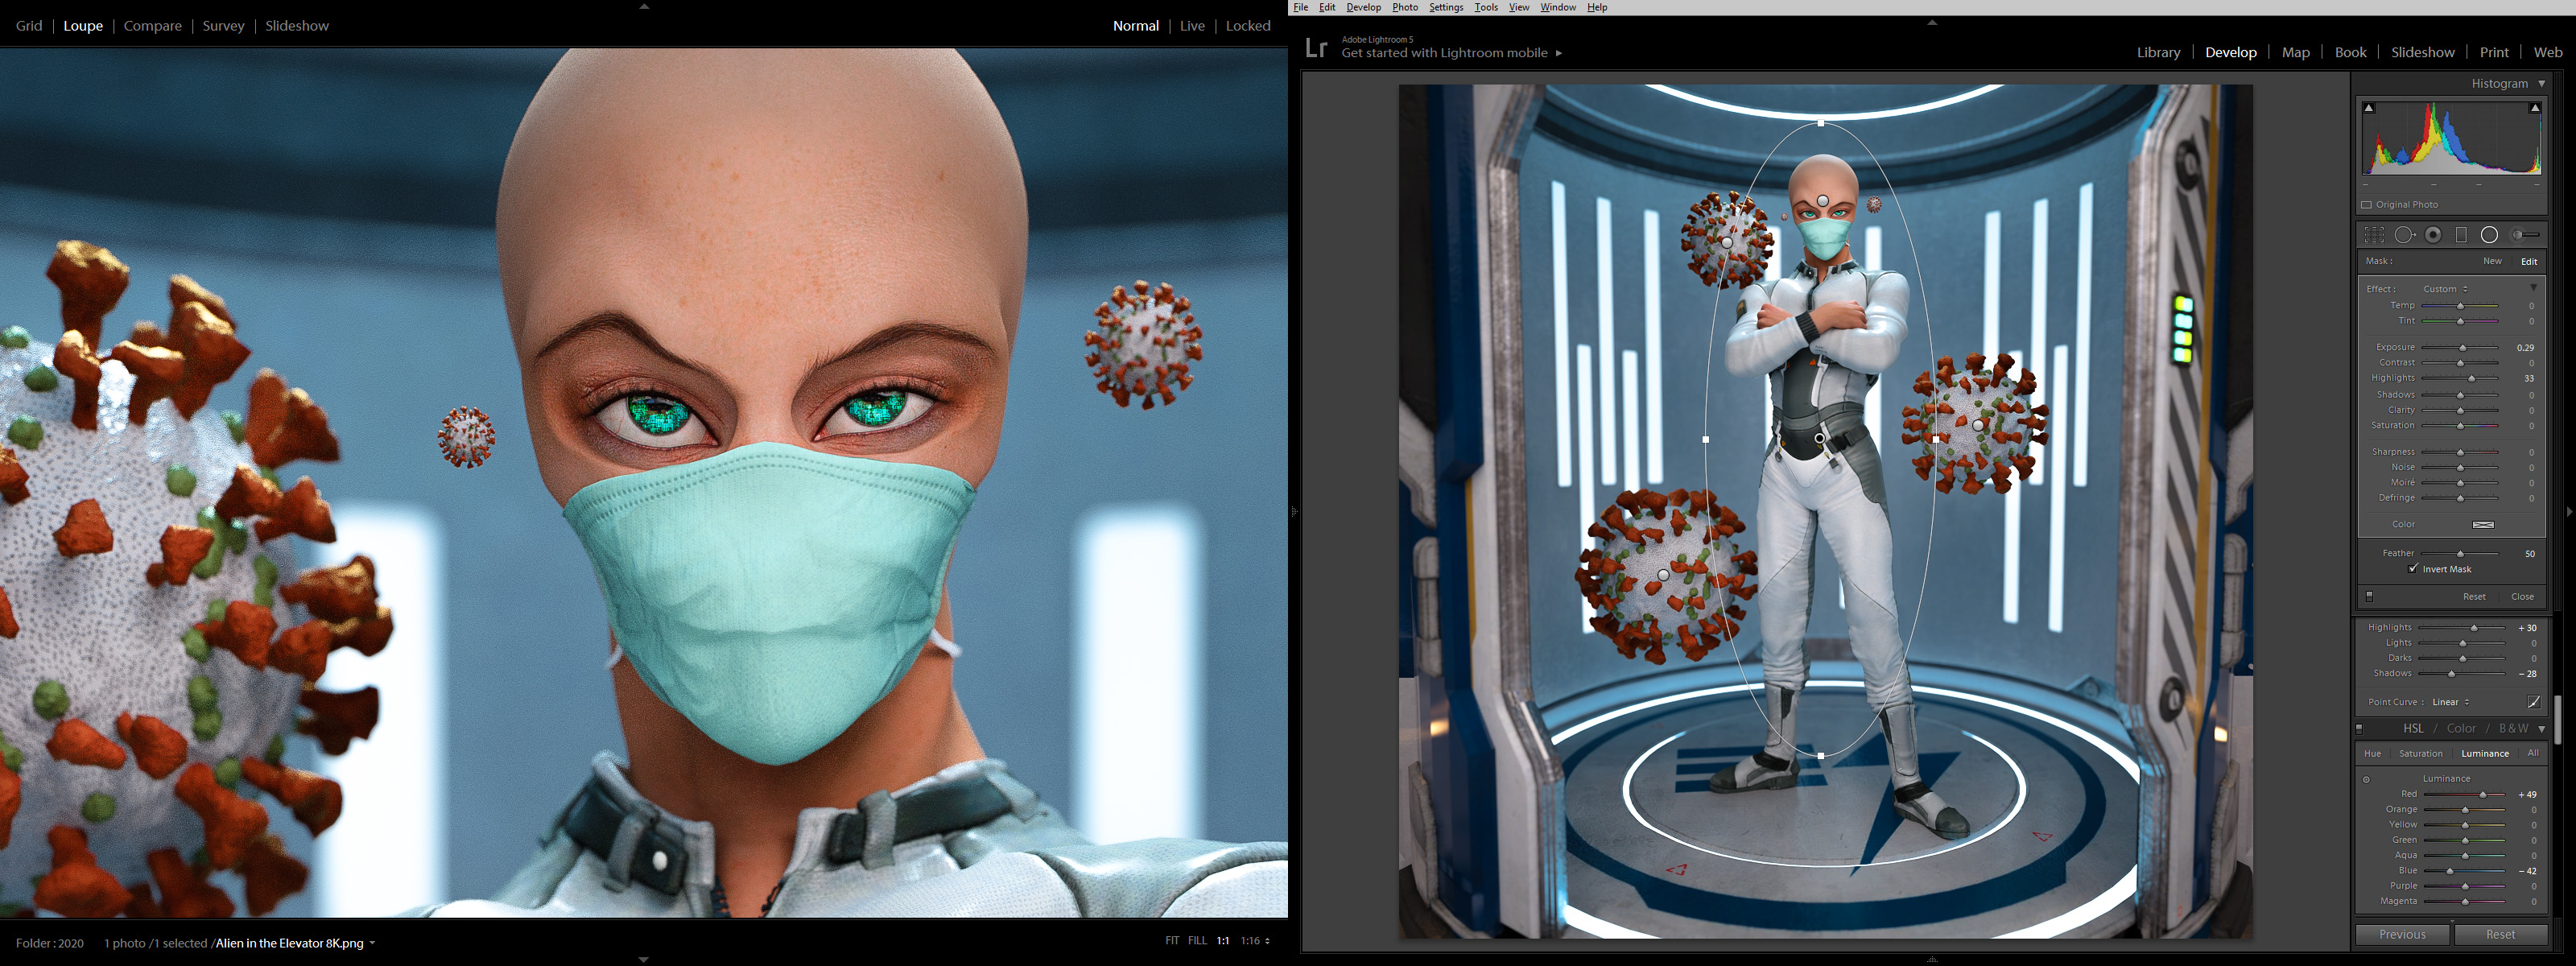 The color correction in lightroom made it pop quite nicely.
Created in DAZ Studio 4.12
Rendered with Iray
Color Correction in Lightroom
Our first long trip with our new Tesla Model 3 (December 2018) We try auto pilot and juice up with a super-charger for the first time! It’s an electric motoring adventure!! We visit The Roscoe Diner in Roscoe, NY (The Roscoe charging station was finished in February 2019.) …and The Spot Diner in Binghamton NY.
update: 100,000 views in 90 days on YouTube! Not bad. Lots of comments on the video though. Here are answers to some of the most common questions:
The car is dual motor (AWD) with the extend range battery, auto pilot, and 19 inch wheels.
We stopped in Binghamton twice to charge up. It took about twenty minutes each time. The first time was when the battery was lower the cost was $8.64. The second time on the way back it was $3.60. (When your battery is relatively full the charging goes much slower.) You don’t need a credit card. The charger recognizes your car and bills your Tesla account directly. The price shows up on the screen inside the car. 6:47
We were following the Roscoe super charger construction for a long time. The only information on the Tesla page for completion was “forth quarter 2018.” Since it was the end of the year and we were stopping anyway we gave it a shot.
The video was mostly shot with a sony a6000 with a sony ecm-xyst1m mic on top. Some of it was shot with a GoPro when the sony batteries died.
While I was working on a previous art piece called Quirky Girl, I stumbled through a wormhole and accidentally created this:
 I stopped everything and rendered it out immediately! Enjoy!
I Reveal My Innermost Self
Created in DAZ Studio 4.11
Rendered with Iray
Color Correction in Lightroom
Figures used:
HPFK Lenora for Star 2.0 and Aiko 7
System 50 for G3F
Classic Bob Hair for G3+8F
This piece started off as a study of volumetric light. I wanted to practice creating an atmosphere in a large open space. I was also determined to make some art with a male figure instead of always using females. I ended up doing none of that! Hurtling down the creative path I diverged several times and ended up with an extreme close up of a toon anime girl. That’s the way it goes sometimes.
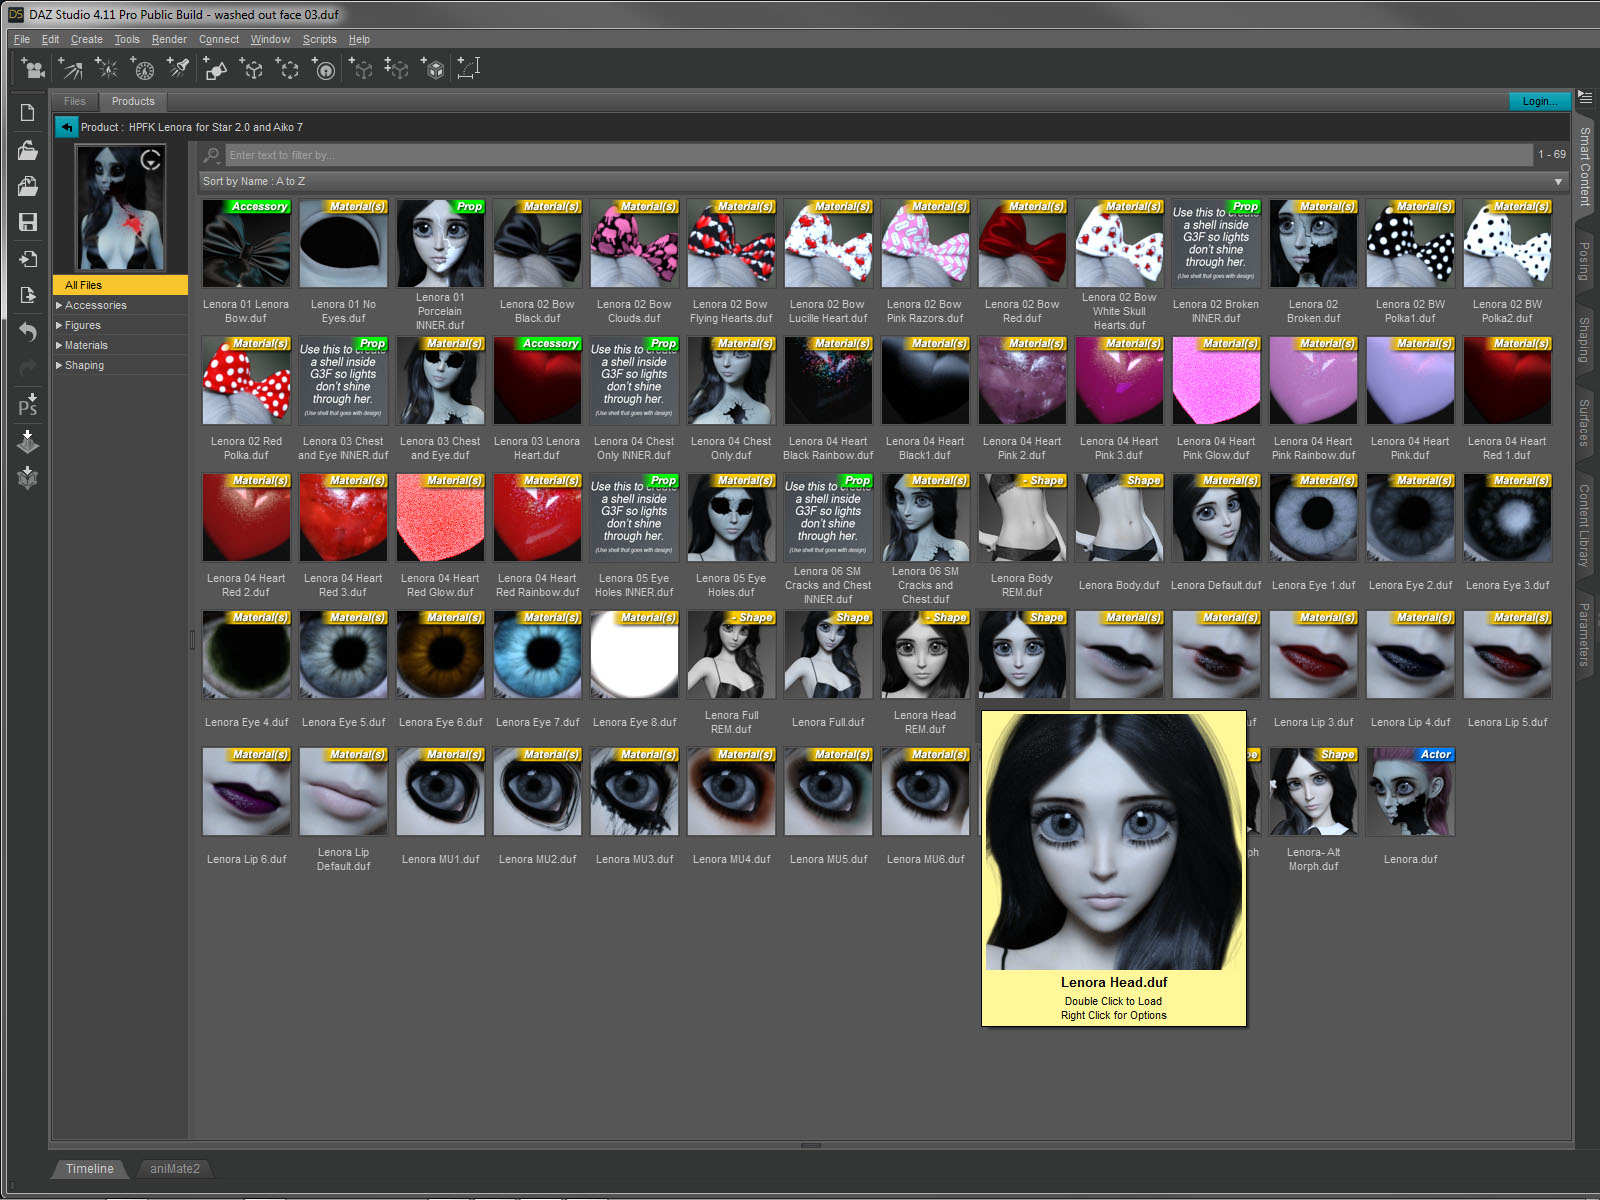
 The base shape is a toon doll like character that was designed to be goth with lots of “broken china doll” features.
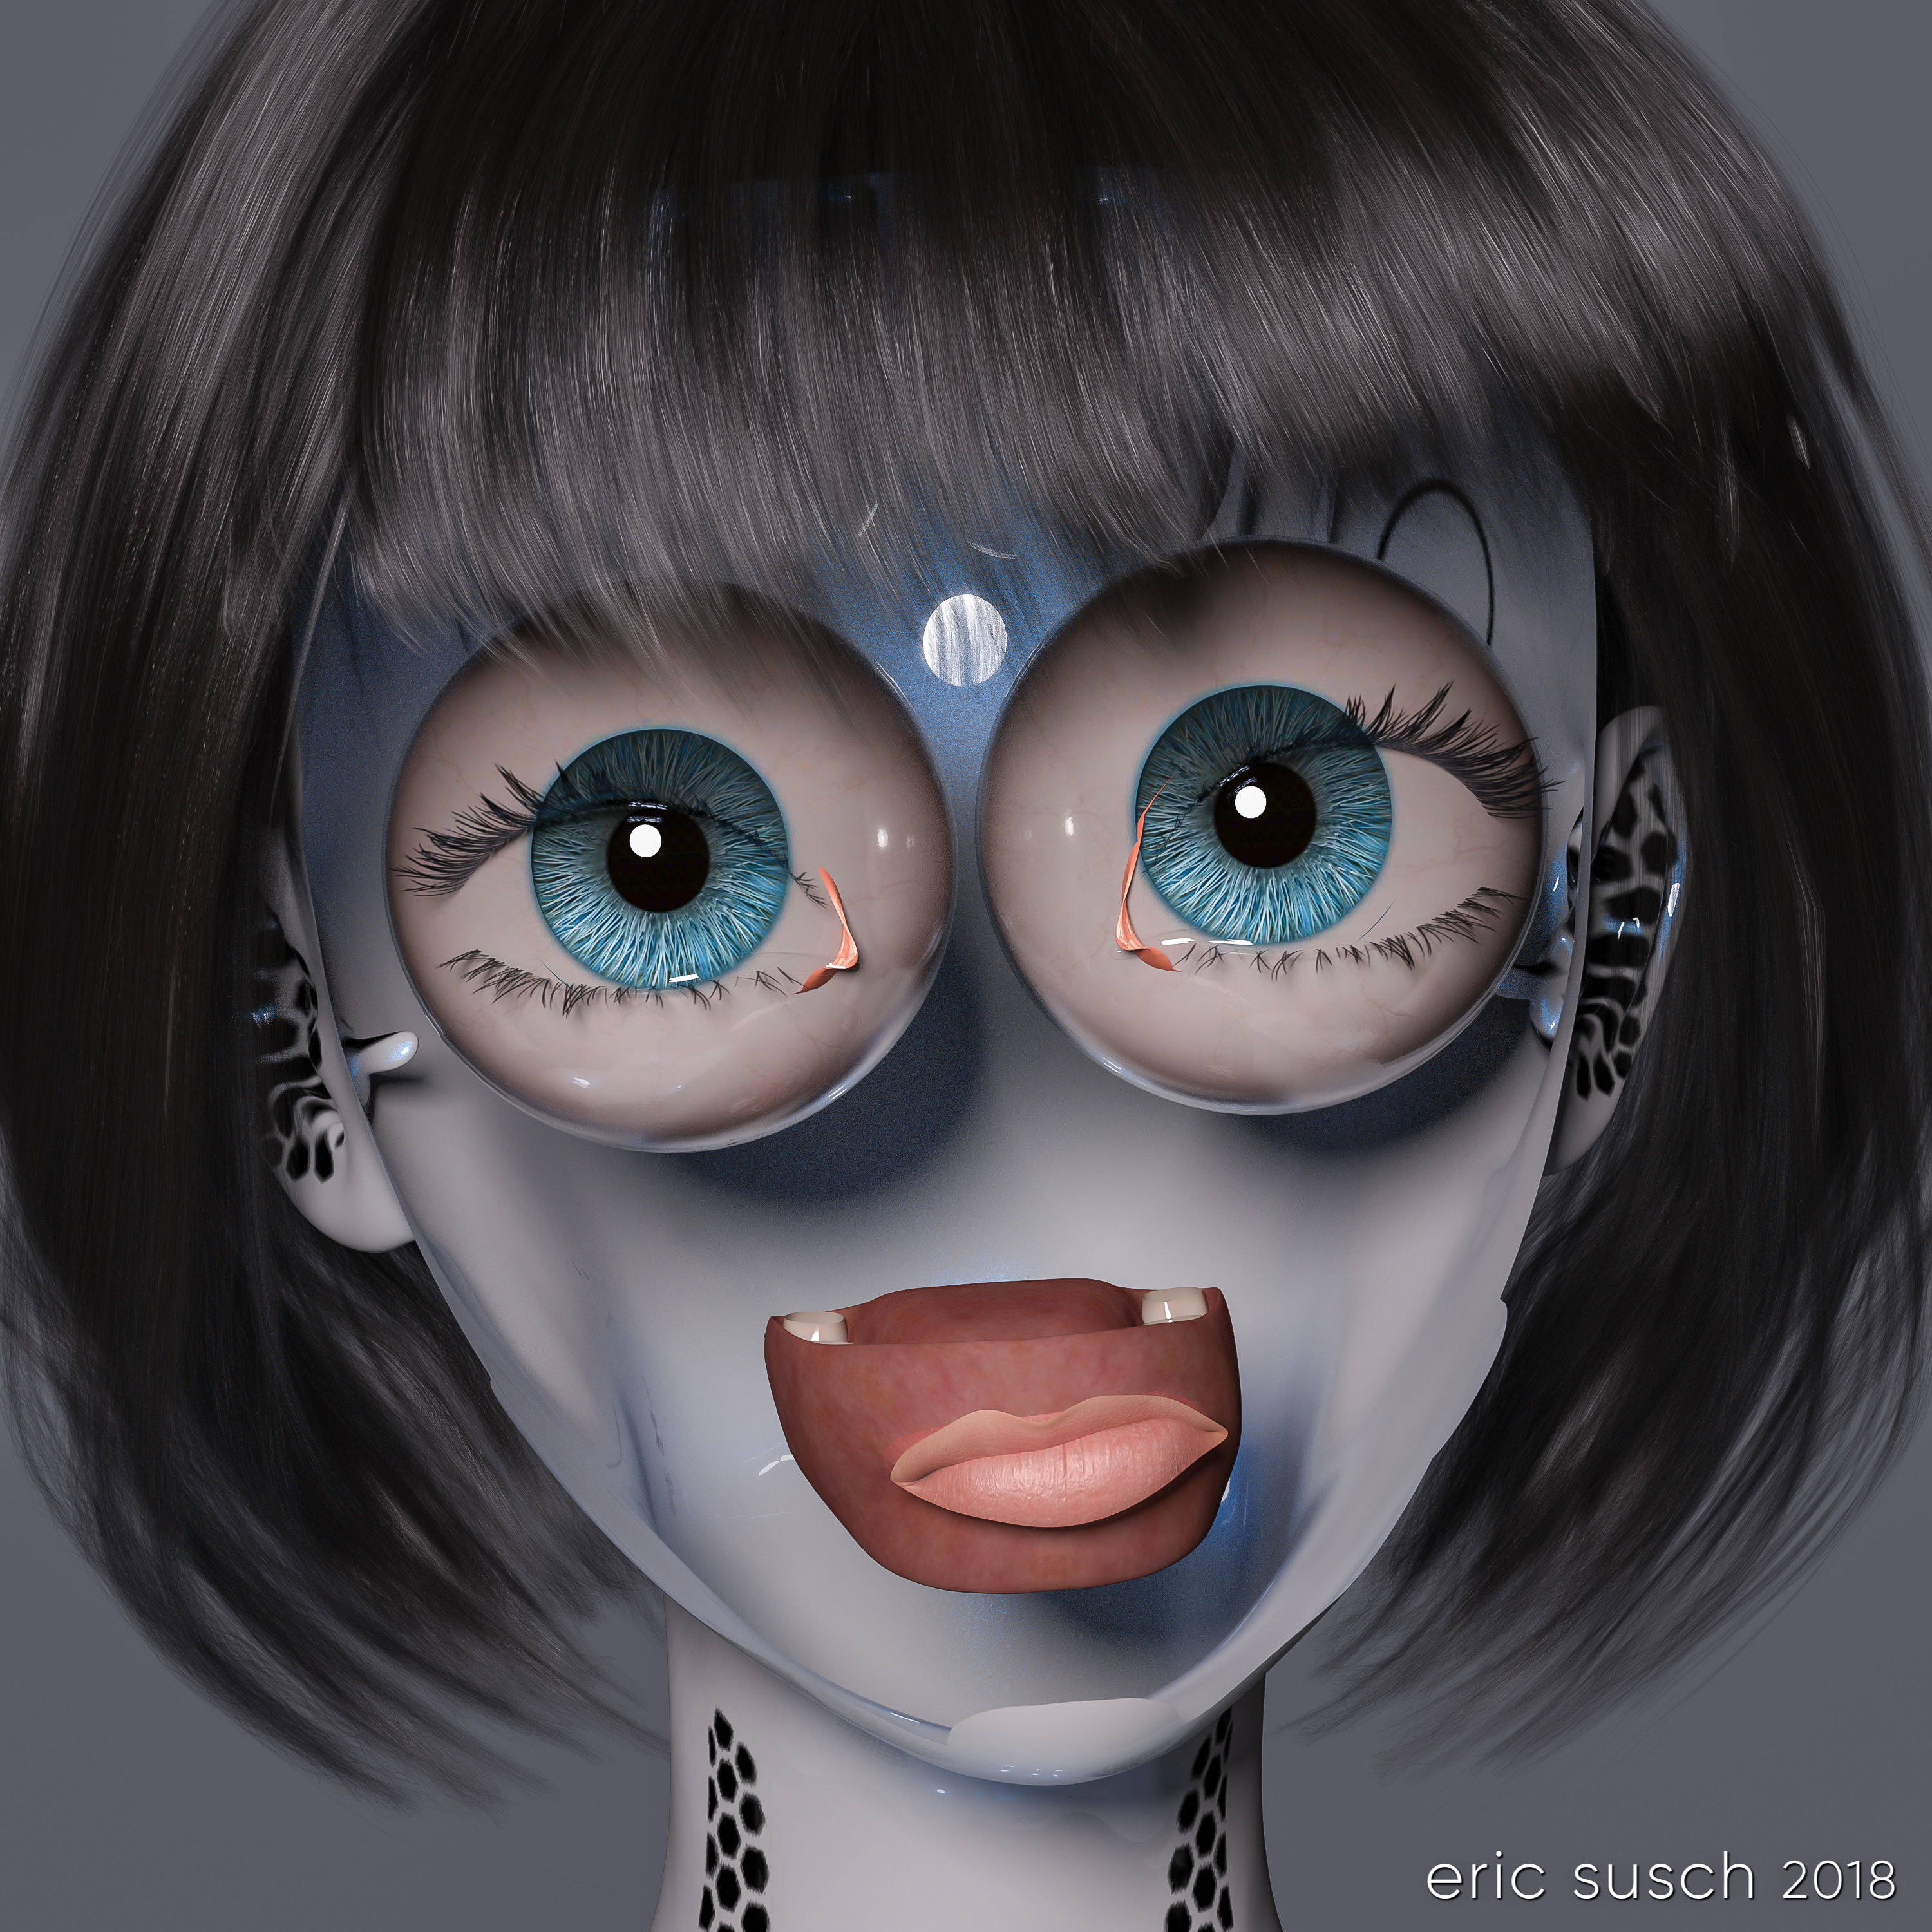
 I tried some of the “broken” materials as well as the gothic makeup on the character but eventually moved on to other materials from elsewhere. One of those experiments lead to a happy accident and created a bizarre horrifying variation which ultimately became a completely new piece of art. …But that’s a post for another day.
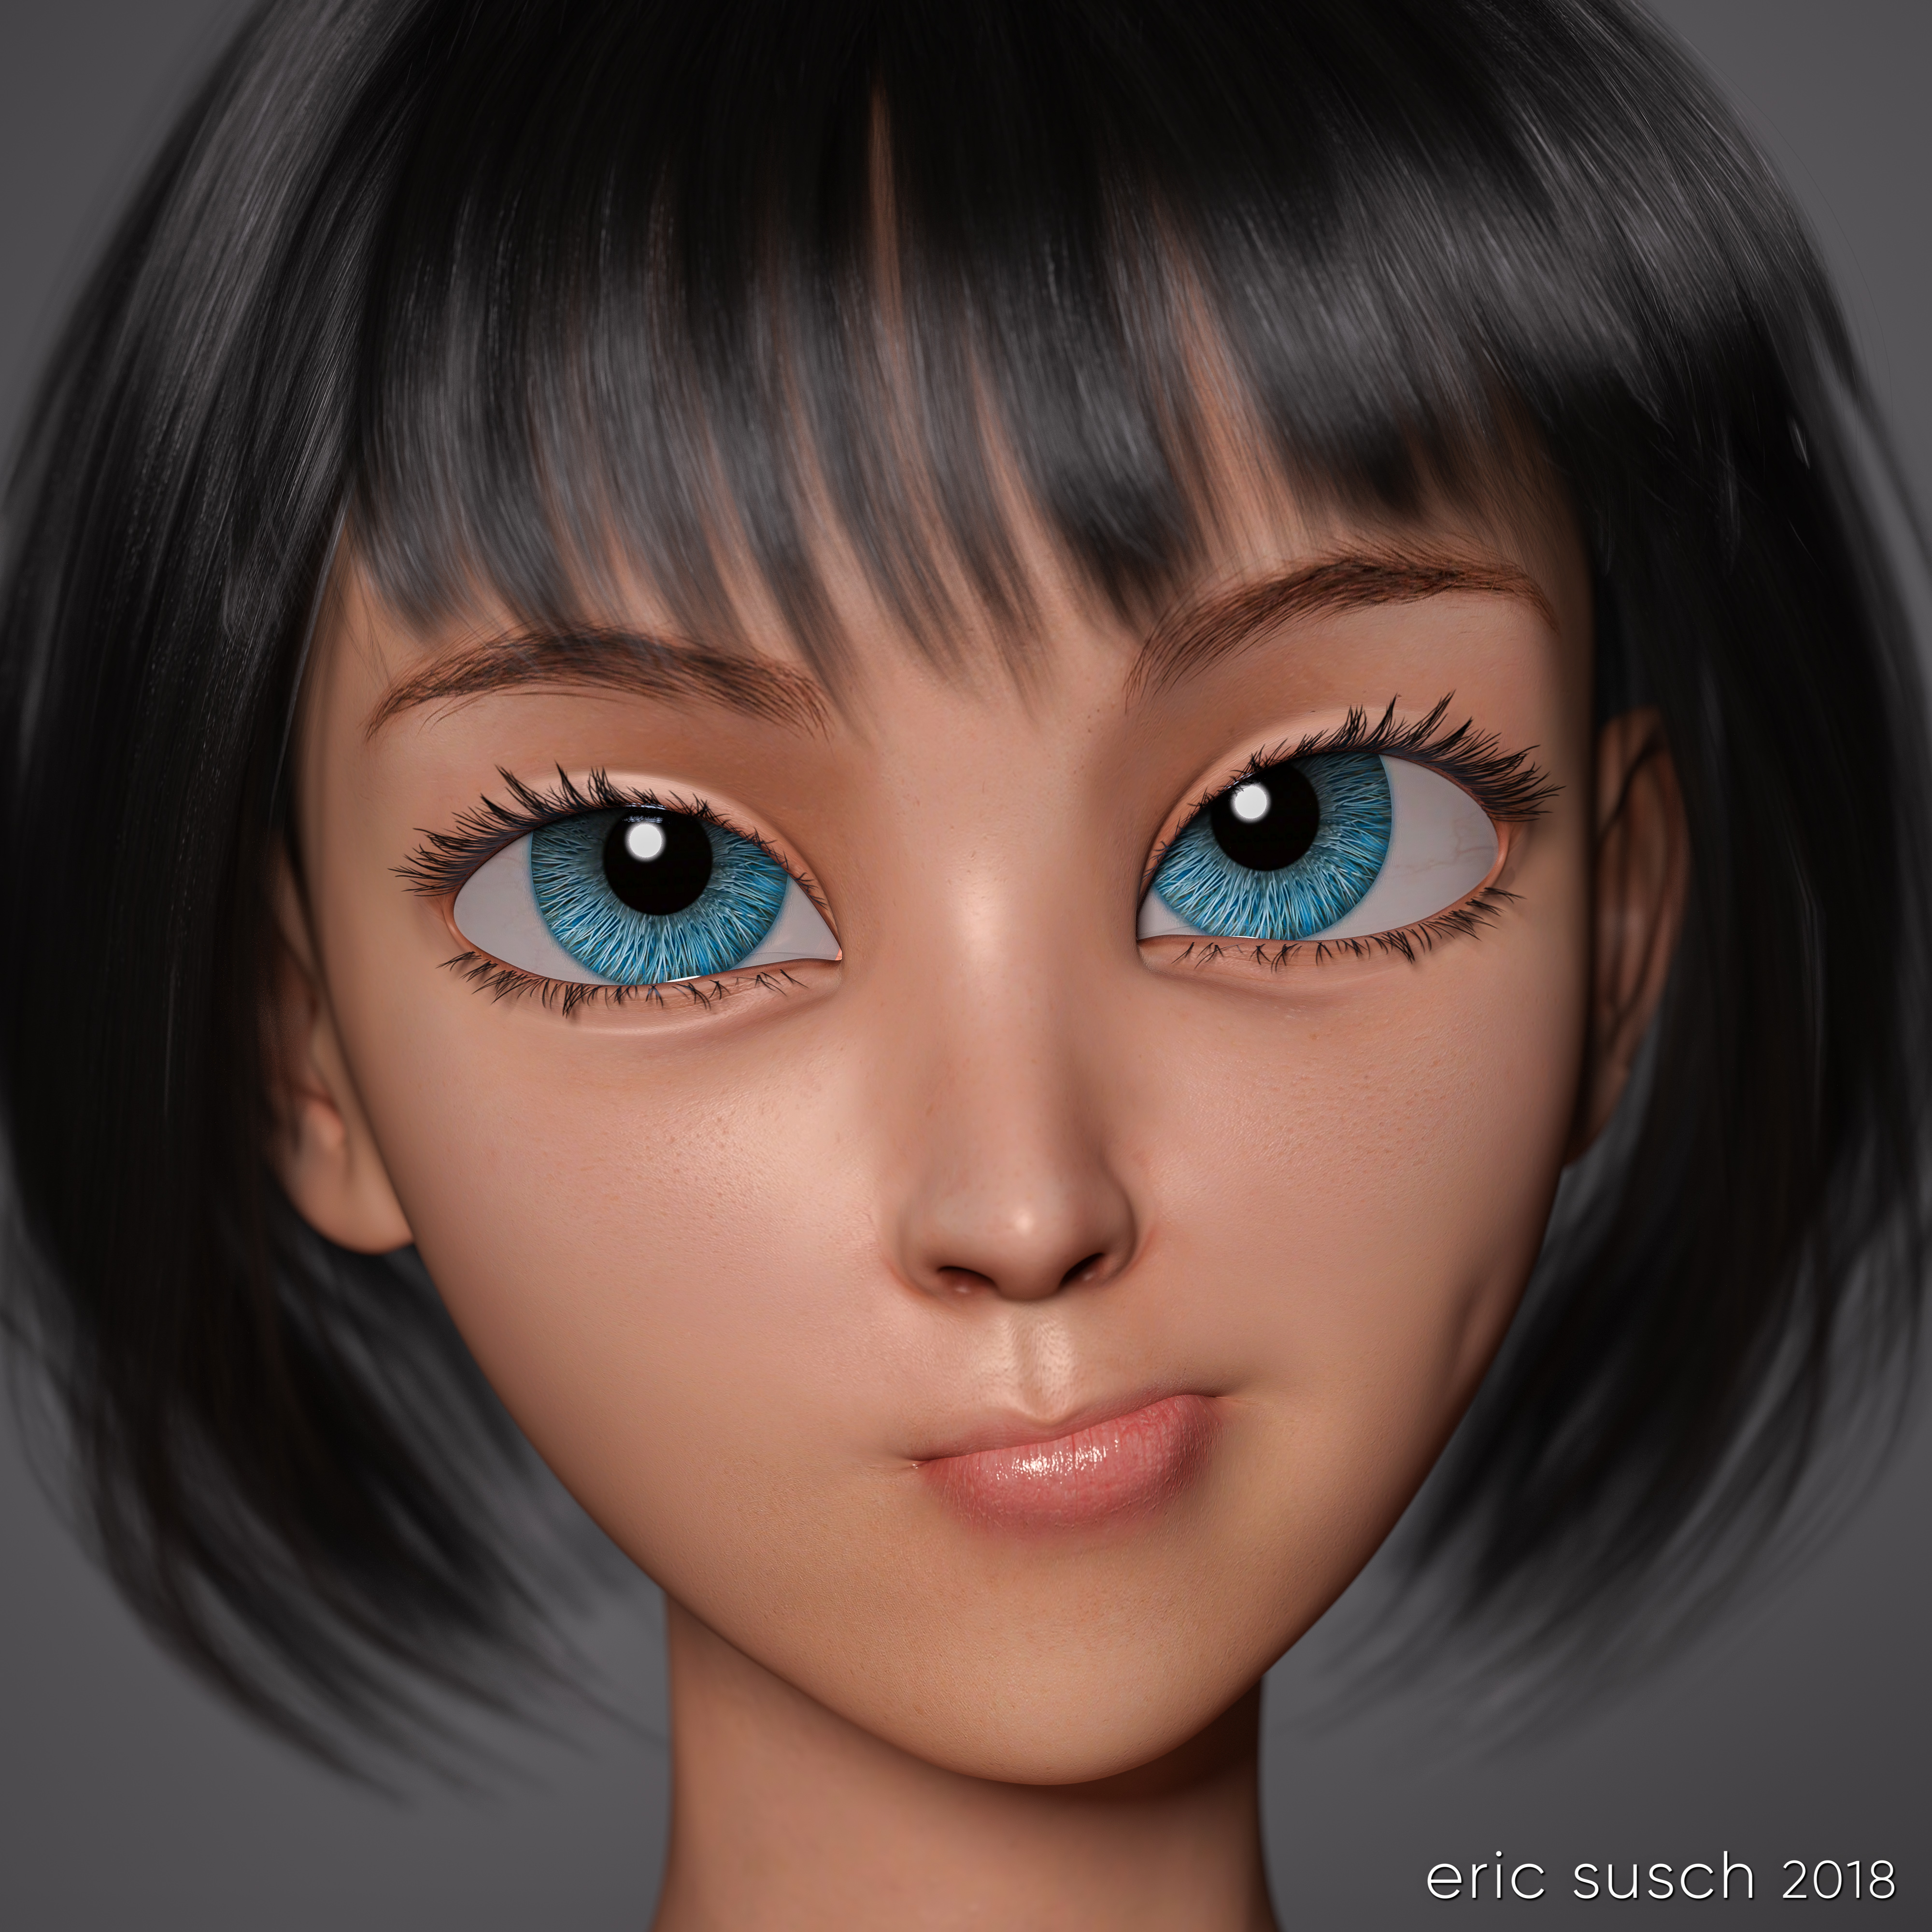
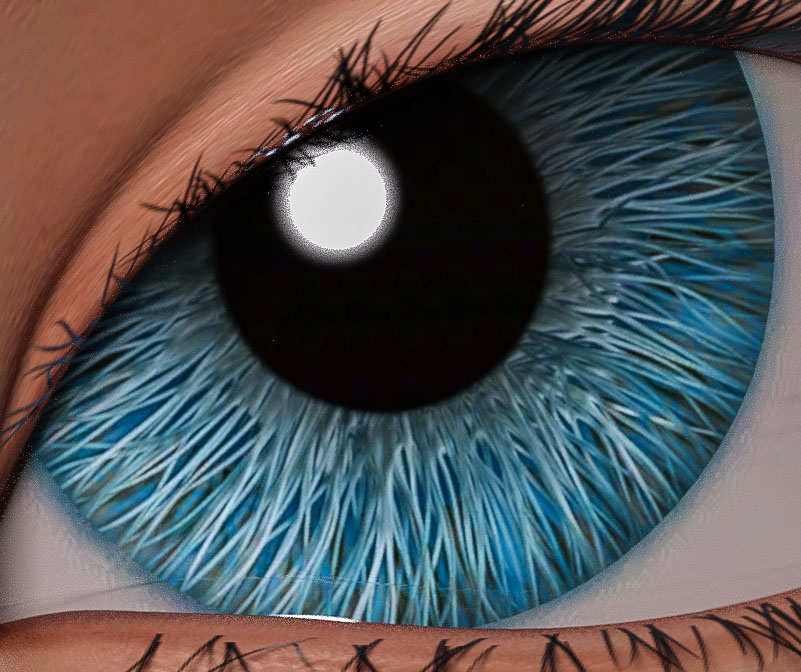 For this piece I eventually layered a more human material across the mesh and found these interesting eyes that look like they were made of brush bristles. They appeared realistic and fake at the same time. I wanted those eyes to be the focus.
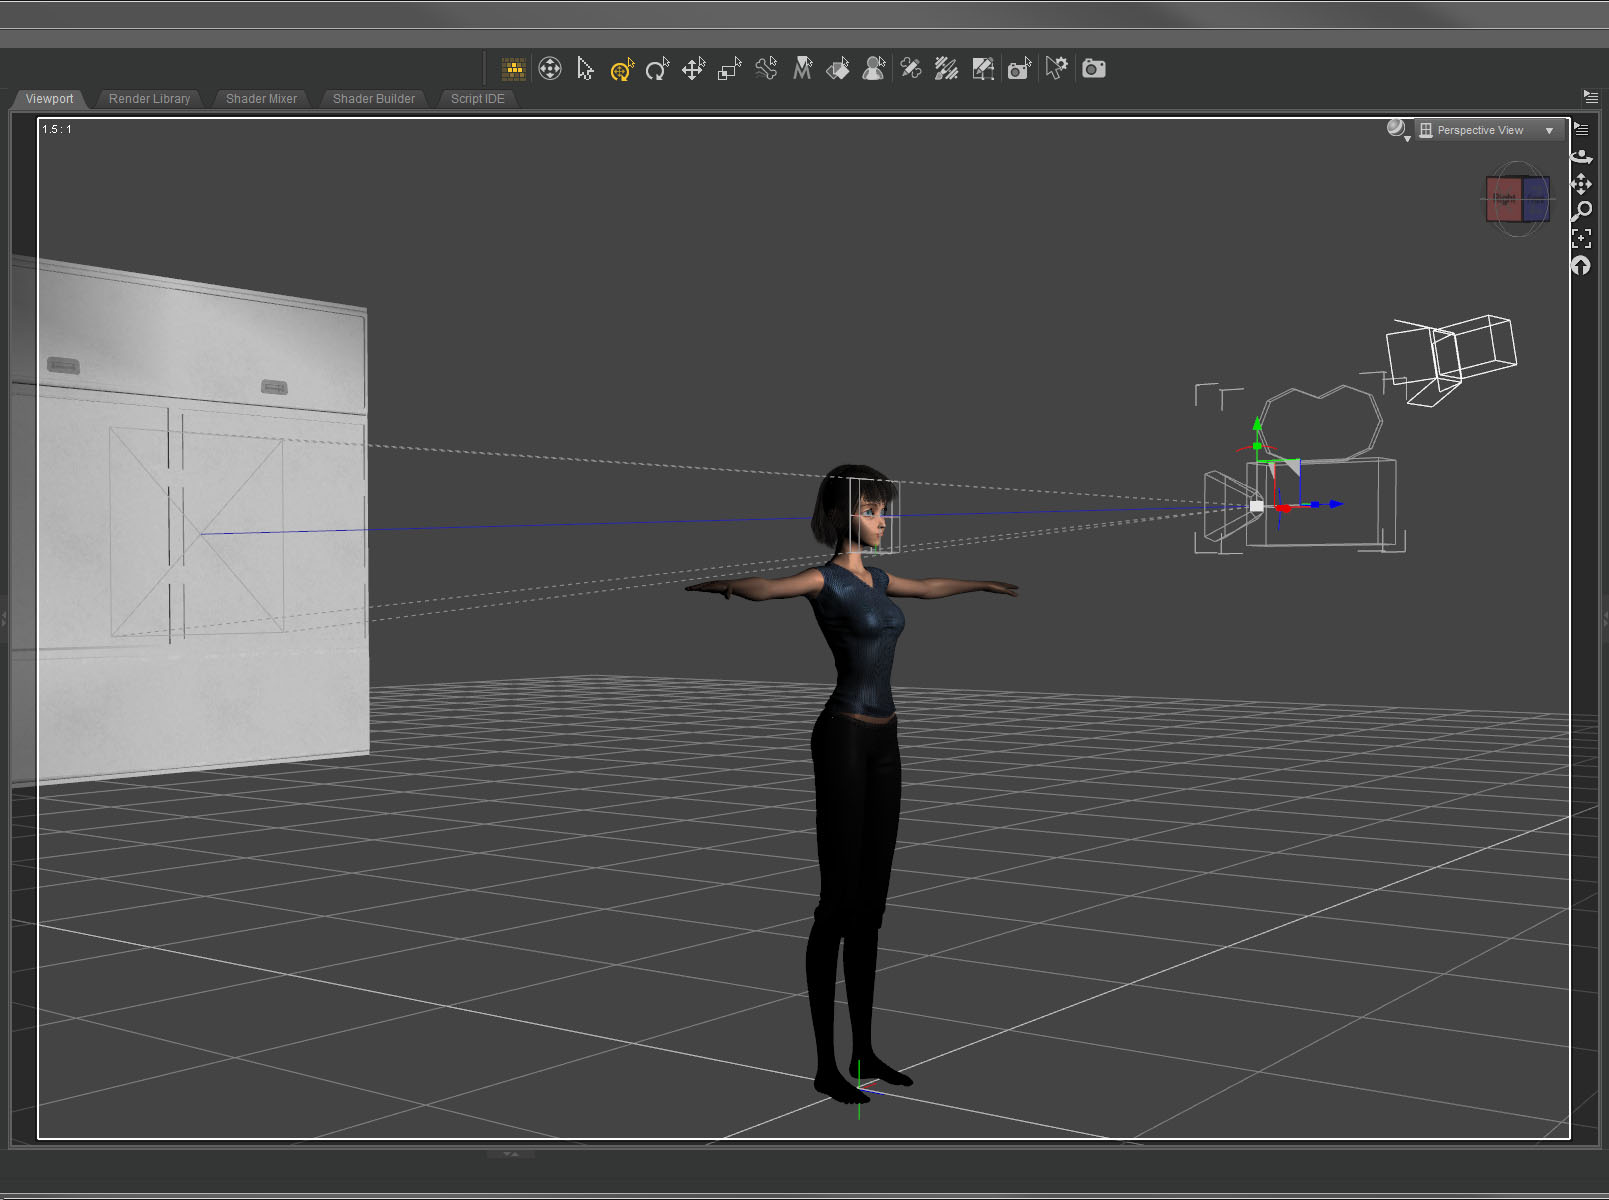 I set up a simple layout with the camera close on the face and only one light on the character. I spent a lot of time working on the quirky expression because I knew that would be where the emotion came from.
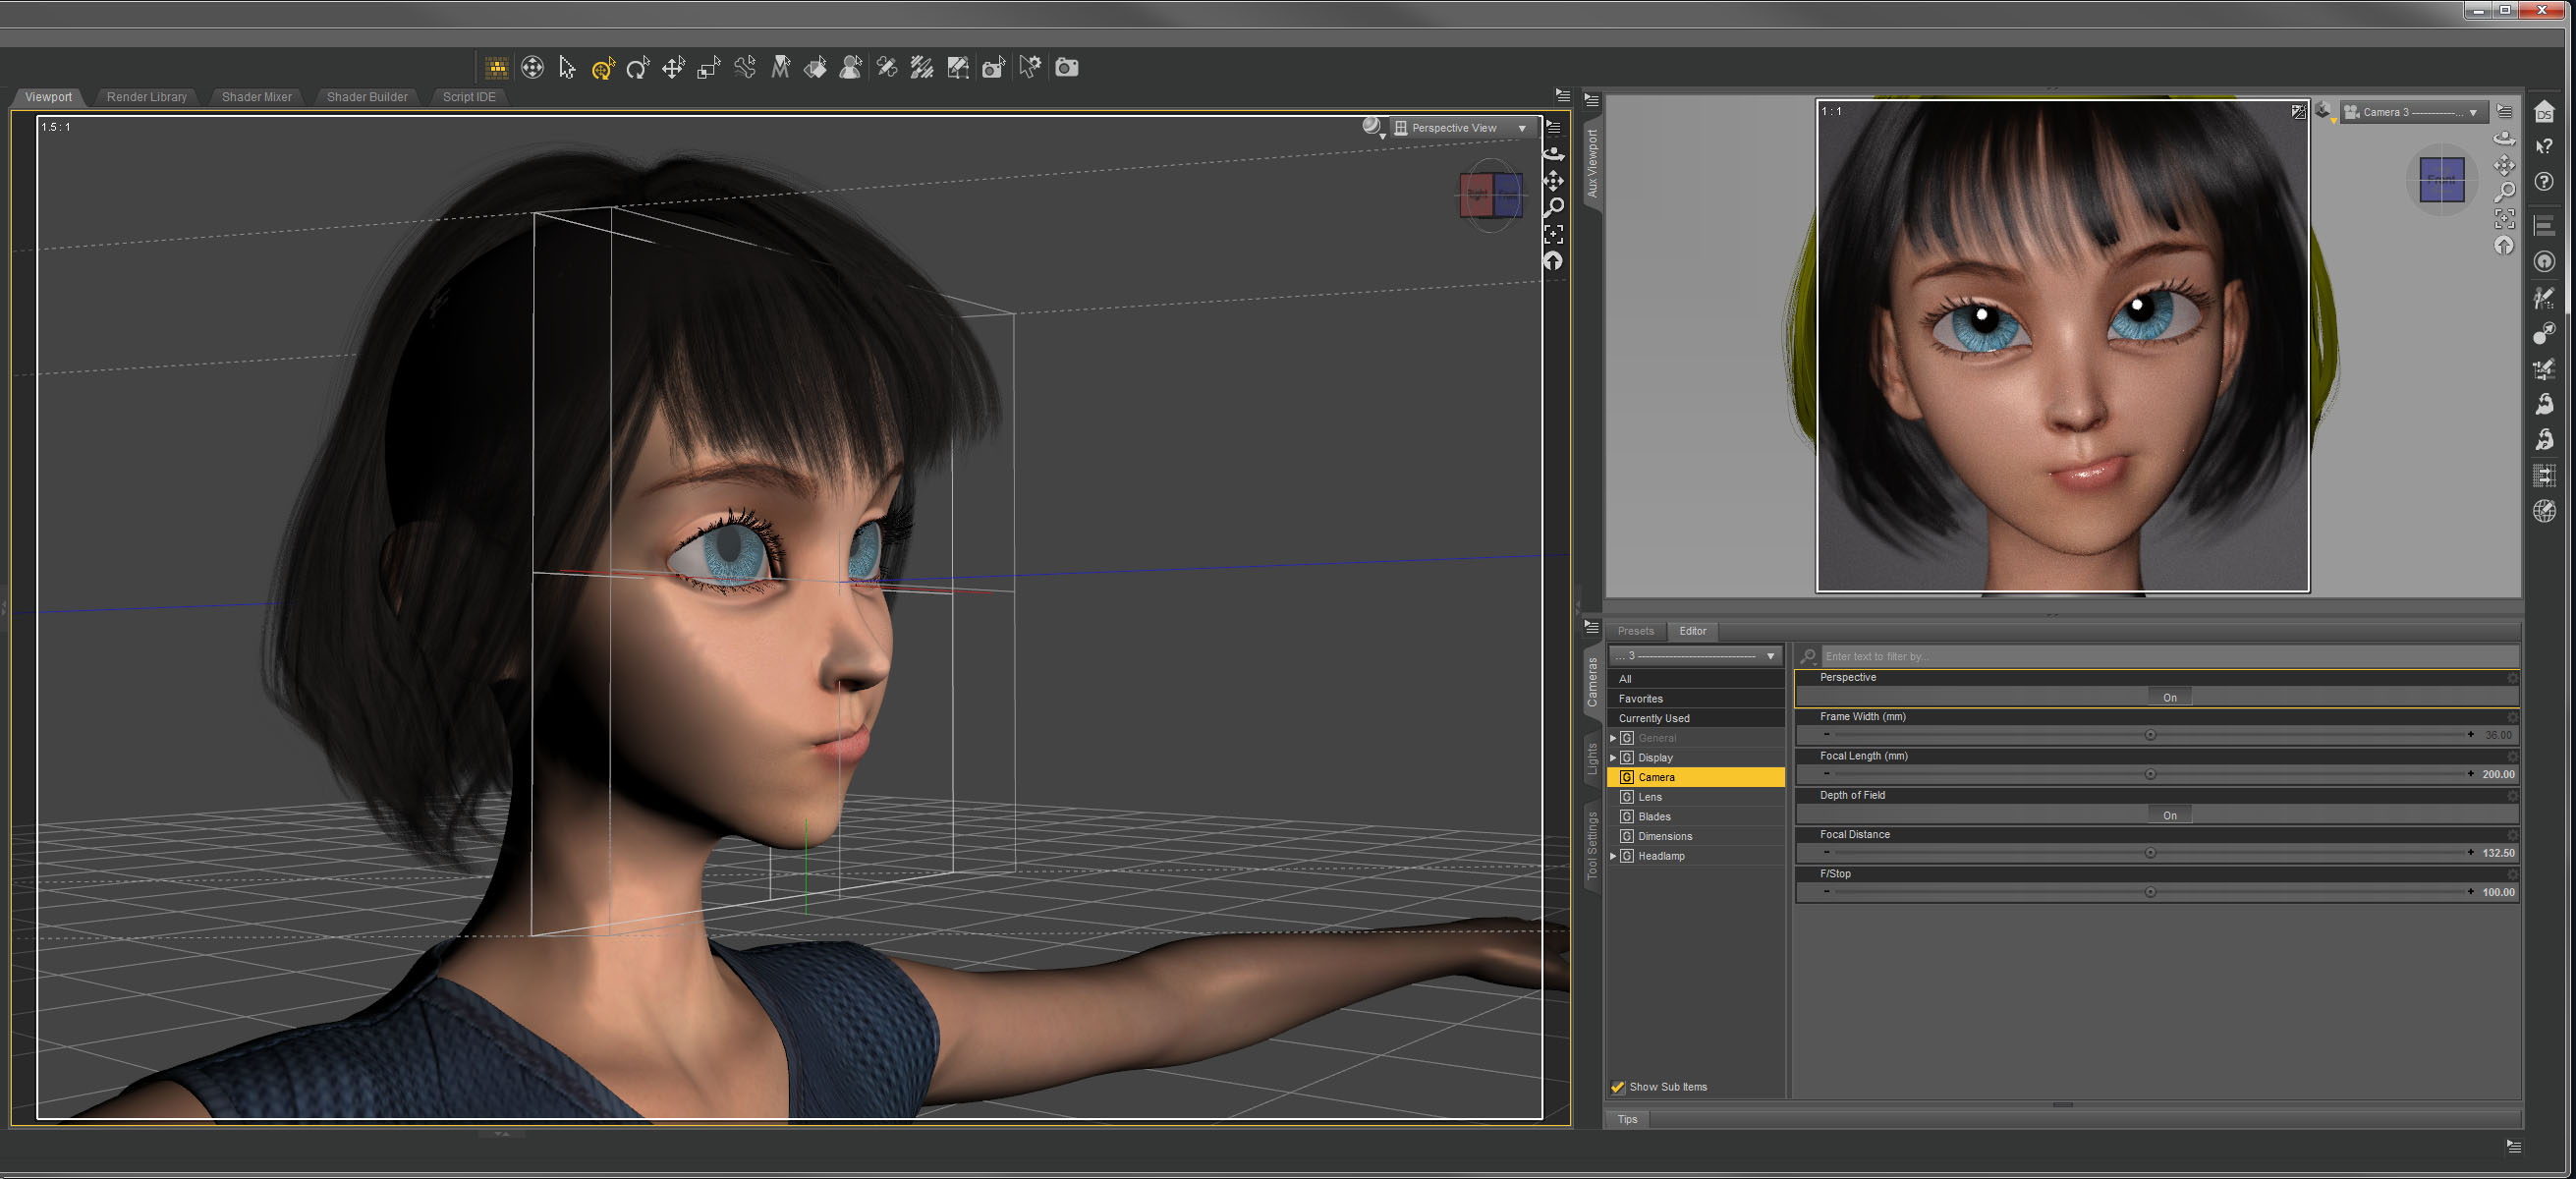 Even though the shot is essentially flat, I set up a limited depth of field on the camera anyway. The effect is subtle – the hair in the back, the neck, and the ears are a little soft – but I think it gives it a little something.
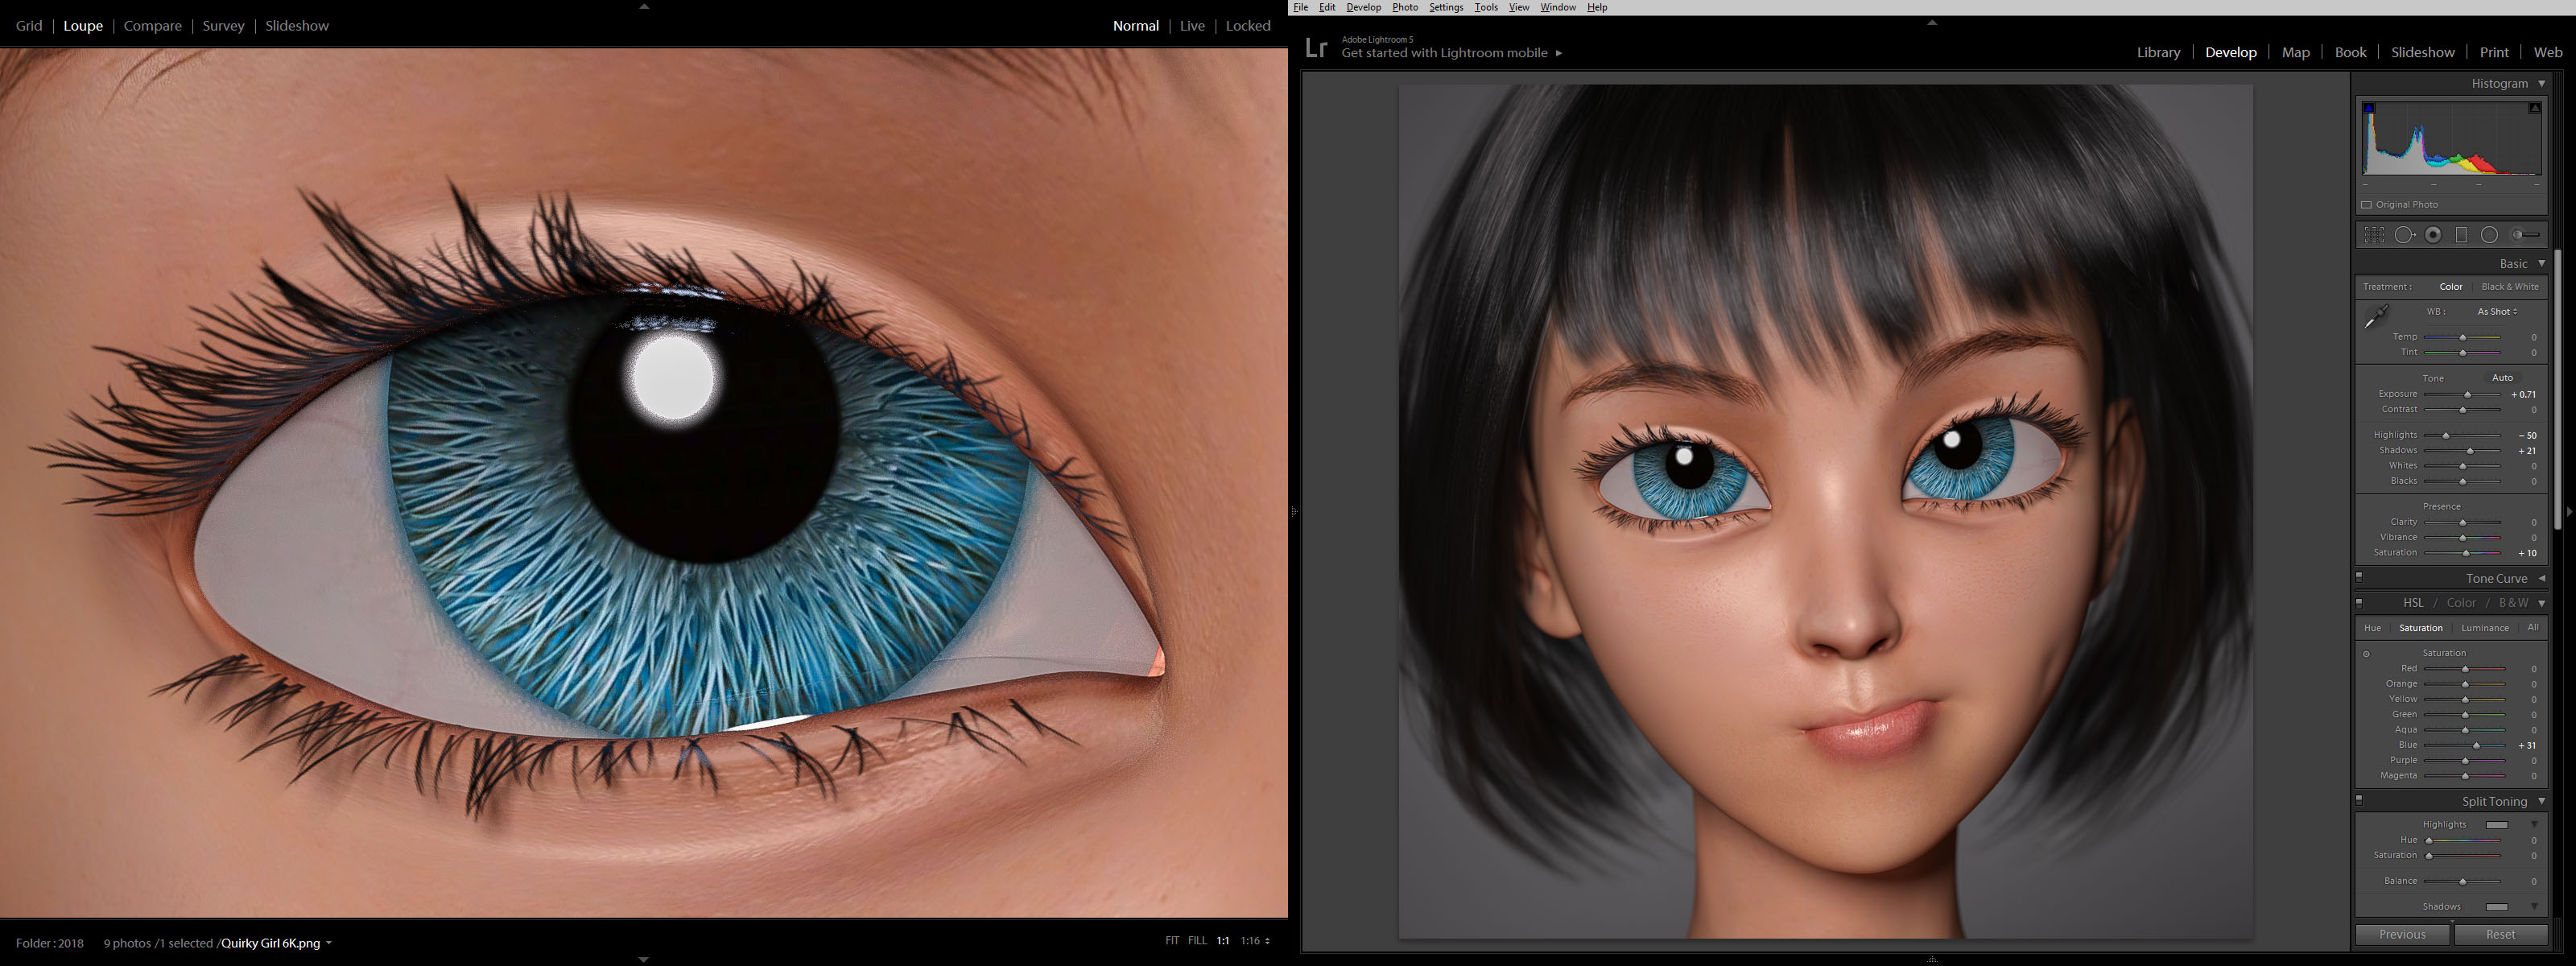 Color correction in lightroom was fairly straightforward. I bumped up the saturation of the blue channel to bring out the eyes. Simple.
Quirky Girl
Created in DAZ Studio 4.11
Rendered with Iray
Color Correction in Lightroom
Figures used:
HPFK Lenora for Star 2.0 and Aiko 7
Tamara Character and Hair for G3F
Classic Bob Hair for G3+8F
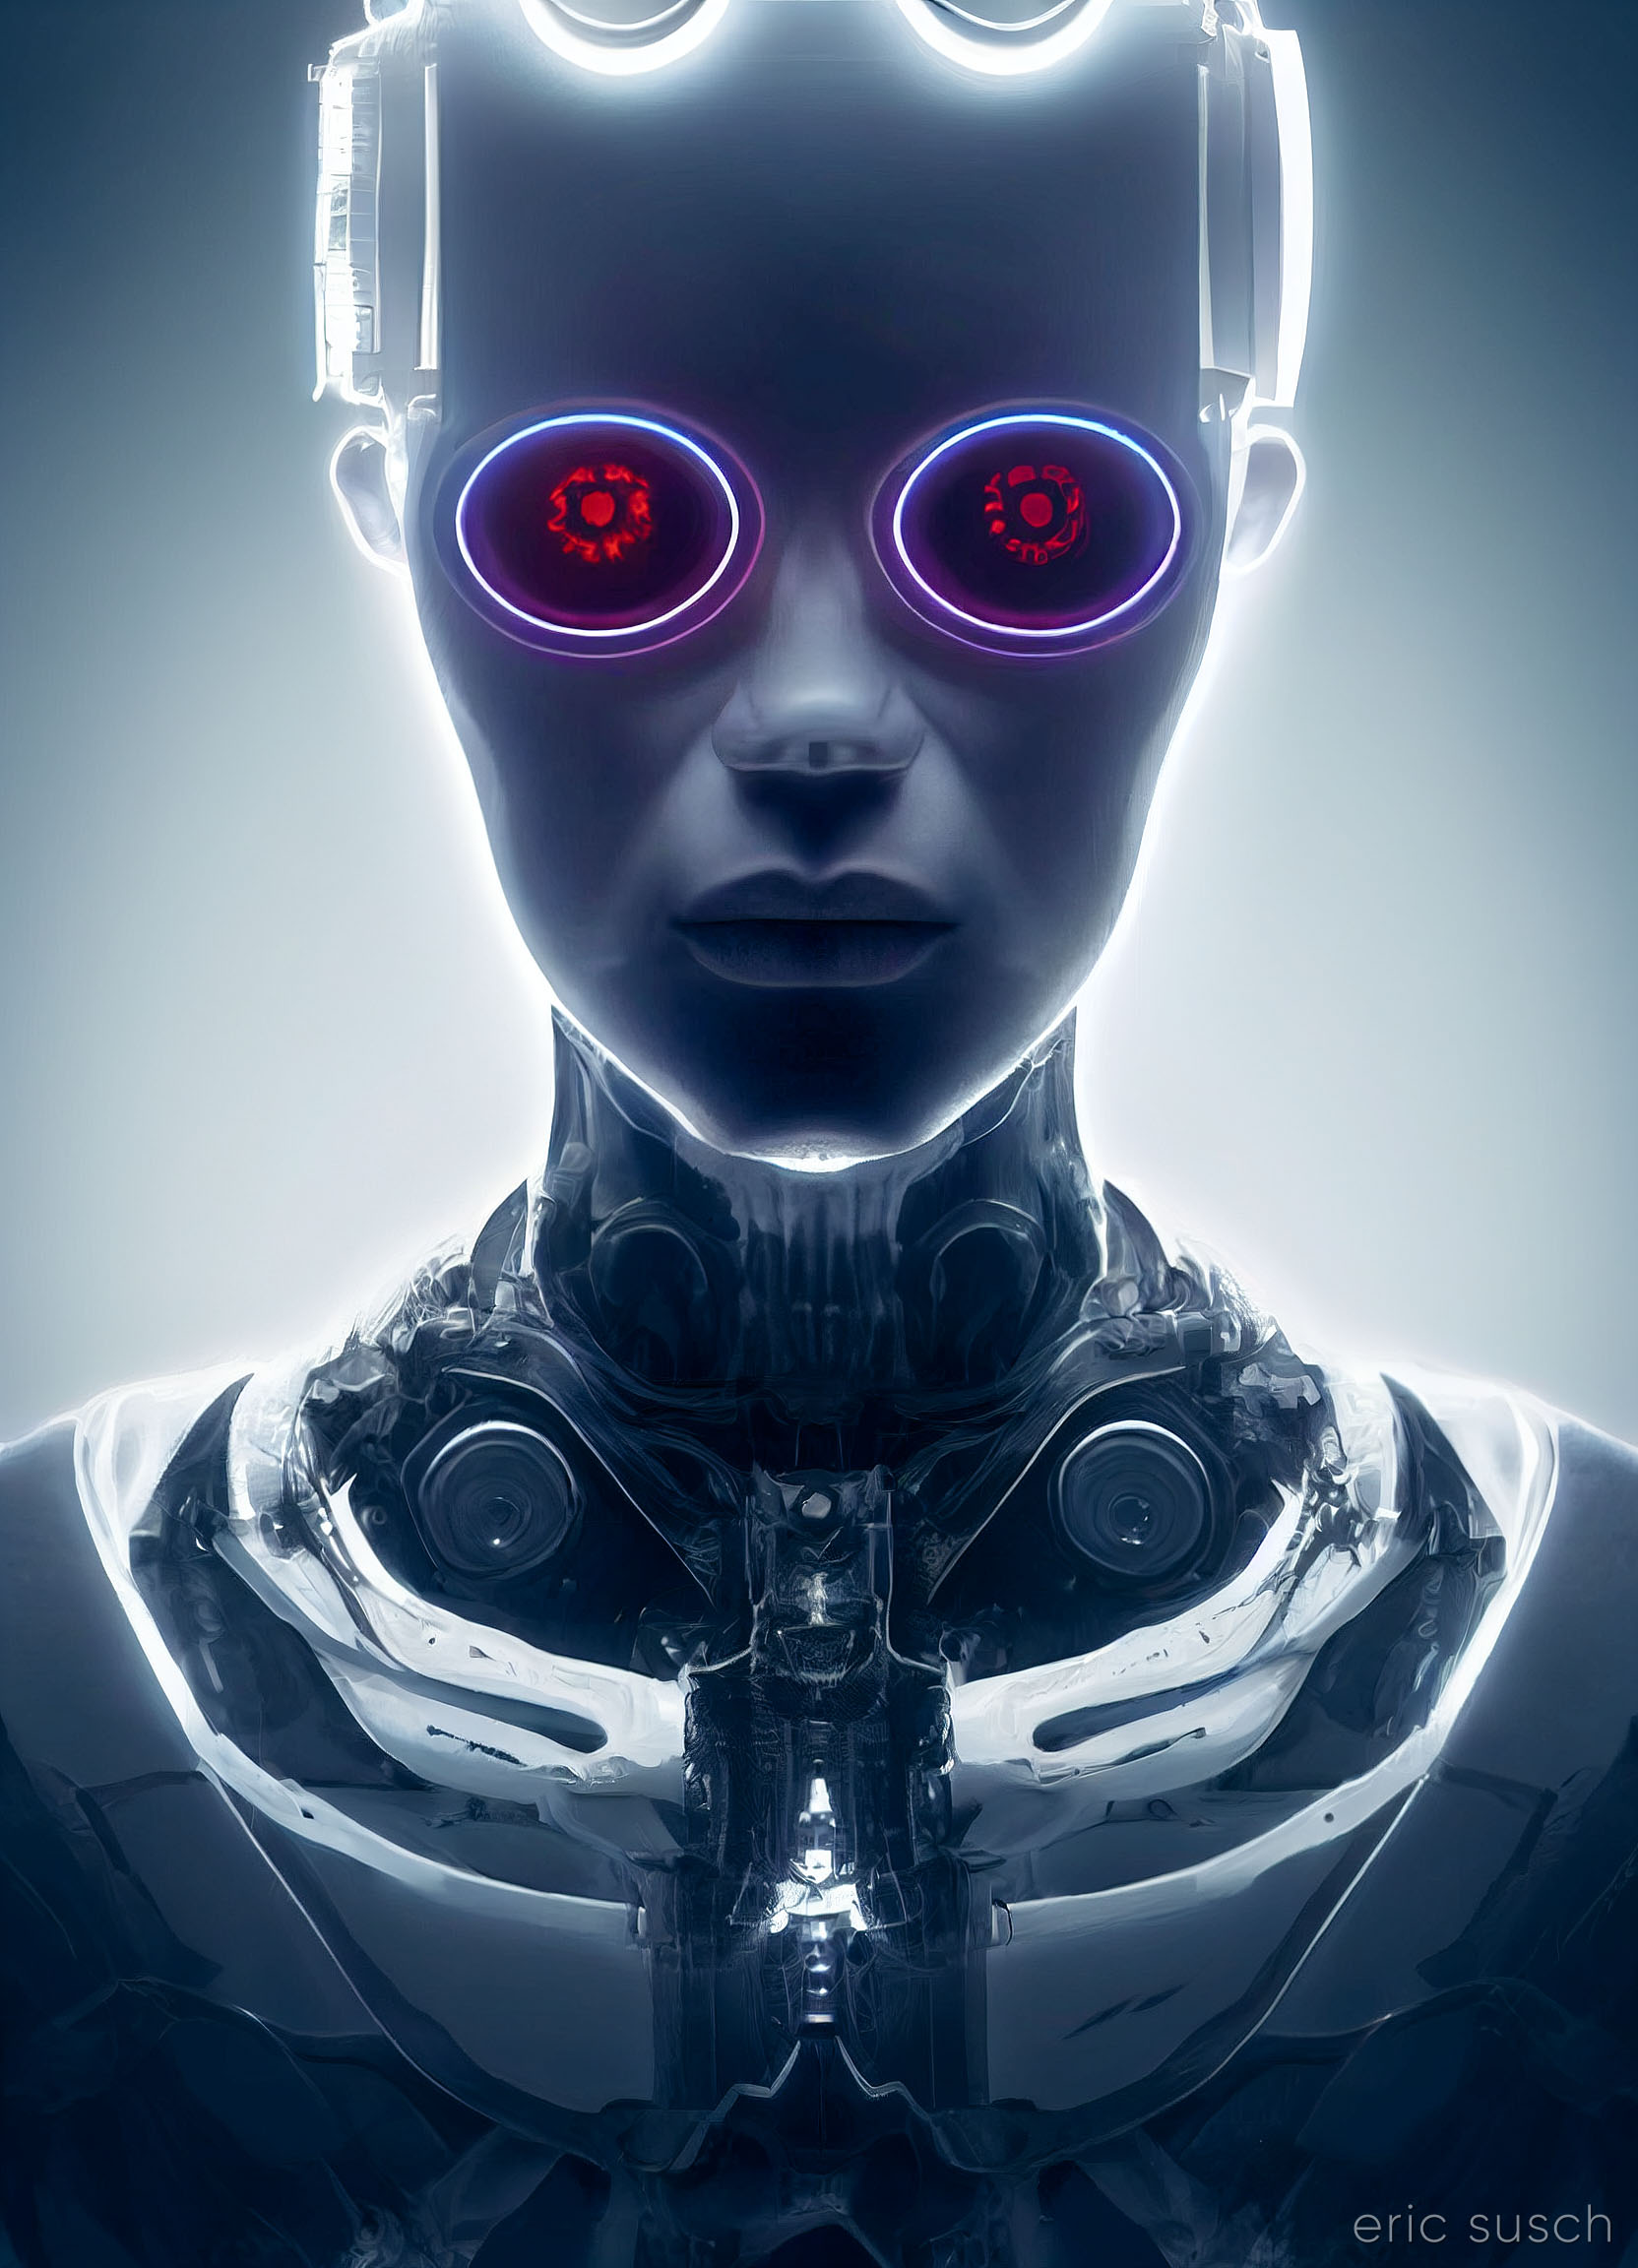
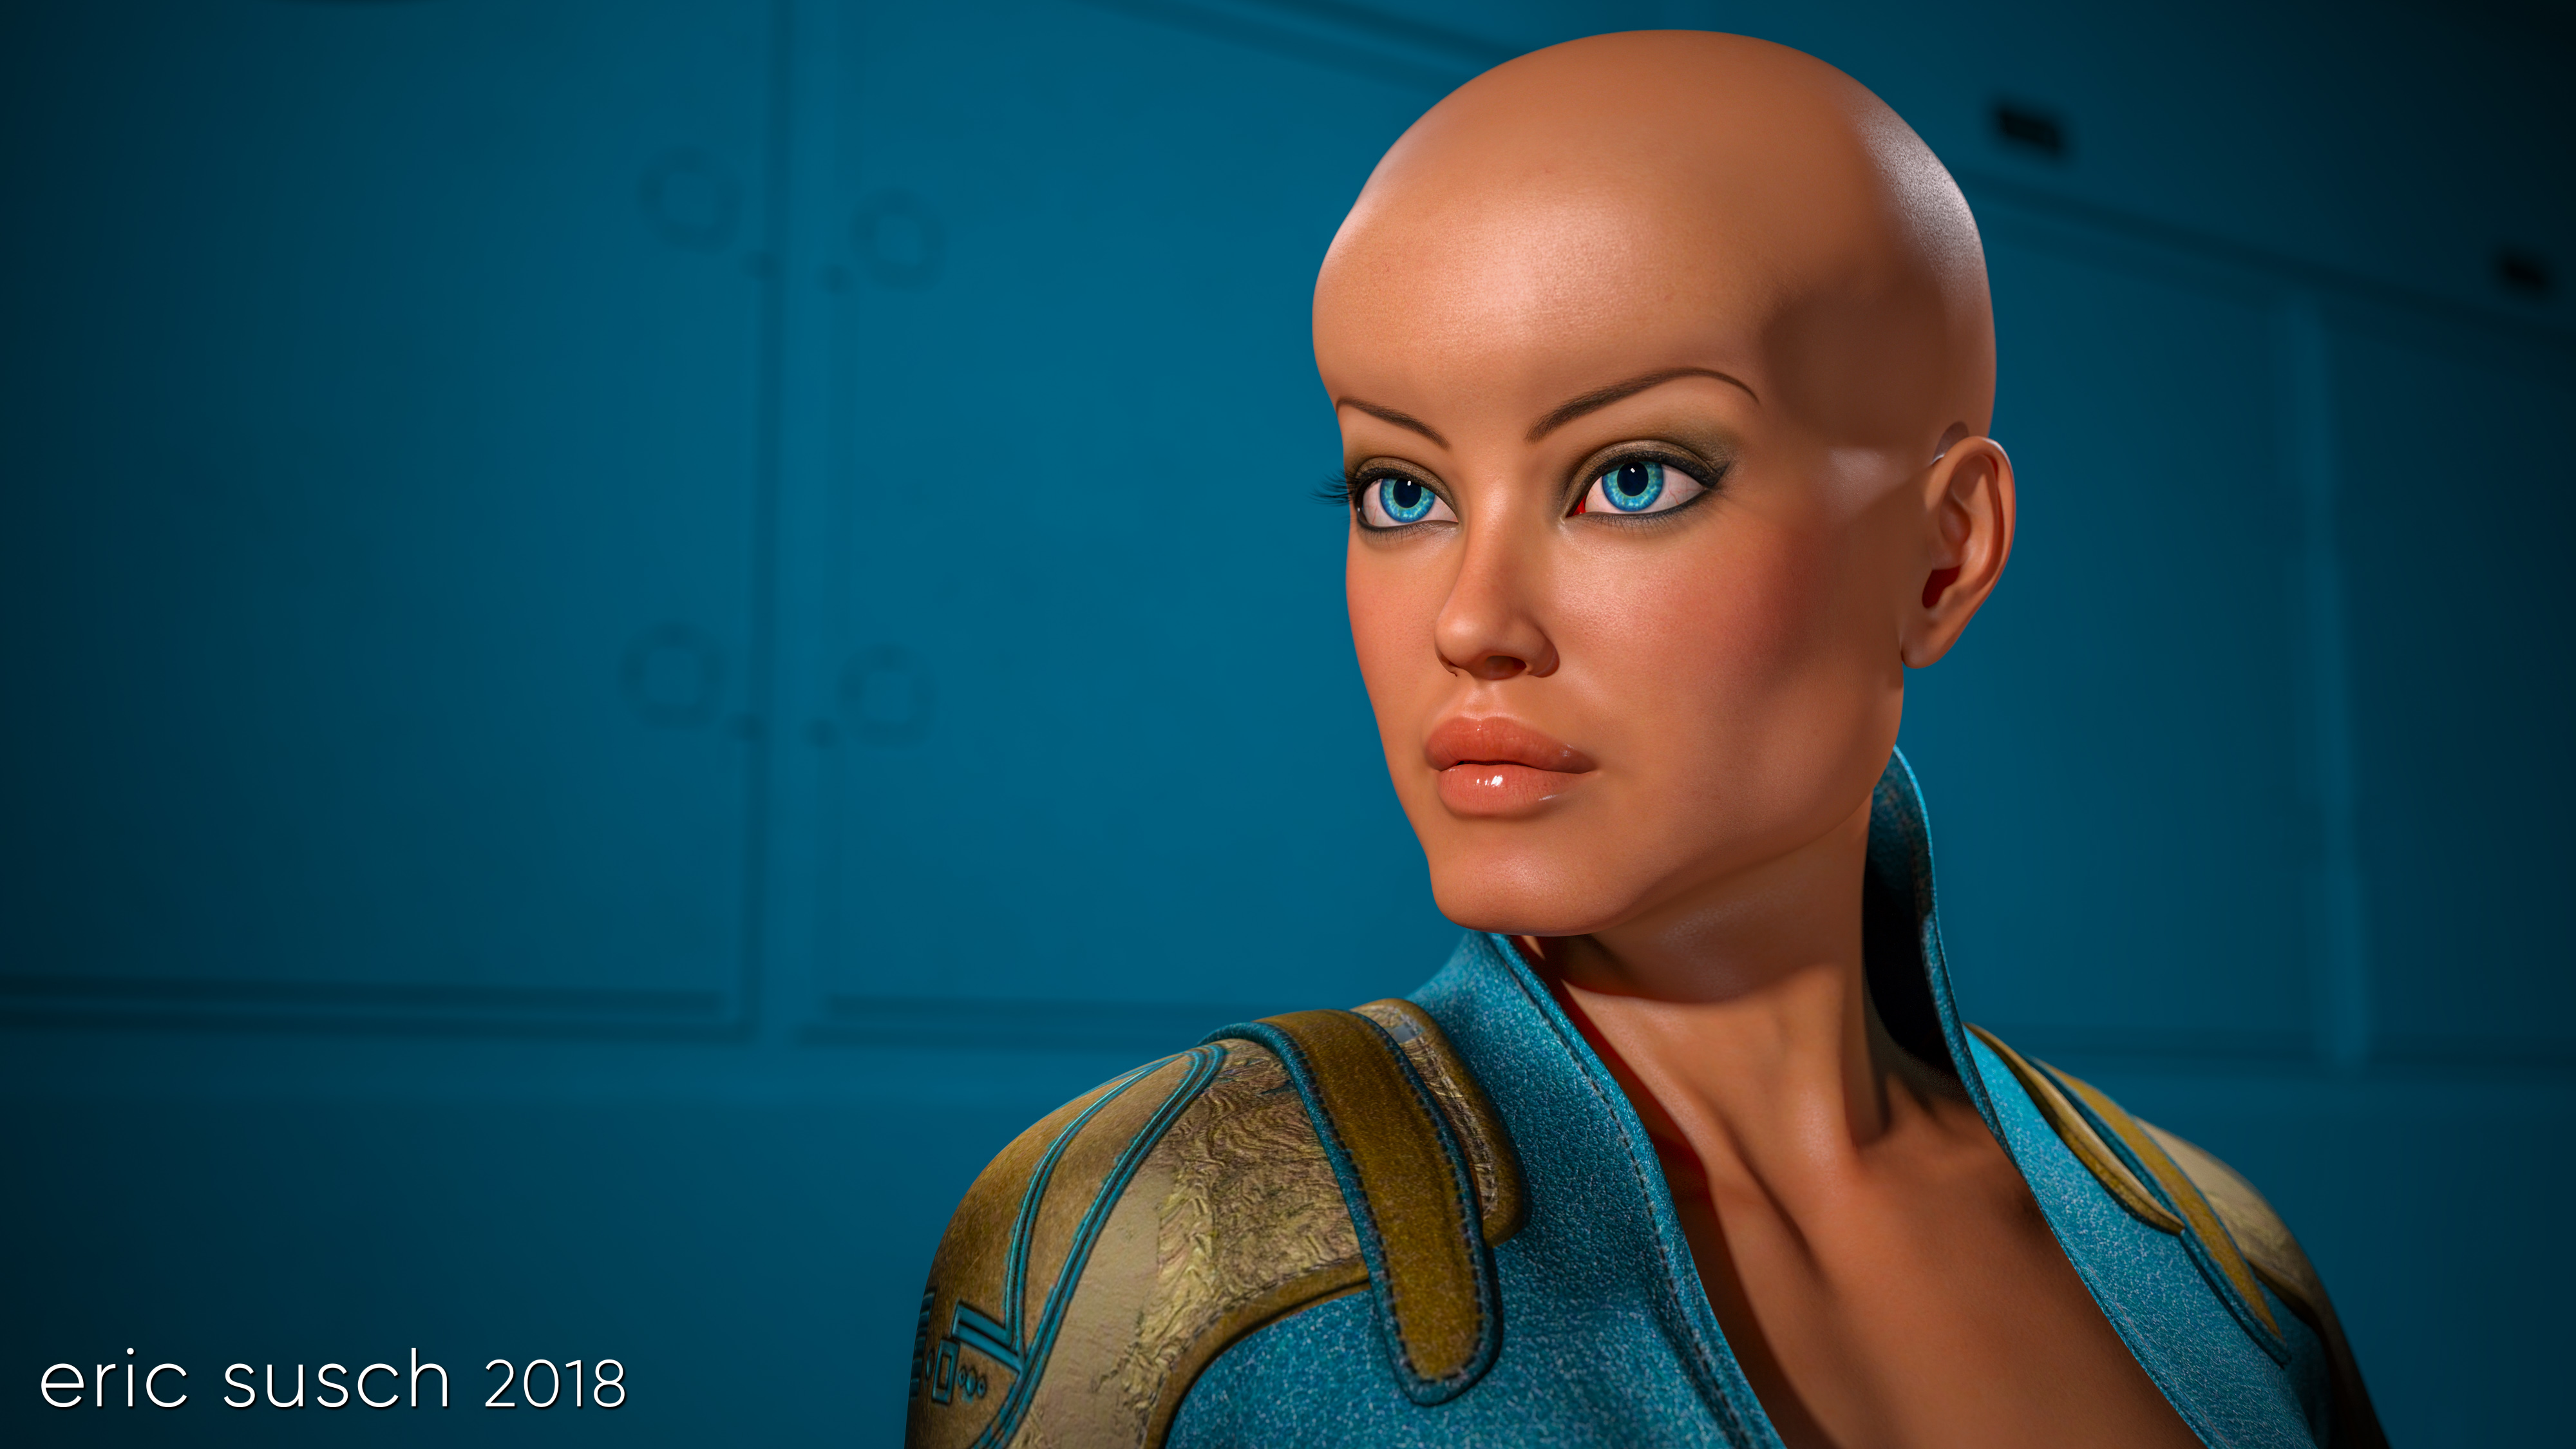
It’s the future and everyone is bald (of course.) Heads are bigger because brains are smarter and dreams are infinite. This is a simple portrait from the day after tomorrow.
 A girl, a camera, and a wall were all I needed to create this piece. …and lights. I needed lights too.
 I threw a blue/green spot on the back wall to match her costume and eyes. The limited color pallet made her face pop.
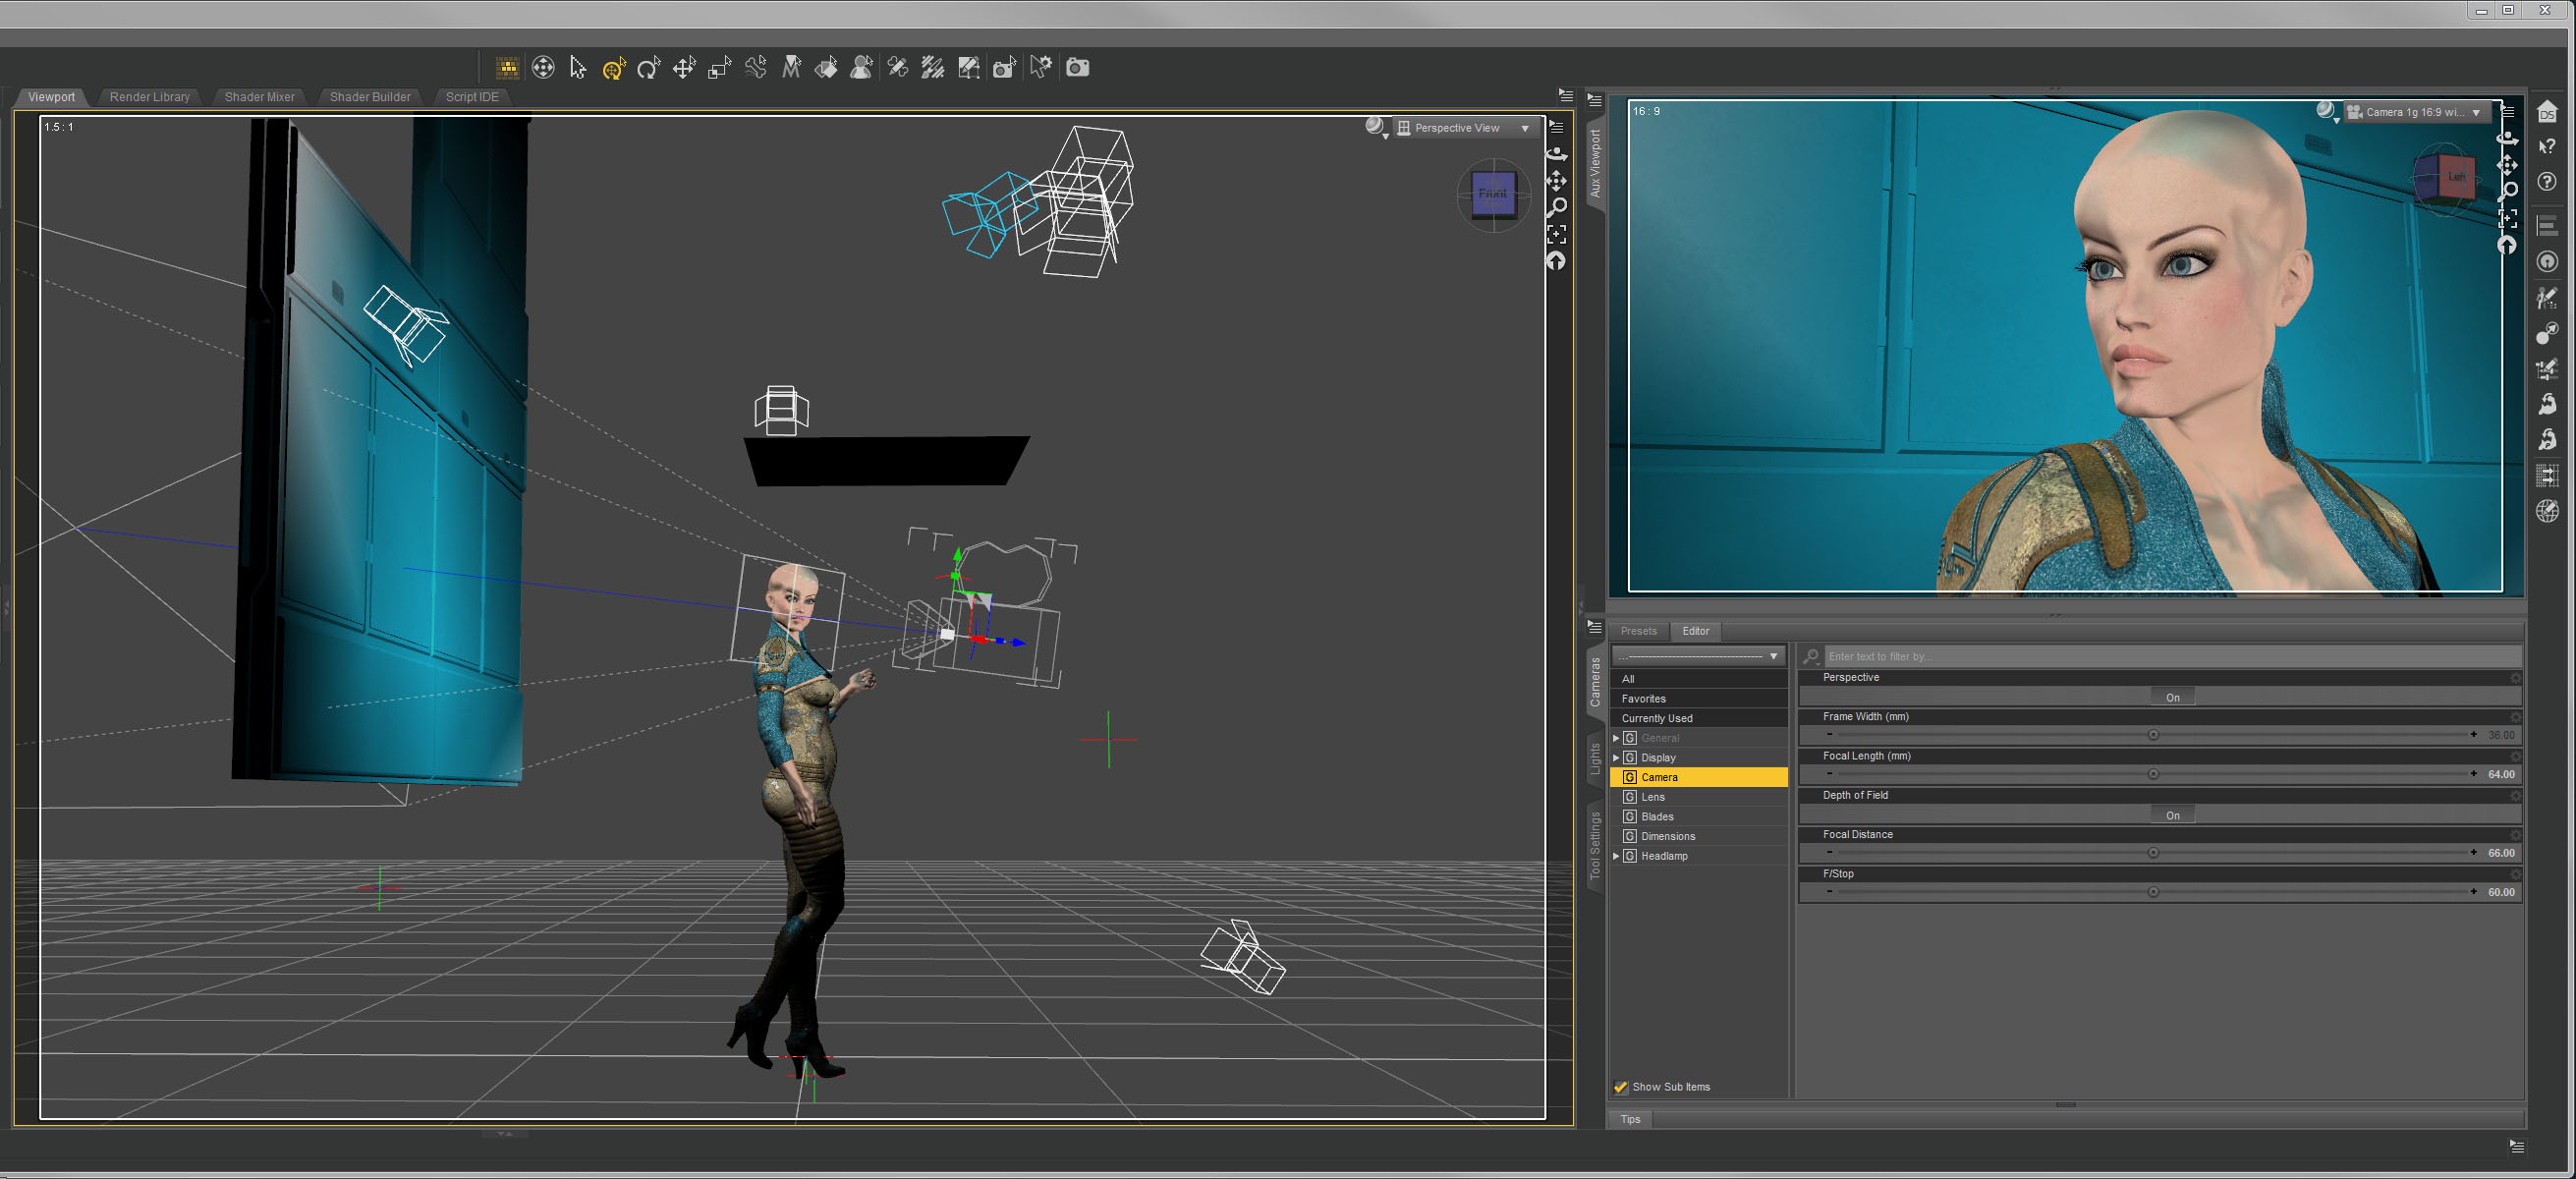
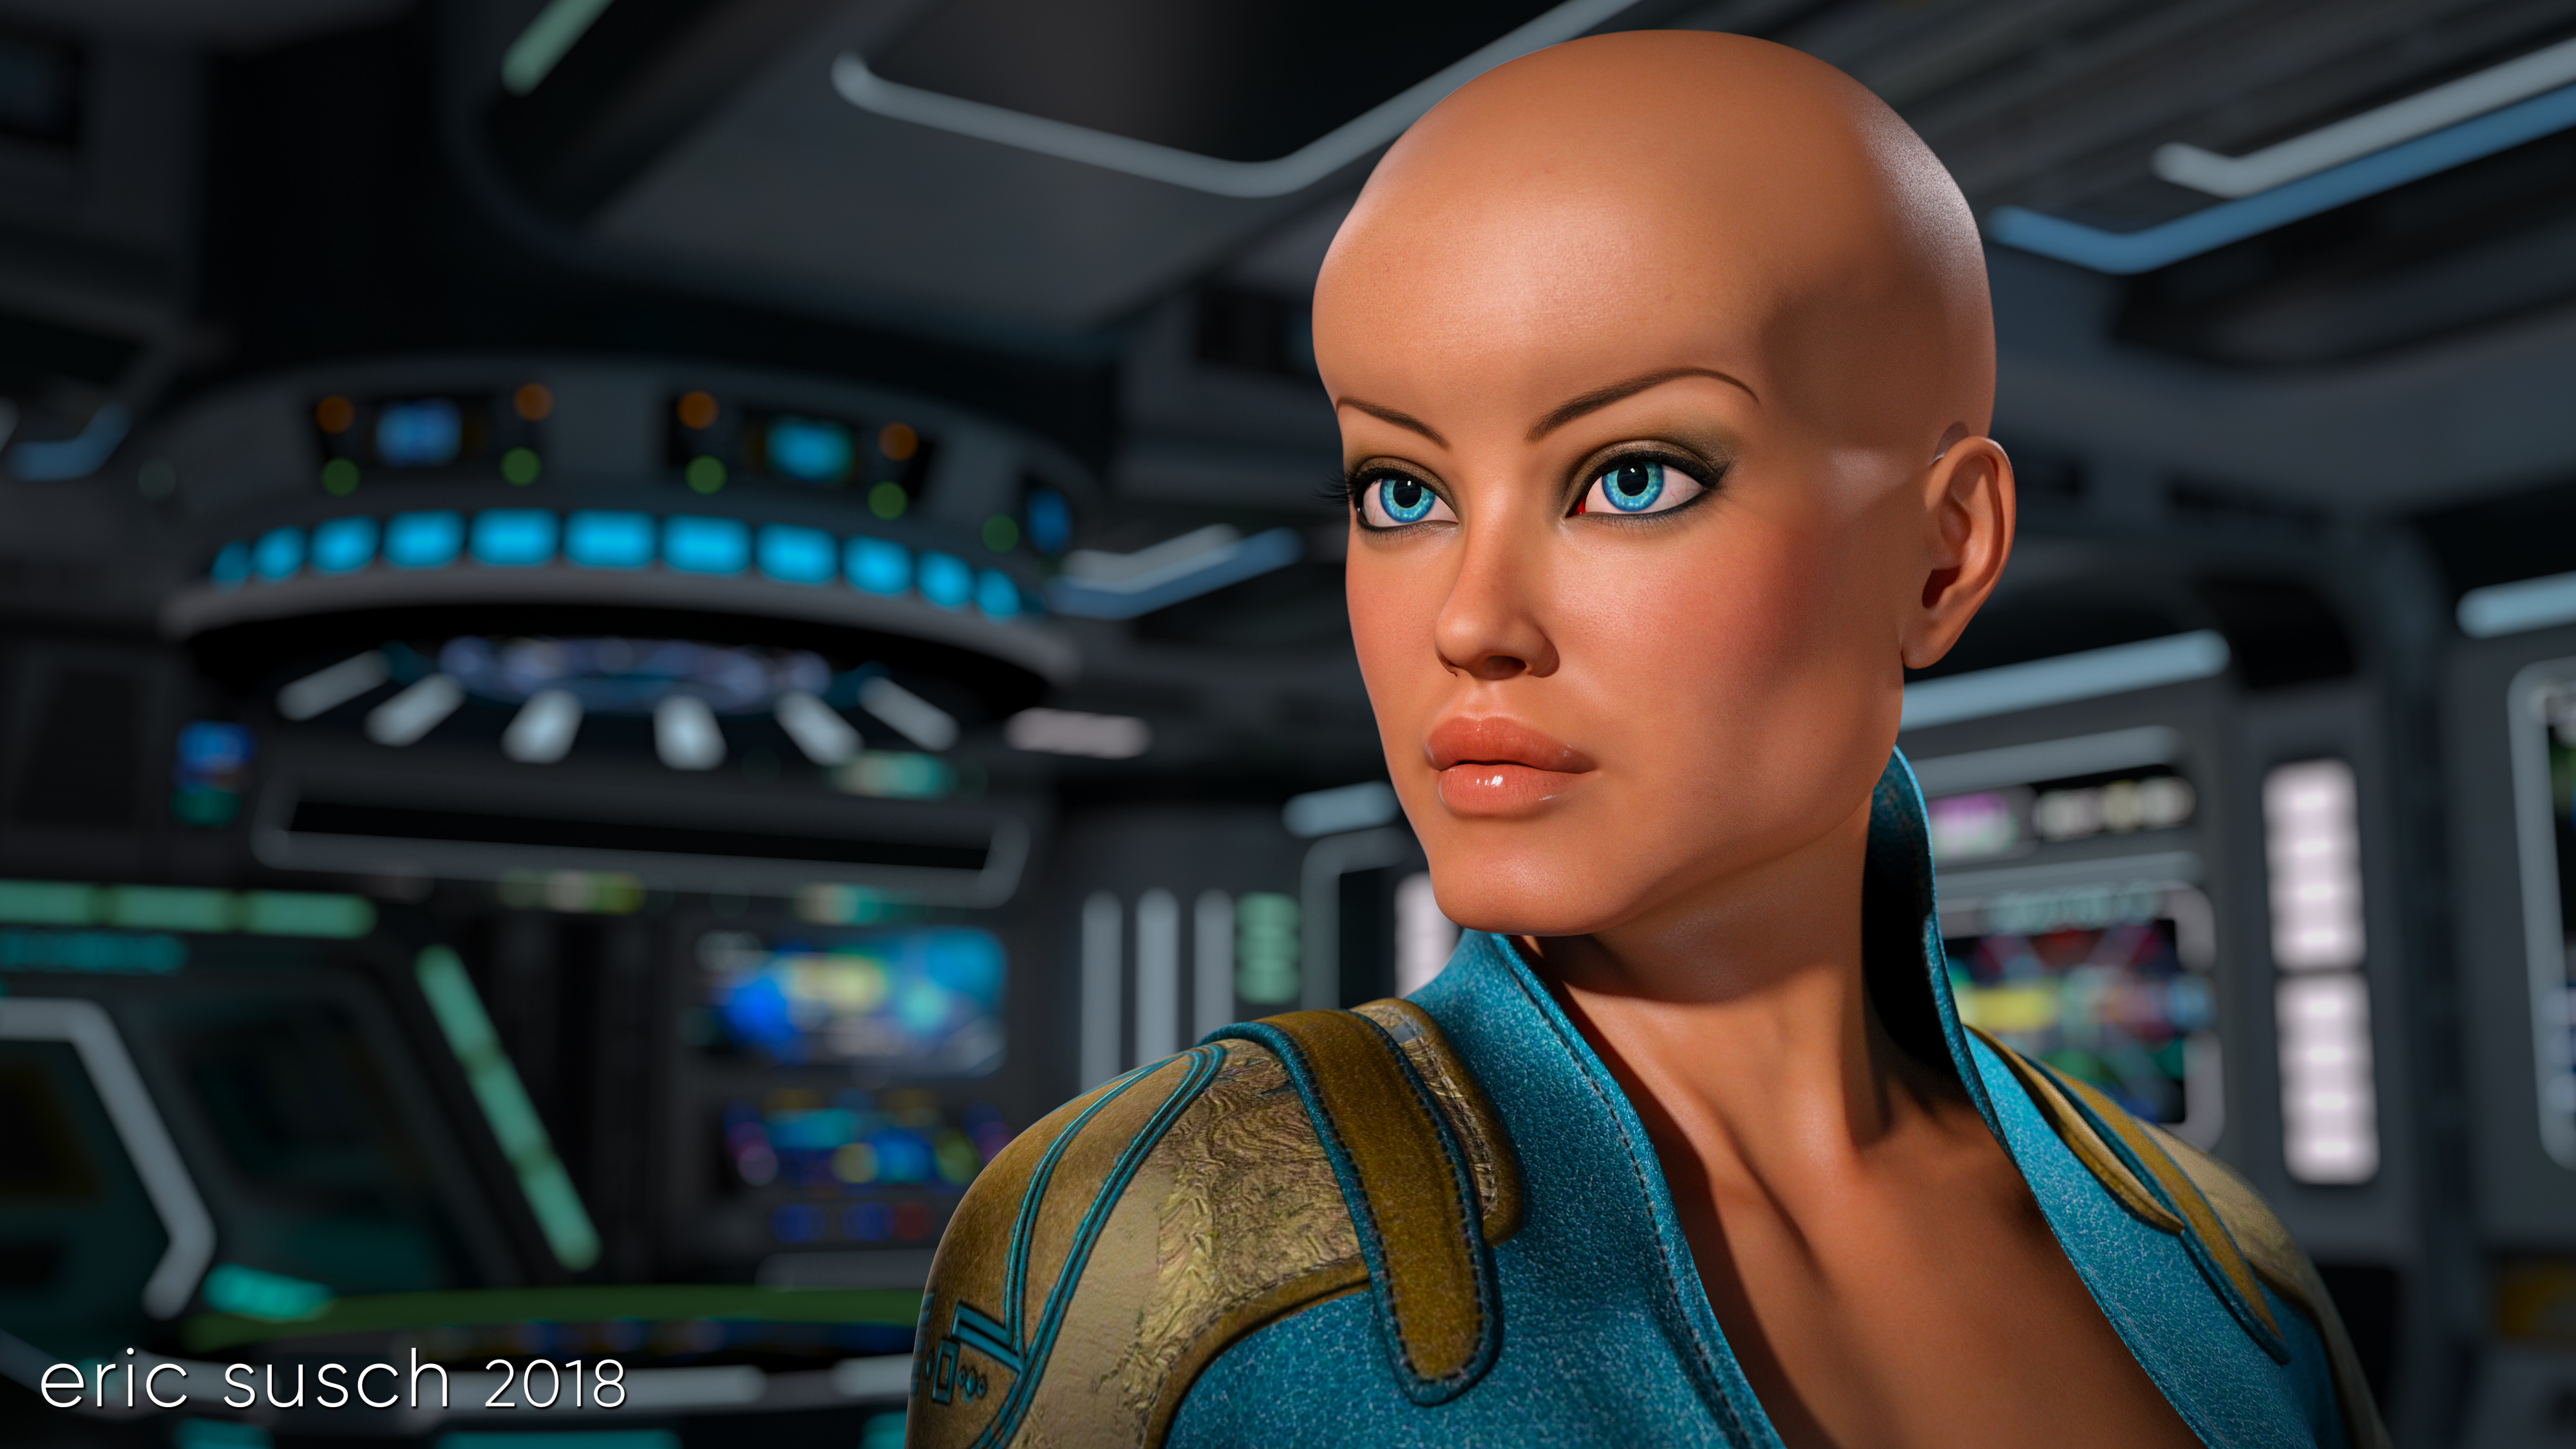 At one point I tried changing the background and put her on the bridge of a spaceship but it ended up too busy so I scrapped it.
 All it needed was minor color correction in lightroom. Not much at all. The final is essentially what was rendered out of DAZ studio.
What do you think? Is this our future?
Science Remembers
Created in DAZ Studio 4.11
Rendered with Iray
Color Correction in Lightroom
Figures used:
Brenna for Ophelia 7
Sci-Fi Lieutenant Outfit for G3F
Wicked Fantasy Morphs for G3F
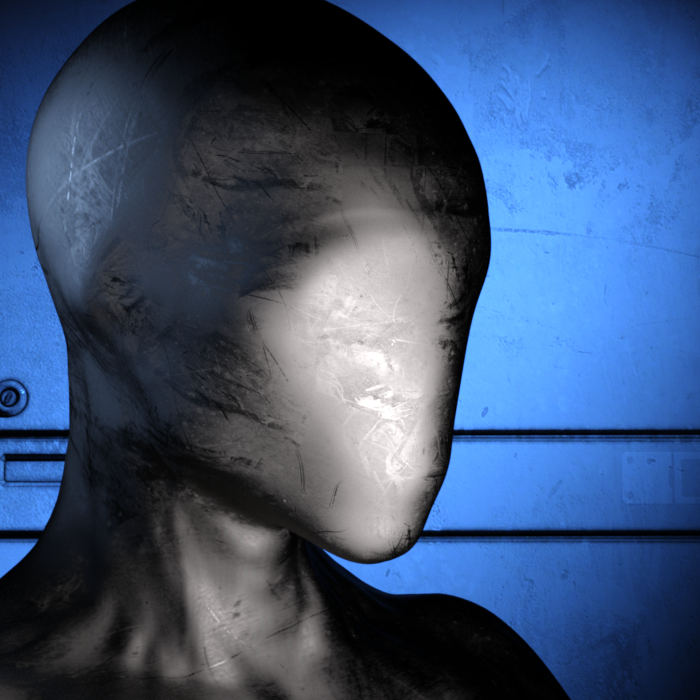
 My eternal quest for the perfect CGI avatar continues. I’ve grown tired of my current avatar artwork. People think it’s a picture of me and I have to explain that it’s CGI. I need something that doesn’t look human. Perhaps something creepy…
Mannequins and faceless people have always freaked me out ever since I was young. I attribute that to this scene from Star Trek…
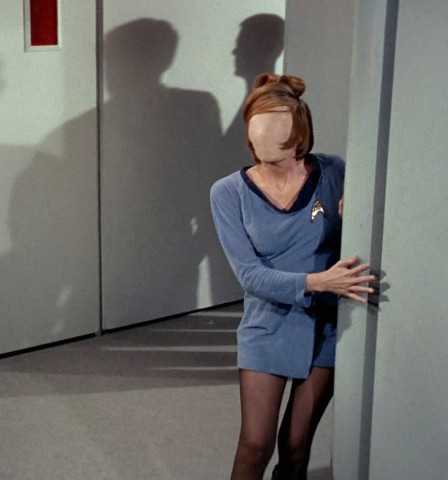 …and the Anything People on Sesame Street.
A freaky “no face” avatar would be cool and no one would think it was supposed to be me. Perfect!
I started with a faceless character model I had and I replaced the skin like surface with a different shader. I experimented with many, many different surfaces trying to find something cool.
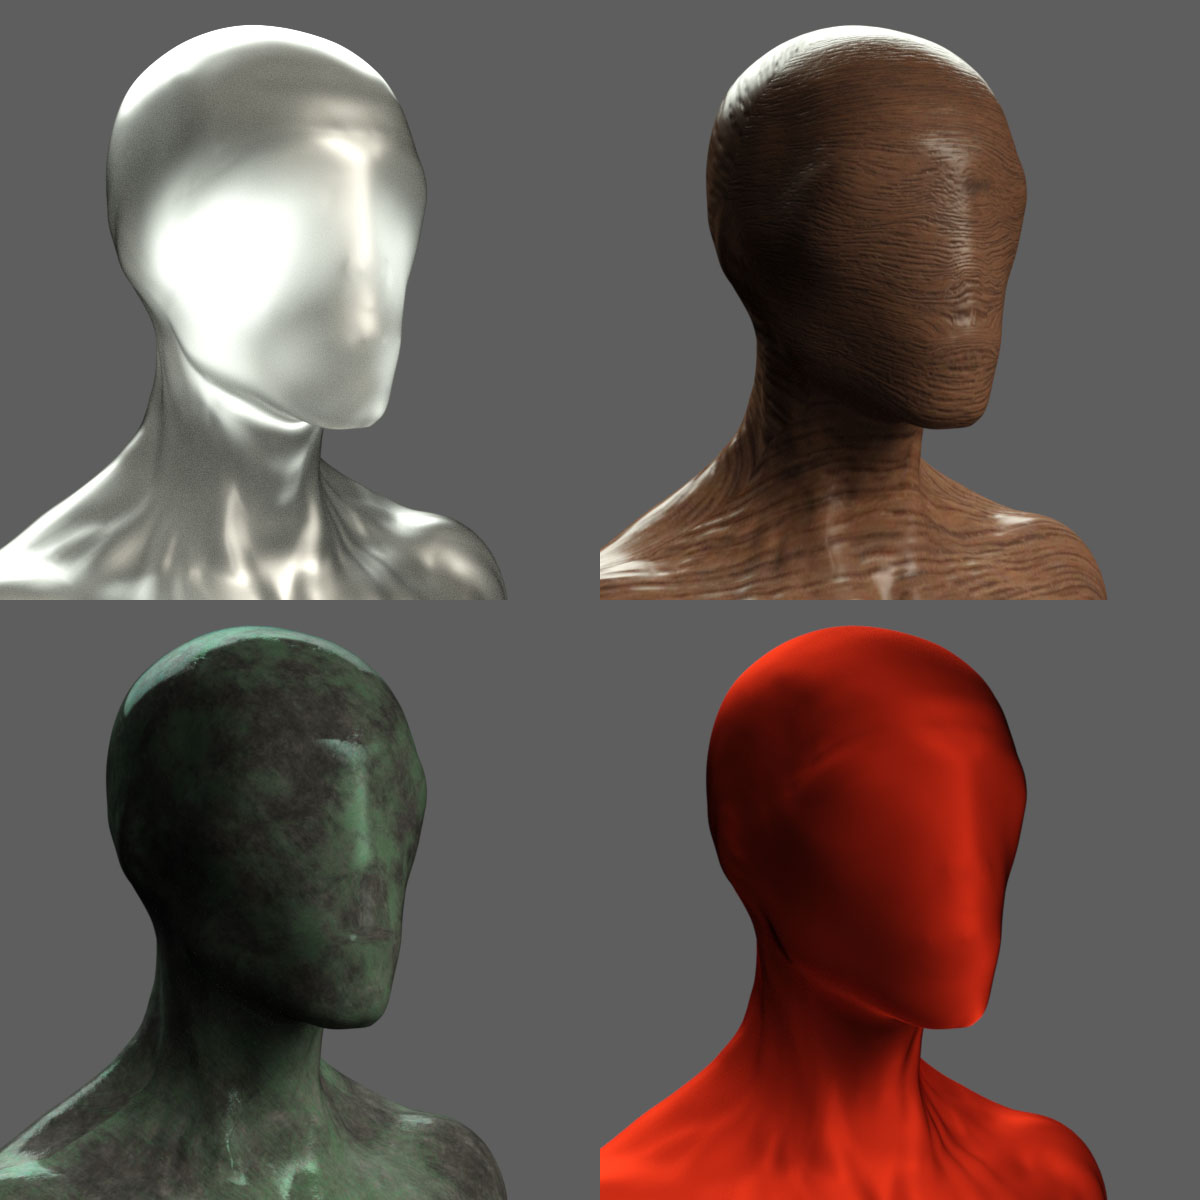 I tried cloth, wood, metal, rock, plastic, glass, grunge, paint, rubber, wax, anything I could think of.
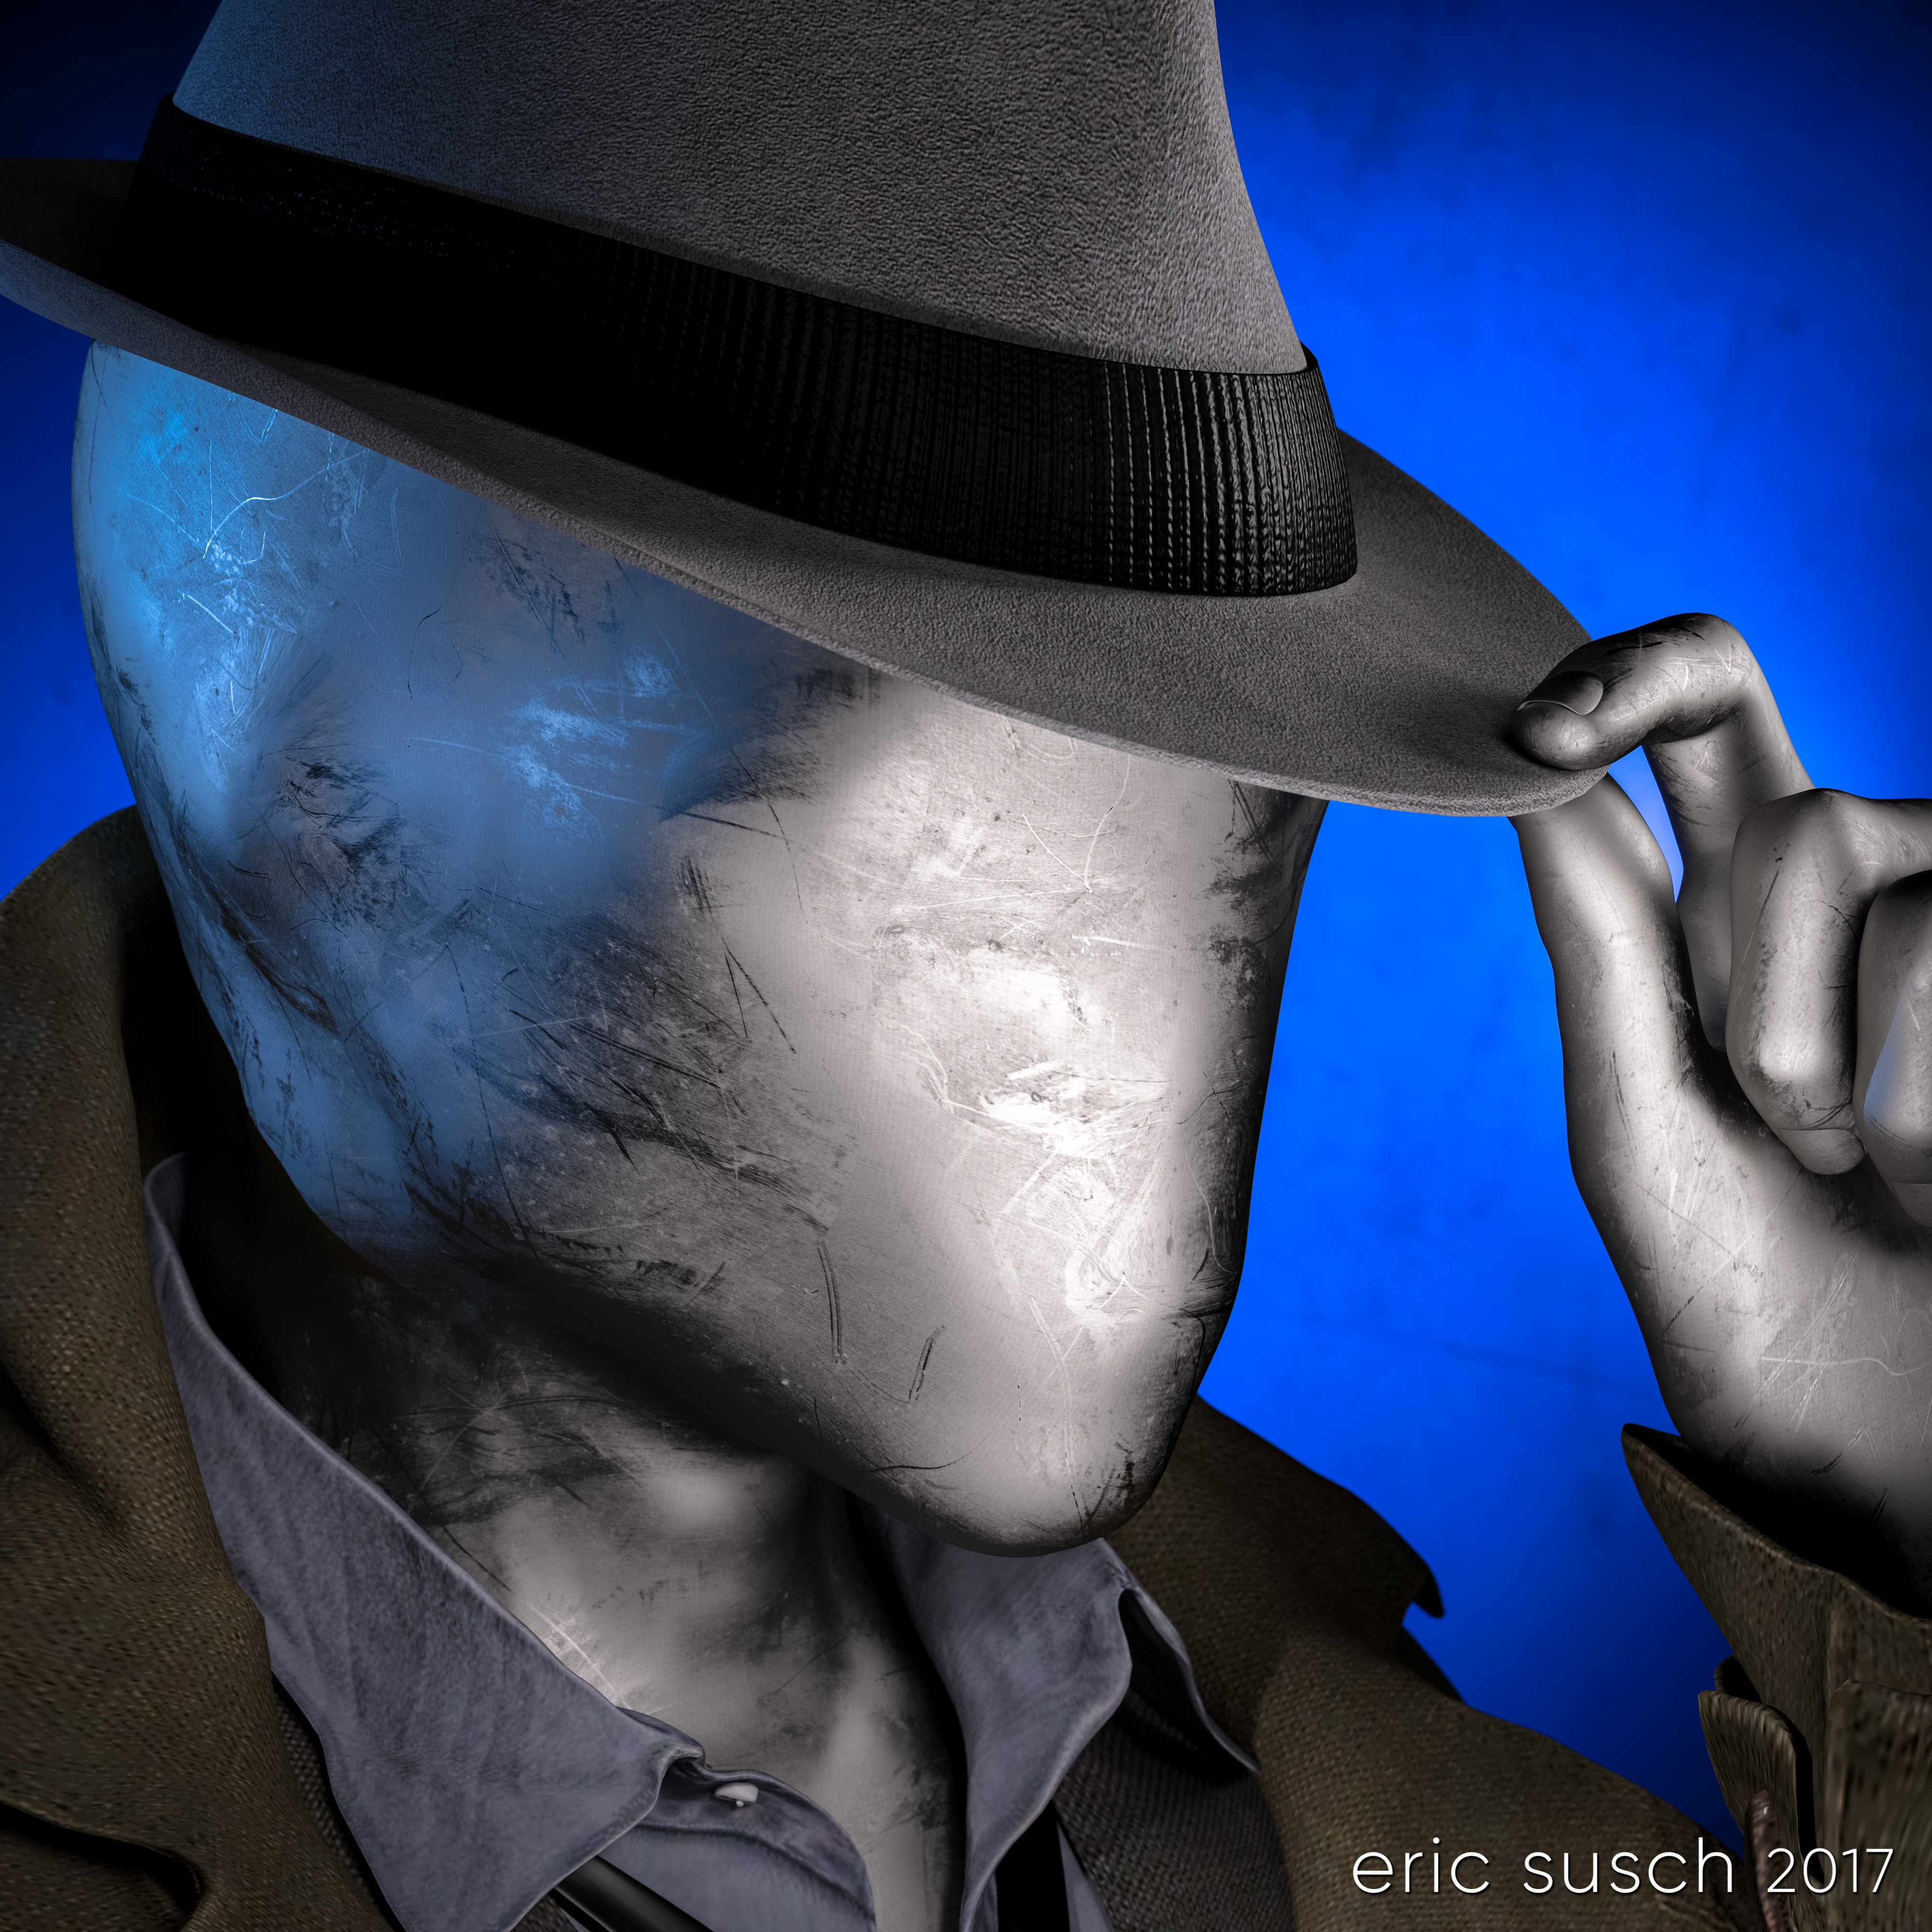
 I tried to avoid chrome because I had done that several times in the past but in the end I caved, because I really liked this particular dusty anodized aluminum surface.
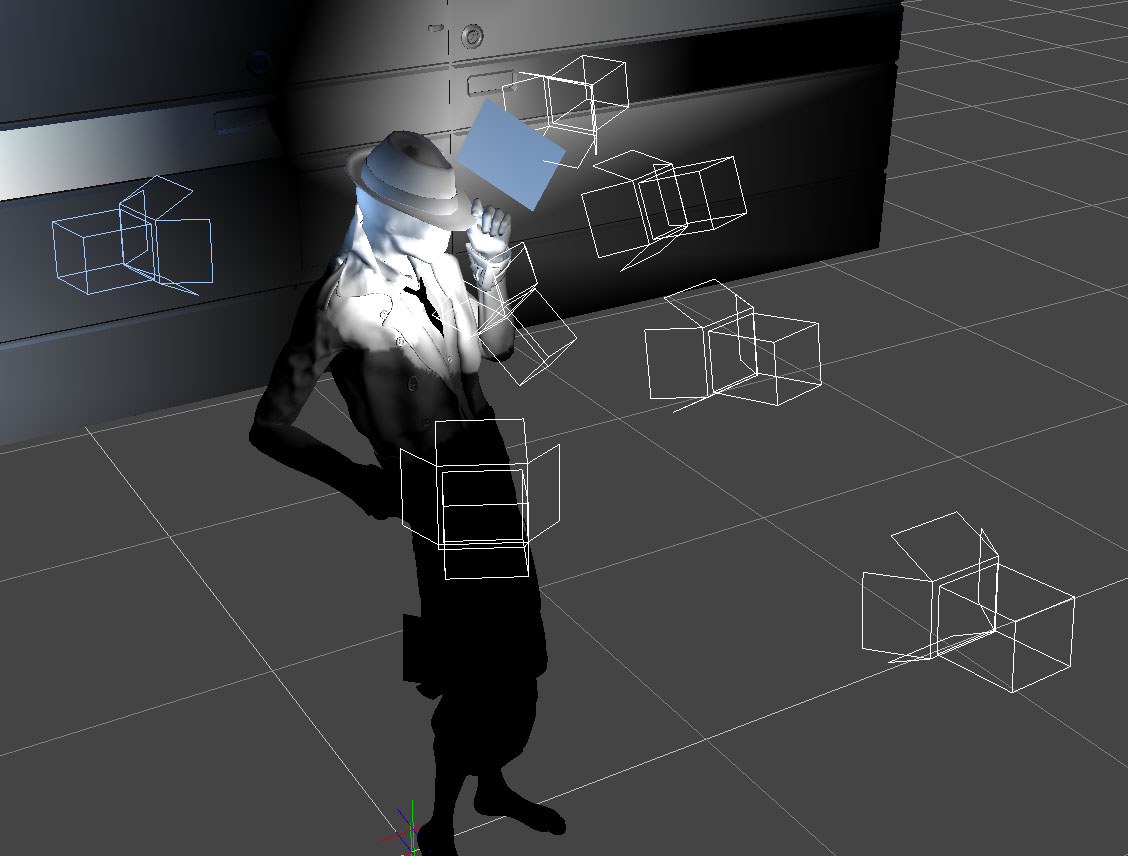
 I posed the figure tipping his hat with a 1960s fedora. I wanted him to be creepy and friendly at the same time. A sloppy overcoat and loose necktie seemed to fit so I added that too.
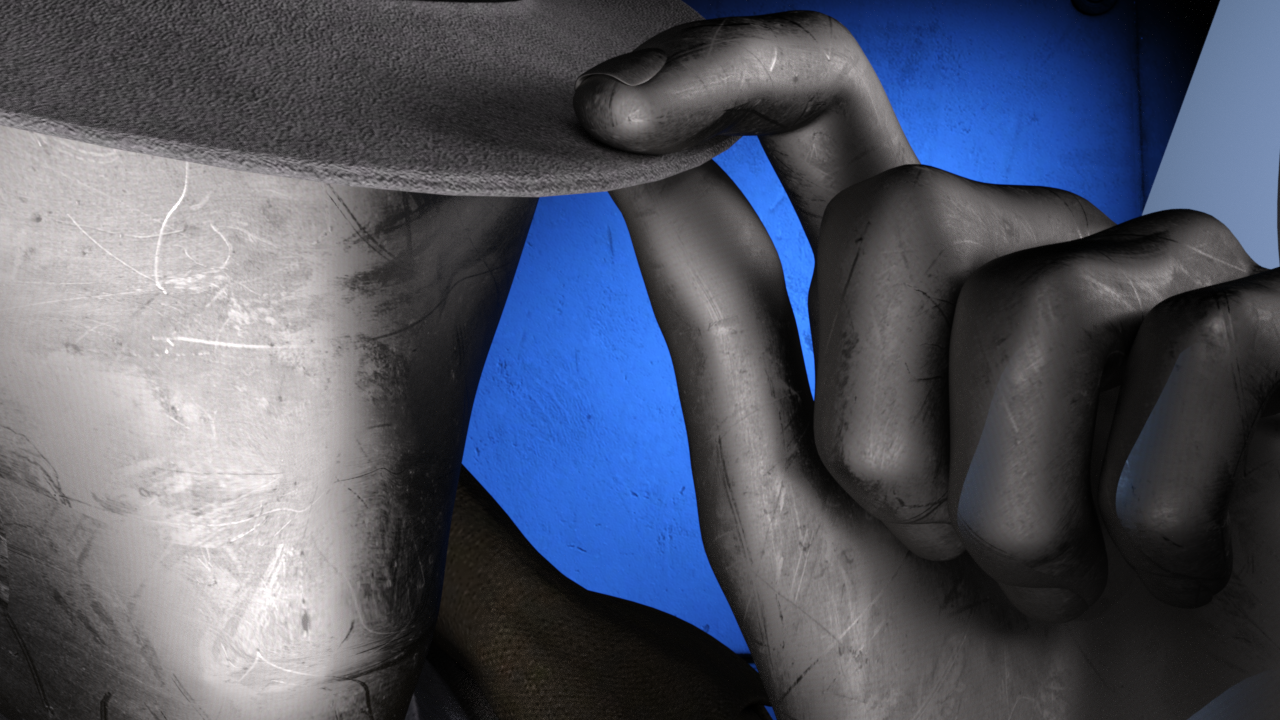
 Give that man a hand
The fingers of the alien no-face character were creepy long, which looks OK but I like to make everything difficult so I decided to try and replace the hand with one that was human sized.
To do that I had to add another entire human sized figure and position the hand in the same place, grabbing the hat. It took awhile but I got it into position. Then I “turned off” (made invisible) the rest of that human character. For the no-face character I turned off the hand. The sleeve of the jacket was just long enough to hide the fact that the arm and hand didn’t meet exactly correctly. Everything came together when I layered the same aluminum shader on the human hand.
 Dramatic Light
The lighting was difficult because of the reflective metal on the face. I ended up with a lot more spotlights than usual for a simple head shot just to get the reflections right. There are seven spot lights on the character and one blue spot on the background, which is just a gray wall panel.
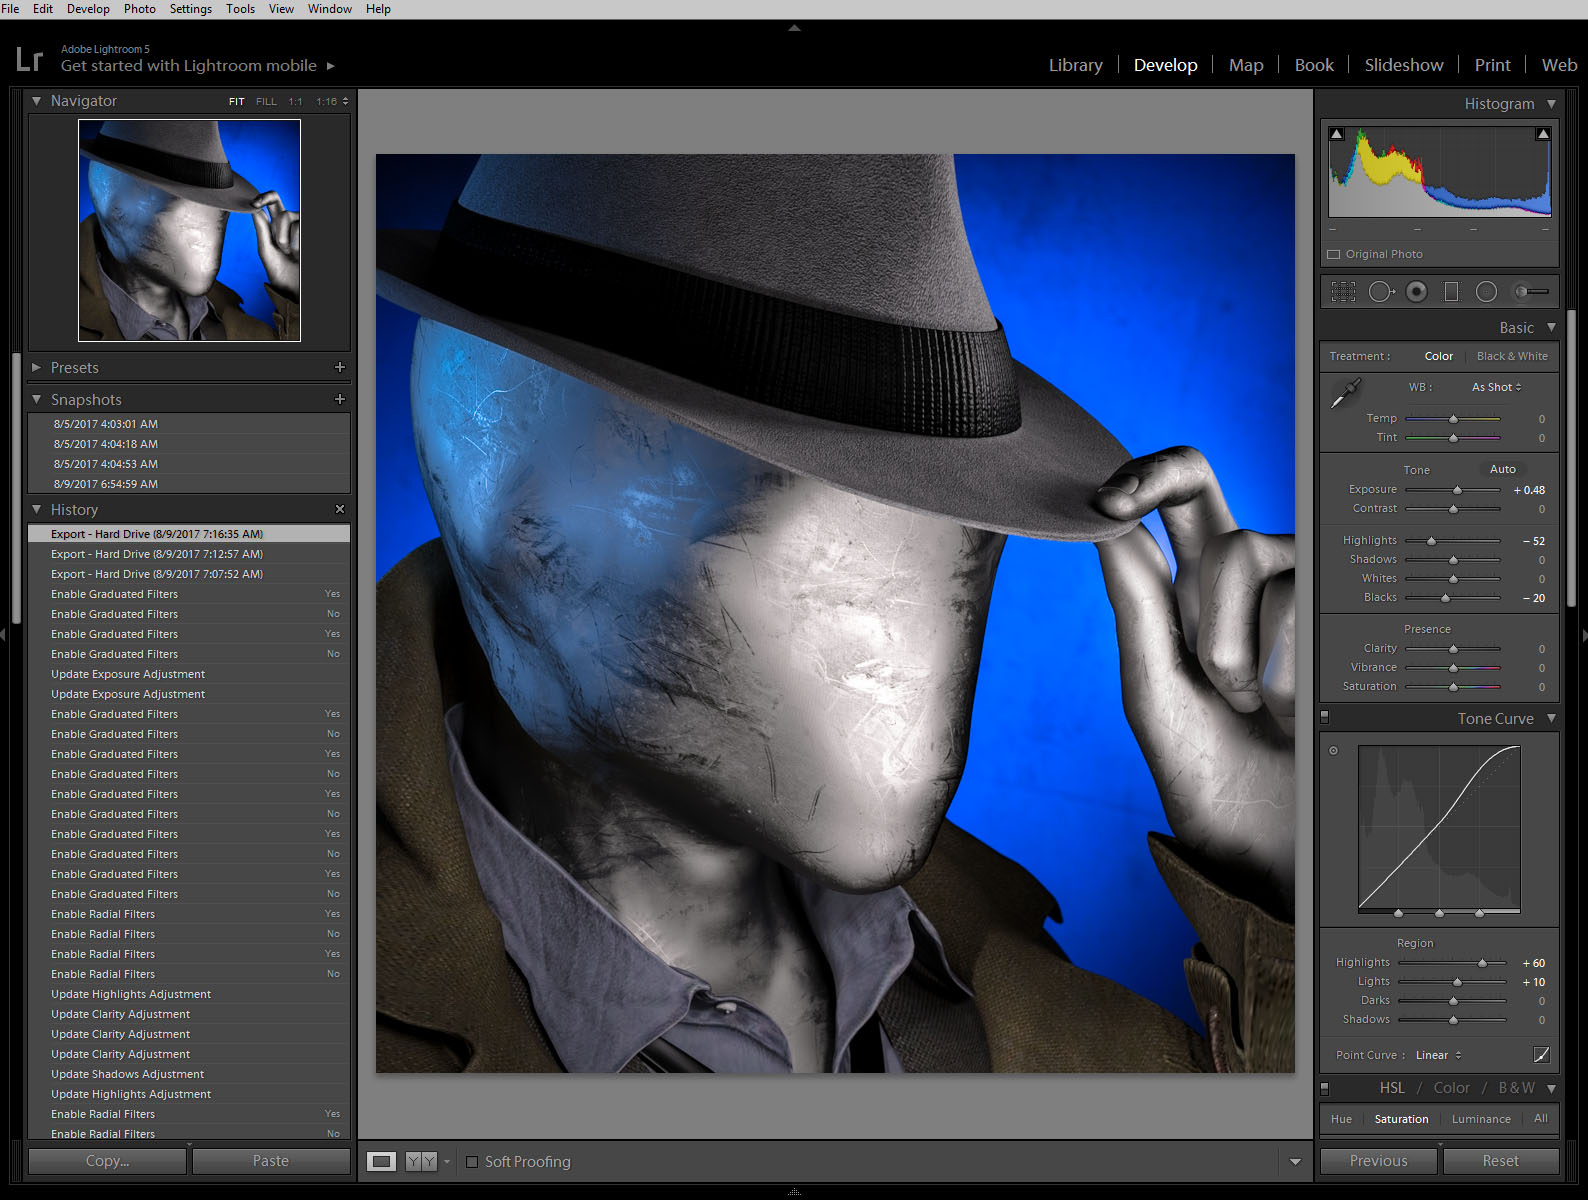
 After rendering it out I pumped up the color a little in Lightroom…
 …and uploaded the avatar to Facebook.
![]()
Unfortunately I saw almost immediately that you couldn’t tell what the picture was at very small sizes. It was the high contrast lighting, the same problem I had before on my first CGI avatar. It looked fine at larger sizes but when it was super tiny the bright shine of the face looked like an unrecognizable white blob on a blue background.
I went back into DAZ Studio and tried to even out the lighting. The best way was to set up a few more lights to fill in the dark spots. I didn’t like it as much when I was done but I rendered it out anyway just to test it on facebook. This is the “flat light” version.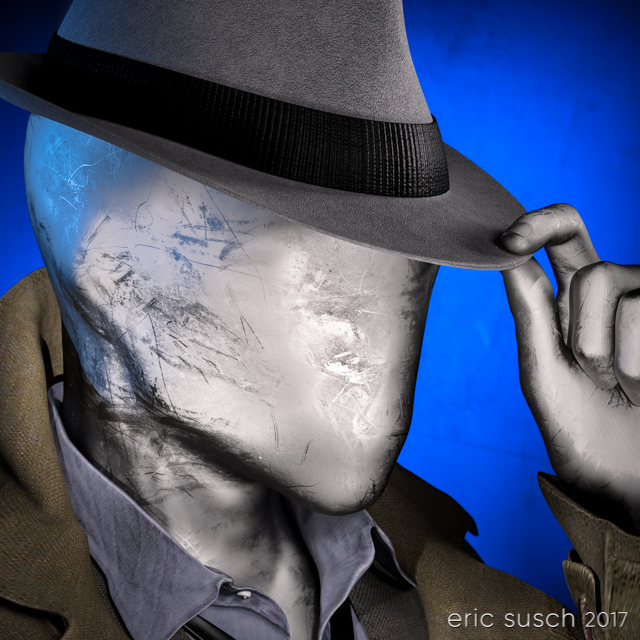 It worked better at small sizes as you can see but still not as well as other avatars I’ve created. Humans are programed to recognize faces easily, which is why facebook can make their avatars so small. I’m asking people to recognize “no face” so I guess that’s more difficult.
![]() So it sort of works at the tiny sizes and doesn’t look as good as it could at larger sizes. I guess that makes this avatar attempt a bit of a failure. I still like it though, so I’m going to keep it for a time before I try again. I can also upload the first version to other sites that don’t have such small avatars. What do you think?
So it sort of works at the tiny sizes and doesn’t look as good as it could at larger sizes. I guess that makes this avatar attempt a bit of a failure. I still like it though, so I’m going to keep it for a time before I try again. I can also upload the first version to other sites that don’t have such small avatars. What do you think?
Created in DAZ Studio 4.9
Rendered with Iray
Color Correction in Lightroom
Figures used:
The Slim Man for Genesis 3 Male
Mec4d PBS Shaders vol.3 for Iray
Amazing Hat
Eldritch Seeker
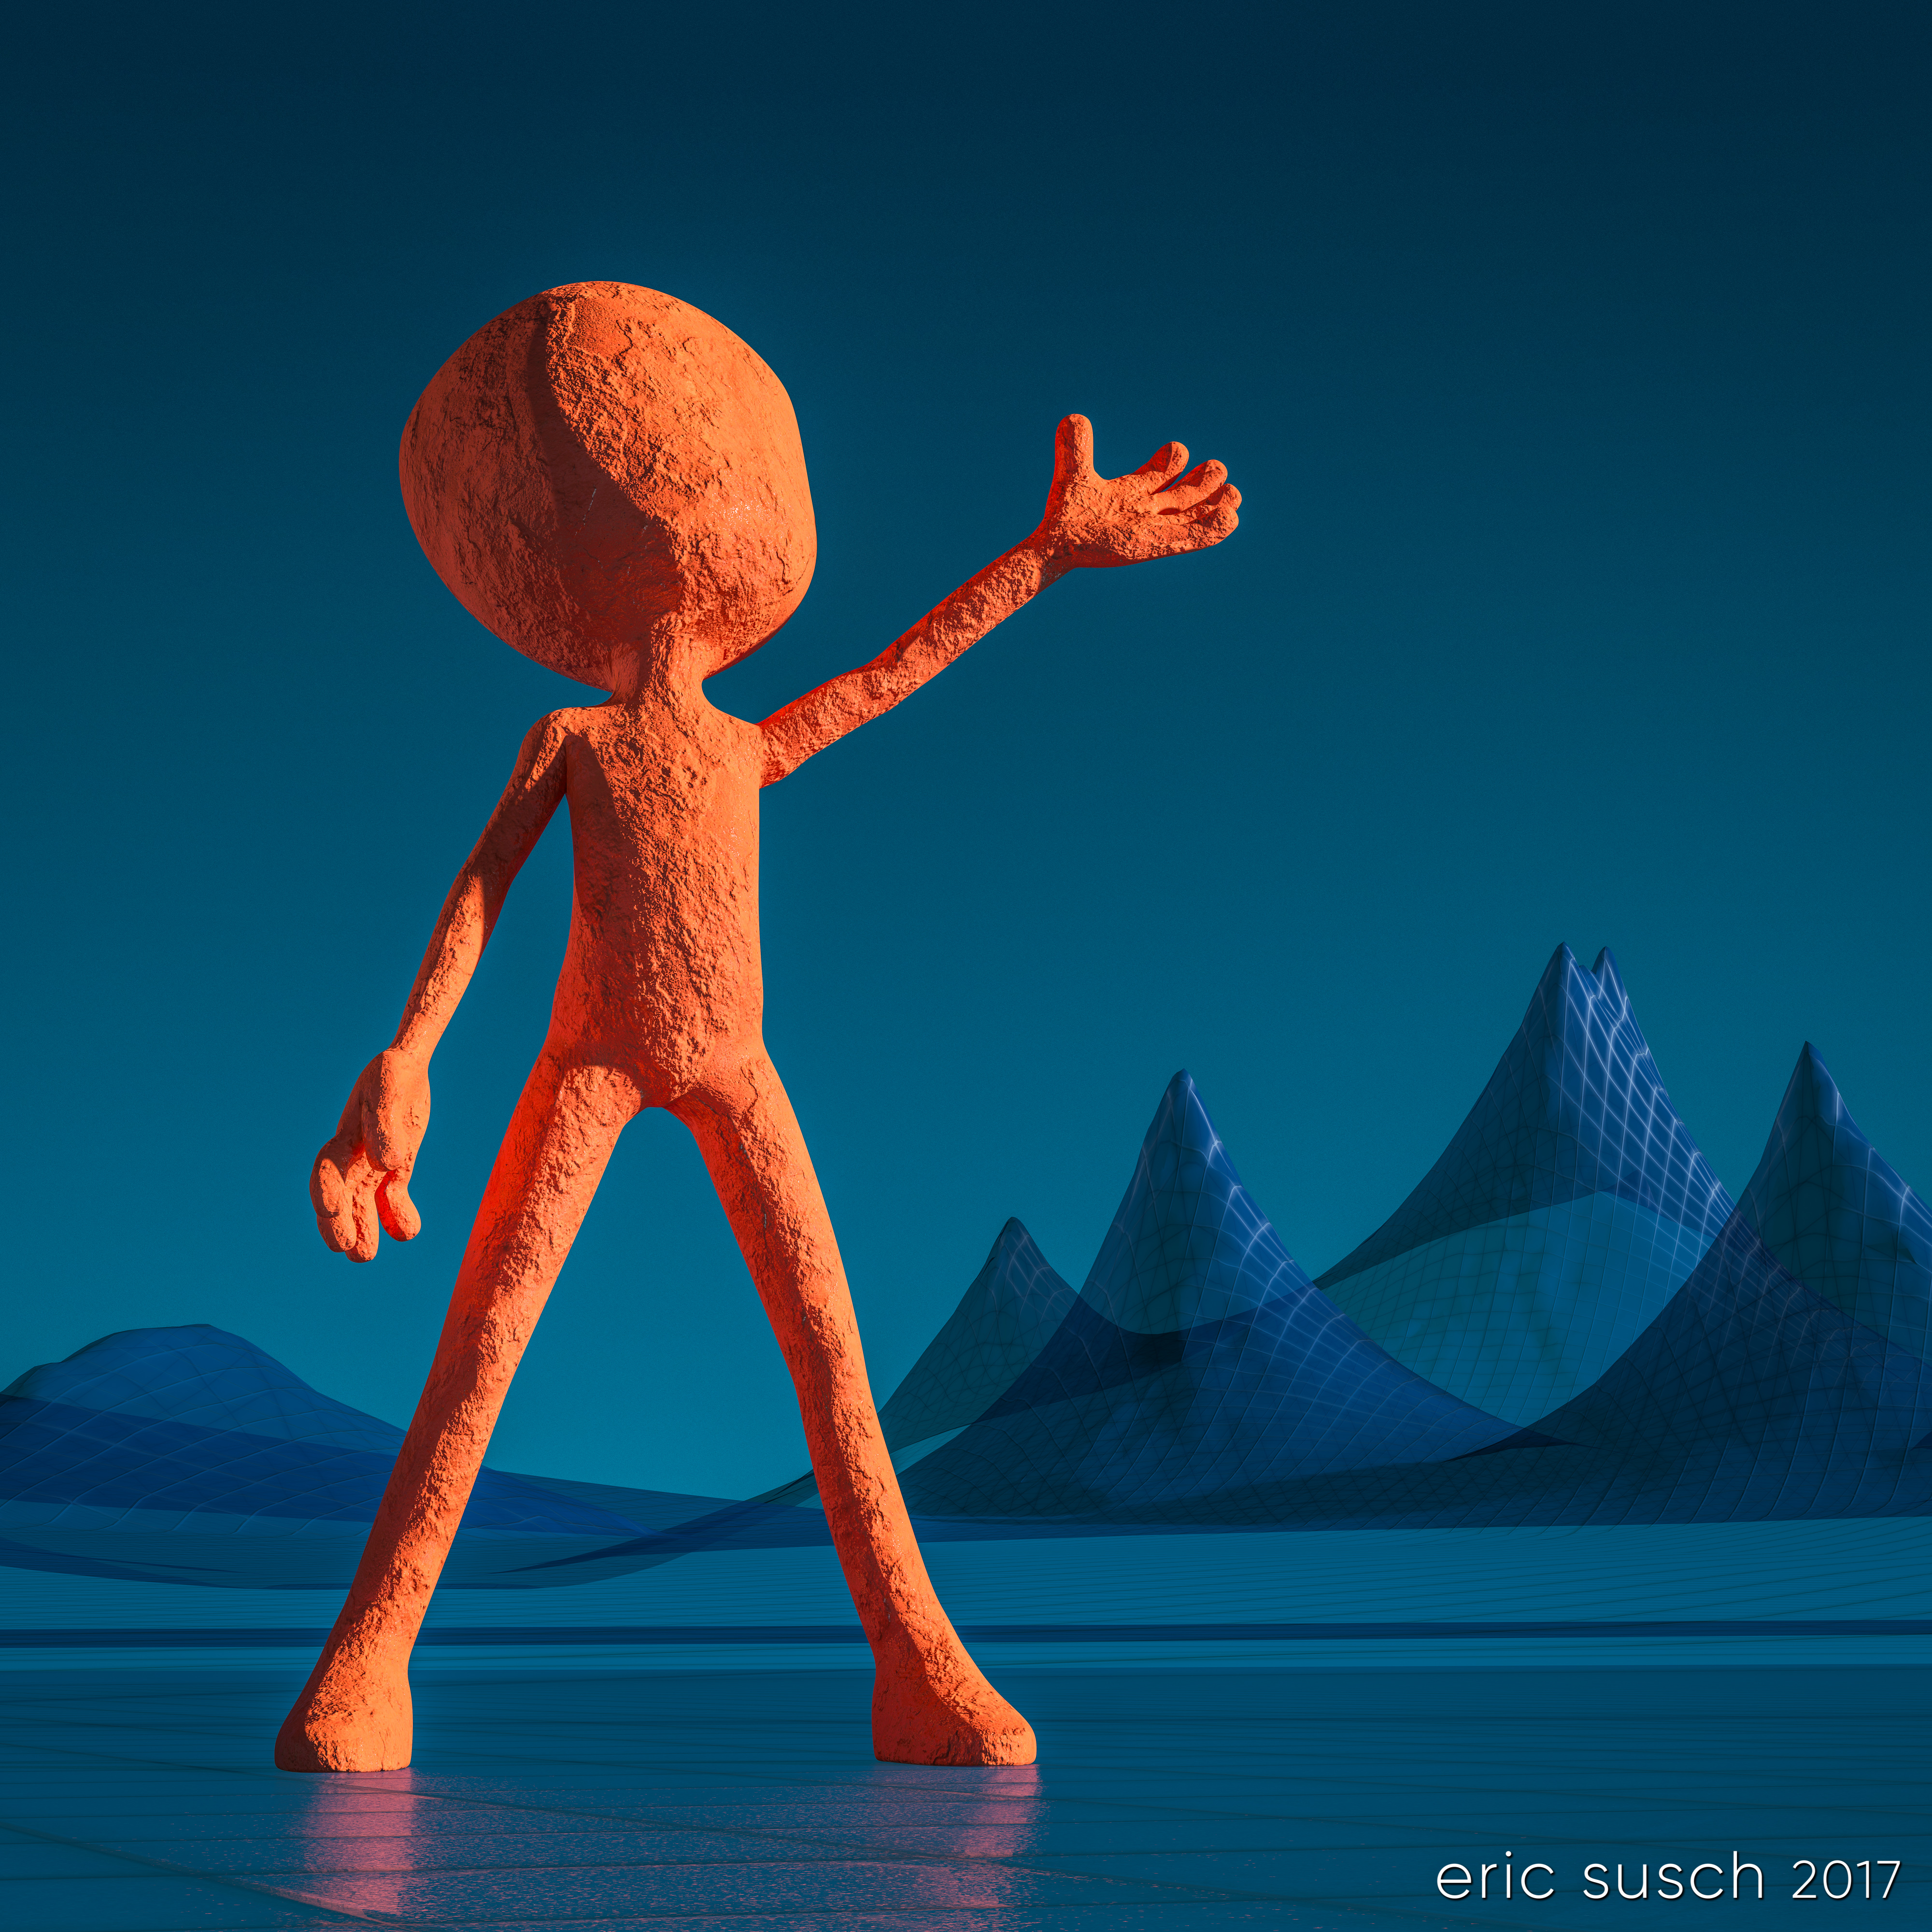 I’ve been wanting to do an abstract piece for some time. I love the way this came out. I’ll definitely be doing more art like this in the future.
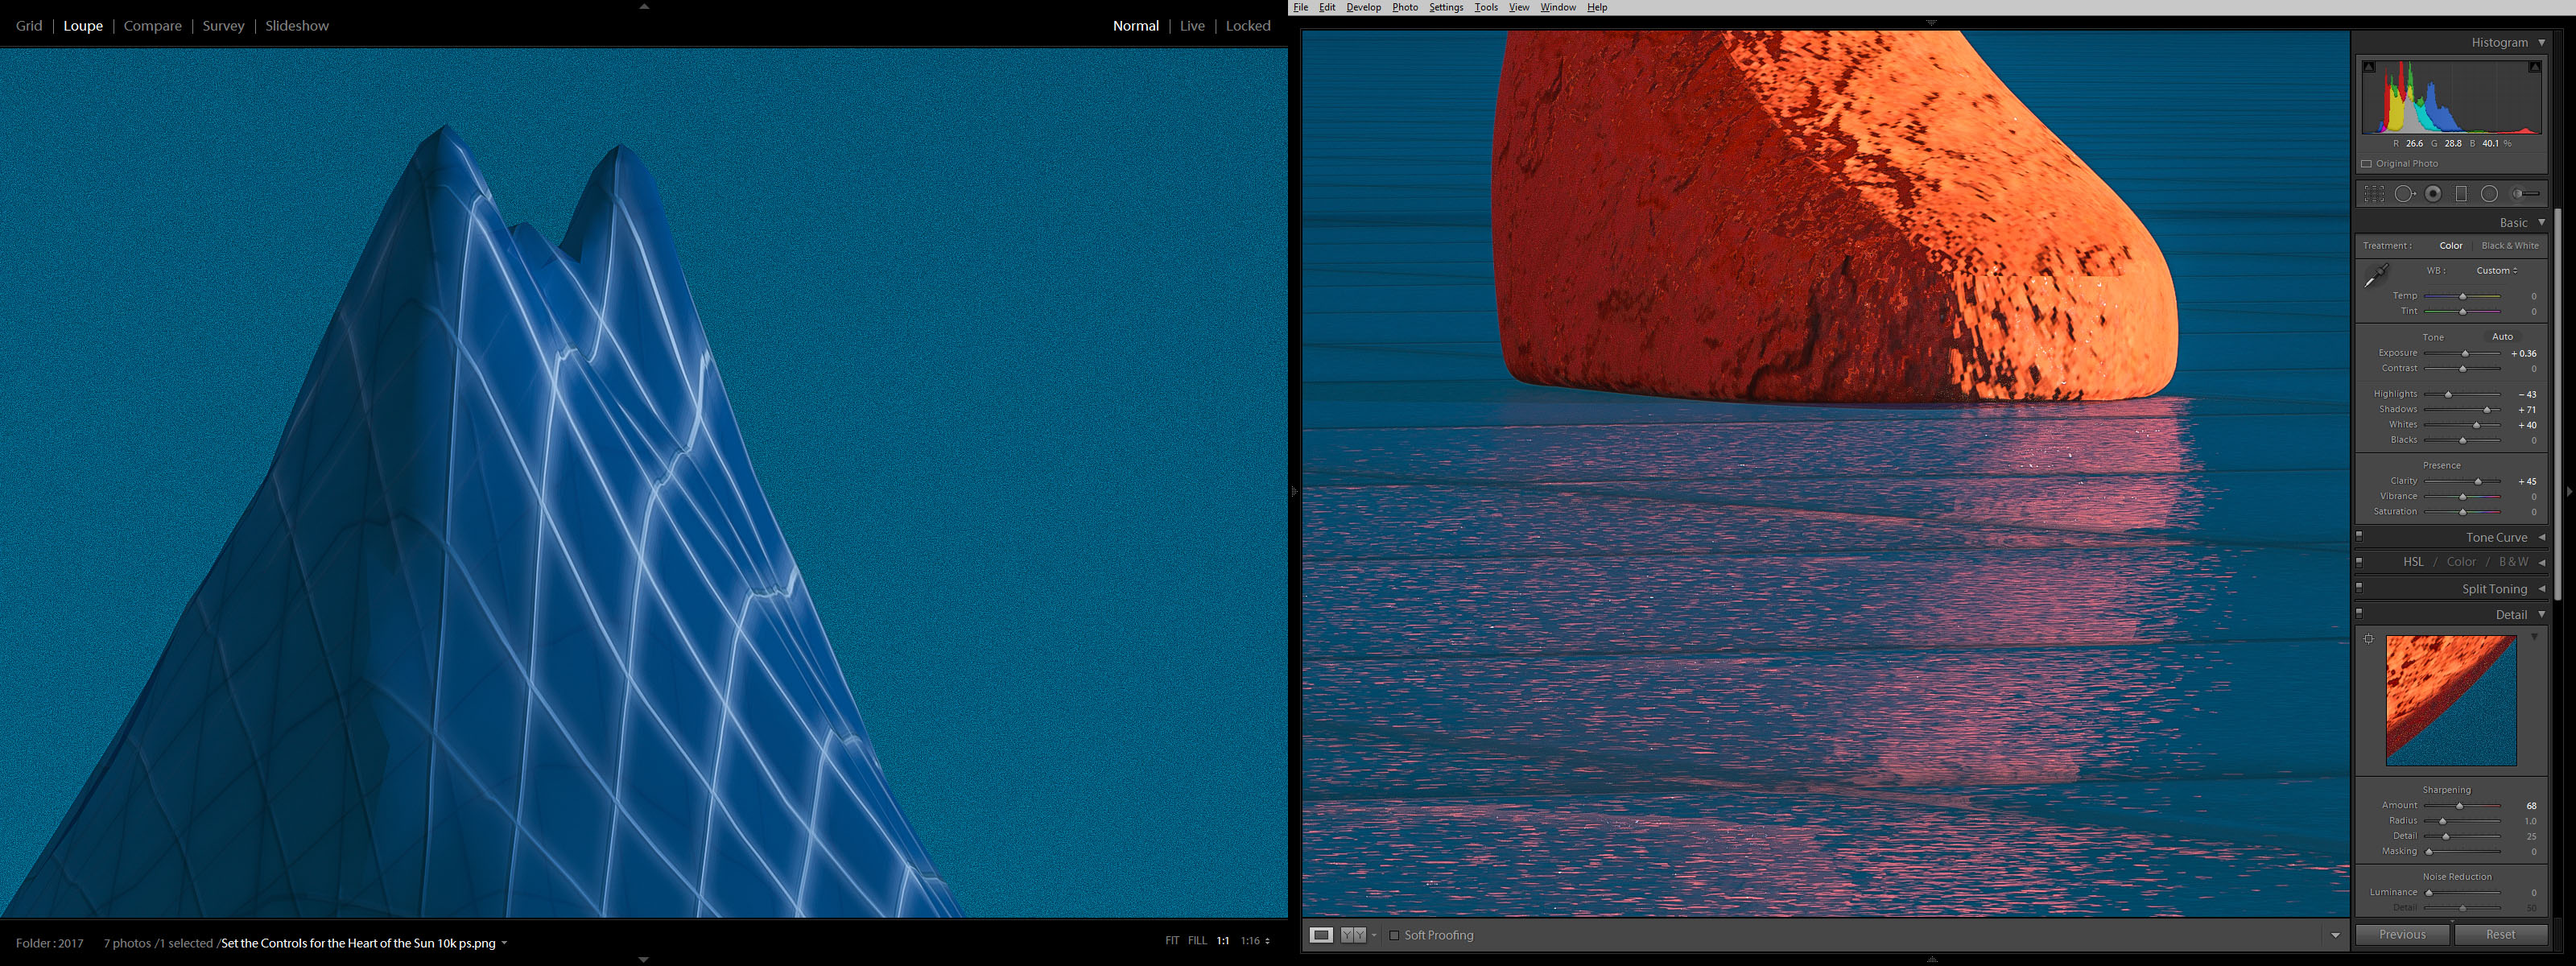
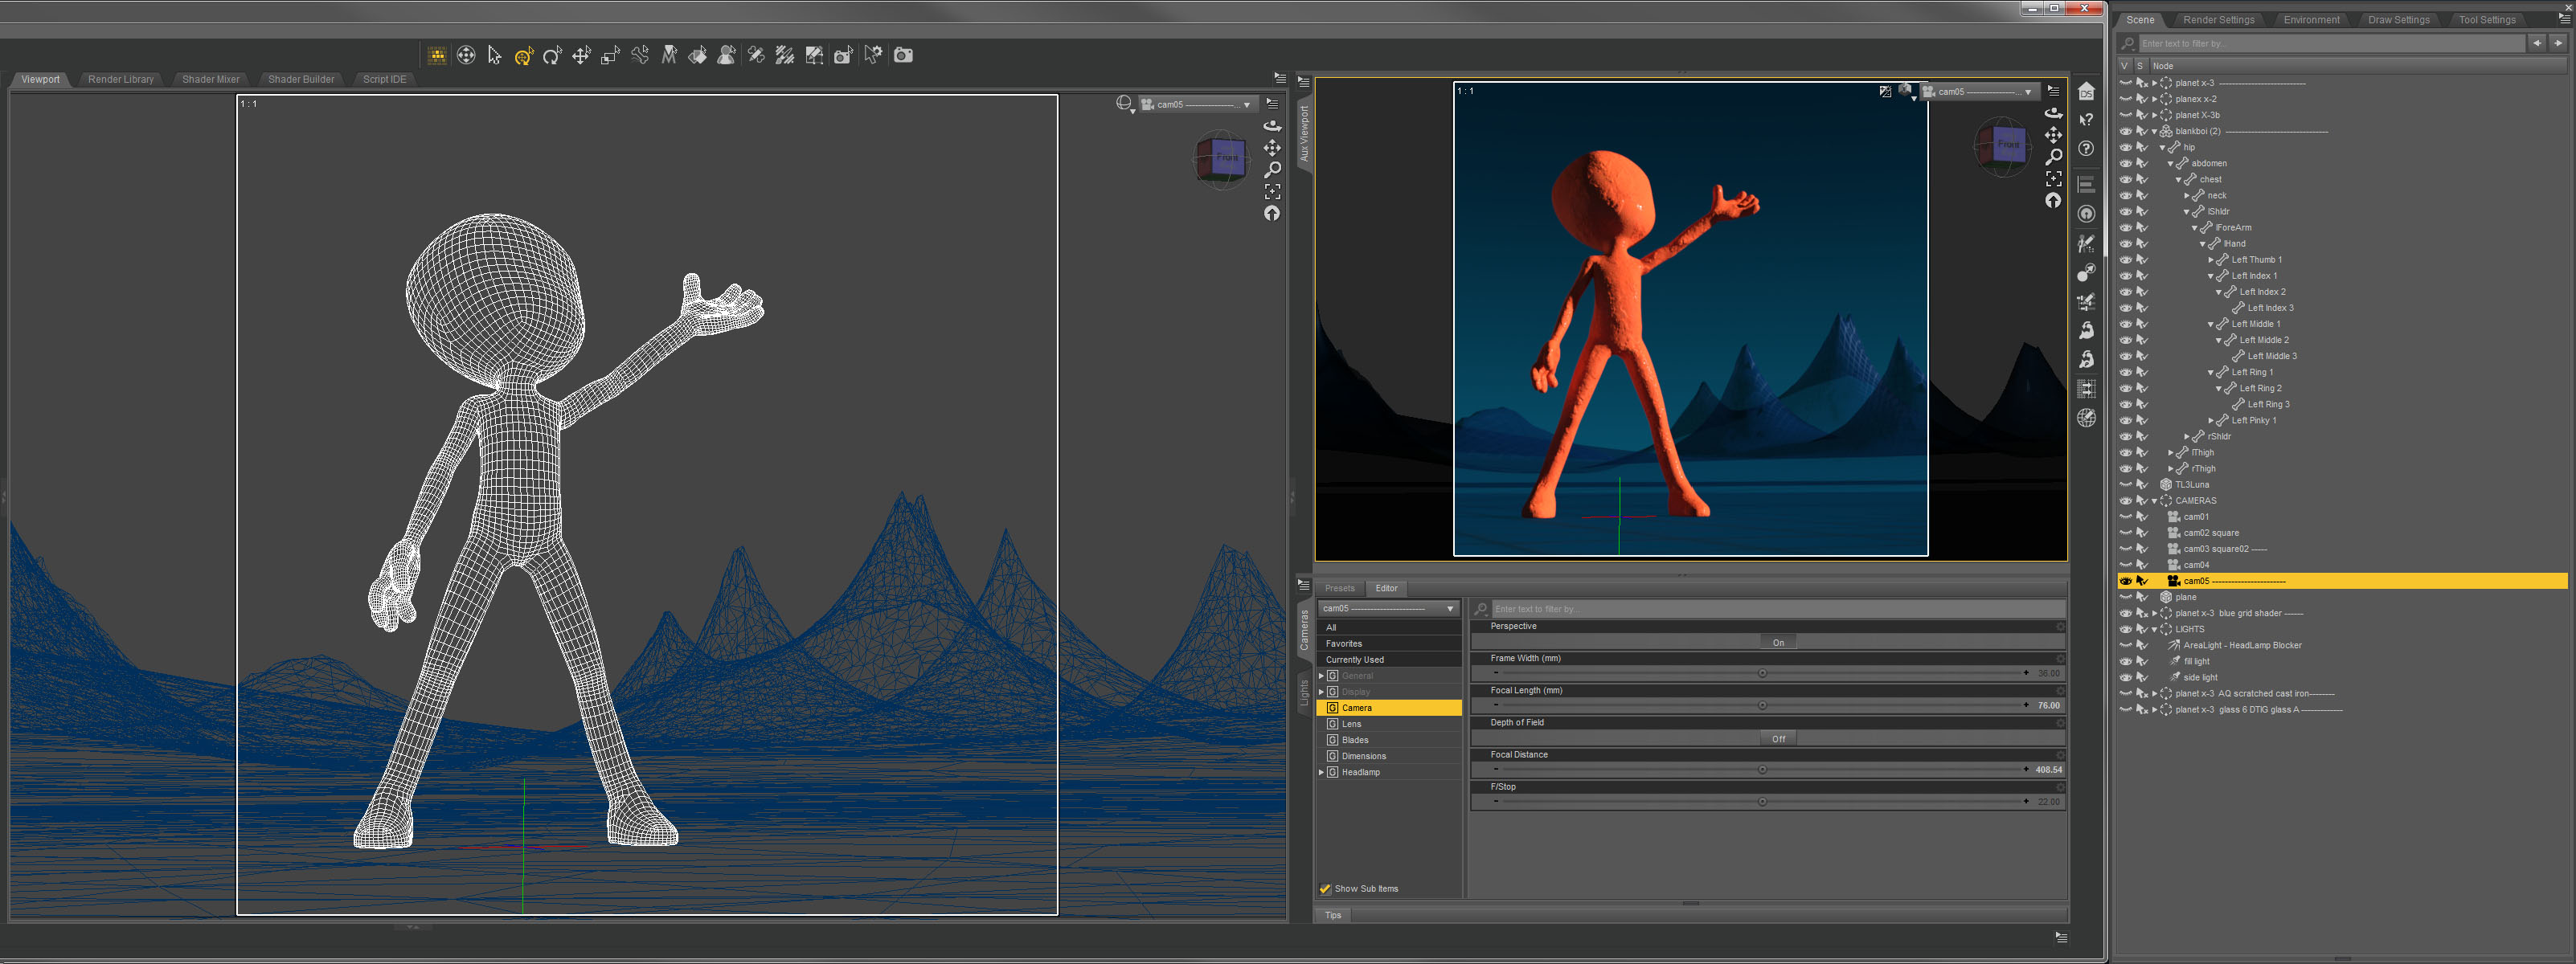 There’s not much to say about this piece. It’s pretty straight forward. The light is from the HDMI which is essentially a gradient with a bright spot that becomes the “sun.” The gradient did create a very slight banding across the sky and I had to bring the piece into photoshop to add some noise to try and smooth it out. That was the only postwork I did in Photoshop. You can still see the banding a bit but it’s much better than it was. You can see the grain actual size behind the mountain in the color correction image if you click to embiggen it.
 I tried to make the ground look like ice by playing with the Metallic Flakes Weight setting in the Surfaces tab. All in all I’m very happy with this one.
Created in DAZ Studio 4.9
Rendered with Iray
Minor post in Photoshop
Color Correction in Lightroom
Figures used:
Blank Boi
Planet X-3
Mec4d PBS Shaders vol.2 for Iray
Wireframe and Hologram Shaders