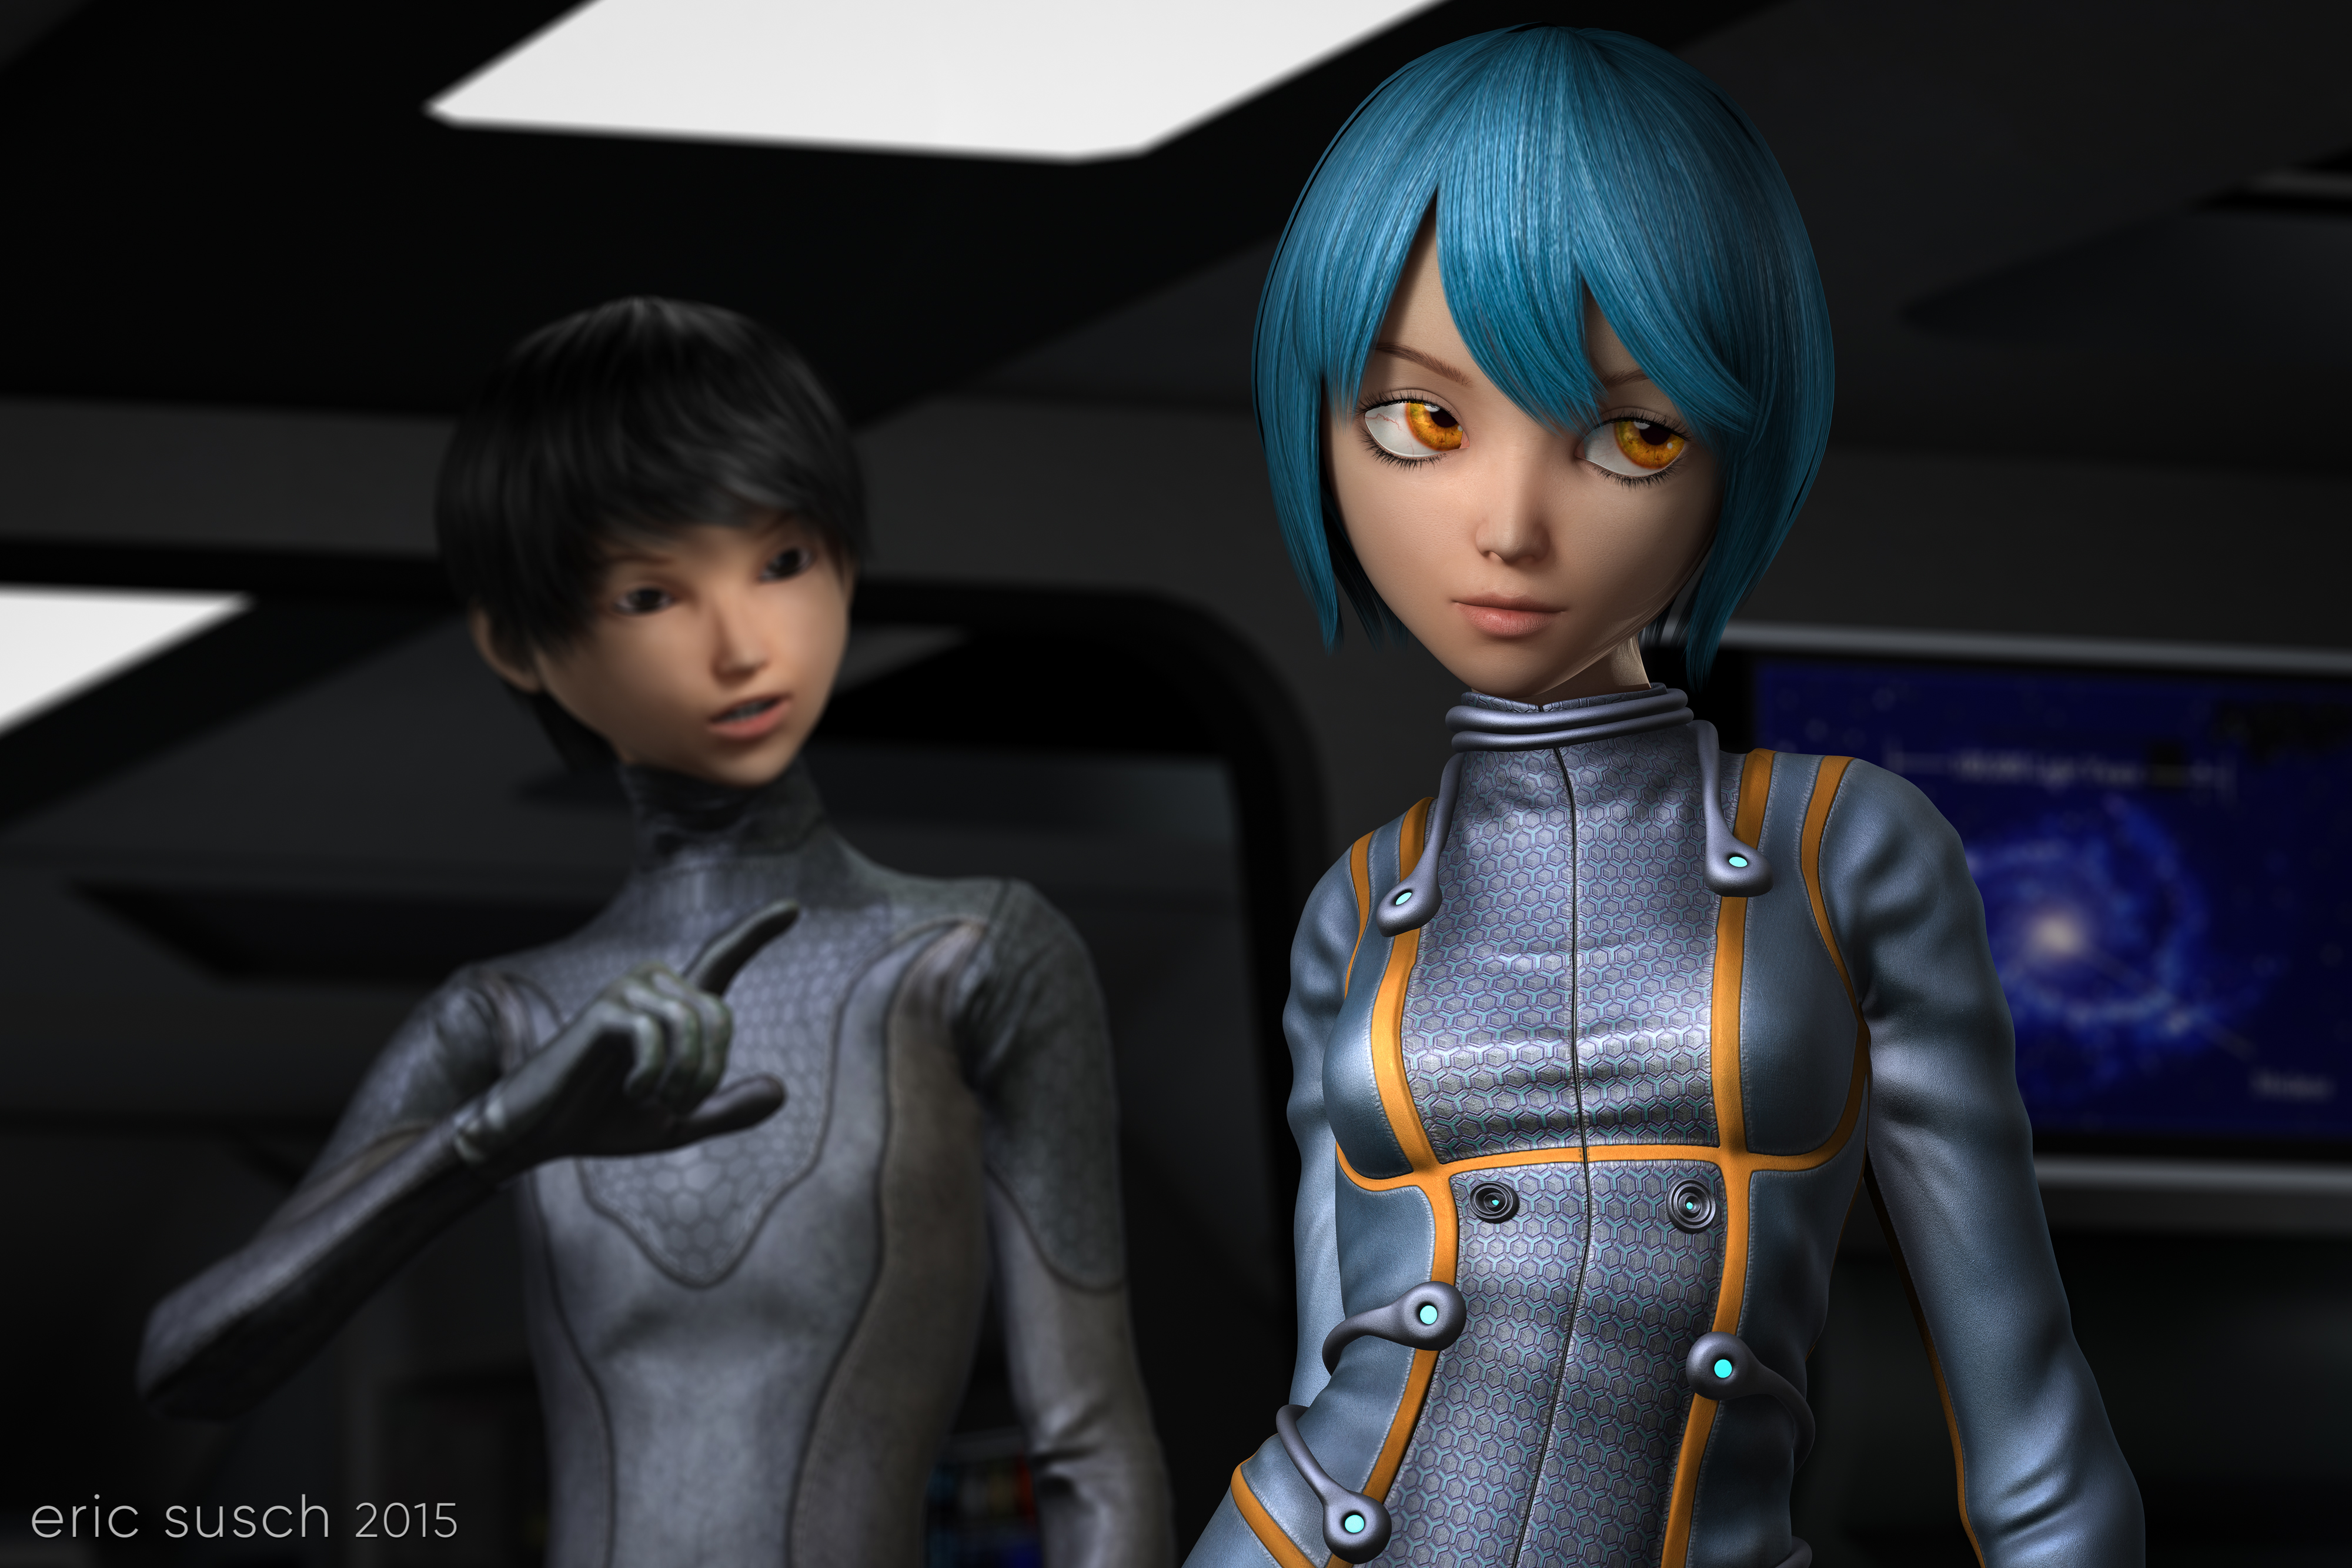
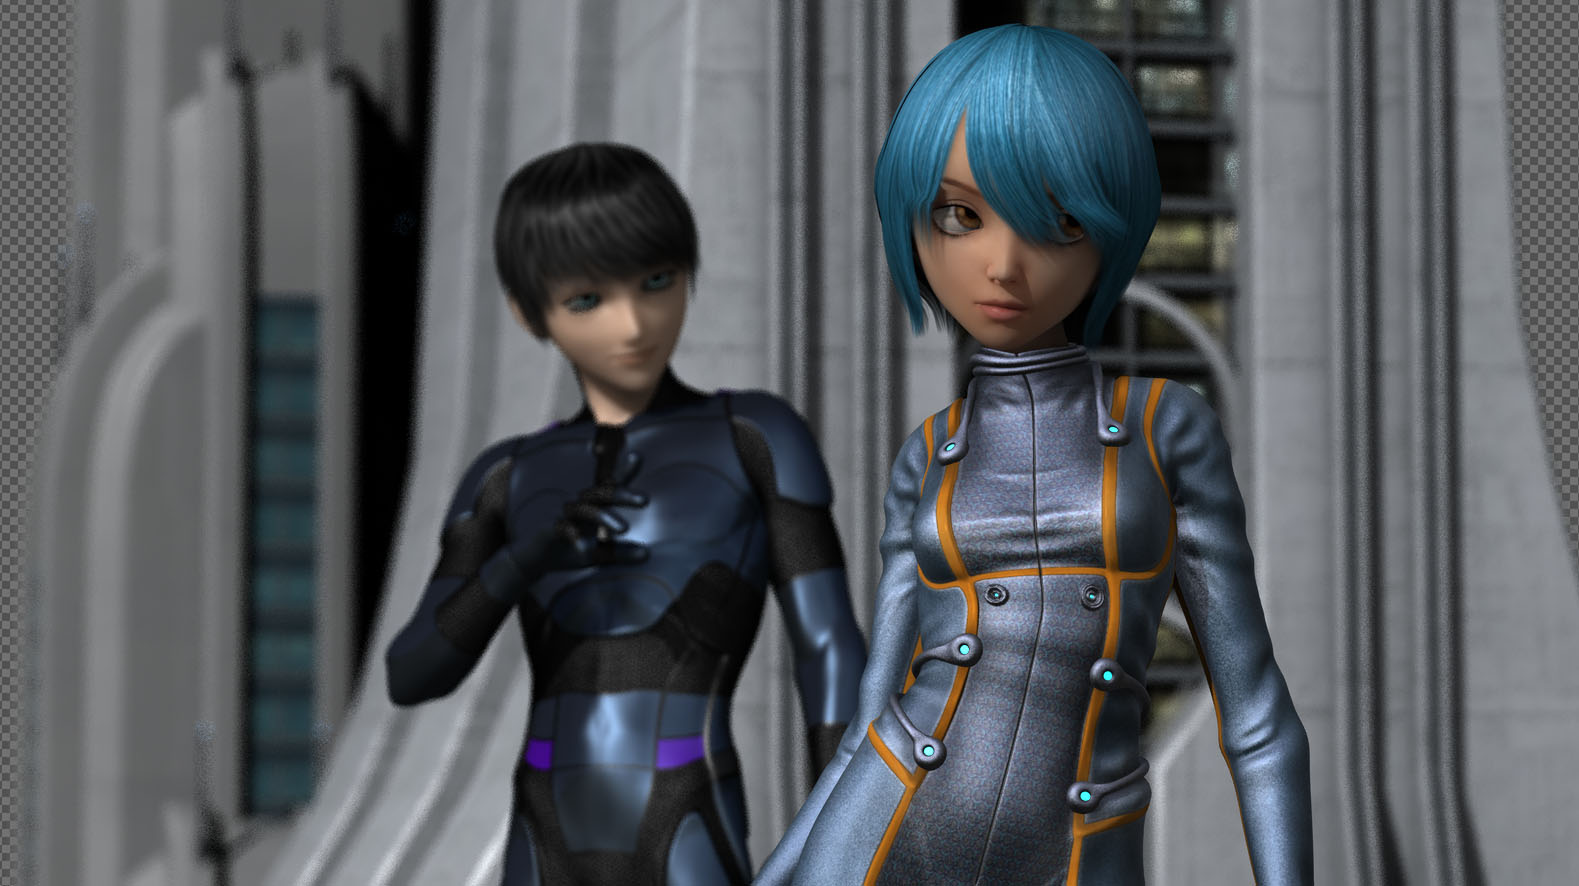
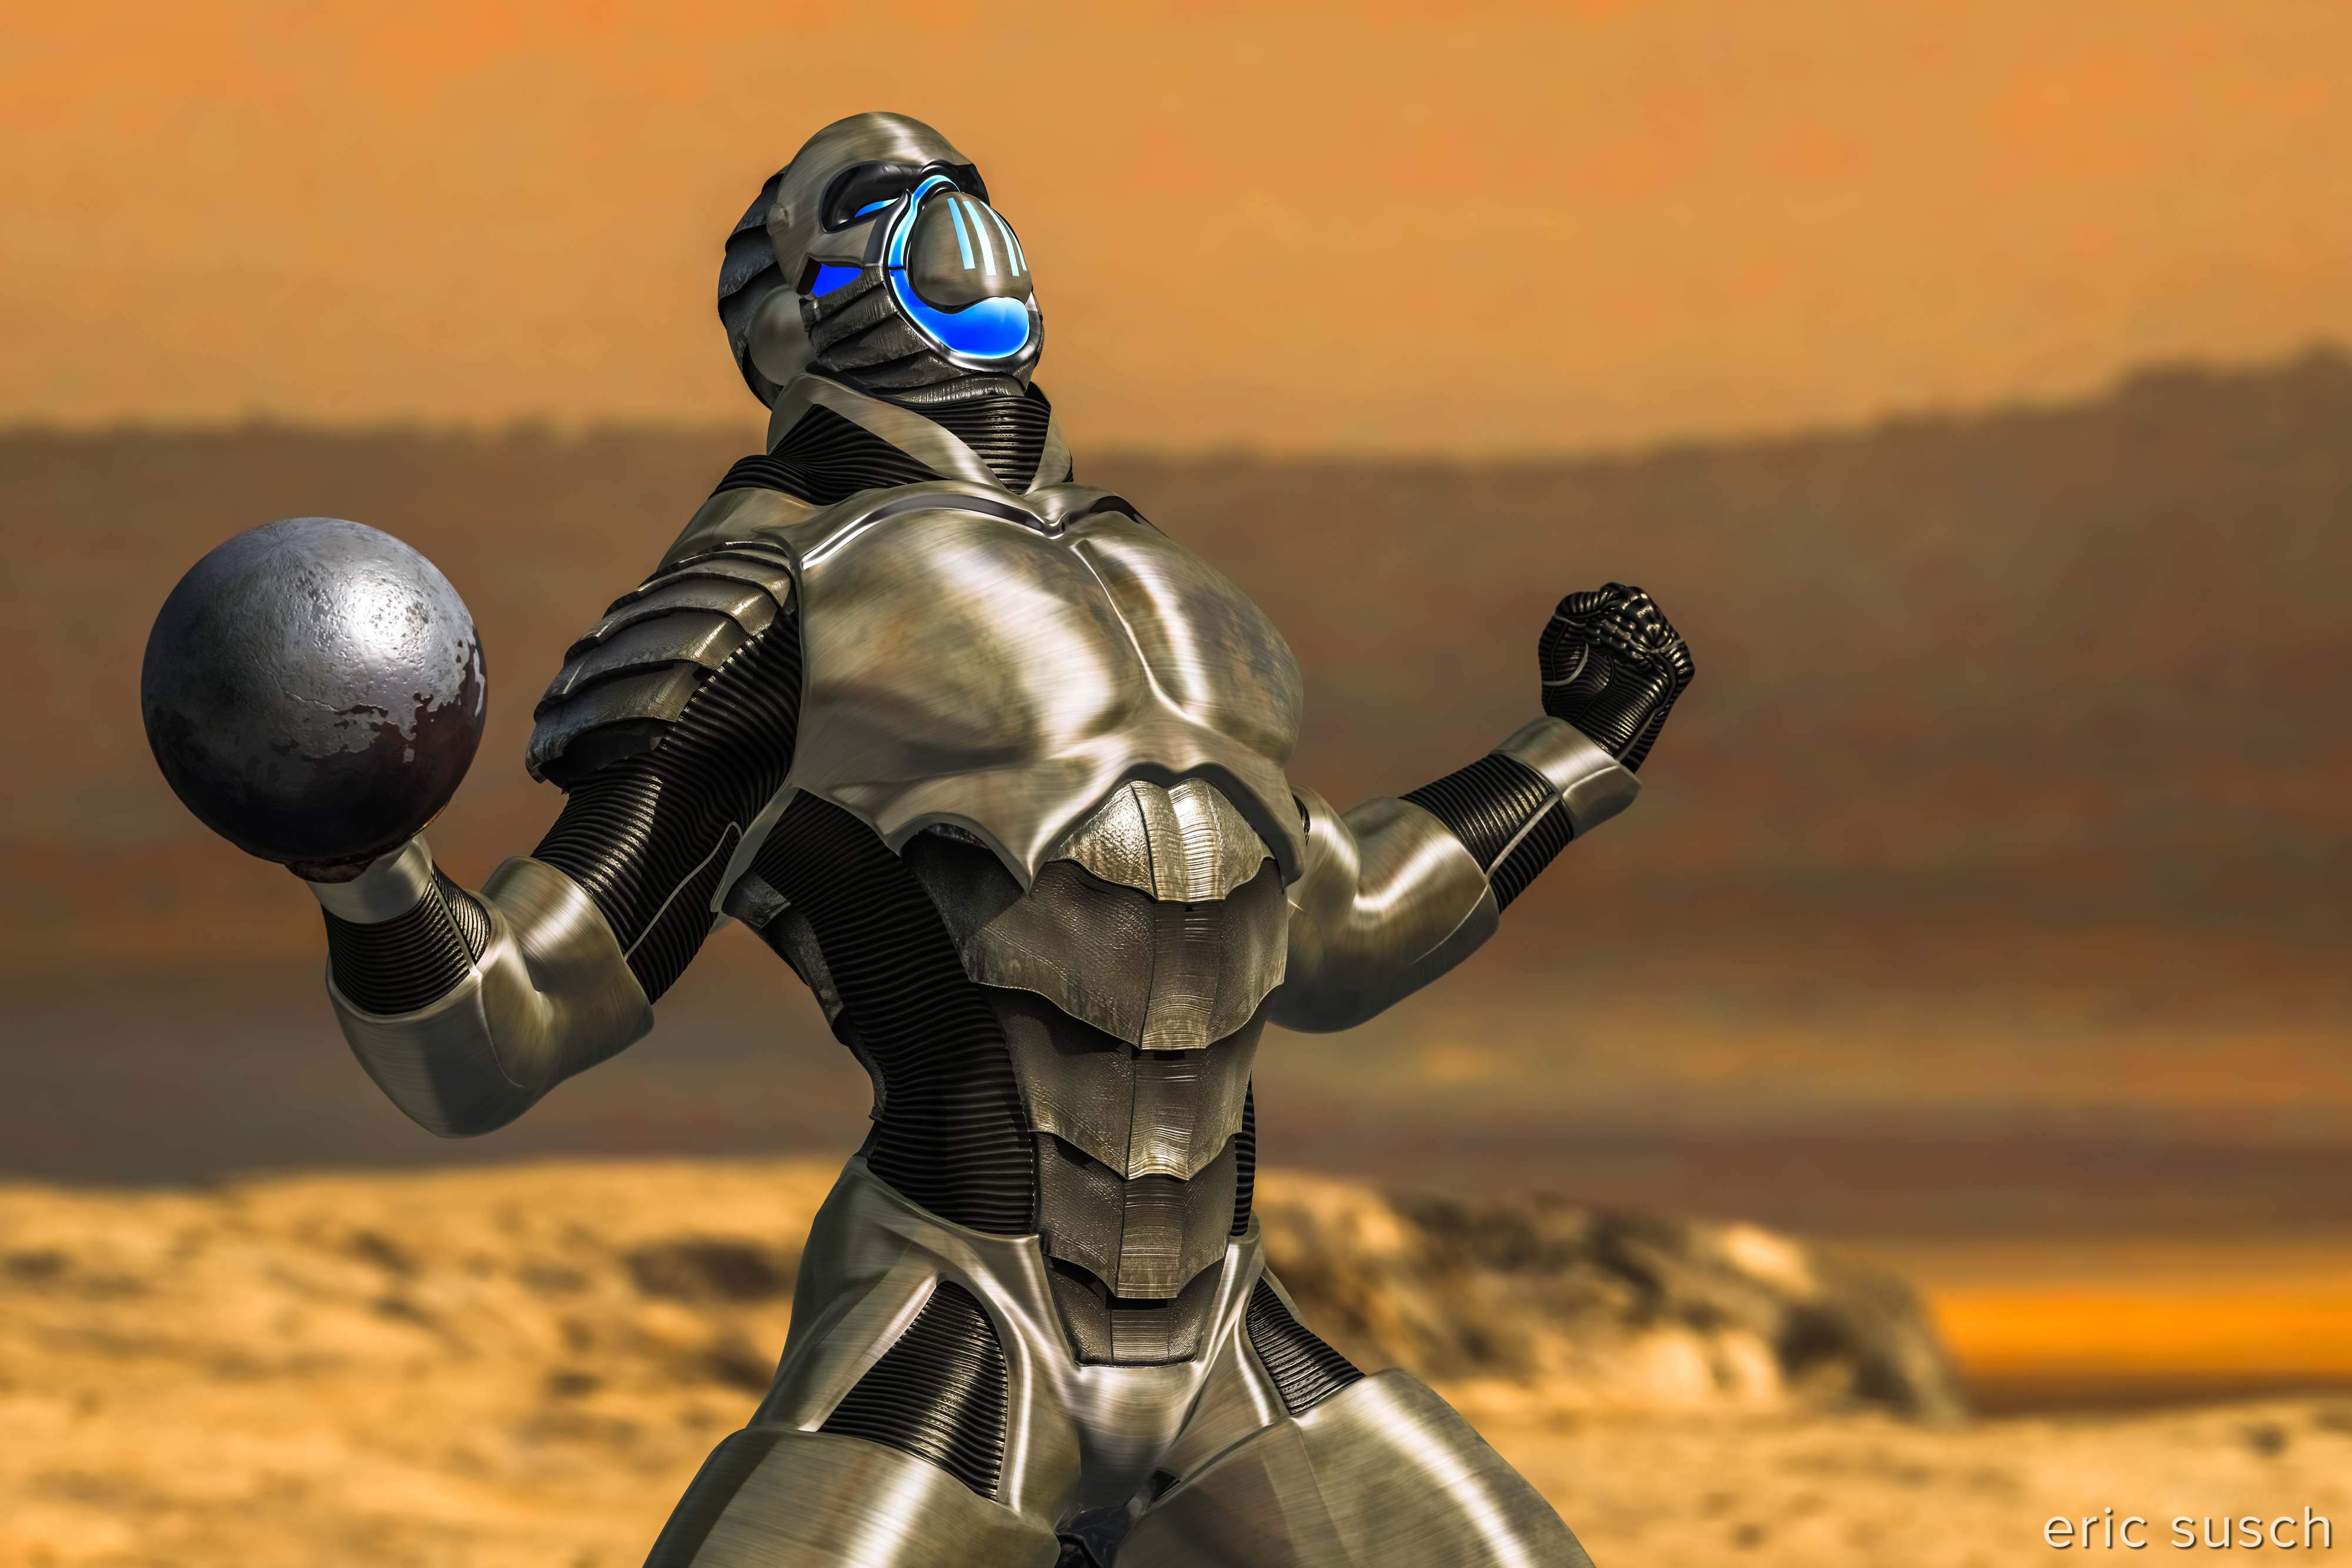
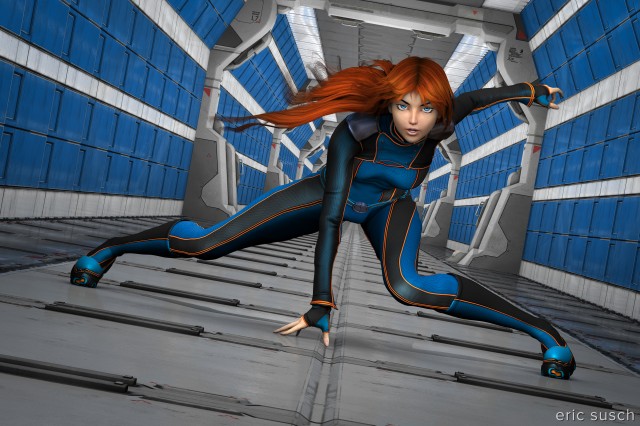
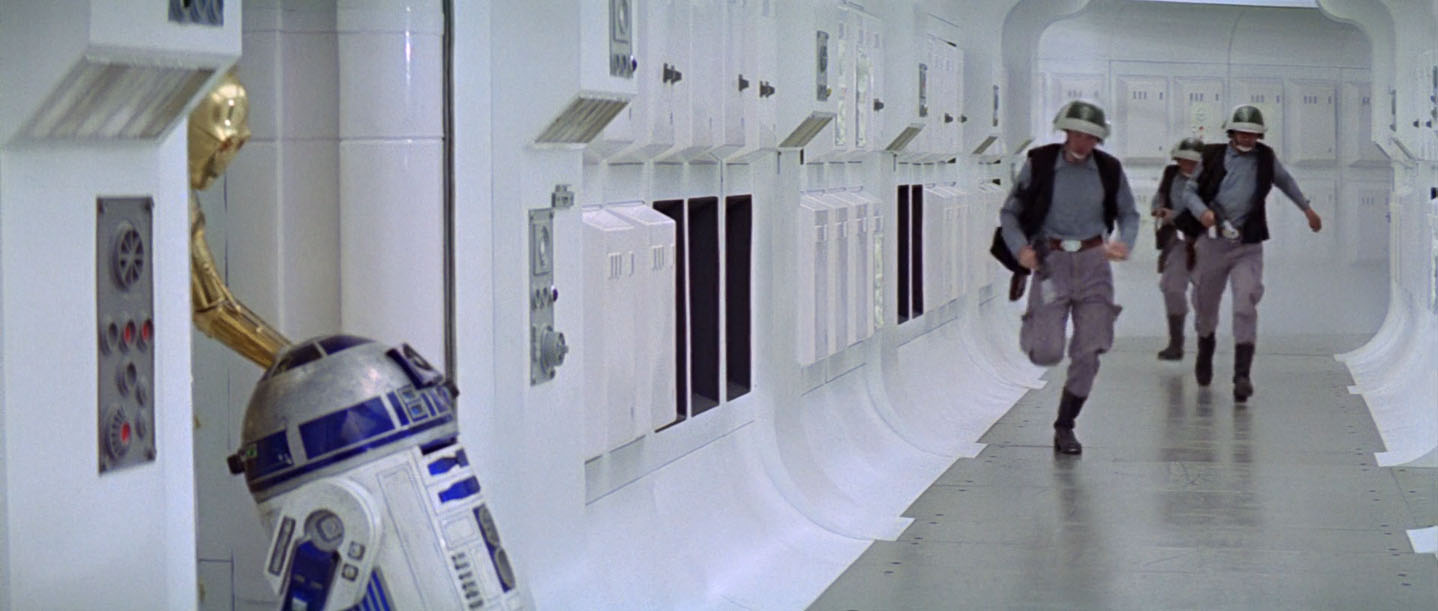
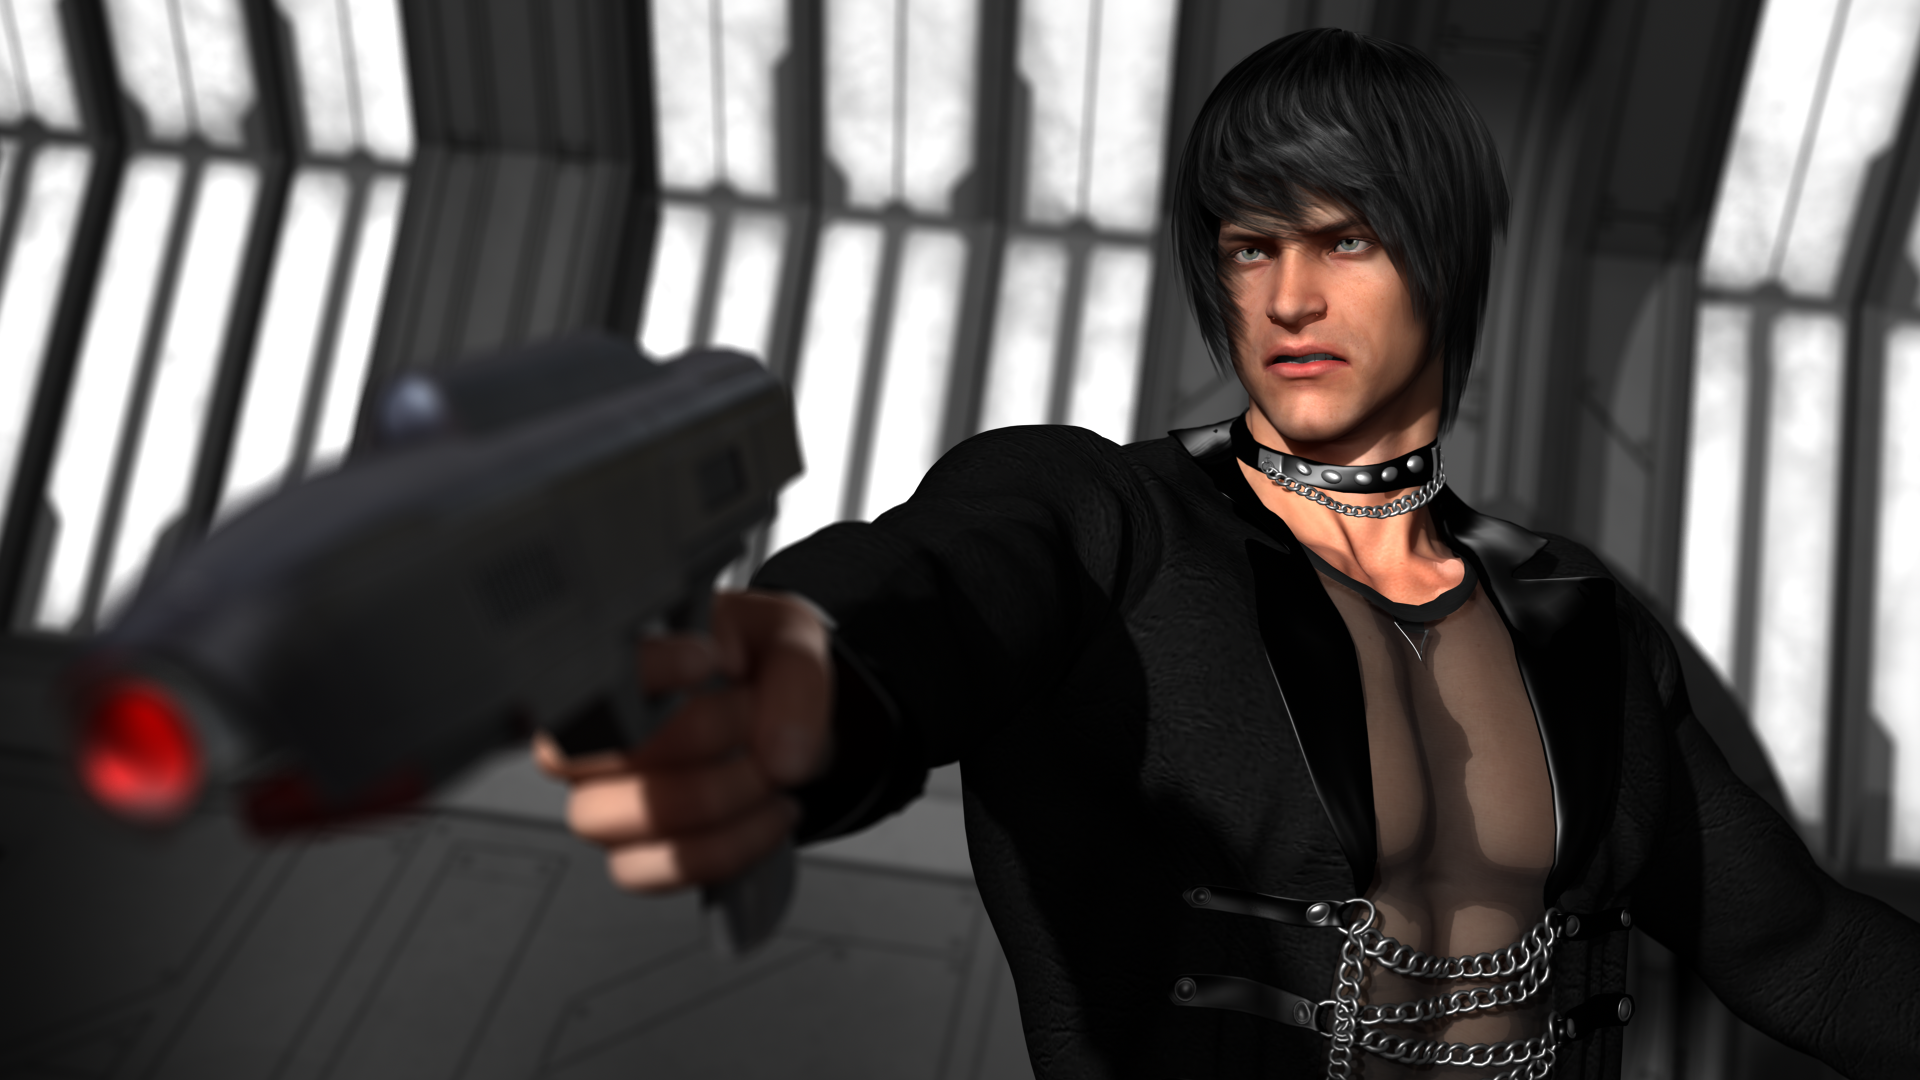
 After walking for ages, our hero finds a curious place with two dimensional beings.
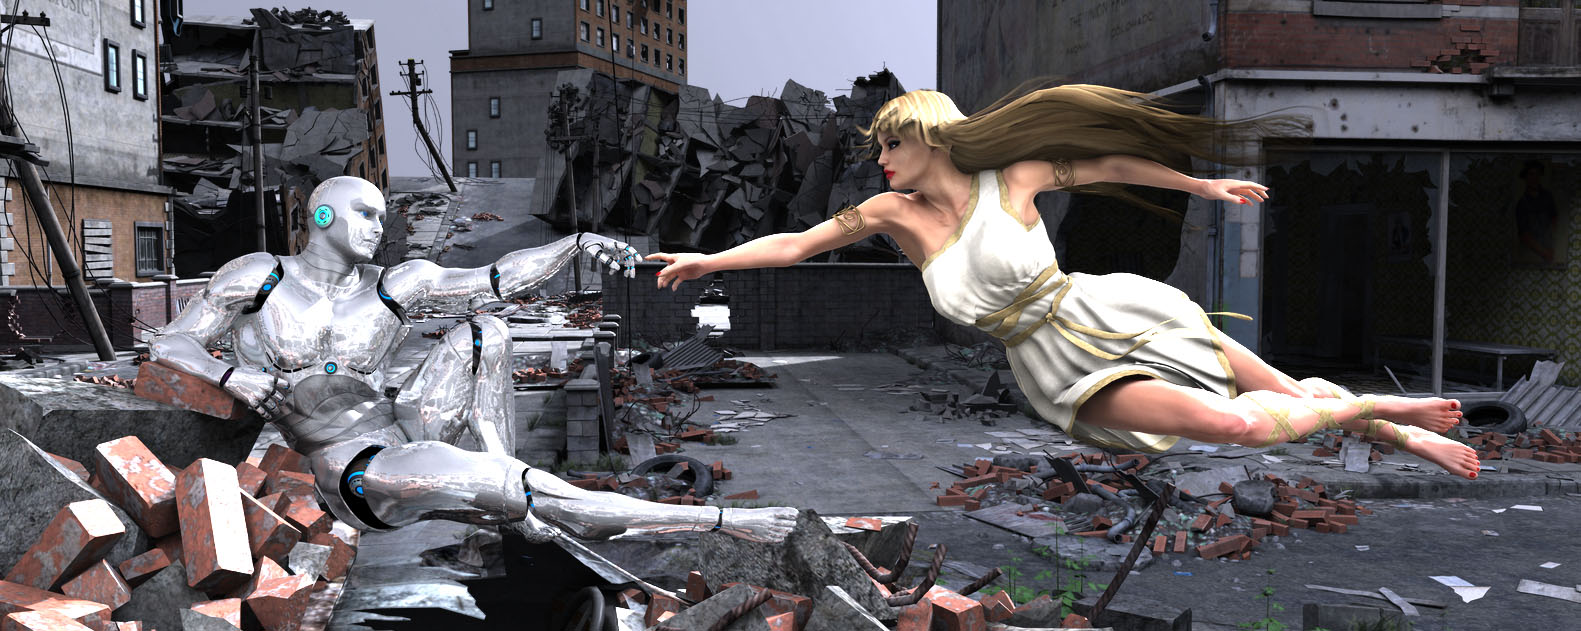
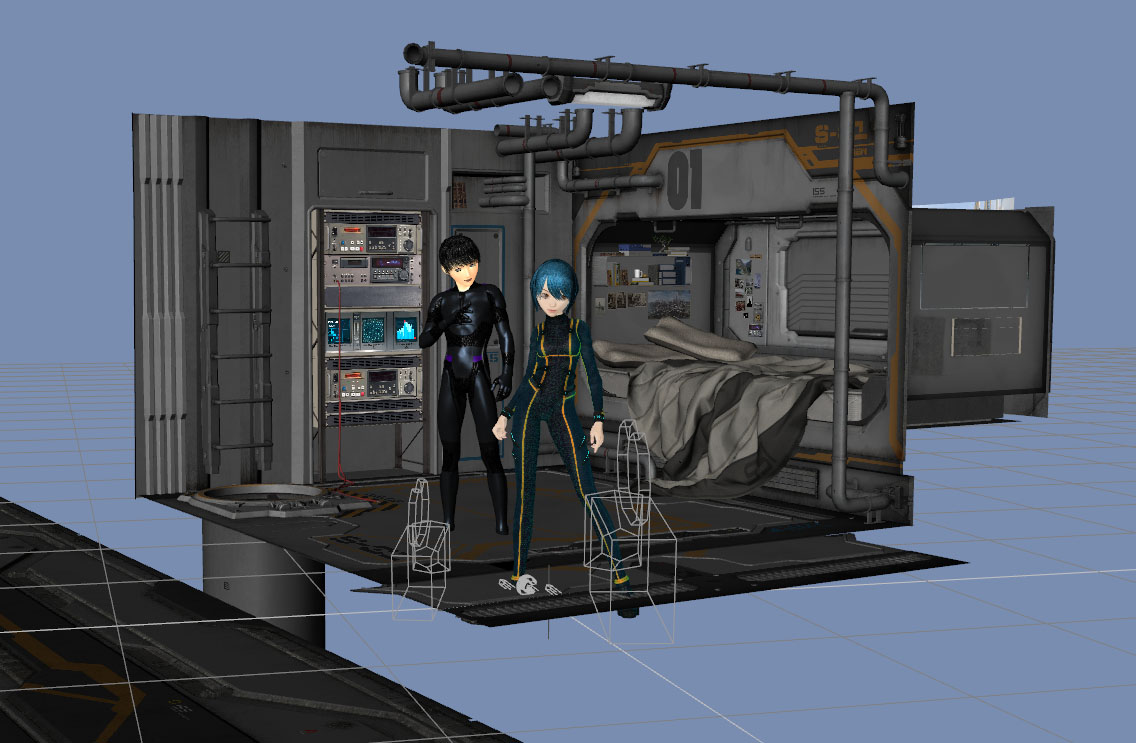
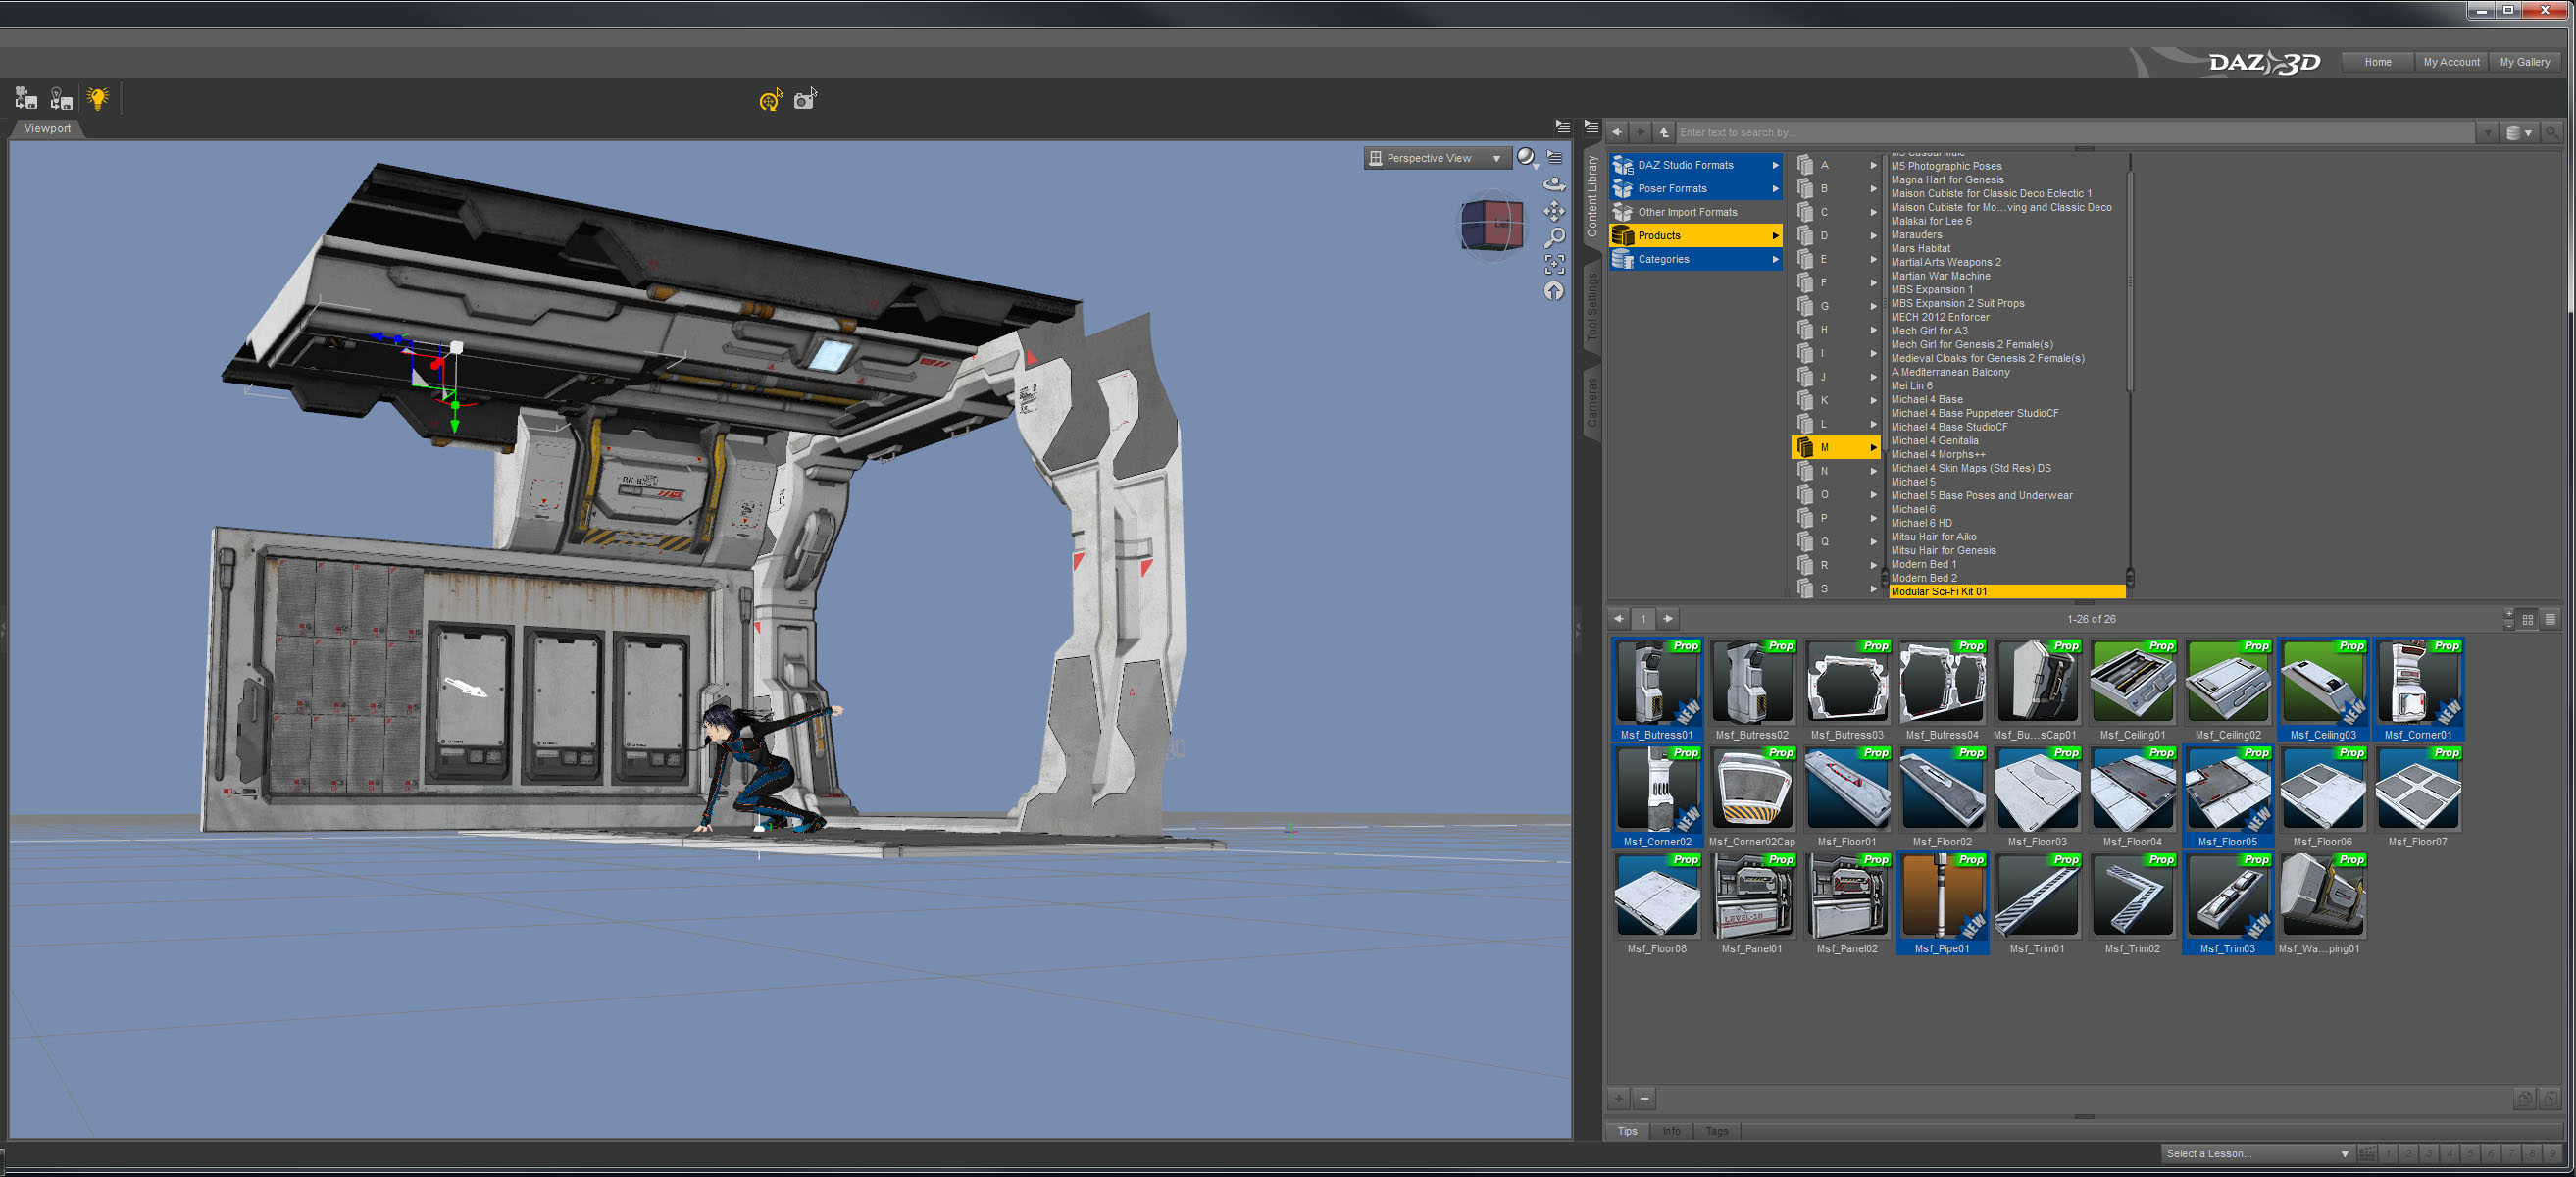
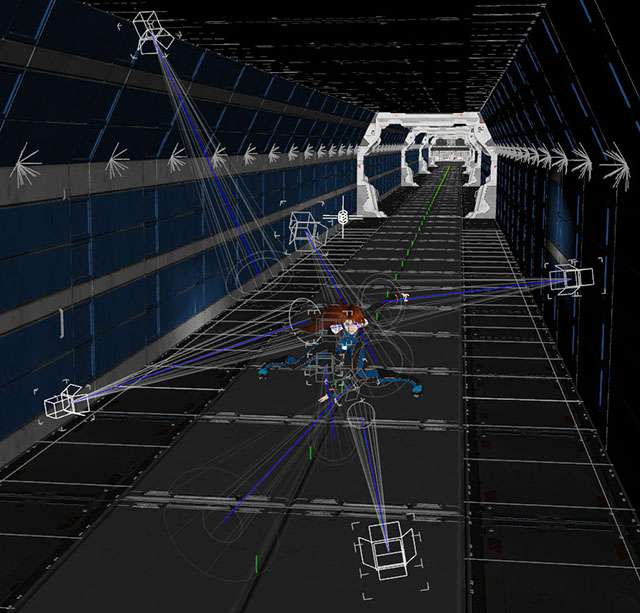
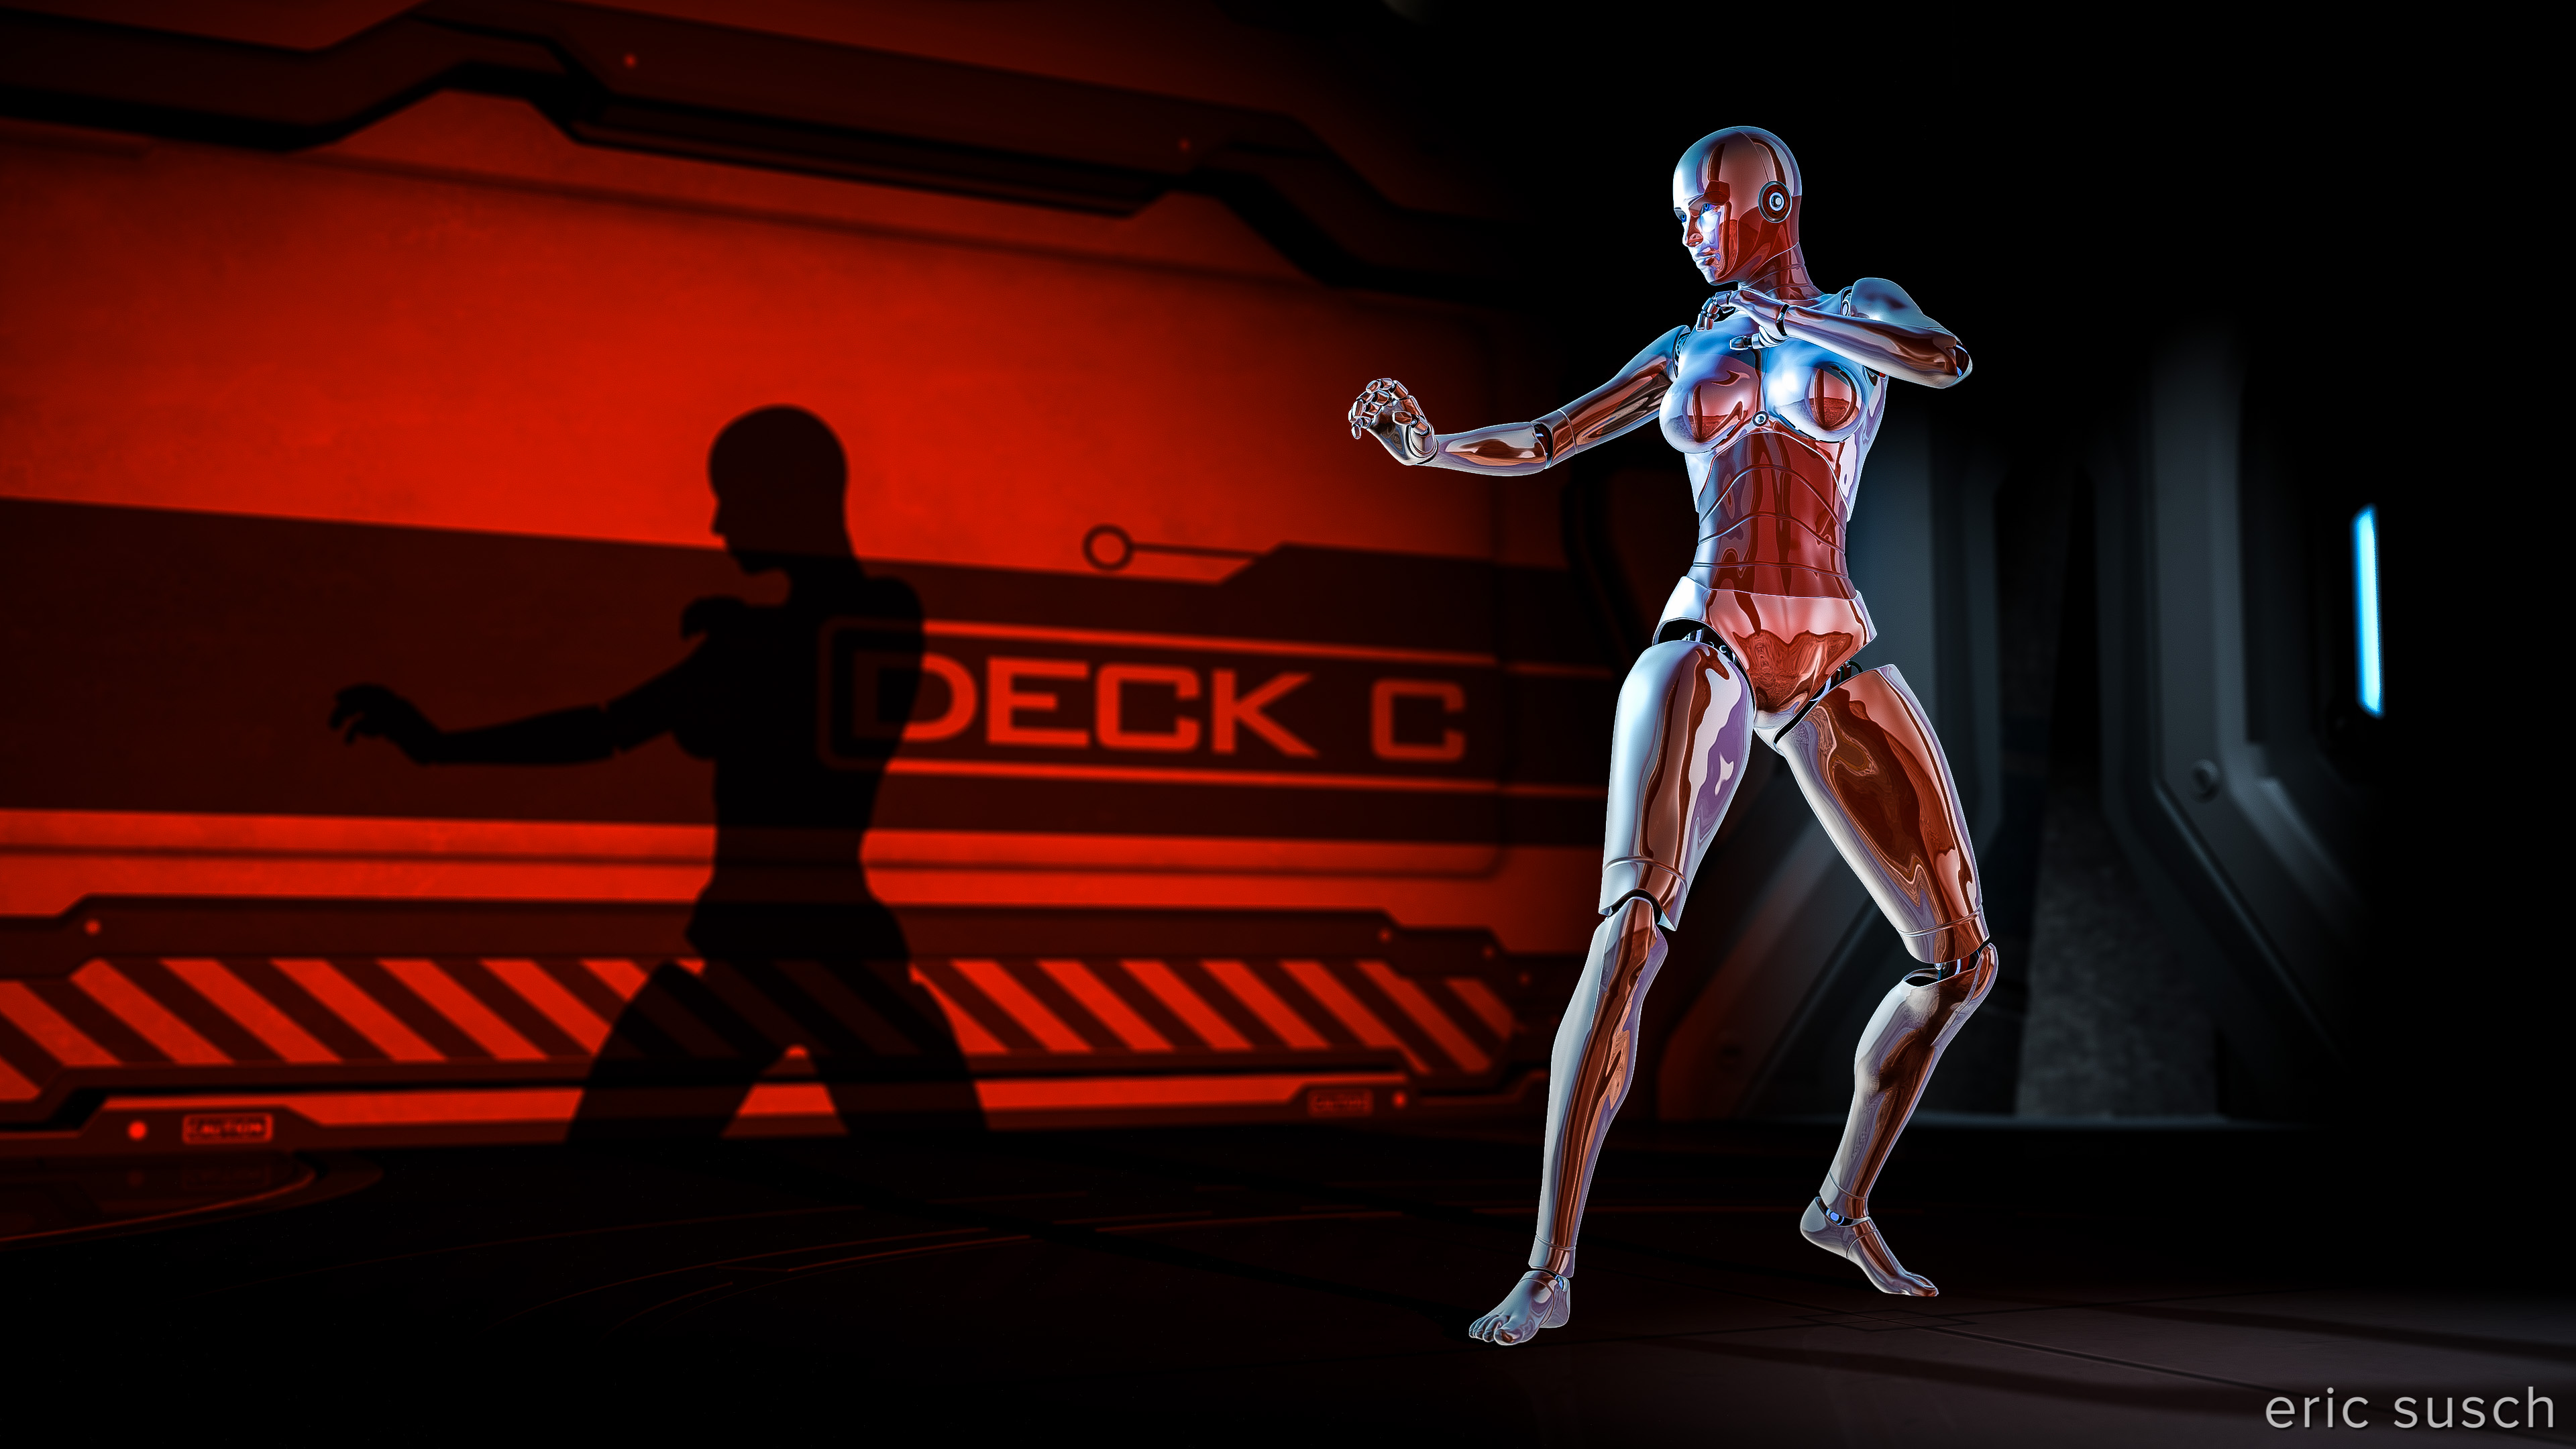
I put this image together mainly as my first test of the new nVidia Iray rendering engine in the just released DAZ Studio 4.8 beta. The changes at first glance seem a bit like re-inventing the wheel but I’ve just started working with it and I’m still finding my way around.
I was initially attracted to DAZ Studio because of it’s simplicity. Throw some twenty dollar models in a scene, light it properly, hit render, and it looks fantastic. This new render engine seems much more complicated and I’m not sure what you get for all that extra work. I’ve seen others rave that the renders look more “real” but so far I haven’t seen any comparisons where the Iray version is significantly better. In fact in many comparisons I’ve seen the Iray version is significantly worse but it’s still early days and people are still learning.
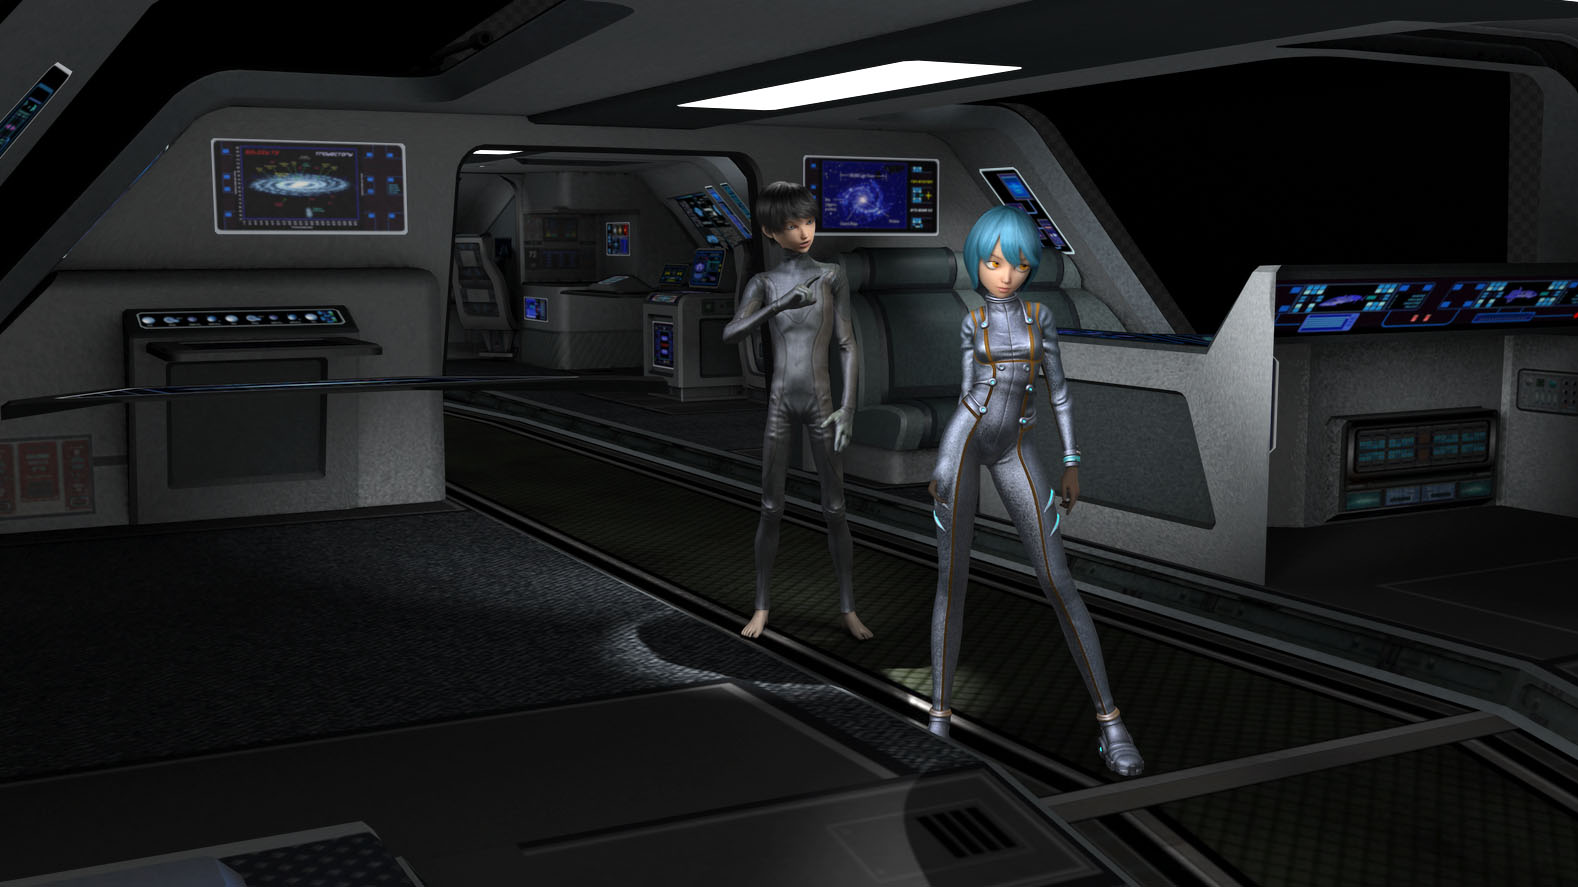
One problem I’m seeing immediately with this new engine is the render time. The very simple 3D scene above took about an hour to render at 4K (4000 x 2667) which is quite long for my relatively powerful system. For comparison some of my previous (more complicated) scenes took anywhere from fifteen to thirty minutes to render at 10K. Maybe I’m doing something wrong but I don’t see how. This piece has only three elements: one character (with no clothes,) a sky dome, and two flats with photos on them. This needs more testing but these types of render times just won’t work for me, especially when I get into animation.
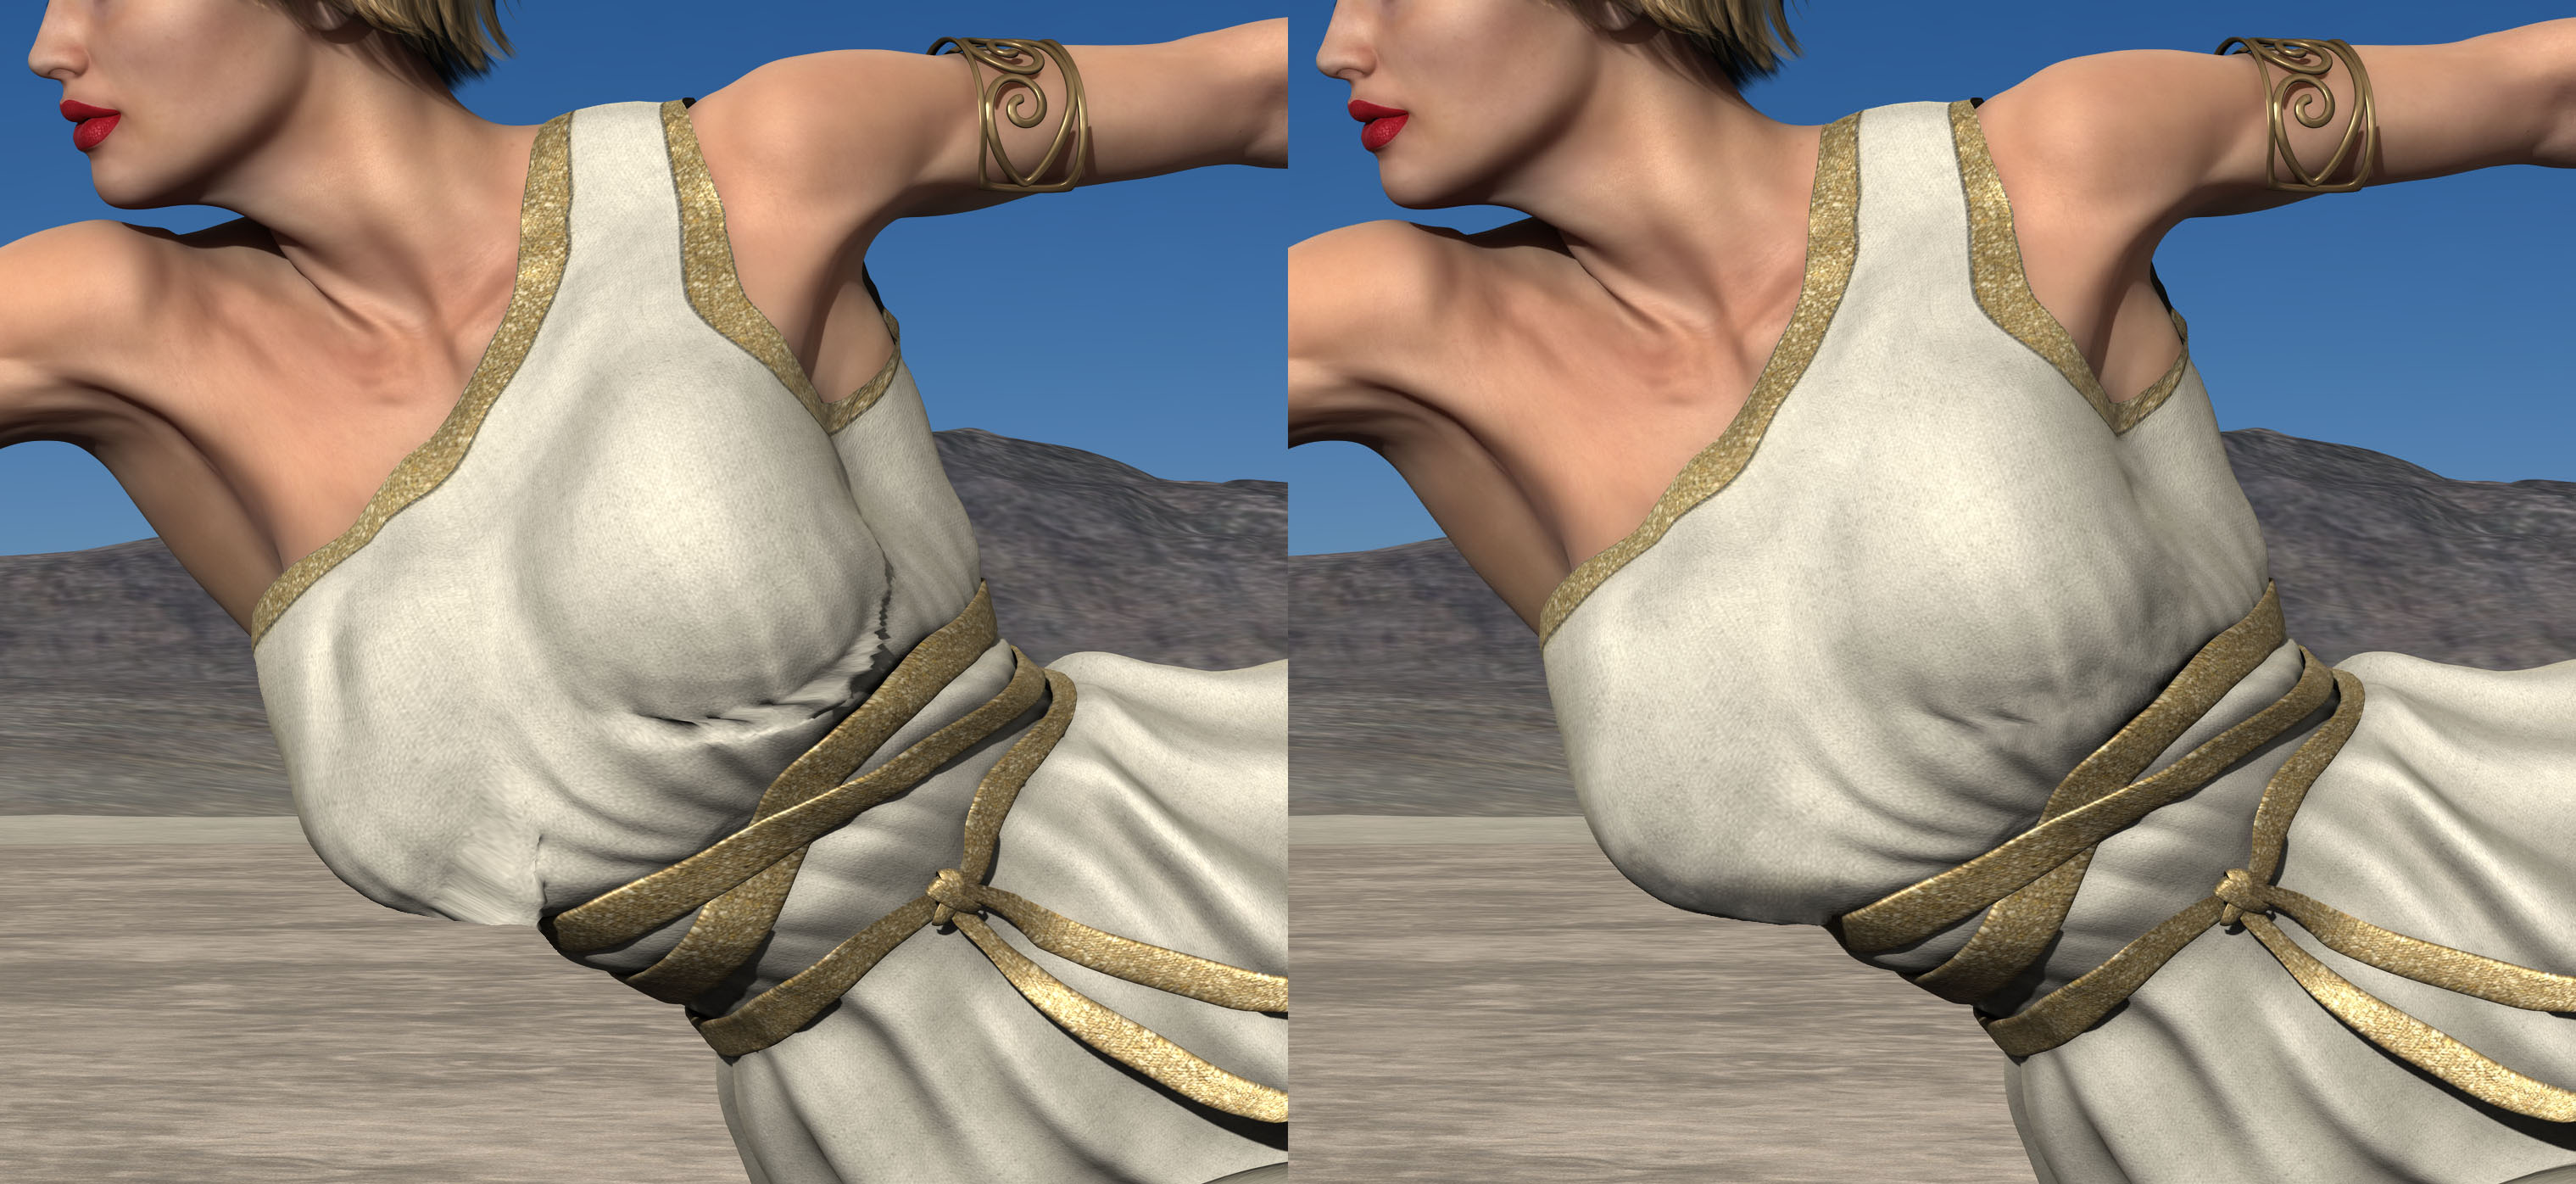
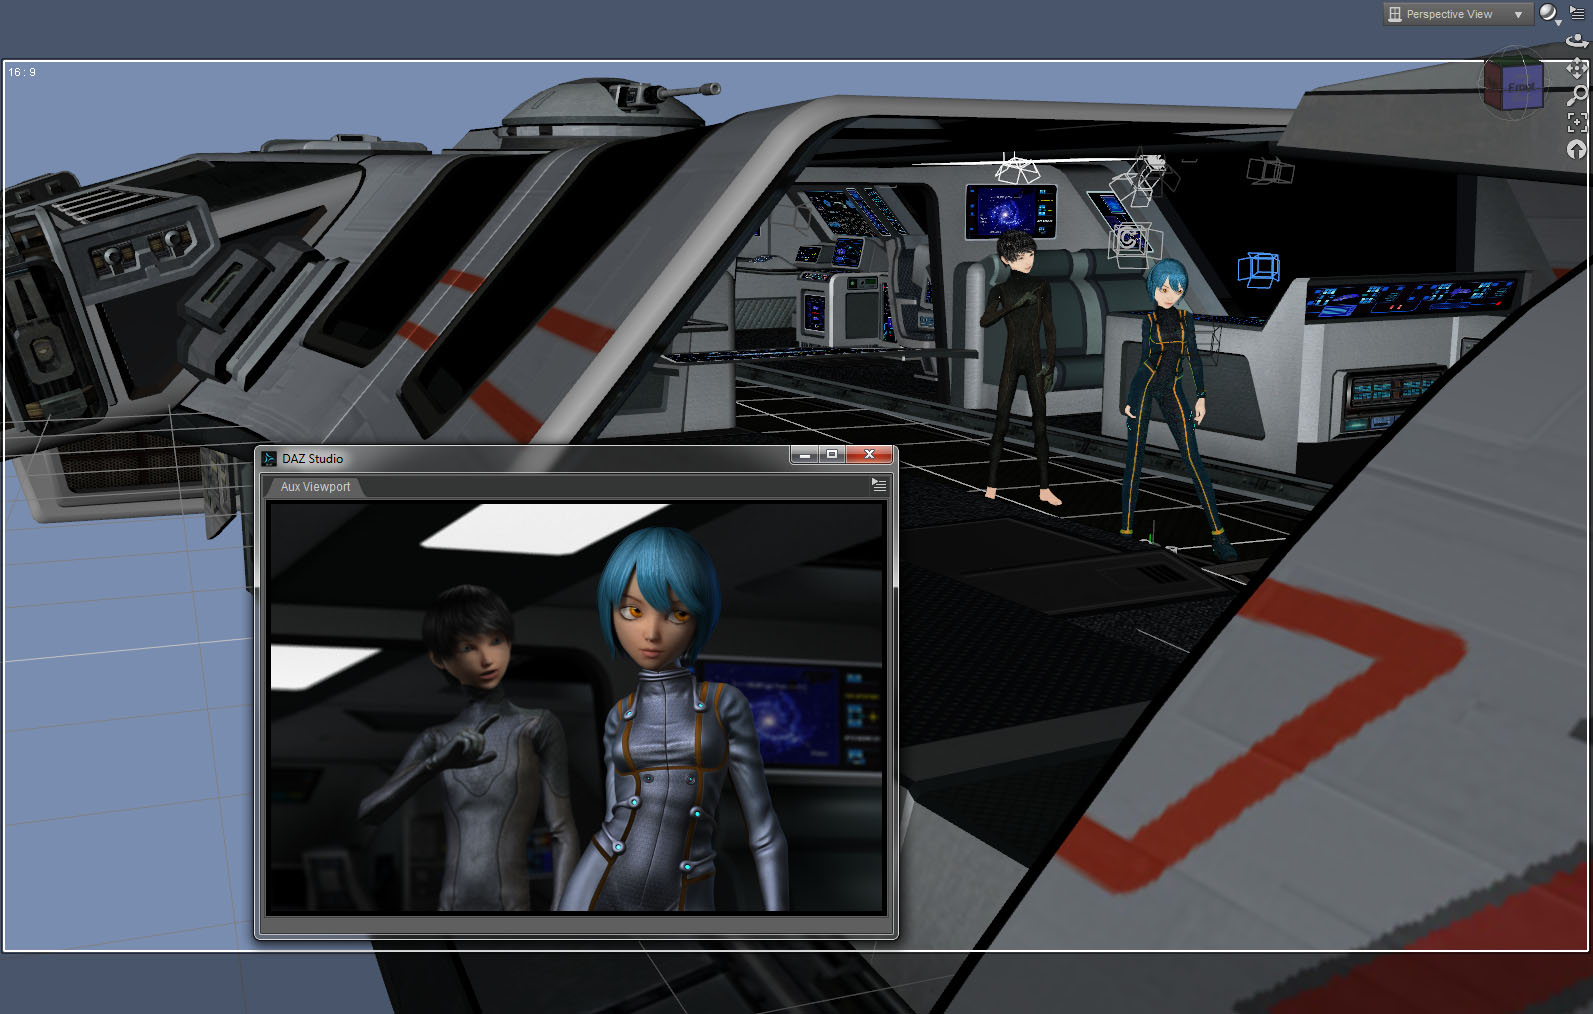
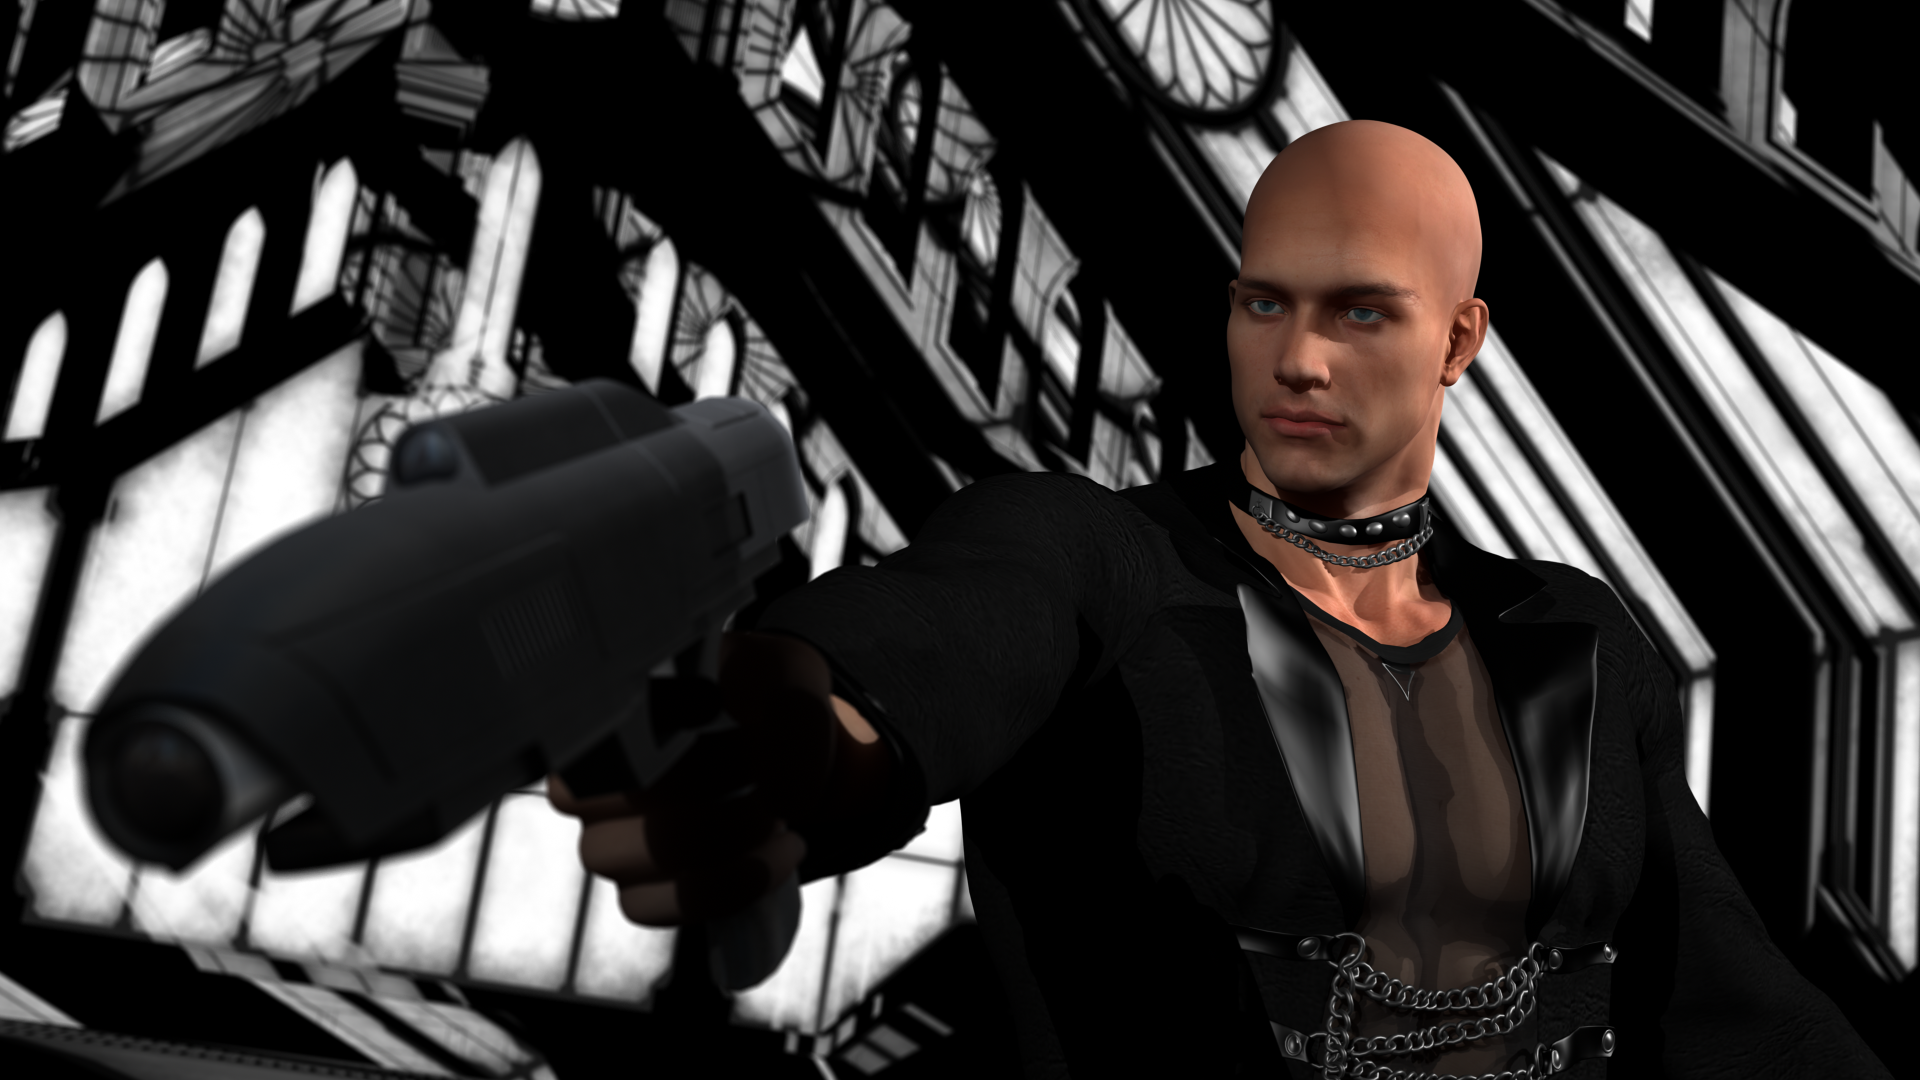
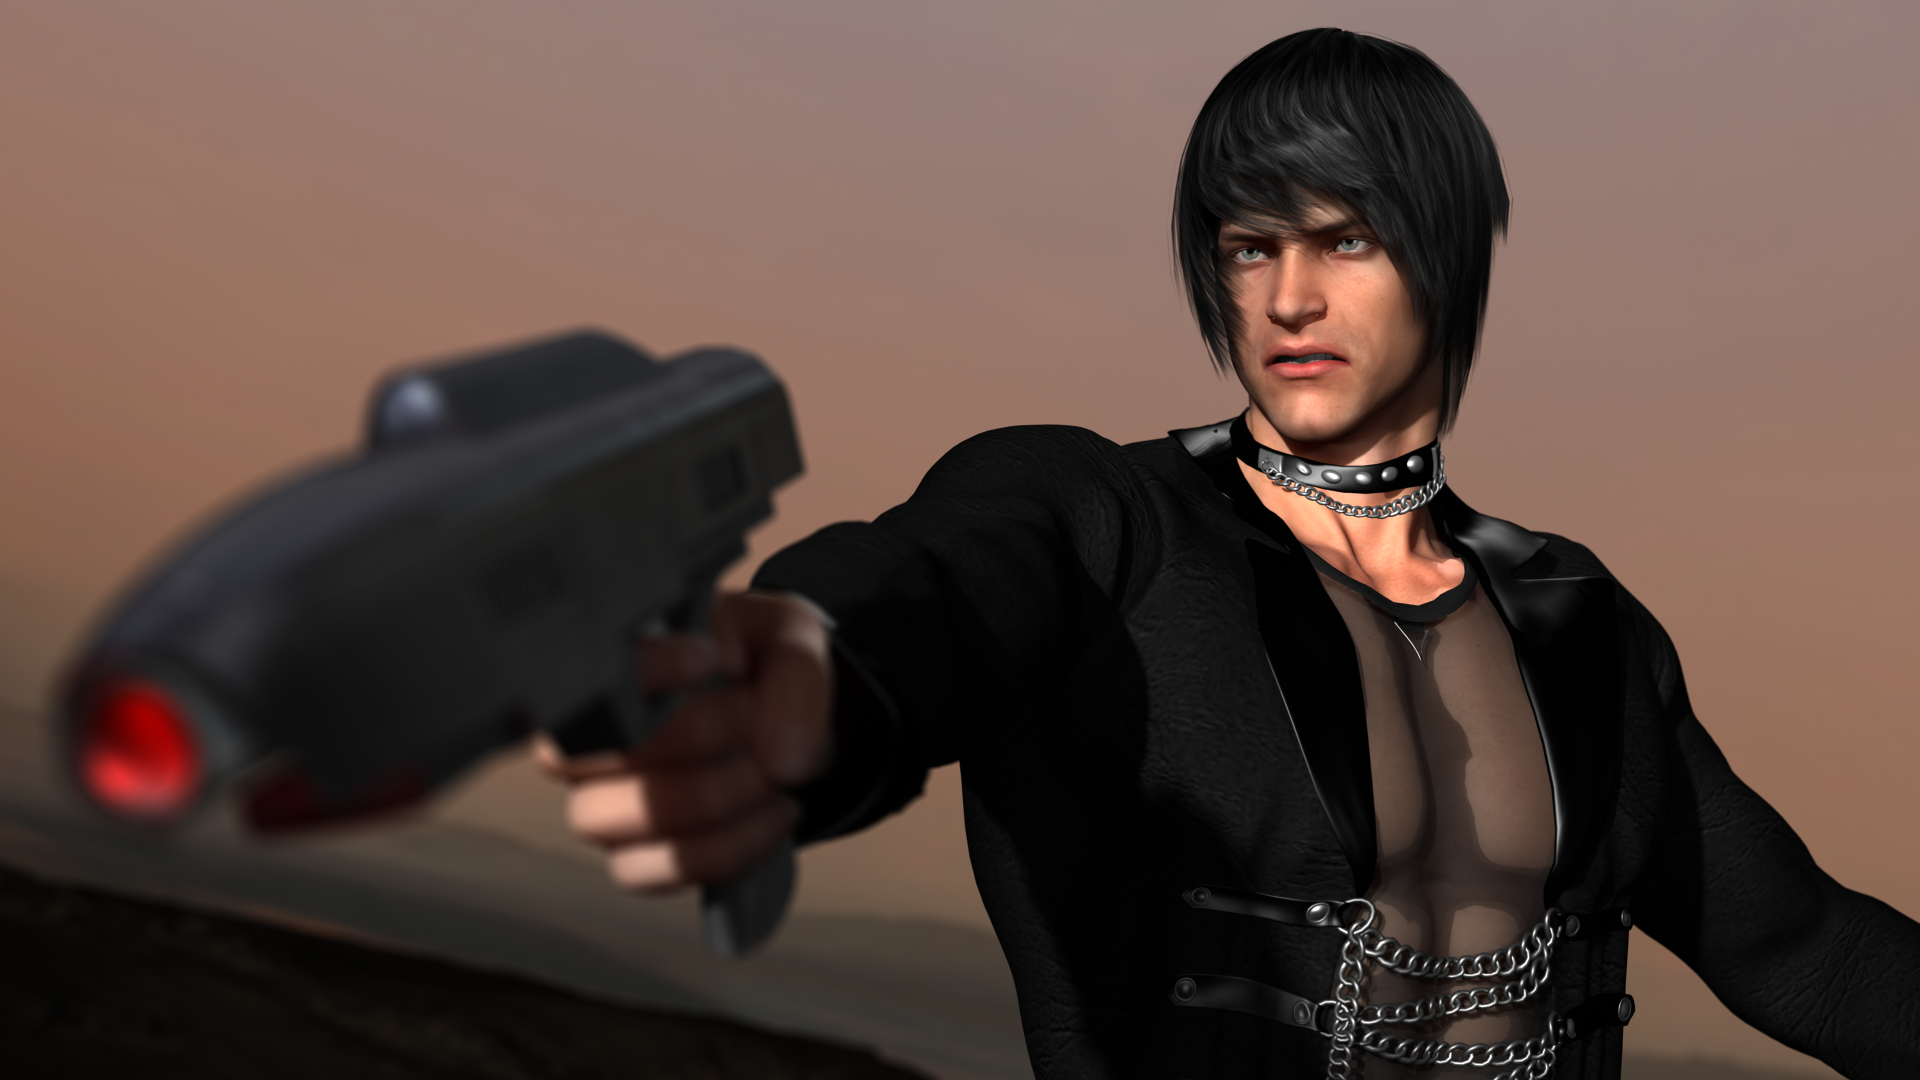
I also had trouble with the sky dome. I had to work quite hard in Lightroom to eliminate significant color banding across the sky in the picture above. Everything was set to the default so I’m not sure how I could have avoided this.
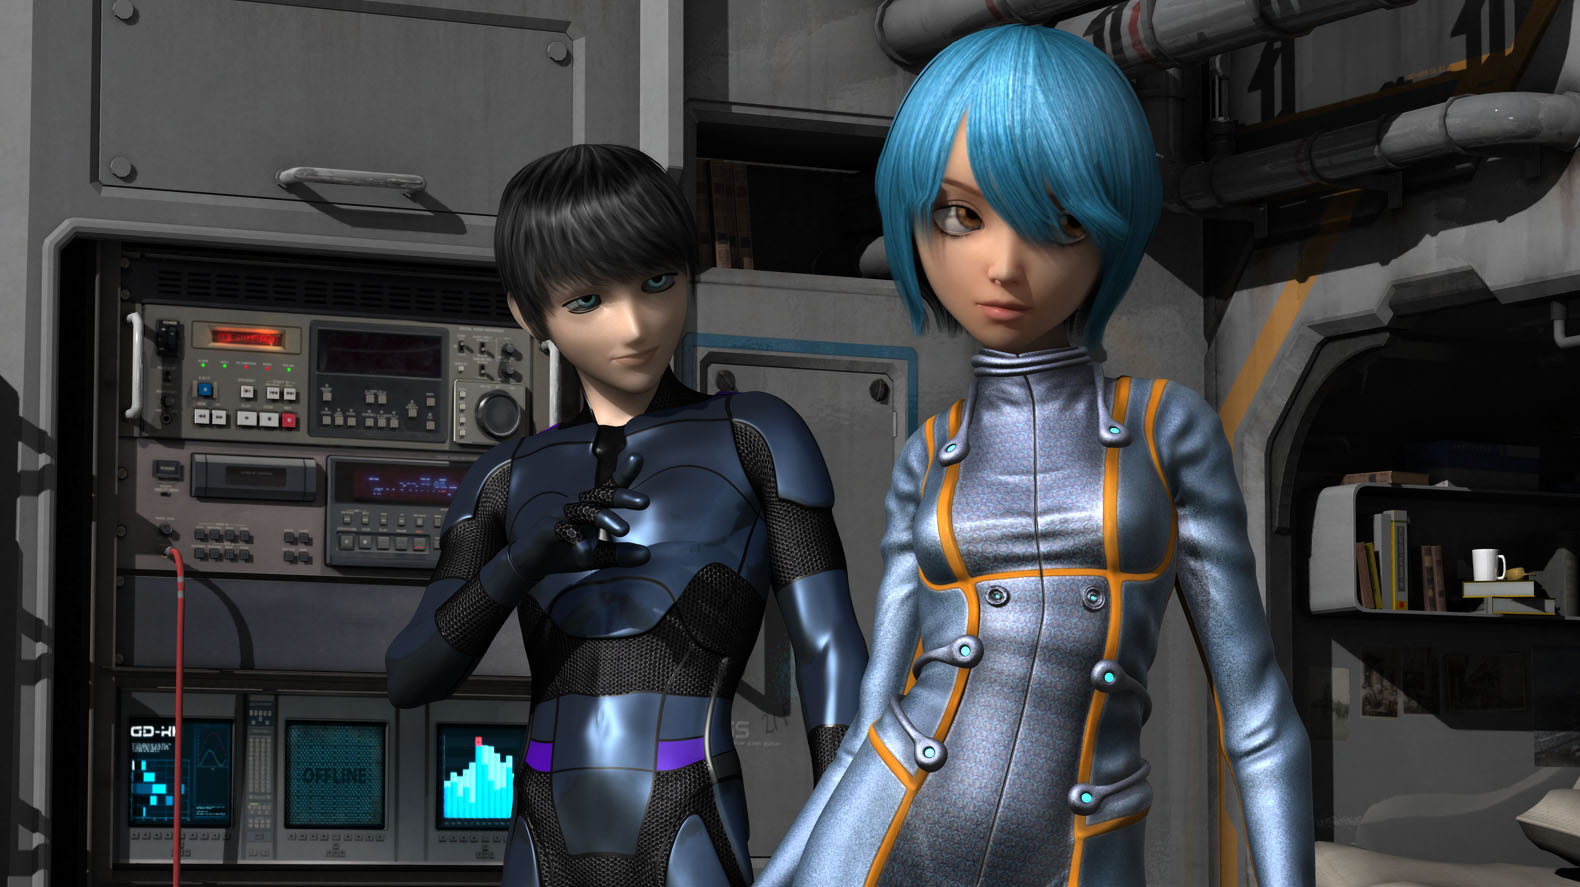
As far as the rest of the picture quality, we’ll have to see. The rendering technology is different and for a fair comparison I’ll need to get more proficient with all the new settings. I’d like to see the best this new technology can do and compare it to the best of the old engine. That’s the only true comparison and that’s going to take some time. The old 3Delight render engine is still available in the new version of DAZ Studio so I’ll probably keep using that for my serious pieces while I continue further testing of the Iray engine.
Created in DAZ Studio 4.8 beta
Rendered with nVidia Iray
Color Correction in Lightroom
Figures used:
Infernal Behemoth
DAZneyland