Tag Archives: female

Quirky Girl

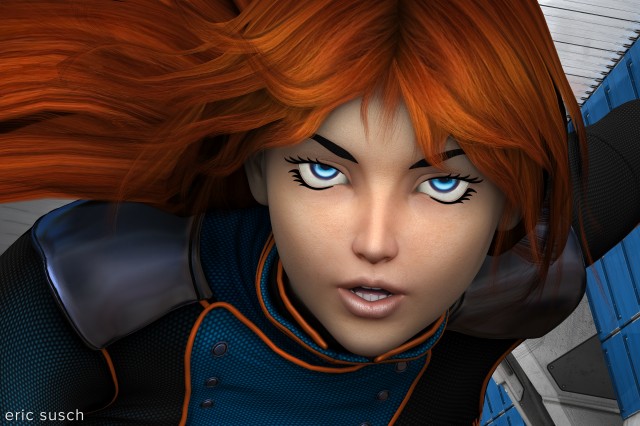
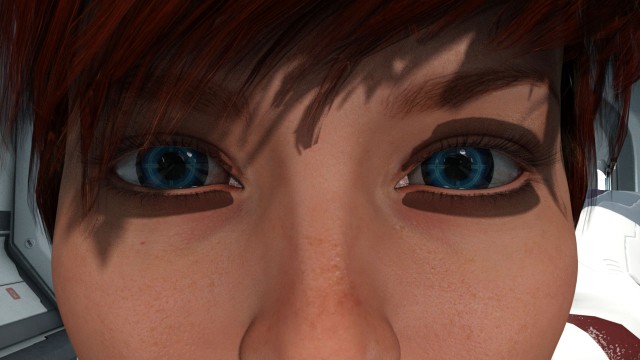
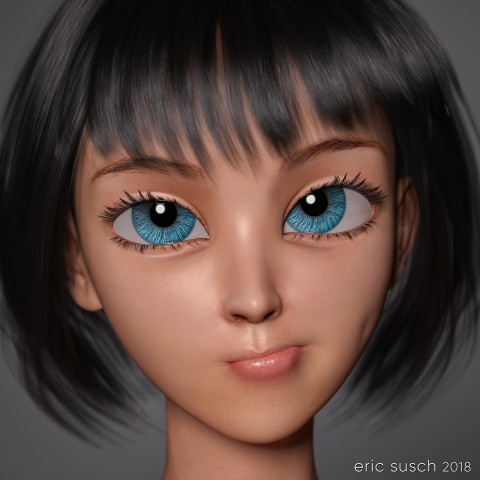
This piece started off as a study of volumetric light.  I wanted to practice creating an atmosphere in a large open space.  I was also determined to make some art with a male figure instead of always using females.  I ended up doing none of that!  Hurtling down the creative path I diverged several times and ended up with an extreme close up of a toon anime girl. That’s the way it goes sometimes.

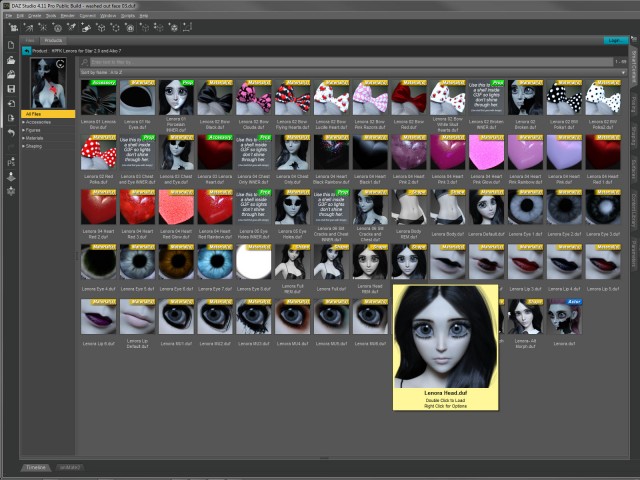
Quirky GirlThe base shape is a toon doll like character that was designed to be goth with lots of “broken china doll” features.

Quirky Girl BTS LenoraI tried some of the “broken” materials as well as the gothic makeup on the character but eventually moved on to other materials from elsewhere.  One of those experiments lead to a happy accident and created a bizarre horrifying variation which ultimately became a completely new piece of art.  …But that’s a post for another day.

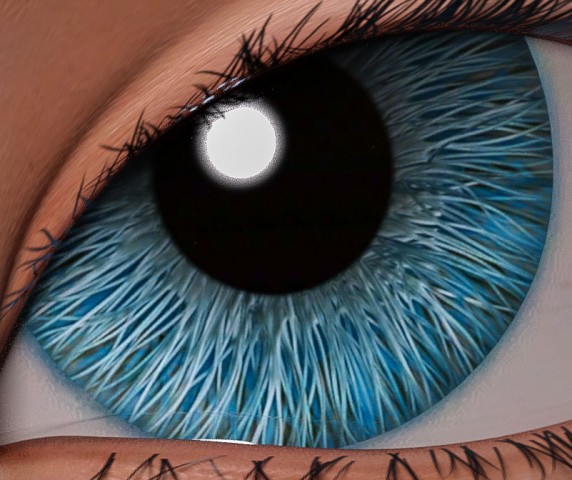
Quirky GirlFor this piece I eventually layered a more human material across the mesh and found these interesting eyes that look like they were made of brush bristles.  They appeared realistic and fake at the same time.  I wanted those eyes to be the focus.

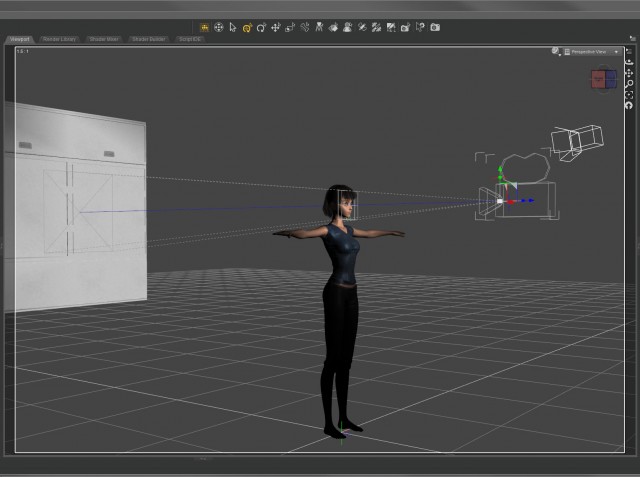
Quirky Girl BTS setupI set up a simple layout with the camera close on the face and only one light on the character.  I spent a lot of time working on the quirky expression because I knew that would be where the emotion came from.

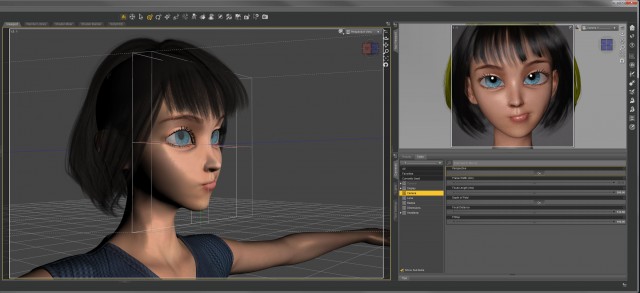
Quirky Girl BTS DOFEven though the shot is essentially flat, I set up a limited depth of field on the camera anyway.  The effect is subtle – the hair in the back, the neck, and the ears are a little soft – but I think it gives it a little something.

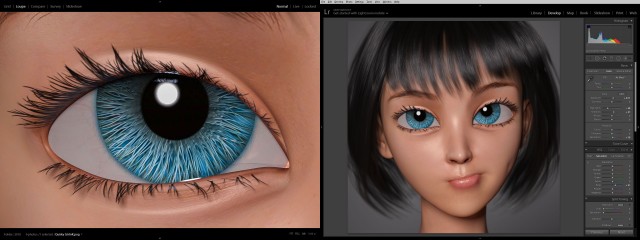
Quirky Girl BTS ccColor correction in lightroom was fairly straightforward.  I bumped up the saturation of the blue channel to bring out the eyes.  Simple.

Quirky GirlQuirky Girl

Created in DAZ Studio 4.11
Rendered with Iray
Color Correction in Lightroom

Figures used:
HPFK Lenora for Star 2.0 and Aiko 7
Tamara Character and Hair for G3F
Classic Bob Hair for G3+8F

Science Remembers

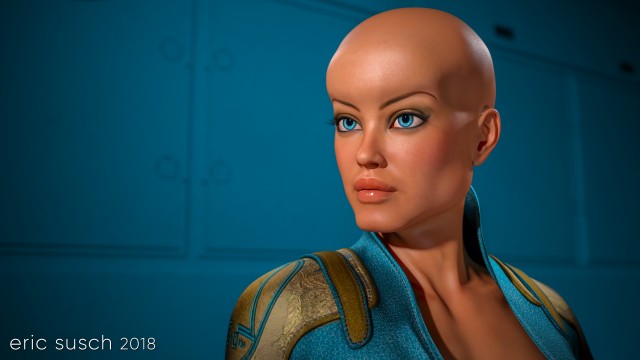
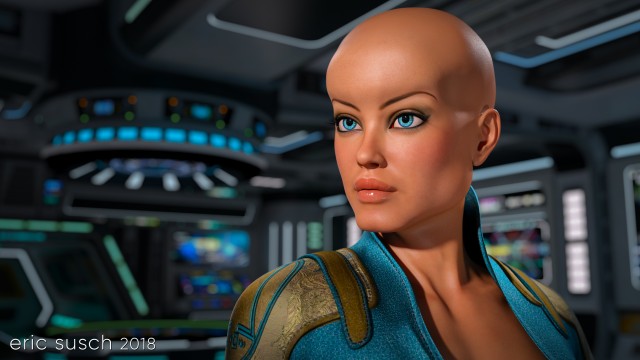
It’s the future and everyone is bald (of course.)  Heads are bigger because brains are smarter and dreams are infinite.  This is a simple portrait from the day after tomorrow.

Science RemembersA girl, a camera, and a wall were all I needed to create this piece.  …and lights.  I needed lights too.

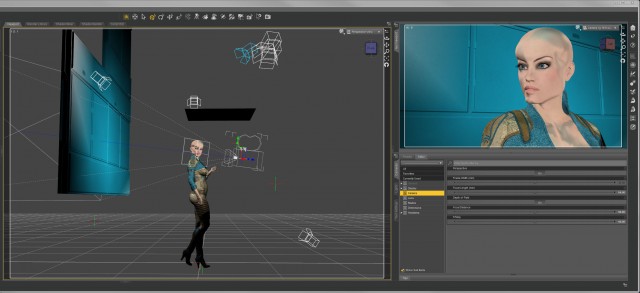
Science Remembers BTS cameraI threw a blue/green spot on the back wall to match her costume and eyes.  The limited color pallet made her face pop.

Science RemembersAt one point I tried changing the background and put her on the bridge of a spaceship but it ended up too busy so I scrapped it.

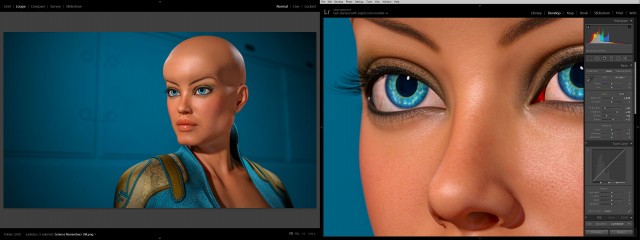
Science Remembers BTS ccAll it needed was minor color correction in lightroom.  Not much at all.  The final is essentially what was rendered out of DAZ studio.

What do you think?  Is this our future?

Science RemembersScience Remembers

Created in DAZ Studio 4.11
Rendered with Iray
Color Correction in Lightroom

Figures used:
Brenna for Ophelia 7
Sci-Fi Lieutenant Outfit for G3F
Wicked Fantasy Morphs for G3F


Don’t Dream It, Be It

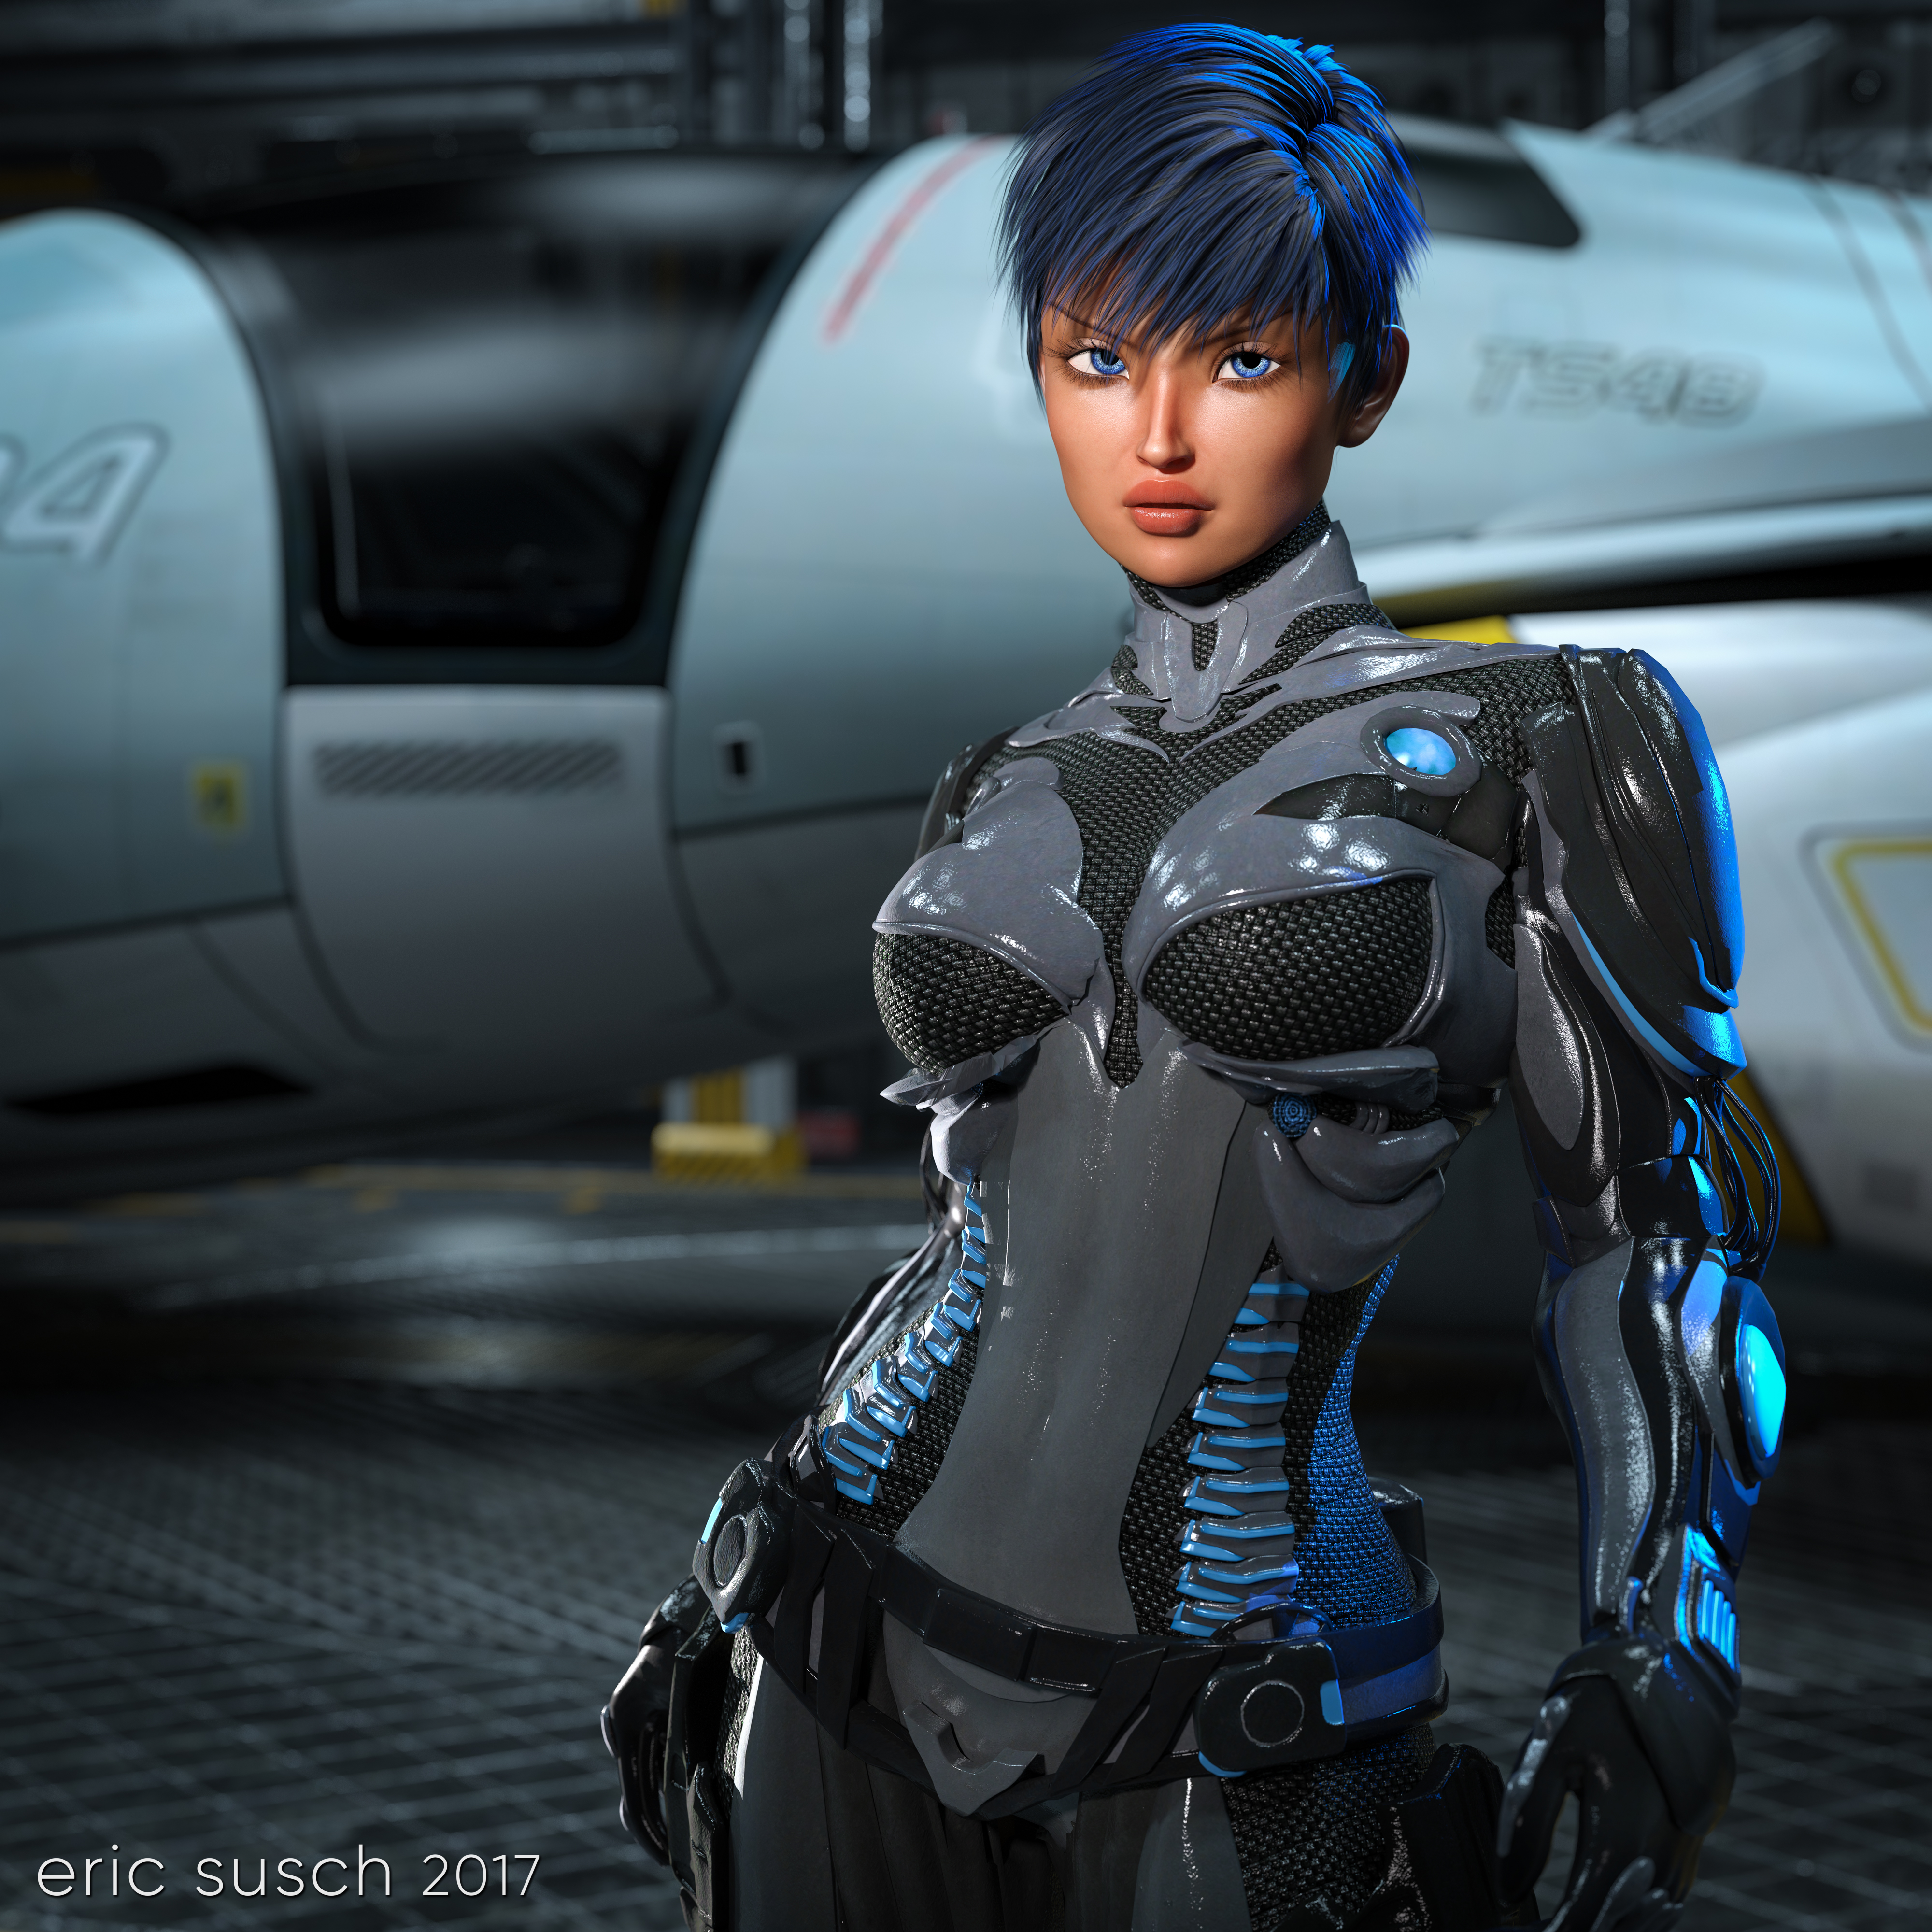
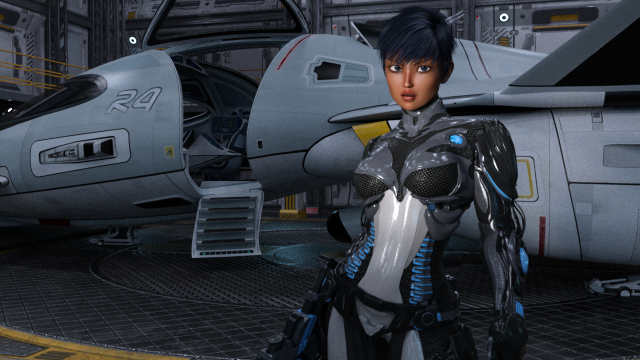
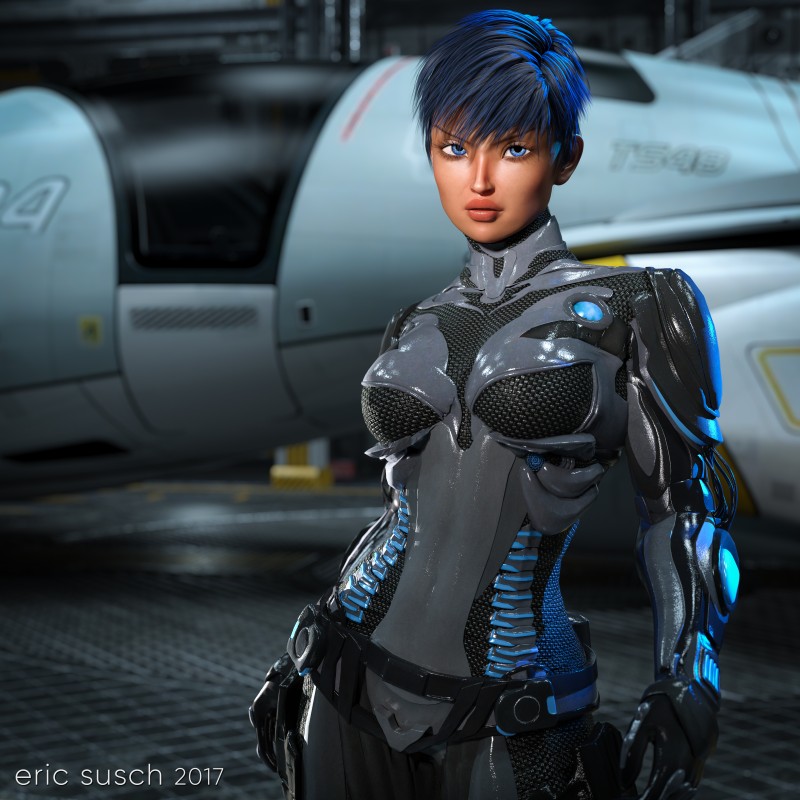
Don't Dream It, Be ItThis piece started out as a test for some new models that I purchased but I liked the way it looked so I finished it into something a bit more than a test.  Unfortunately it ended up as a character just standing there, which I try to avoid.  I like more of a story, more action, but this is what it is.  I do like the curve of the ship in the background.  I suppose that’s something.

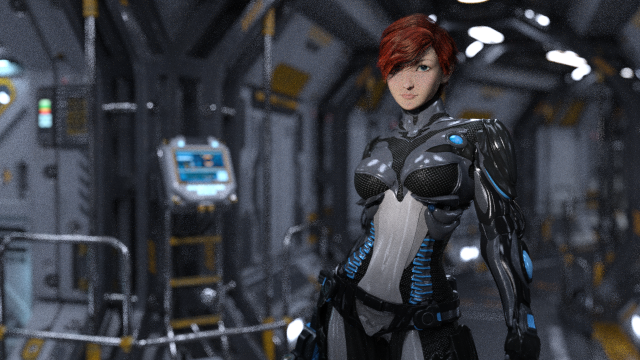
Star Slayer in SciFi corridor A 01 cam02 aiko 00This is an early version with different hair and environment.  You can also see that the stomach panal on the suit is a lighter color.  In the final composition I thought it distracted from the face so I darkened the texture map so that it was closer to the rest of the suit.

Star Slayer in SciFi corridor A 01 cam02 aiko 06I eventually decided she was a pilot so I put her in a hanger bay with a shuttle.  I spent a tremendous amount of time going back and forth deciding if the shuttle doors should be open or closed.  I even thought of putting another character inside the ship at one point but I wasn’t able to made that work.

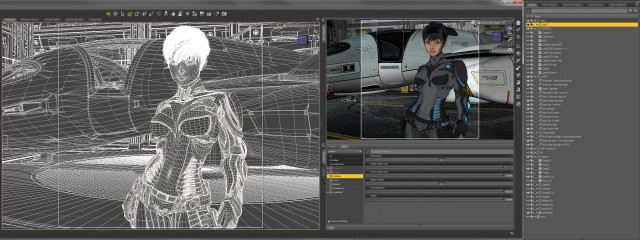
Don't Dream It, Be It BTS wireI don’t have much to say about this wire frame screen shot other than it looks cool!

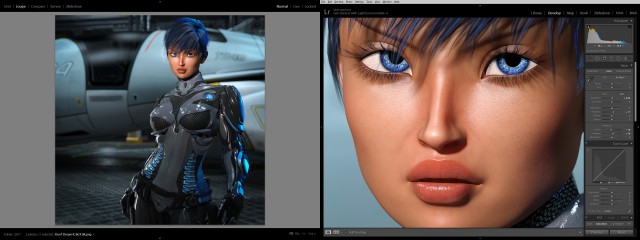
Don't Dream It, Be It BTS ccI think I left the bottom too dark when I initially did the color correction.  I went back later and brightened it up a bit.  The original render is 8000×8000 and the light on the skin looks fabulous at native resolution.  Very pleased with how the face came out.  (click to embiggen)

Don't Dream It, Be ItCreated in DAZ Studio 4.9
Rendered with Iray
Color Correction in Lightroom

Figures used:
Aiko 7
StarSlayer outfit for G3F
Shuttlestar
Sci-Fi Hanger A

Aiko 6 and 7 Comparison

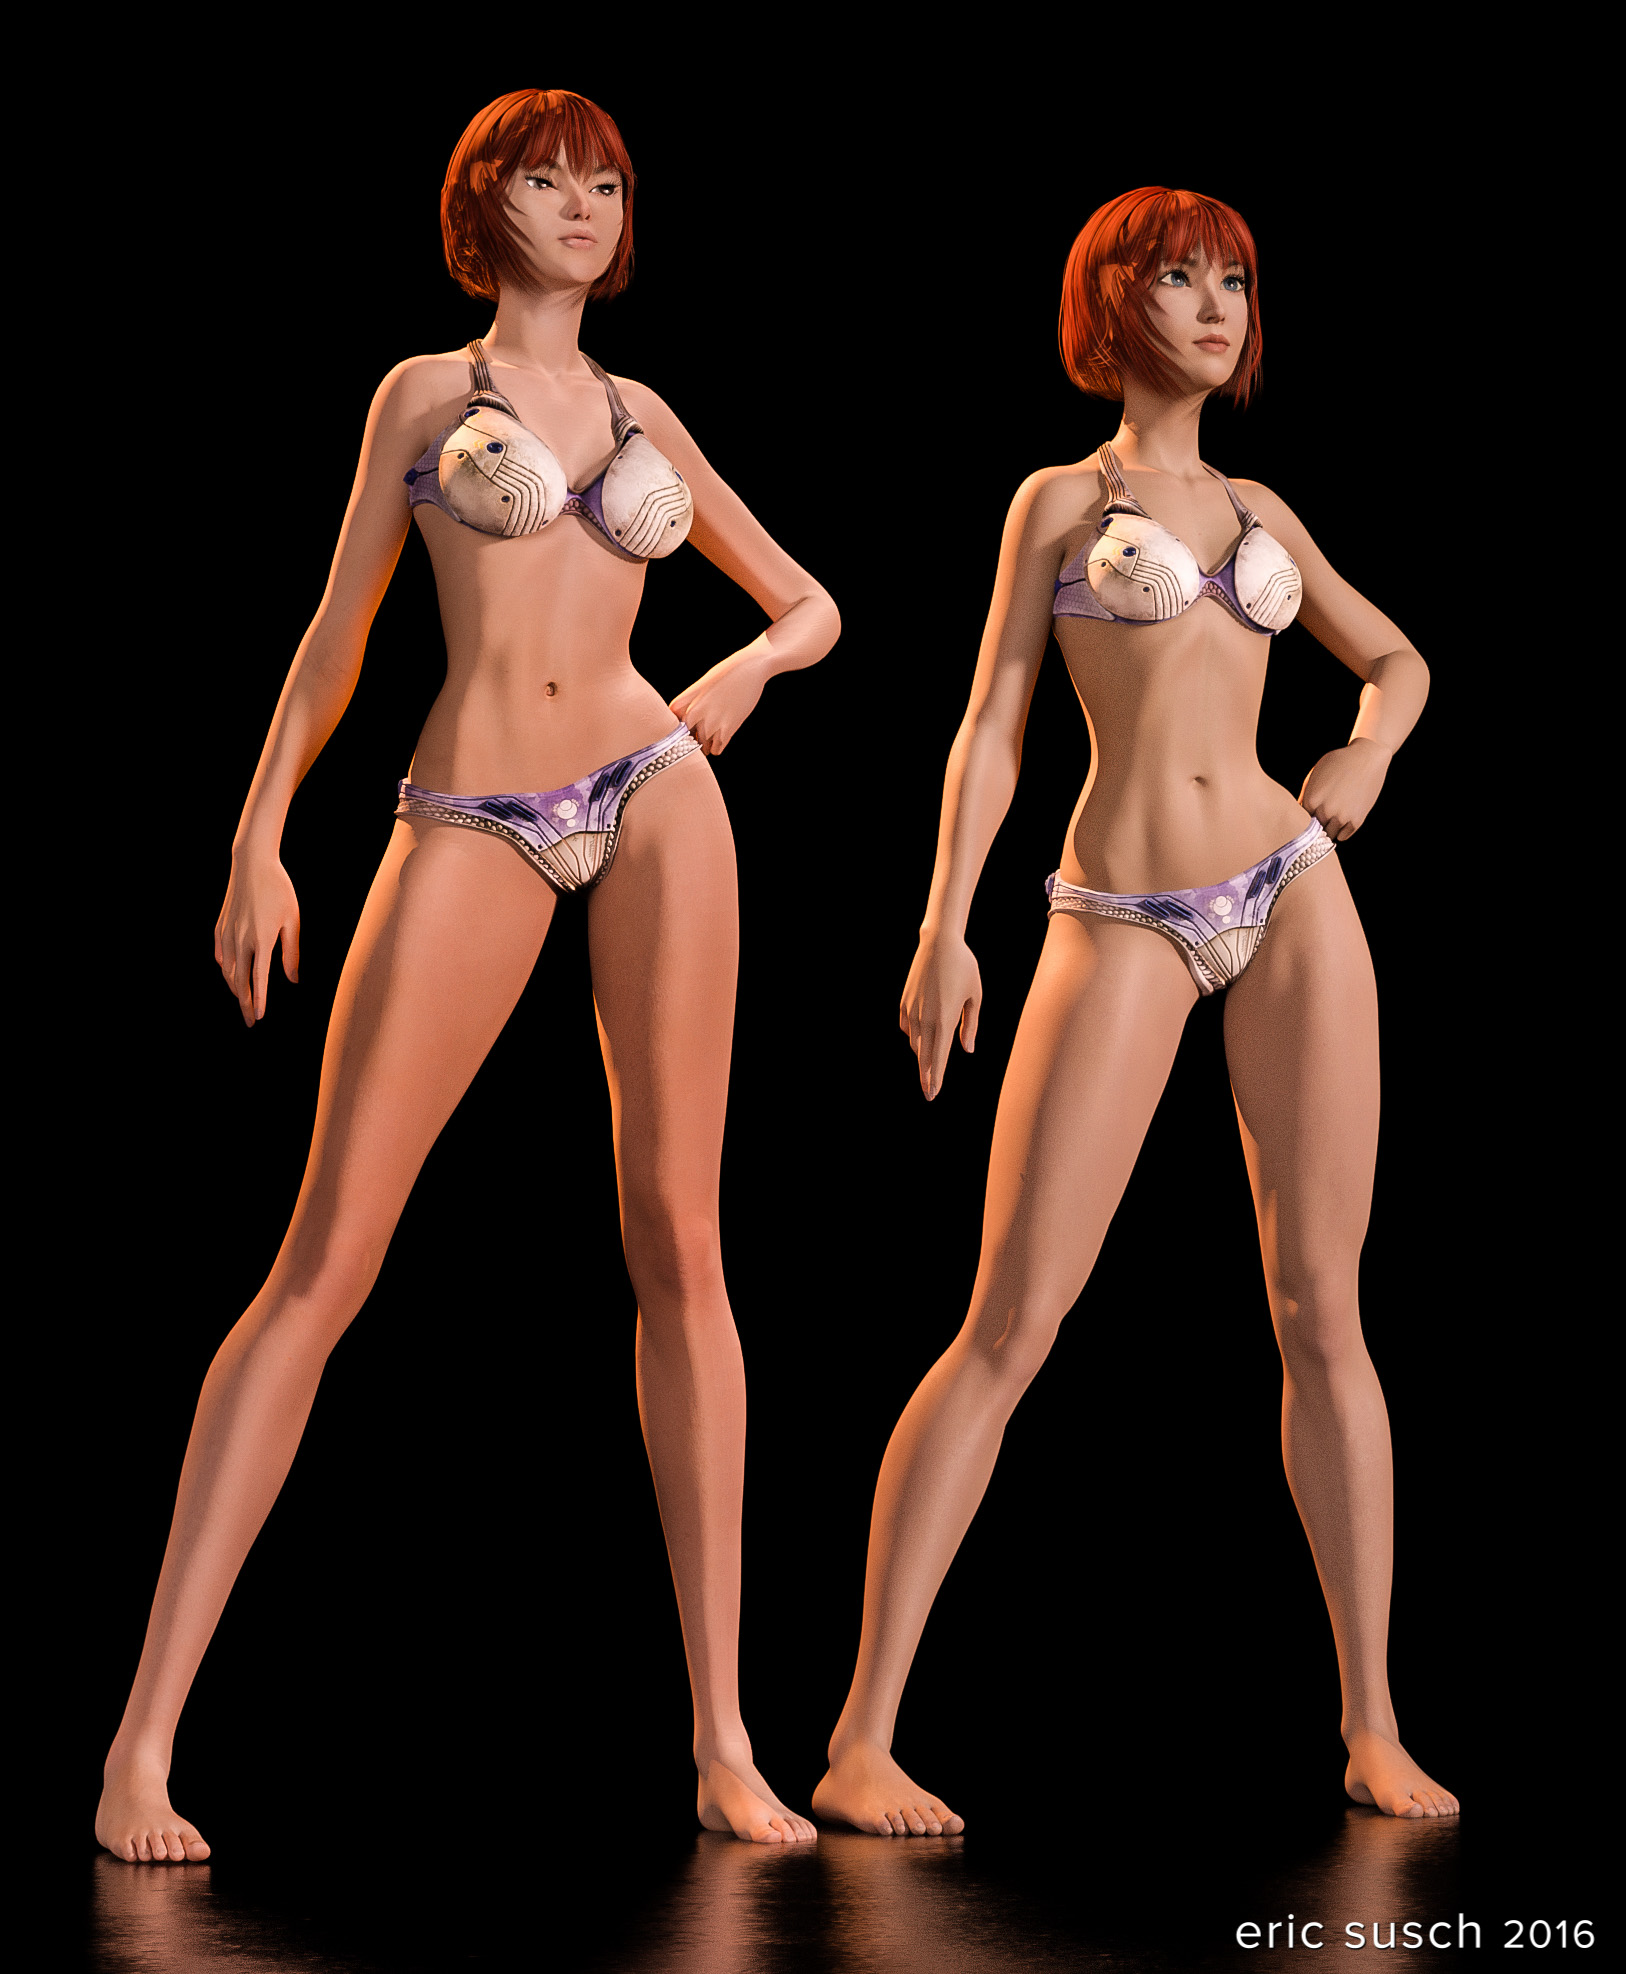
Aiko 6 is one of my favorite DAZ character models.  I’ve been waiting for some time for Aiko 7 to come out and yesterday was the day.  Here is a quick comparison render.

Aiko 6 and 7 comparisonAs I expected they changed the character’s proportions and made her more realistic.  This is a trend at Daz with the new models.  I think it’s a mistake especially with characters that have a toon, or in this case, anime flavor.  It bleeds the style out of the models and makes them bland.  What’s the point of CGI without a little artistic flare?  If you want realism just take a photograph.

I do like the new eyes.  Aiko 6’s eyes look droopy sometimes, like here:

I was fluid, like water (close up)Of course if the new model were exactly the same then it wouldn’t be new.  Also, you can always change the proportions of any model so it’s not too hard to dial the anime back.  What do you think?

Who Are You?

Prints are available on my Deviant Art profile:
http://ericsusch.deviantart.com/art/Who-Are-You-612998410
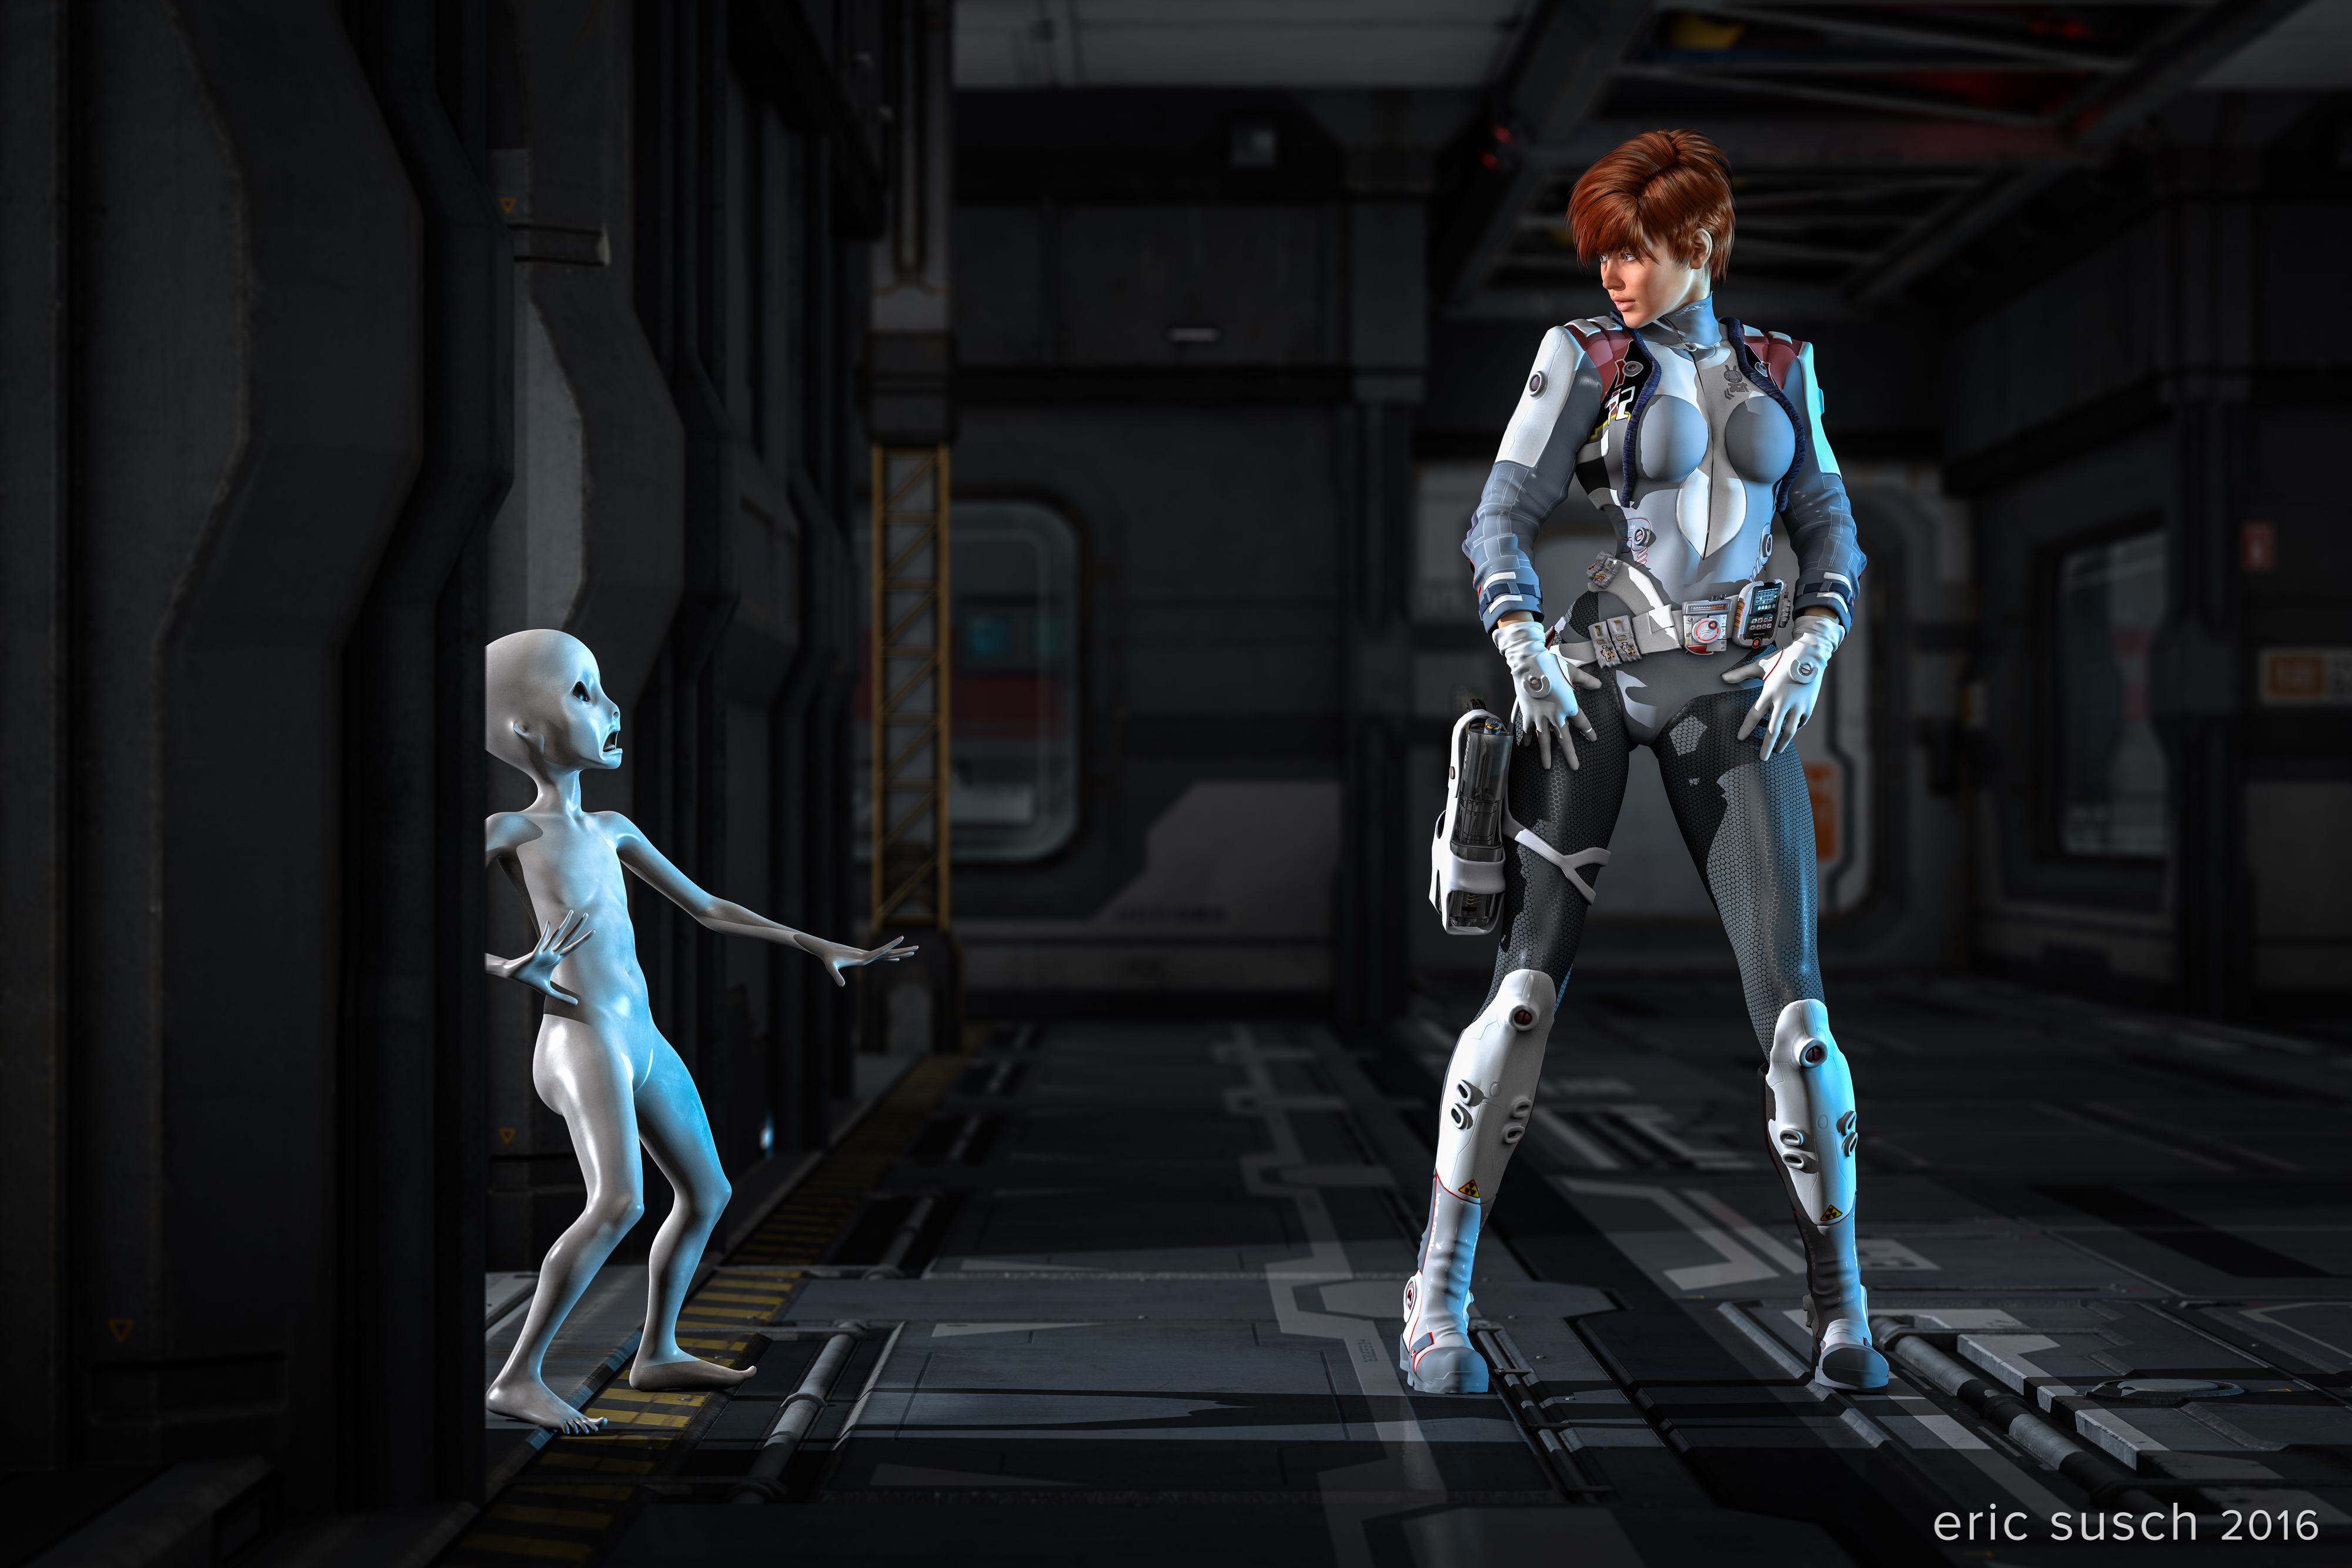
Who Are You?This is an update of the first CGI image I ever completed in DAZ Studio.  Back then I didn’t know how to do lighting so I moved the character into the lights that were already pre-built into the set.  This is the original:
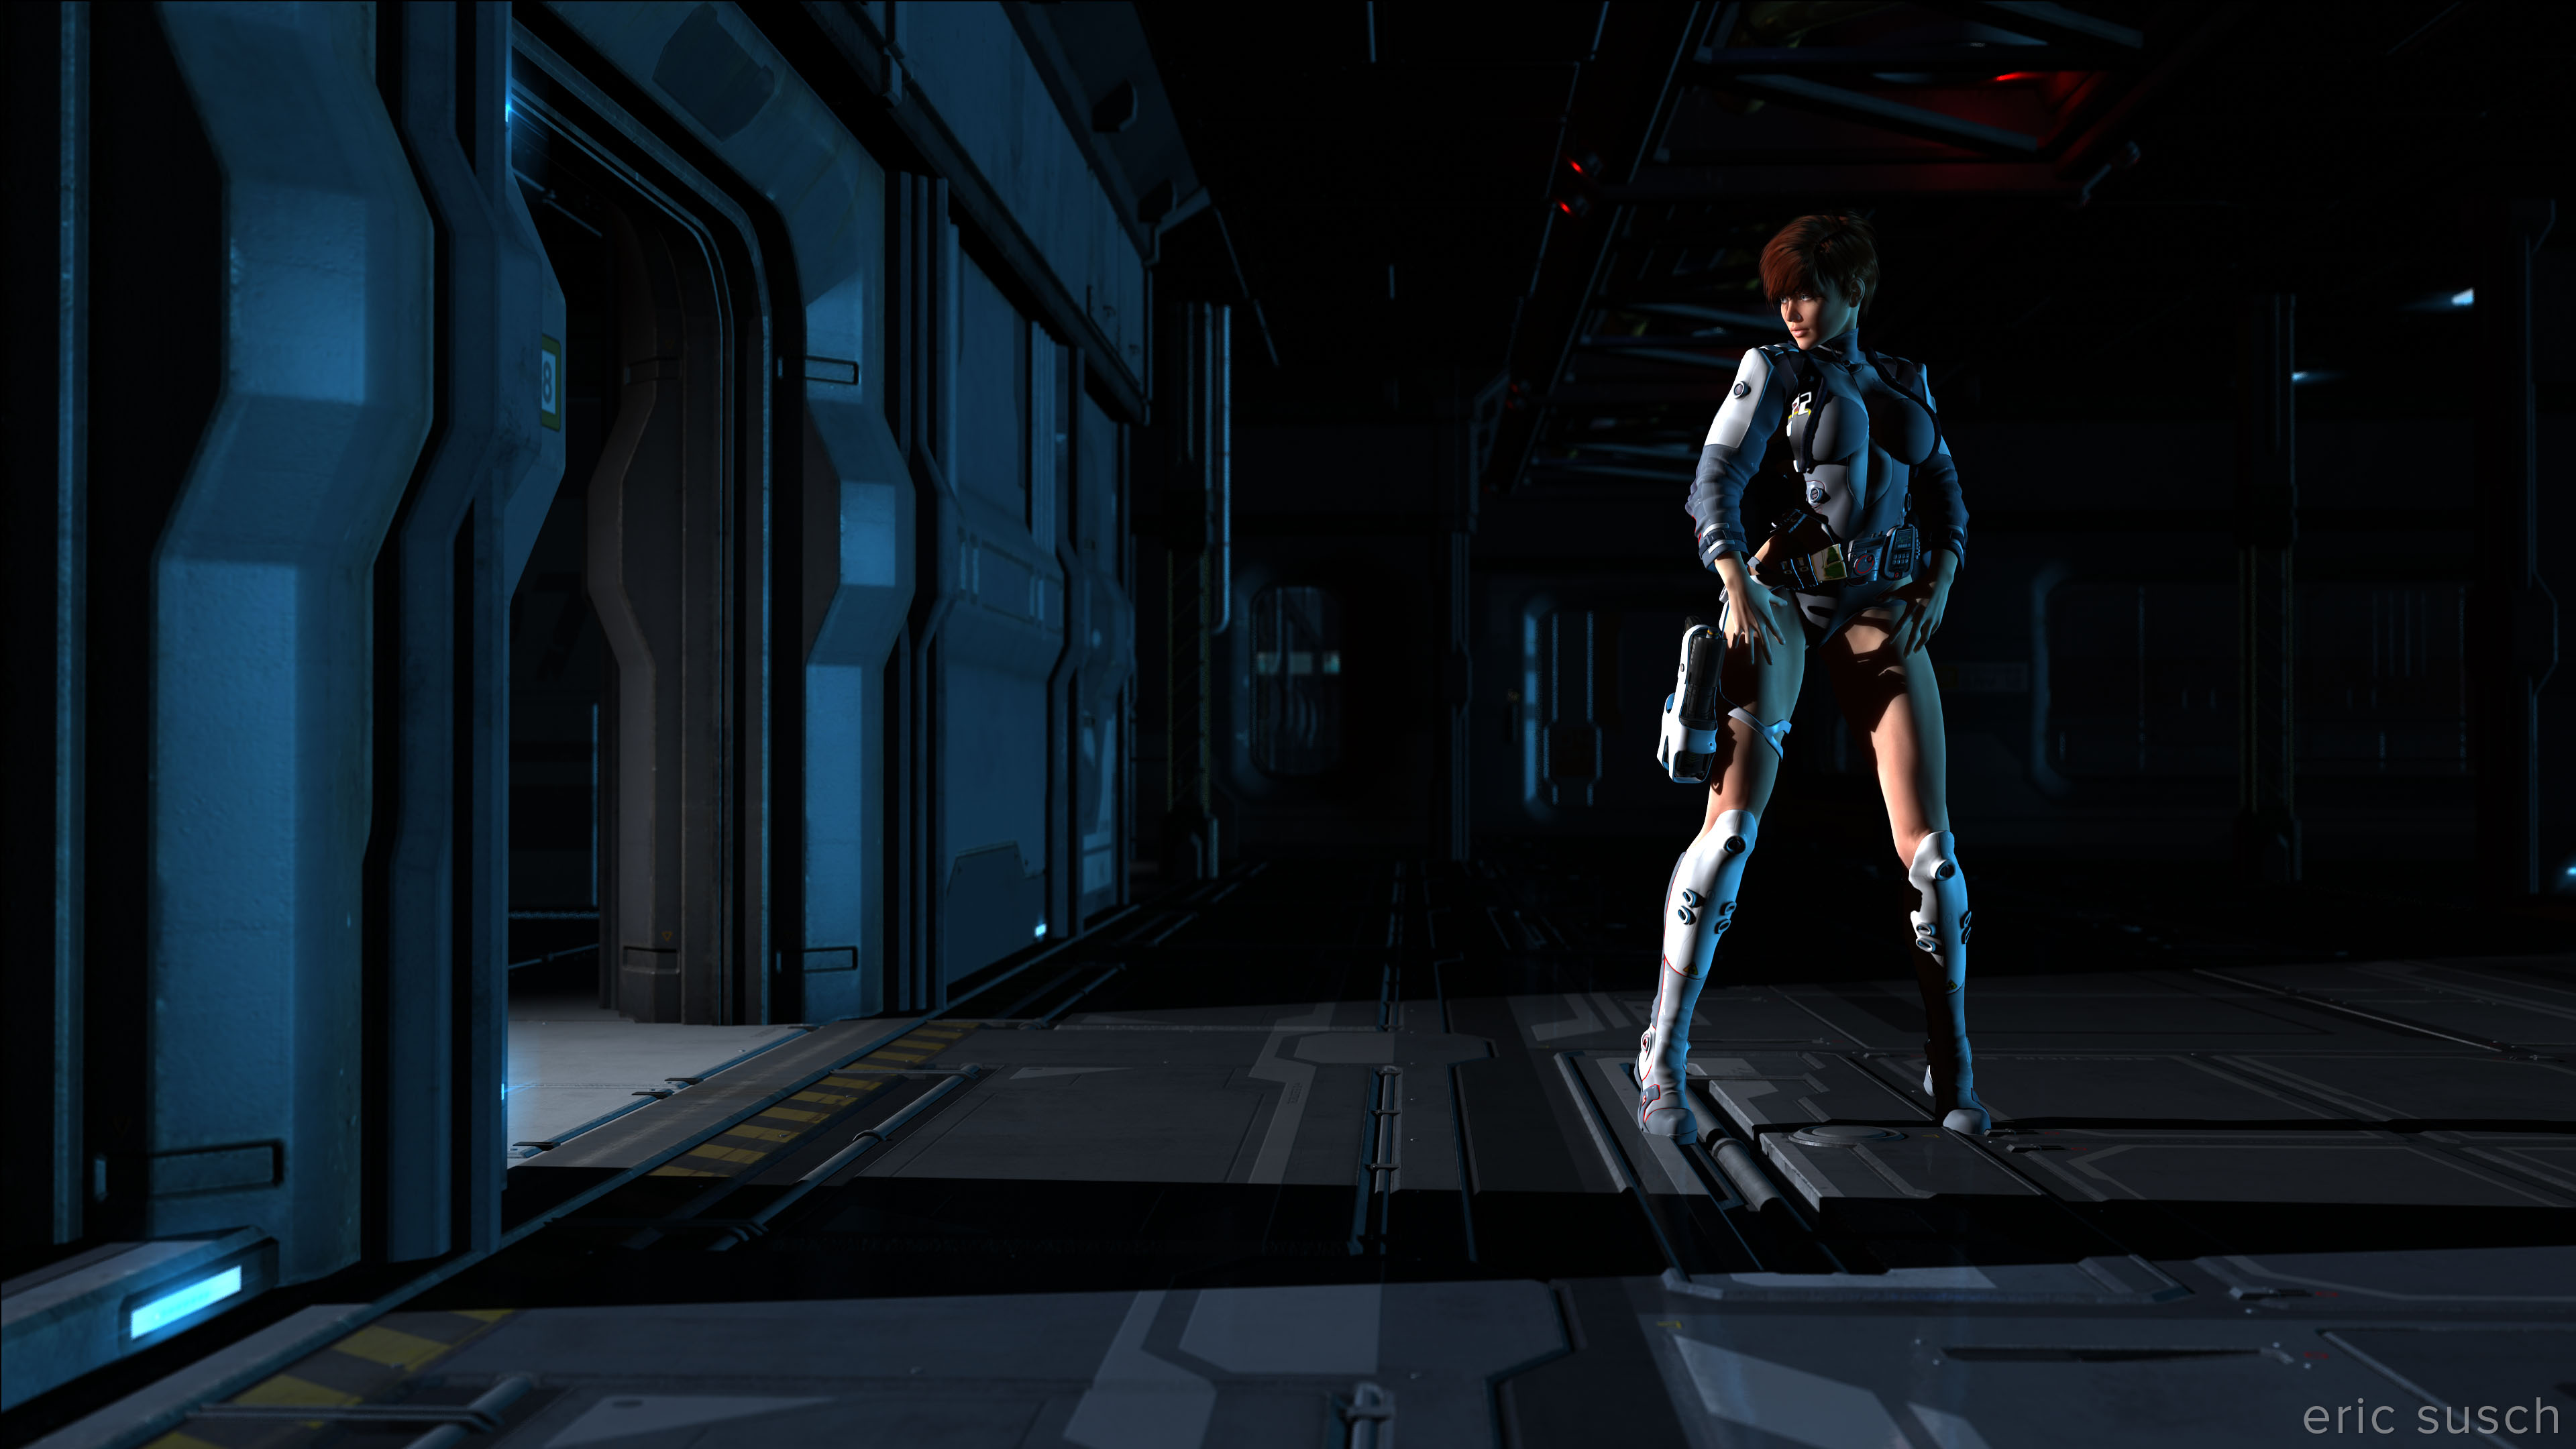
v6 test 09 cam 01It took me days to place the character properly and learn how to aim a camera and render.  The image is dark and I’ve grown to hate it as I’ve become more experienced.  And so, like George Lucas, I decided to go back and change my earlier work to add new characters and “make it better.”

Back to the Beginning

I loaded up the old project and continued right where I left off.  As I re-familiarized myself with everything it became obvious how little I knew at the time.  It was interesting to see how I solved problems back then.  I’m really deep into all the technical details now and the way I work today isn’t necessarily better, just more complicated.  It was surprising.

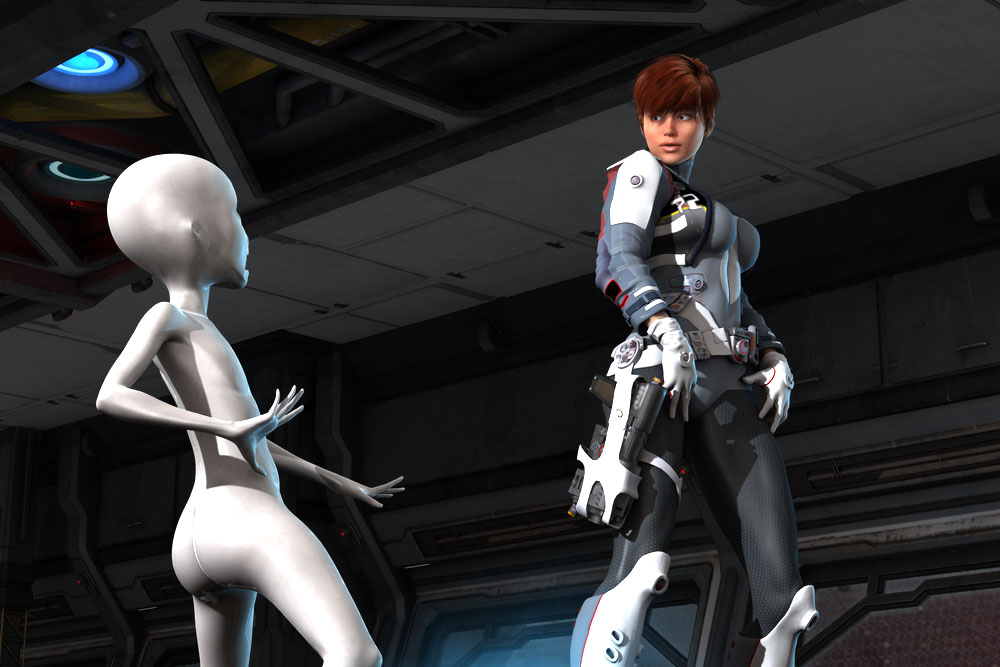
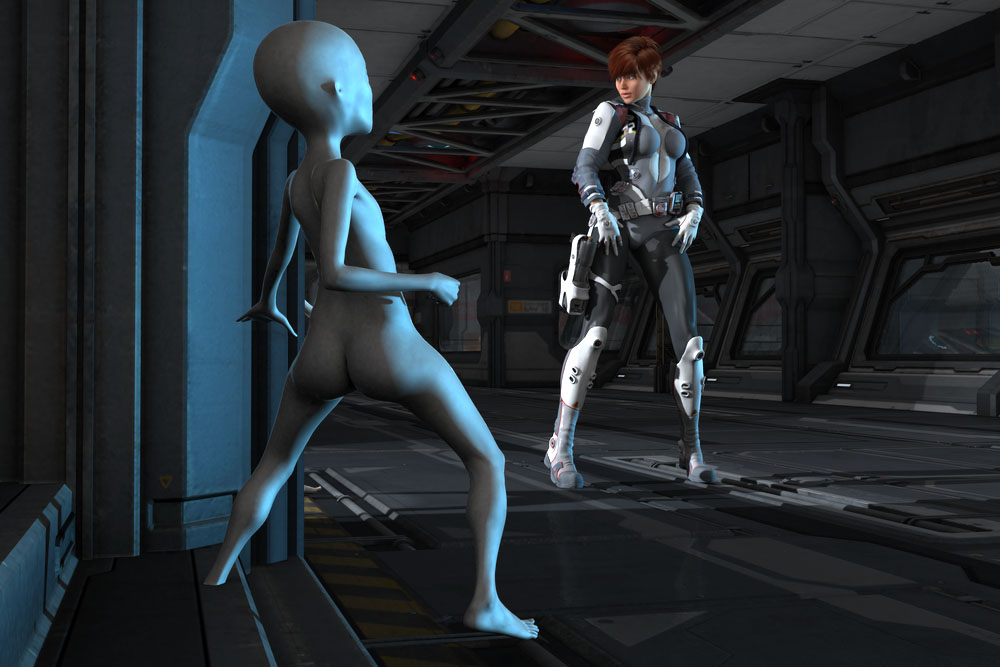
I knew I wanted to add more light and make everything brighter, but what else?  I hate pieces where people just stand there so I added another character for the girl to react to.  She’s looking out a doorway so I put a little alien guy there who is startled by her.

I tried many camera angles to get the best interaction of the two characters but eventually decided to keep it wide and head on similar to the original.  You need to see the distance between them for it to work.  These are some of the test angles.
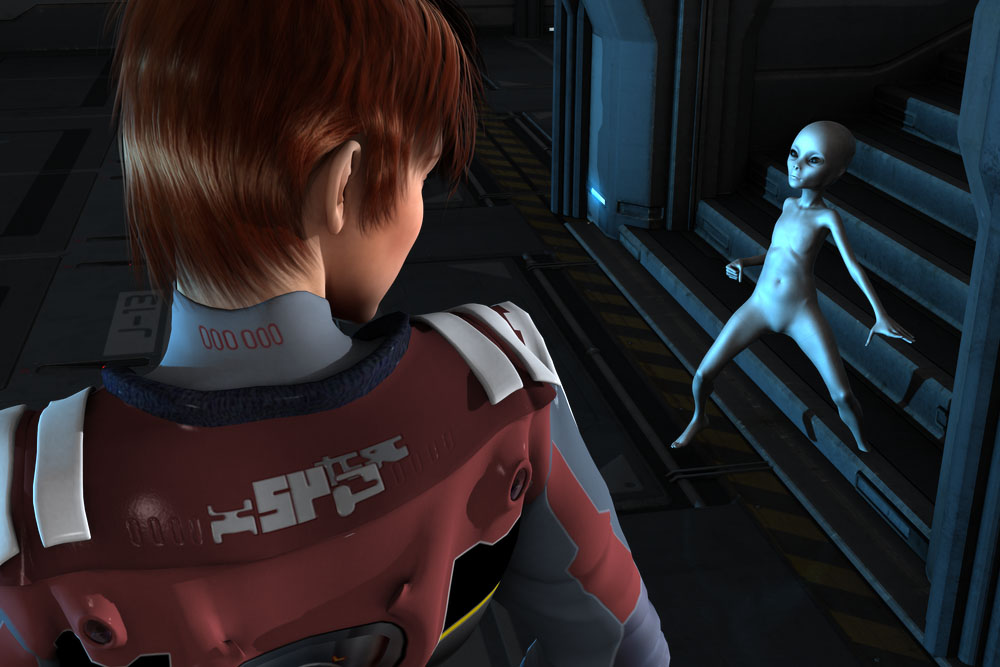
v6 15 cam100 possible angle v6 15 cam103 possible angle v6 15 cam101 possible angleThe last one isn’t bad but you can’t tell the alien is a tiny guy.  I think you need to see that to understand he is scared.  The middle one’s good too but you don’t get the sense of him coming around the corner.

Straight on wide shot seems the best but I still think it’s boring and too far away.  Will have to work on that in another piece.  For now it will have to do.

A Brighter Future

If I knew how to use an ambient light back when I originally rendered this scene it would have looked much better.  I’m a big fan of the Advanced Ambient Light by Age of Armour.  It’s the easiest fill light I’ve ever used and it renders fast.  While I was playing around with it, I tried something new.  I set three ambient lights in the scene.  One was set to light everything overall like I usually do.  The other two were placed very close to the characters with the light limited to their immediate area.  That gave me the ability to adjust the brightness of each character and the background separately.
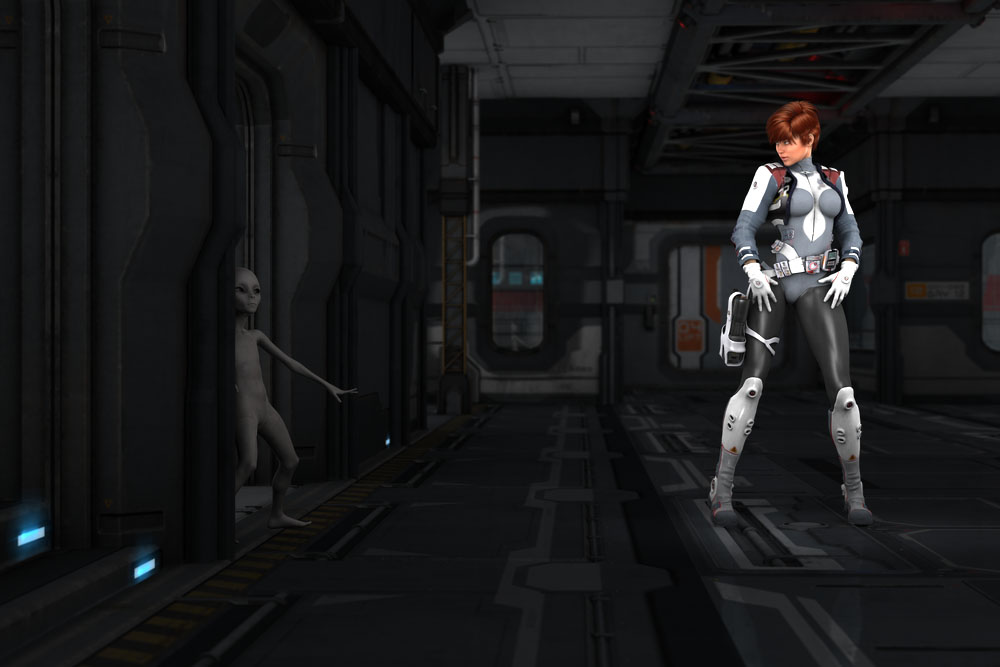
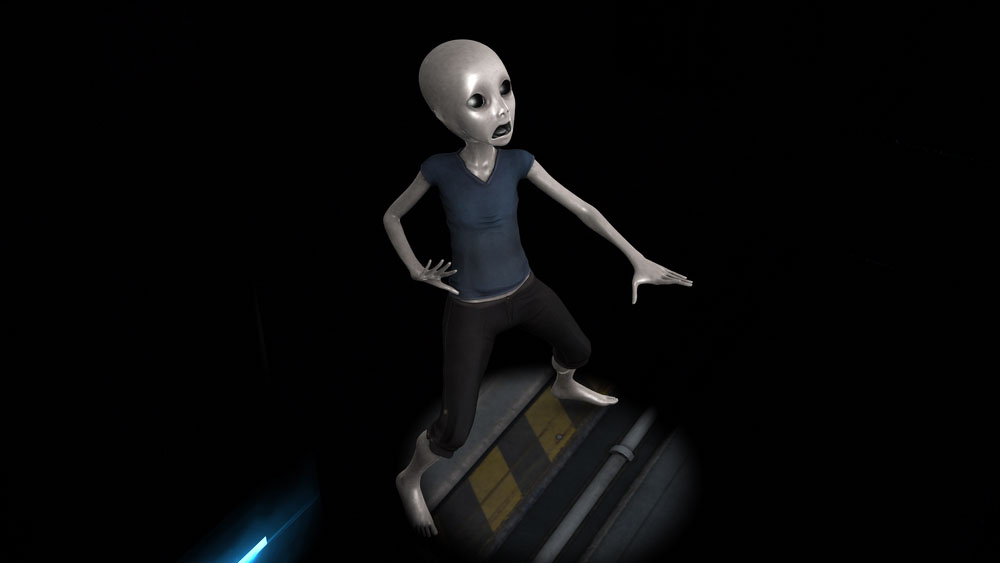
v6 12 cam07 00 amb key 2 meters around character 100 percent + amb fill 40 percent v6 14 character ambientIt worked out very well.  The light from the stairs and the blue back light from the windows were still the main lights but the ambient lights in this configuration allowed for very fine brightness adjustment during the final tweaking.  I’m going to use this technique whenever I work in 3Delight.

The Small Stuff Is Always the Hardest

The most difficult part of this re-imagining was actually the back wall.  The set had a window that looked like a portal or hatch right where the lines on the floor converge at the back.  It drew your eye right past the two characters to the window.  I had to eliminate that panel and take a different wall from another part of the set and replace it.  The other wall had a larger window that extended behind the corner so it wasn’t as distracting.  Finding the right panel to use took some time.  Adjusting the glossiness of the window and darkening it with a semi-transparent black plane helped too.
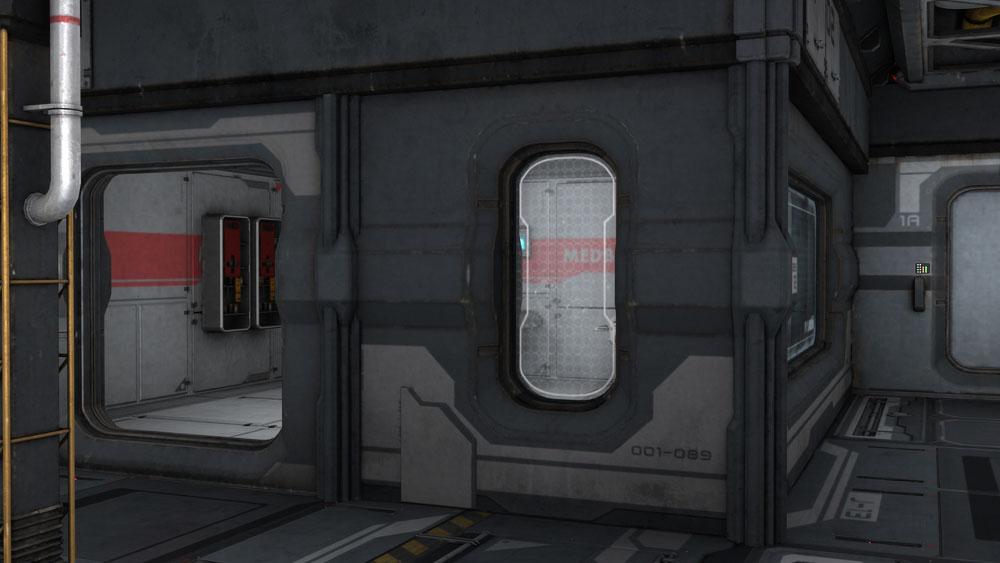
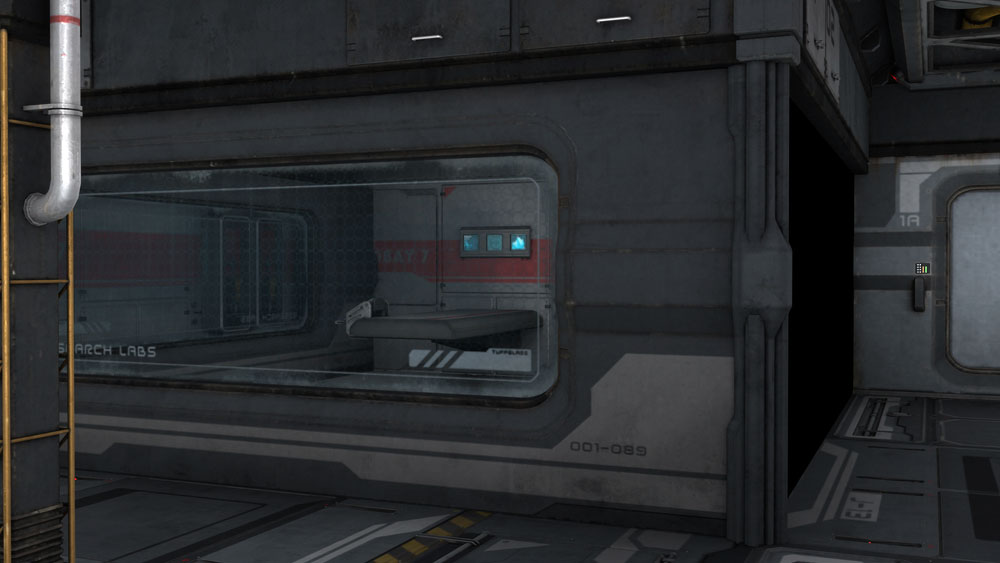
v6 15 back wall 01 v6 15 back wall 02Know Yourself

After struggling with the complexity of Iray for the past year it was a joy to build something in 3Delight again.  You forget how simple it is.  And that’s the key, isn’t it.  Simplicity.  Working in this old project, I was surprised how much I was able to do originally with how little I knew.  I didn’t have a lot of options – not a lot of knowledge about surfaces, materials, render settings, shaders, UV maps, morphs, or even lights.  I didn’t have all those things in my head slowing down my creative process.  I just did it whatever way I could figure out in the moment.  I’ve forgotten what that’s like.
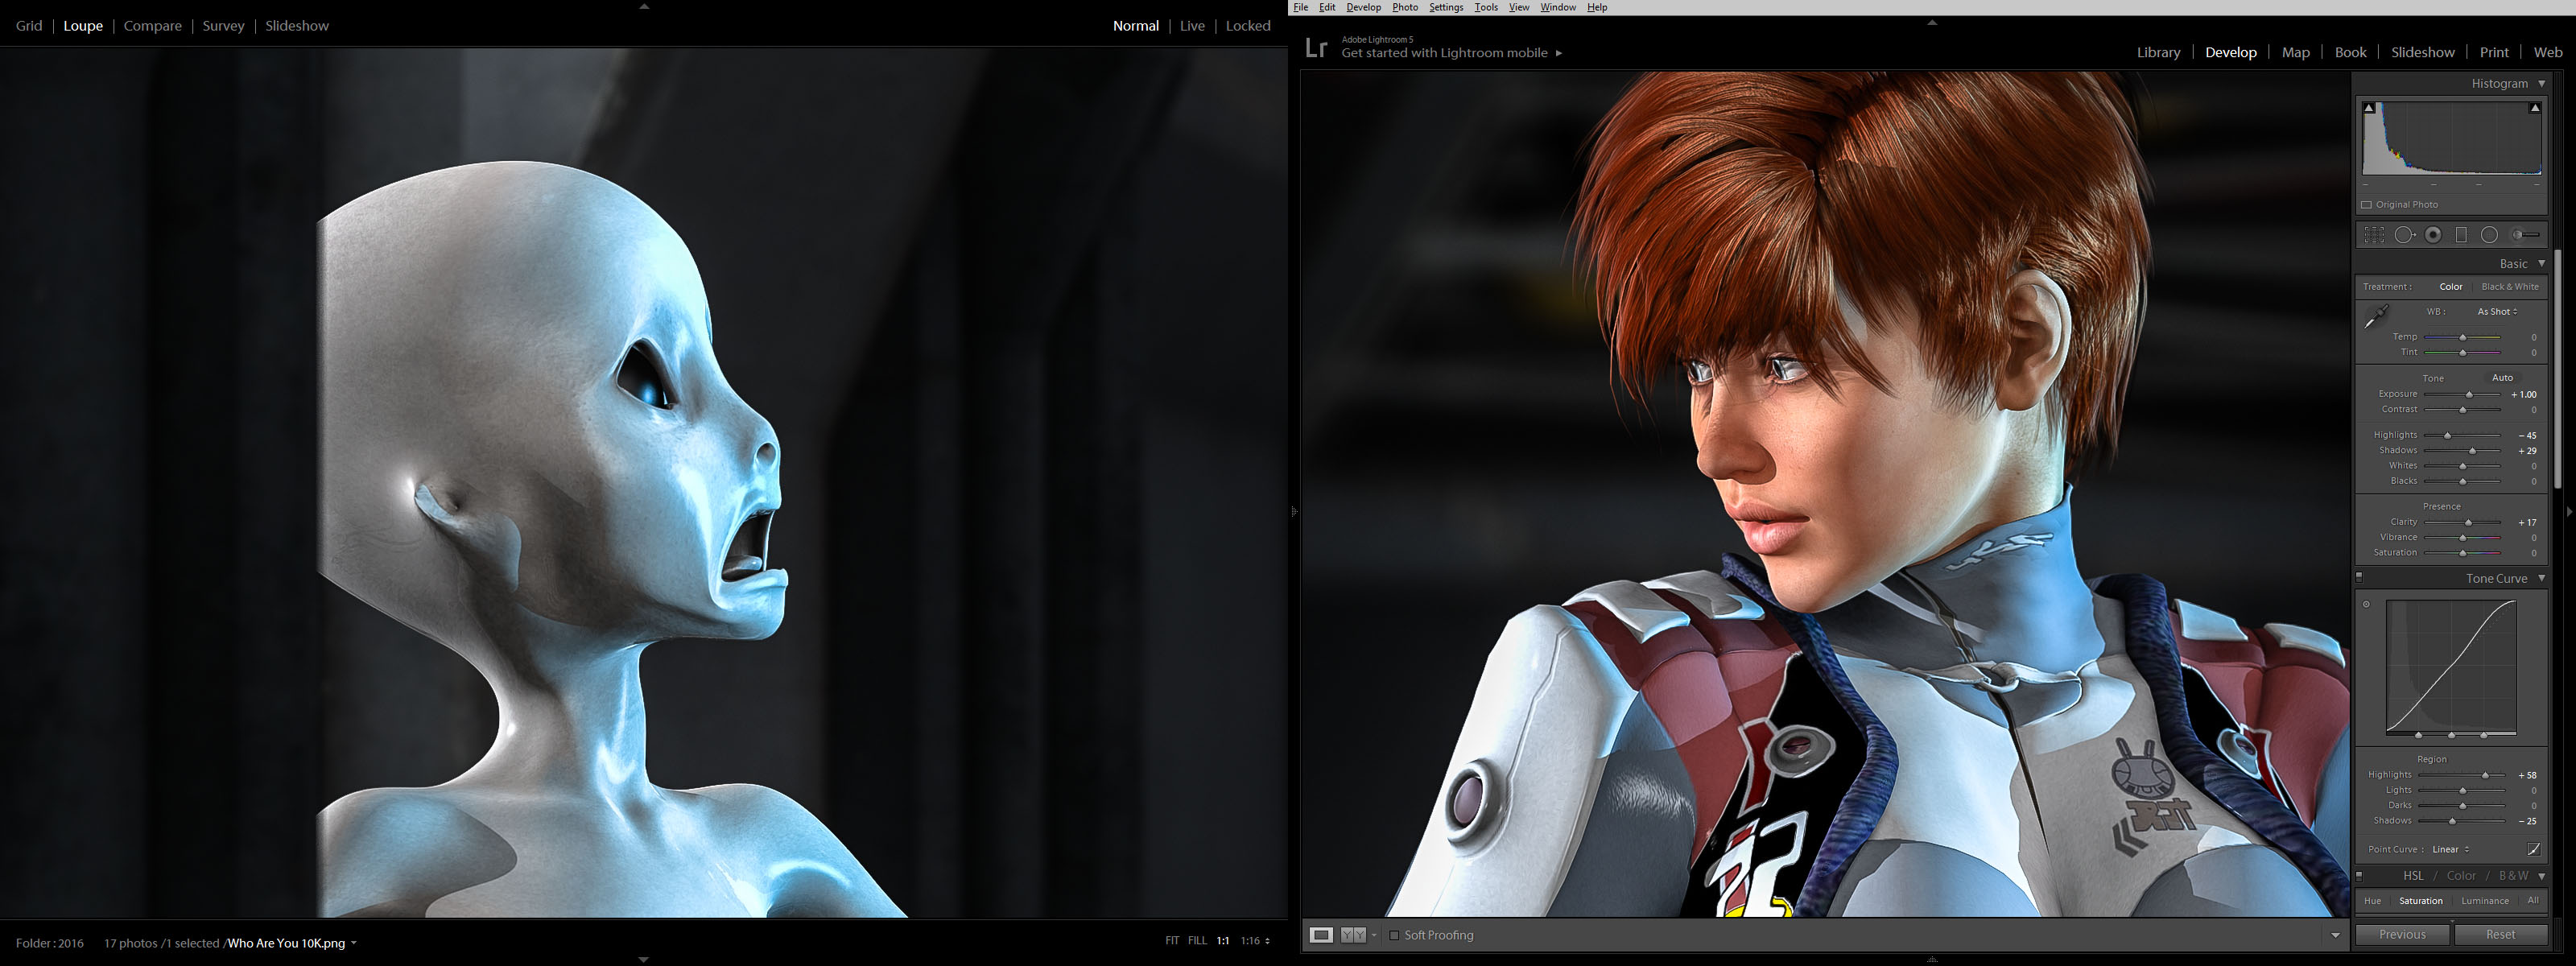
Not What I Thought 2016 BTS 00 lightwaveI encourage everyone to do this at least once.  Open up a really old project and see how you used to work.  See how you used to think.  You may learn something from yourself.

Who Are You?Created in DAZ Studio 4.5 and 4.9
Rendered with 3Delight
Color Correction in Lightroom

Figures used:
Victoria 6
Liquid Halo On Sky 16 for Genesis
Grey Alien for Genesis 3 Female
Sci-Fi Corridor 2013
Color Correction Test

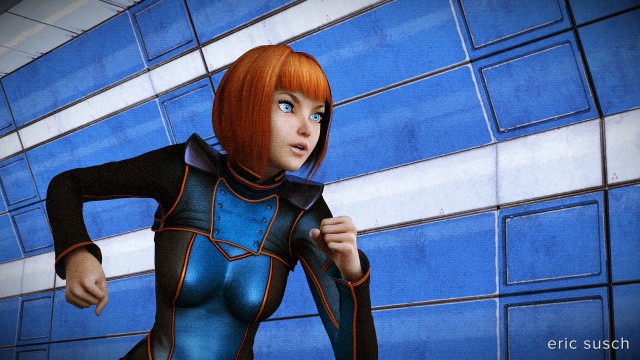
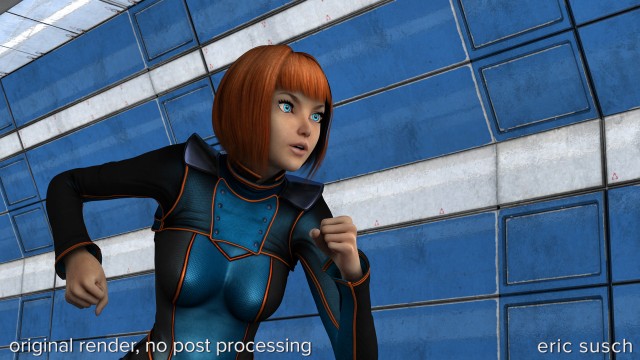
Run (CC test)For most of the films and television shows I’ve worked on the goal of color correction was to make the picture look technically correct and pretty – healthy skin tones, bright colors, maybe a bit “hyper real” but still normal.  Anything that degraded the image was bad and needed to be fixed.  What I’m trying here is relatively new to me.  I want something more stylized for this animation.  I’ve thrown in some grain and even a faint hint of scan lines to roughen up the super clean CGI.  I’ve also washed out the skin tones in favor of the blue and orange.  For comparison here is the original render before color correction.  (Click both to embiggen.)

Run (no CC test)I’ve been using the CC tools in Lightroom for most of my CGI work to date but since this is an animation I’m using the tools in Adobe Premiere.  I’m finding it much harder.  I love the CC tools in Lightroom.  They’re more intuitive than the controls in Premiere or photoshop.  I wish Adobe would create Lightroom style CC tools for all their products.

If this were a still image I probably would have gone a lot further with the grunge but it has to work as an animation.  It has to look good in motion and on all the other close-ups and wide shots too. I’m pleased with it right now although I’m a little concerned that the grain will be lost when the video is finally compressed and uploaded to youtube.  We’ll have to see what happens.

Created in DAZ Studio 4.8
Rendered with 3Delight
Color Correction in Adobe Premiere

Figures used:
Aiko 6
XTech for Genesis 2 Female
Modular Sci-Fi Kit 01 + 02


Animating a Complex Camera Move In DAZ Studio With keyMate and graphMate

This is the video that goes with my article in the December issue (#18) of DS Creative magazine.  My in-depth tutorial was based on this shot.  Check out the article on page 72.

I originally developed this shot to test a complex keyframed camera movement in DAZ Studio.  So far it looks like the DAZ software will be able to do the kind of animation I want to attempt.

No One Told You When To Run

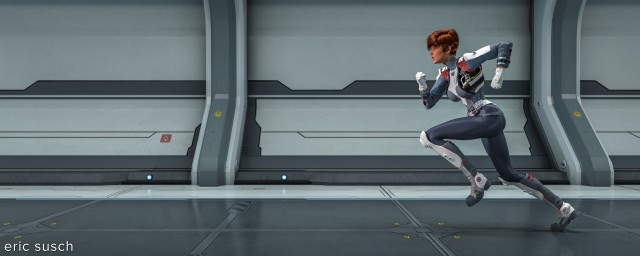
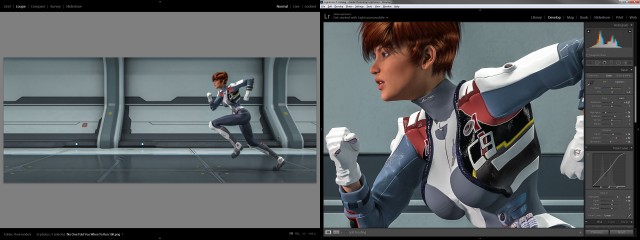
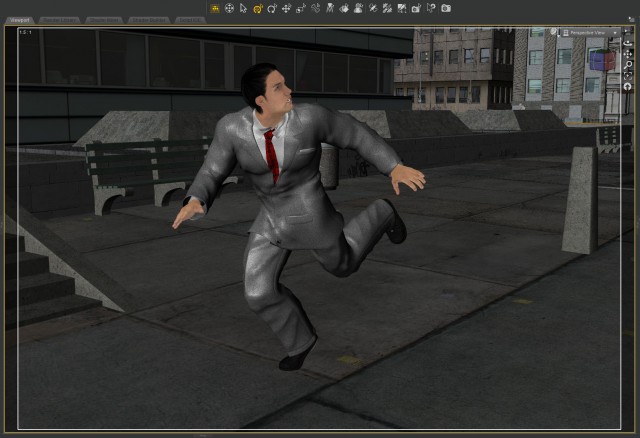
No One Told You When To RunI’ve been spending the last few weeks experimenting with animation making a few test shots of people running down long hallways.  I’m going to put them together and make a short video but I want to add sound and music so it’s going to take a few more weeks.  In the meantime, I found an interesting frame in one of the animations and set a camera for a still shot.

Fast and Hot!

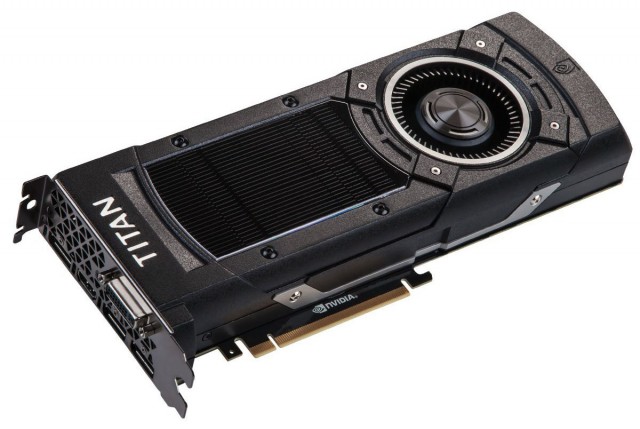
This piece is rendered with nVidia Iray which I’m still learning.  It took about five hours to render which is considerably faster than my previous high-rez image which took a full twenty-four hours.  Why was this one faster?  I bought a GTX Titan X graphics card and added it to my system.

EVGA GTX Titan X croppedIray can use both the computer’s CPU and the graphic processors on the video cards to compute the render, eliminating the need for a render farm.  (…at least for now.)

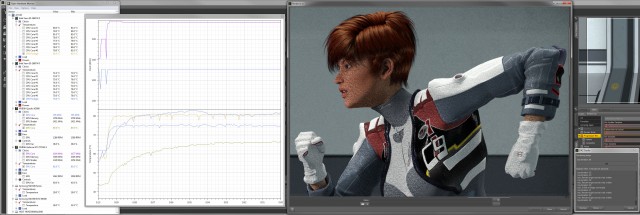
I managed to get my old Quadro K5000 and my new Titan X graphics cards to both work in the system at the same time, which some say can’t be done because the drivers conflict.  So far it’s working for me and both cards chug away when building the image.  The new Titan X ended up doing two and a half times the work of both my old Quadro K5000 graphics card and CPU together.  It’s a significant boost but boy the Titan X runs hot!  It screams at eighty degrees Celsius while building the image.

V6 runs - rendering heat monitorIt turns out that if I render with the door on my computer closed, the Titan X throttles down because of the heat.  I’m going to have to build a custom vented door for my system with maybe a fan or too.  For now I’m working with the door off.  At least I won’t get cold this winter!

Don’t Go Too Far!

I had two major problems with this render.  The first was a strange shadow around the eyes caused by the photometric fill light I was using on the character’s face.  It was as if the spotlight didn’t see the transparency part of the lashes.

V6 runs 07 ECU2 frame 305 disc key light - eyelash and hair shadowTurns out this was a combination of increasing the size of the light making it soft, and the distance the character was from the center point of the CGI world.  It’s a crazy bug that DAZ3D has promised to fix in the next version of DAZ Studio.  In the meantime, I had to grab the entire scene – sets, cameras, lights, everything – and drag it all back to world center.  Thanks to everyone on the DAZ forums for helping me debug this problem.

Strange Honeycomb Dot Pattern

The other issue was a strange honeycomb dot pattern appearing in the wall texture.  (click to embiggen)

V6 runs 09b wall problem 01Looks like Iray was compressing the wall textures too much.  There’s a Texture Compression setting under the Render Settings / Advanced tab.  I had to raise the Medium Threshold to 2048 and the High to 4096 to make the problem go away.  Apparently this increases the RAM needed on the graphics cards during the render but my system didn’t have a problem.  It also didn’t effect the speed of the final render.  I know because my system built this image twice!

V6 runs CCCreated in DAZ Studio 4.8
Rendered with Iray
Color Correction in Lightroom

Figures used:
Victoria 6
Liquid Halo on Sky 16
Utopia Deck C

Stepping Outside She Is Free

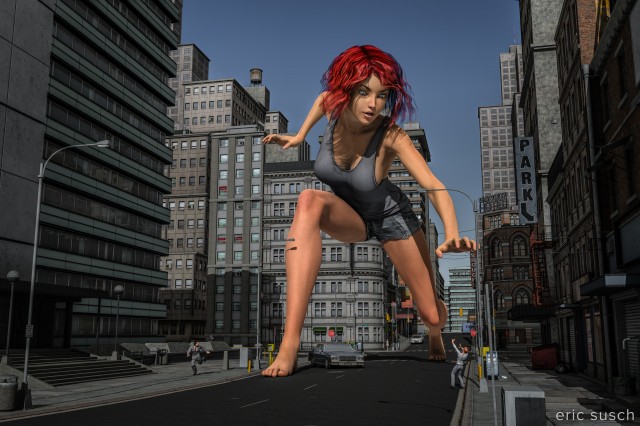
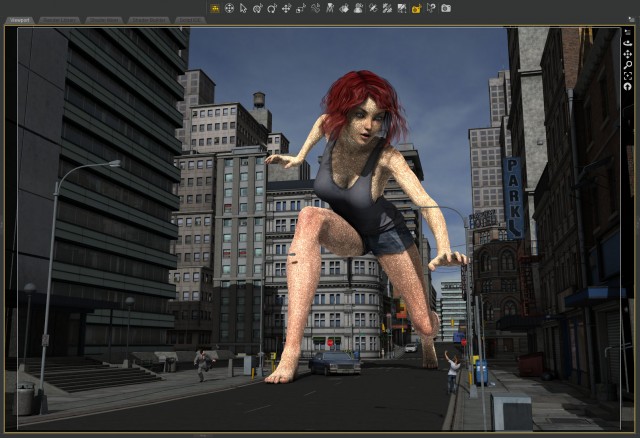
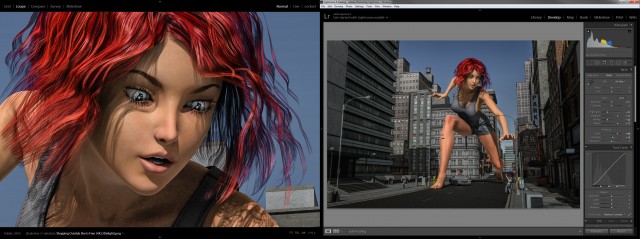
Stepping Outside She Is FreeI’ve been wanting to do a “big character” for a long time.  CGI scales easily so I thought it would be simple.  Well, the scaling was simple, then I needed a city so you could tell the character was twenty times normal size.
urban renewal

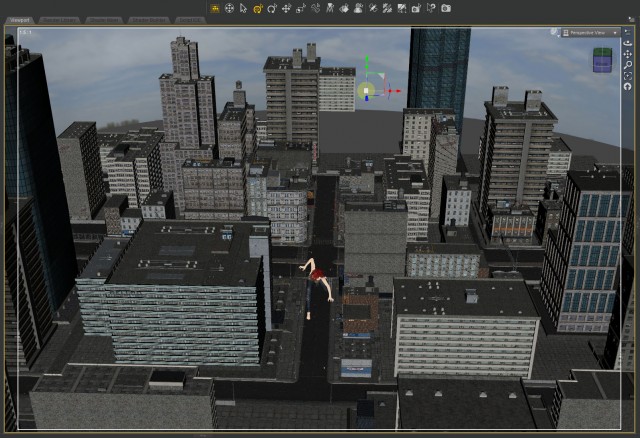
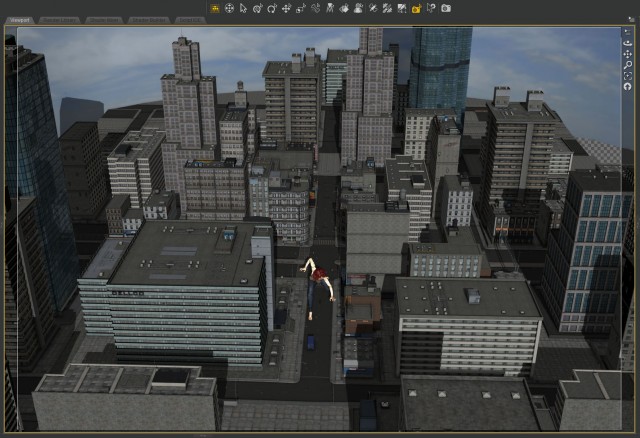
I used Stonemason’s Urban Sprawl 2 The Big City which is absolutely fabulous.  Once I found a good spot for the “incident” I needed to add some buildings and extend the street another block or so in the background.  I also moved some buildings around and shortened one in the back to get the skyline I wanted behind the girl.

Big Aiko BTS - city 01Big Aiko BTS - city 02I’m tremendously impressed with Stonemason’s work on this city model.  It’s incredibly detailed with 20 or so different buildings – lots of props like streetlights, signs, mailboxes, and trash bins – and yet the model is very light.  It doesn’t slow things down that much even when you have all four city quadrants loaded as I do here.

bad skin

The scaling of the girl created a problem I didn’t anticipate.  When I started lighting I did a screen render and the skin was all messed up.

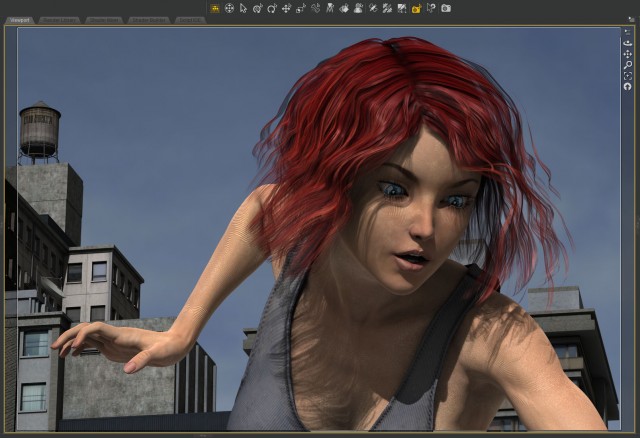
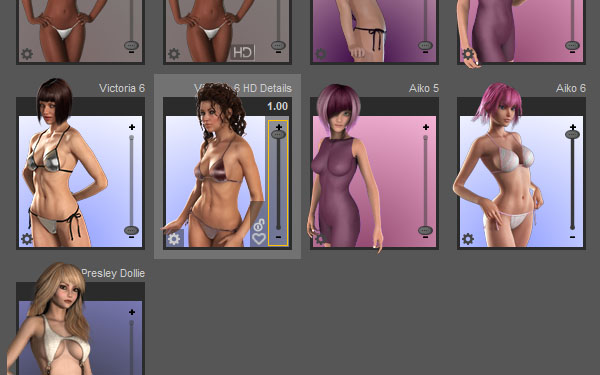
Big Aiko BTS rendering SSSI tried different skins and some were better but all seemed to have problems.  I eventually figured out that the Subsurface Shader (SSS) was the issue.  Apparently it didn’t scale well.  While I was trying to fix the problem I discovered that it got better if I added in HD details.  The character Aiko 6 doesn’t have an HD add on so I tried adding the Victoria 6 HD details.

Big Aiko BTS - V6 HDThe screen render turned out better but there was still some problems as you can see here on the arms.  (click to embiggen to see the issue)

Big Aiko BTS - HD skin renderIt turns out though, that the problem doesn’t present itself if you render it out huge (at 10K) which is what I always do at the end anyway, so I stopped trying to fix it.  The final render came out fine.

crazy pants

This was a most annoying problem.  Every time I closed the project and re-opened, the guy’s pants over on the left would go nuts!

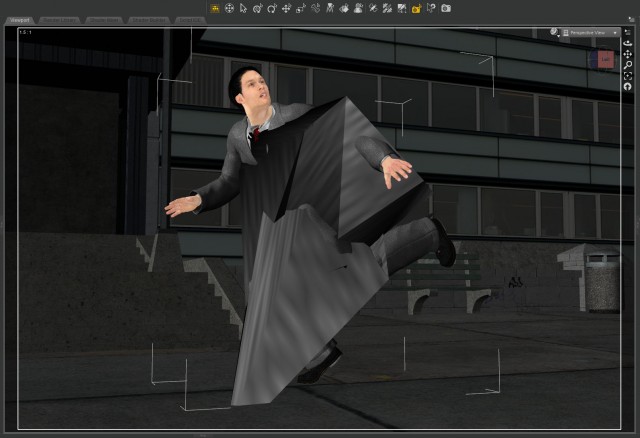
Big Aiko BTS - normal pantsBig Aiko BTS - crazy pantsNow maybe this was because I had Genesis clothing on a Genesis 2 character, but I’ve done that before and I’ve never seen this.  It’s the Morphing Business Suit on Gianni 6.  Never found out why this was happening.  The only solution was to delete the pants and re-load them onto the character.  That worked at leased until I closed the project and re-opened.

big finish

For the final color correction in lightroom I decided to pump up the color on the main character while keeping the city bland and gray.  What do you think?

Big Aiko BTS - lightroomCreated in DAZ Studio 4.8
Rendered with 3Delight
Color Correction in Lightroom

Figures used:
Aiko 6
Michael 5
Gianni 6
Victoria 7
Urban Sprawl 2 The Big City

Trembling on the Brink of Infinity

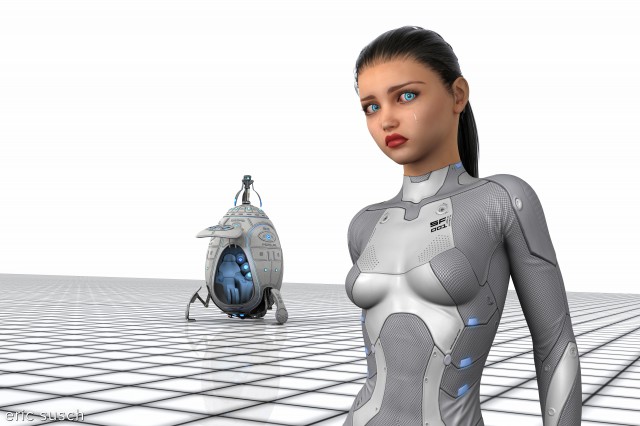
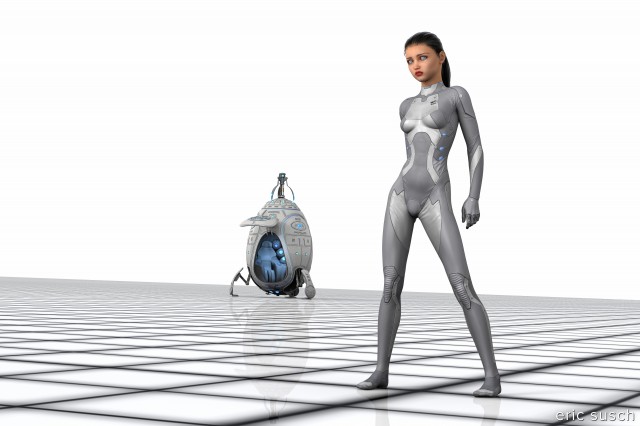
Trapped in a space time loop with no escape.Most of my work is dark, film-noir like with tiny spotlights in a black void.  It was time for something different.  I wanted something bright with lots of negative space, hard graphic lines, and very little color.  Something that looked like Space:1999, or THX-1138, or any other SciFi that has a number in it.  (2001: A Space Odyssey?)

A line in the egg

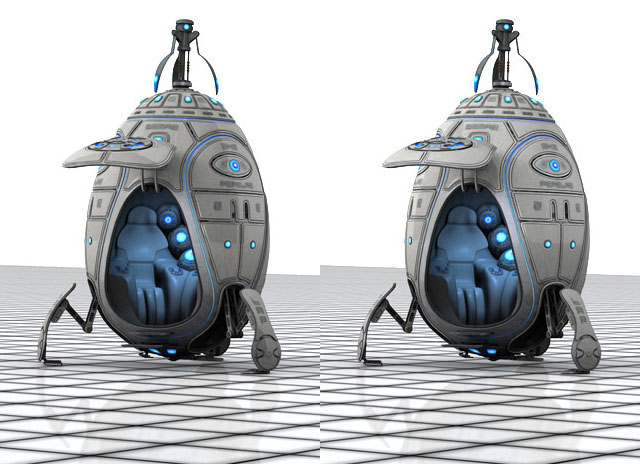
Creating this piece was pretty straightforward.  The only trouble I had technically was a strange shadow line on the egg ship.  The front of the ship was significantly darker even though that’s where the light was coming from.

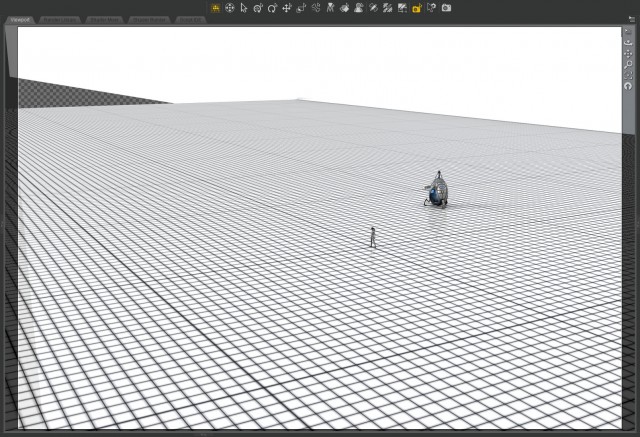
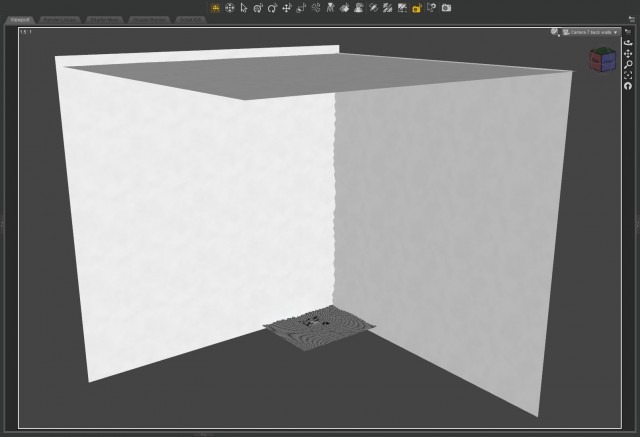
trembling on the brink of infinity BTS 2eggsI finally realized the line was a reflection of the edge of the huge white background.  The environment was simply two planes.

trembling on the brink of infinity BTS gridI had to put a huge side and top on it to solve the reflection problem.

trembling on the brink of infinity BTS worldIt probably would have been easier to create a white dome over the whole scene but I was worried the horizon would be curved and ruin the grid line effect.

My constant conundrum

When I’m building a scene I usually drop cameras here and there when I find a new perspective that looks good.  It’s the filmmaker in me I guess, shooting from multiple angles.  When I’m finished setting the scene and lighting it’s always hard for me to decide which angle is best.  My original perspective for this piece was a full body wide shot that featured the expanse of the void.

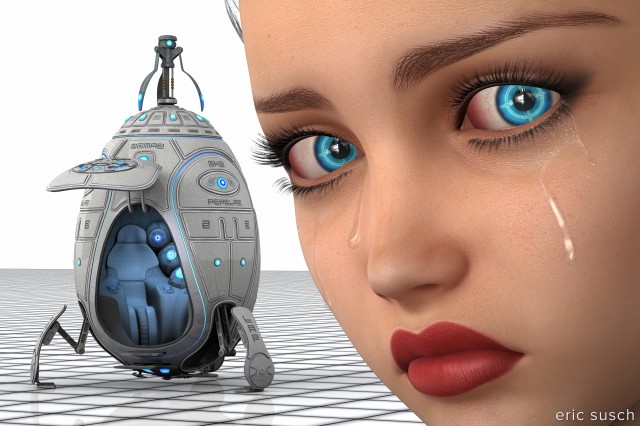
I finally settled on the medium shot because it was easier to see she was crying and I think it conveys more emotion from the character.  Of course I also came up with this crazy extreme close-up which I totally love.

It was a difficult for me to pick only one.  Which is your favorite?  Wide, medium, or close?

Prints are available on my Deviant Art profile.  CLICK HERE
Created in DAZ Studio 4.8
Rendered with 3Delight
Color Correction in Lightroom

Models used (from DAZ3D.com):
Teen Josie 6
Letizia for Lilith 6
Awesome Fantasy Eyes
Stalker Girl Hair
Sci-Fi Body Suit SF-001
Actual Tears
Nomad Module 2