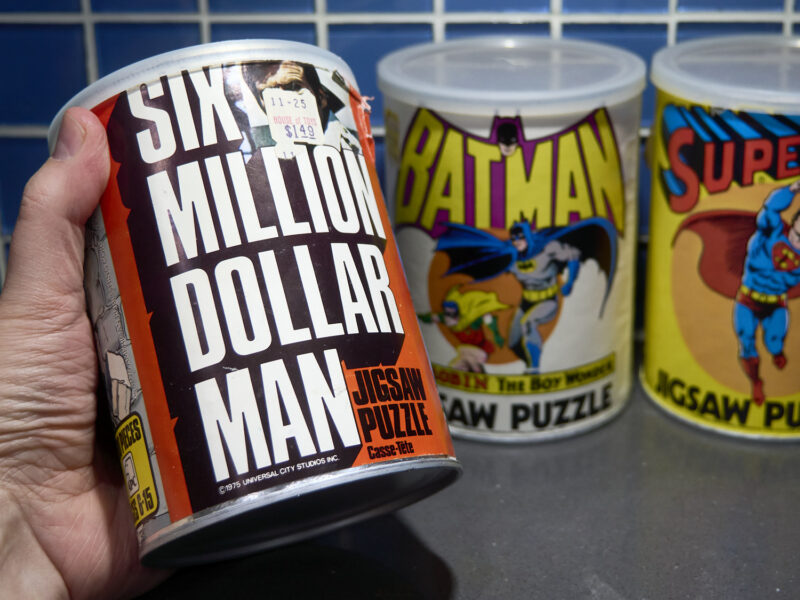
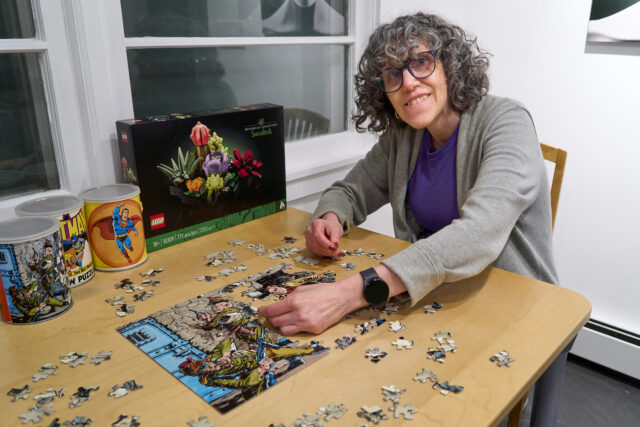
 When I was a kid I had a few jigsaw puzzles that were in cans – Batman, Superman, and the Six Million Dollar Man. One day my wife CAT and I cracked open one of the cans and started “puzzeling.”
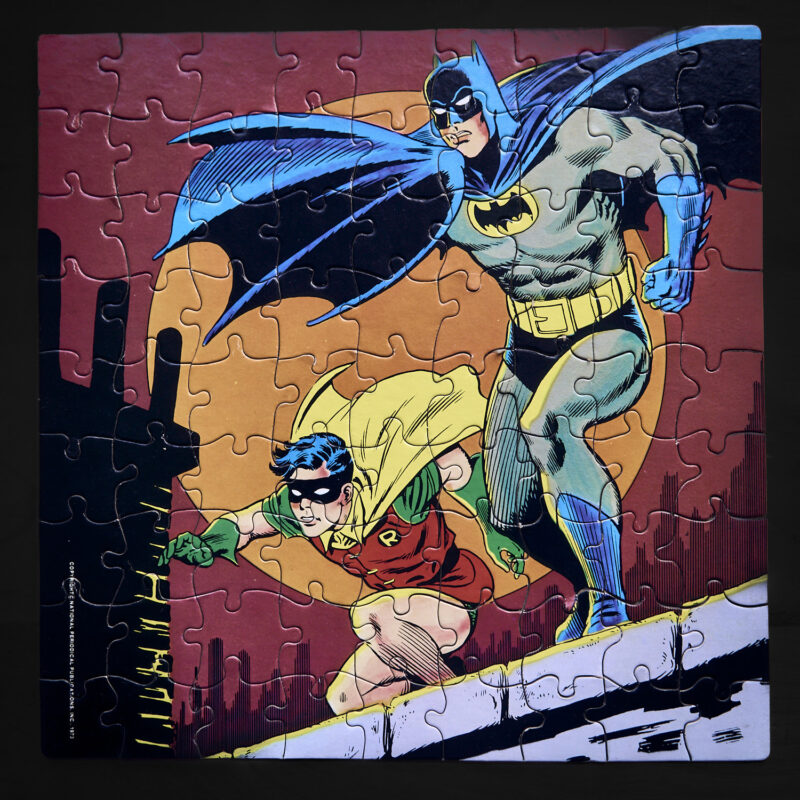 The first two were easy. They only had 80 pieces and were made for little kids. The 6 Million Dollar Man puzzle was different. It was 200 pieces. That took a bit longer, especially all the rocks.
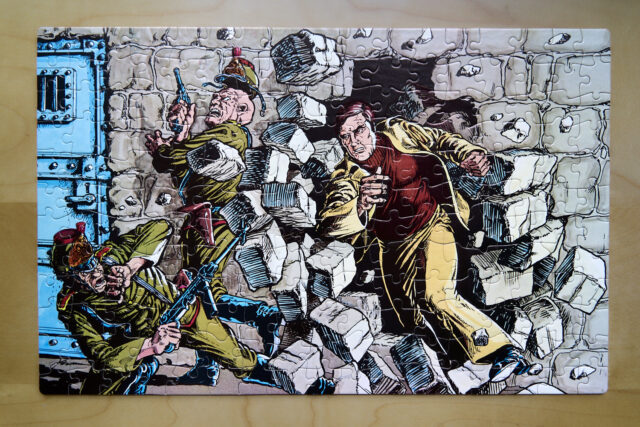 What was supposed to be a lark turned into an enjoyable, relaxing time together for a few days. All we needed now was another puzzle, but what?
 The New Puzzle
I decided to try printing my own artwork as a puzzle. I didn’t tell CAT because I wanted it to be a surprise.
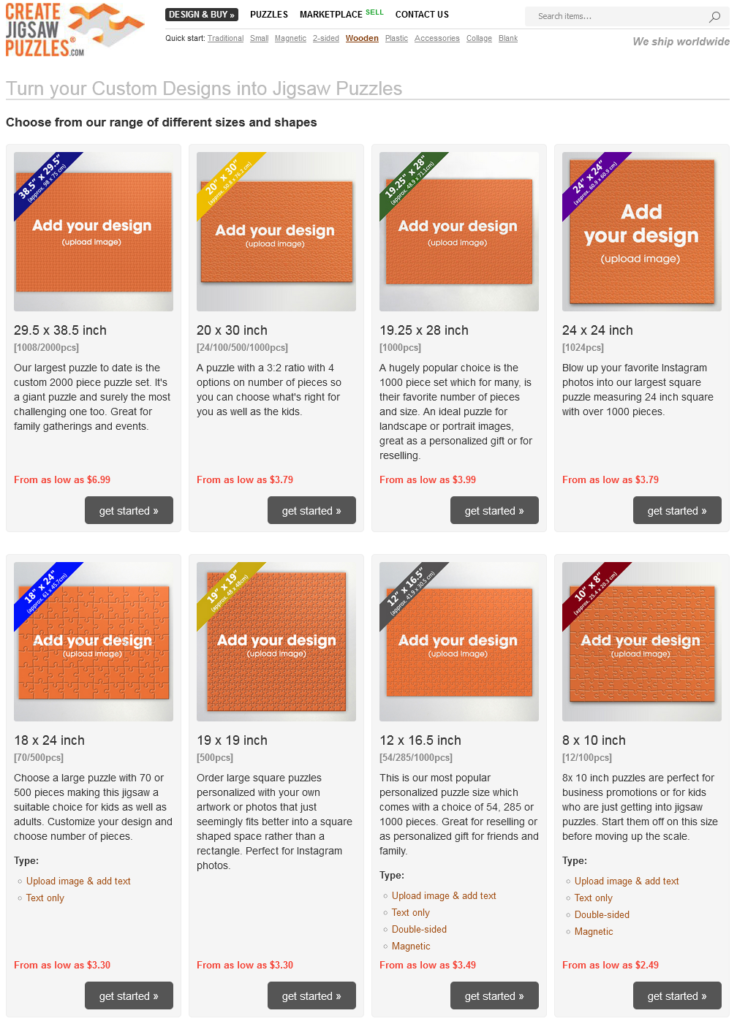
First I needed to find a printing service that could make the puzzle. One thing that was important to me was to preserve the integrity of my art. I didn’t want to crop the picture just to fit the shape of a puzzle. I also wanted high quality printing and a professional presentation that had a box with a picture. After a week of research online (there’s a million places that do this kind of thing) I settled on createjigsawpuzzles.com. I didn’t know anything about them but they had a large selection of sizes and options.
 What’s in a picture?
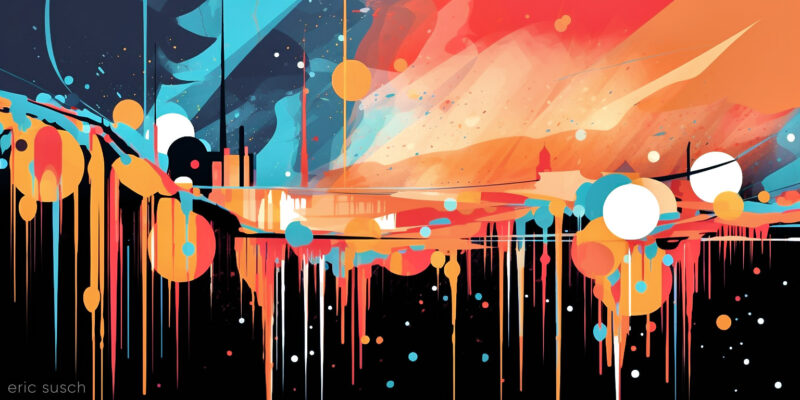
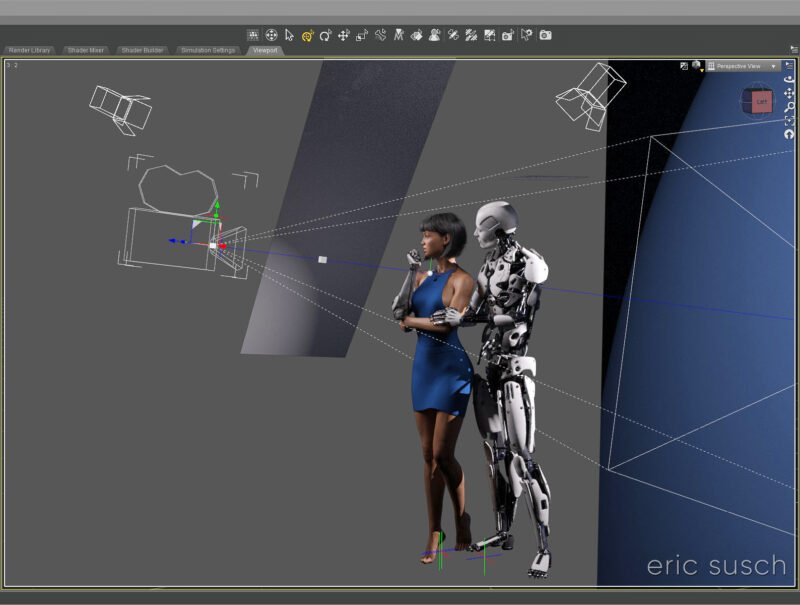
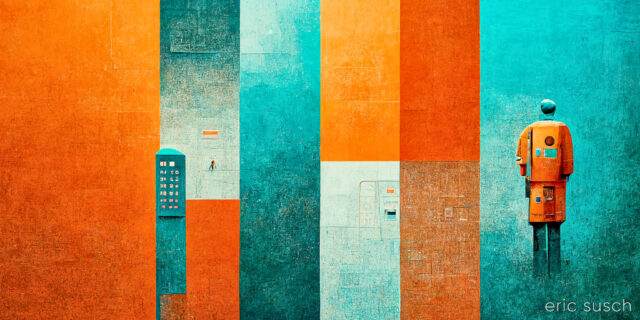
Next… Which of my artwork to choose? I knew something like this…
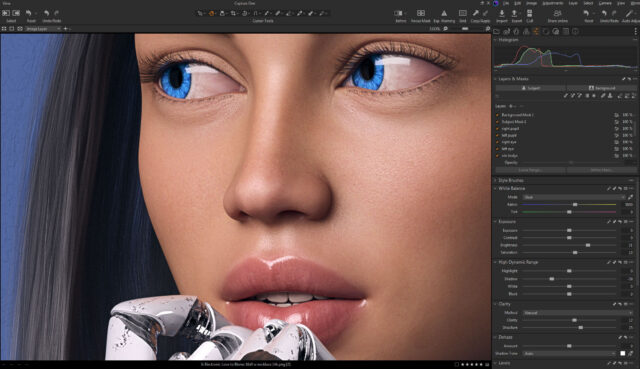
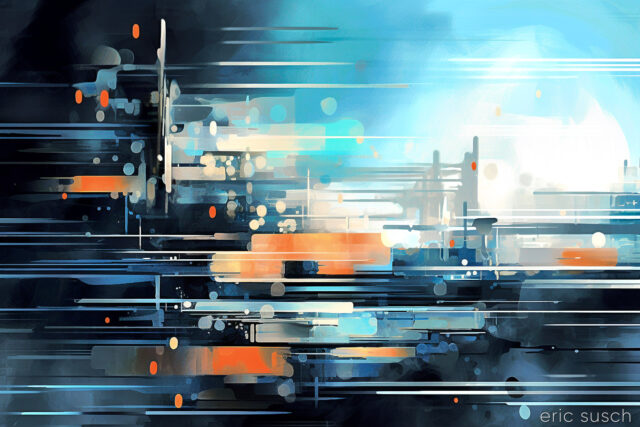
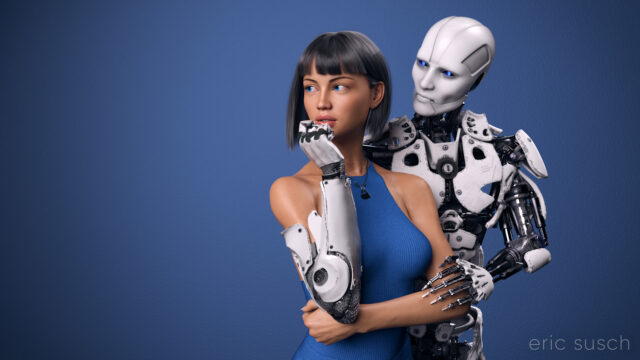 …would be an absolute nightmare as a puzzle! I didn’t want to go thru the torture of piecing together solid color backgrounds. I needed something with more overall detail. I considered this:
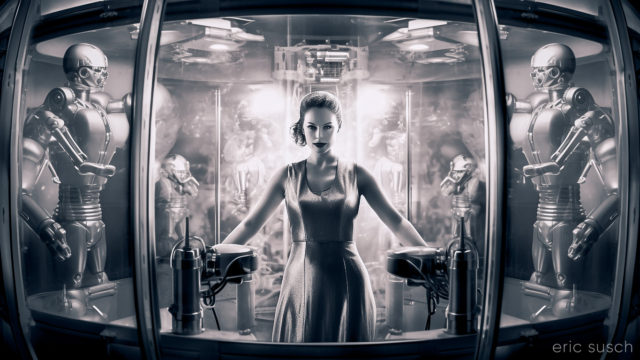
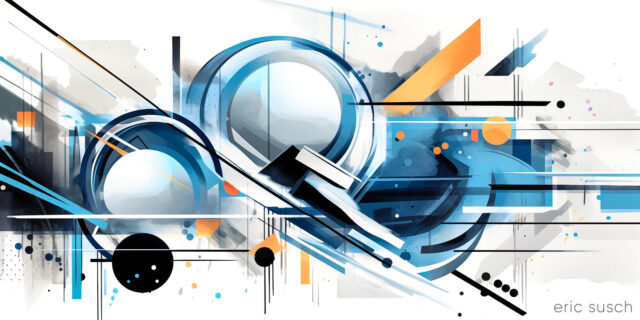
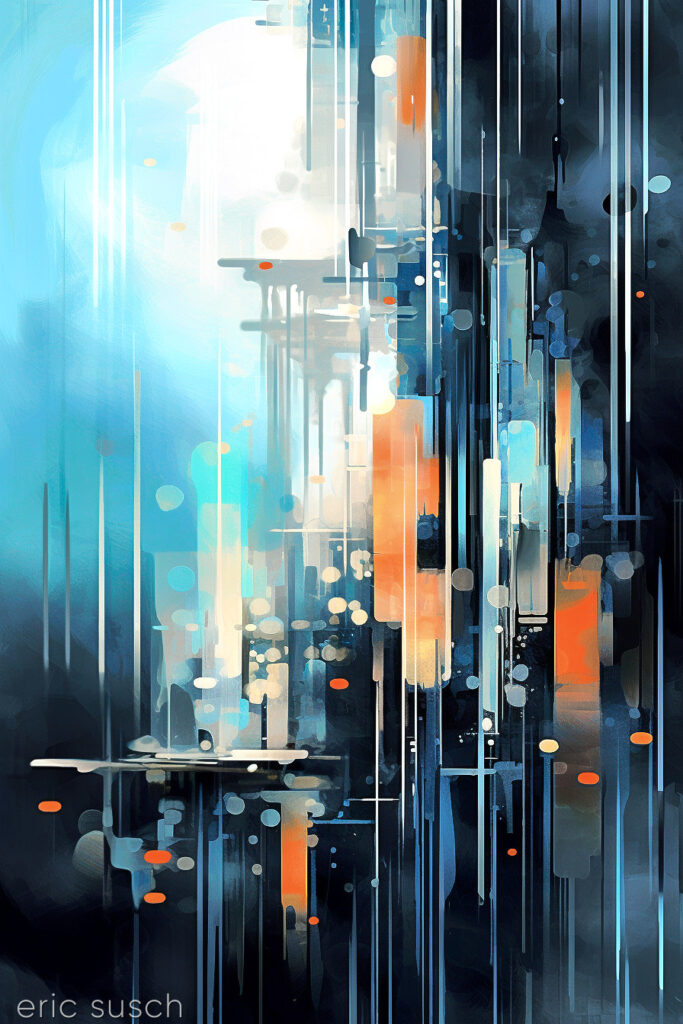
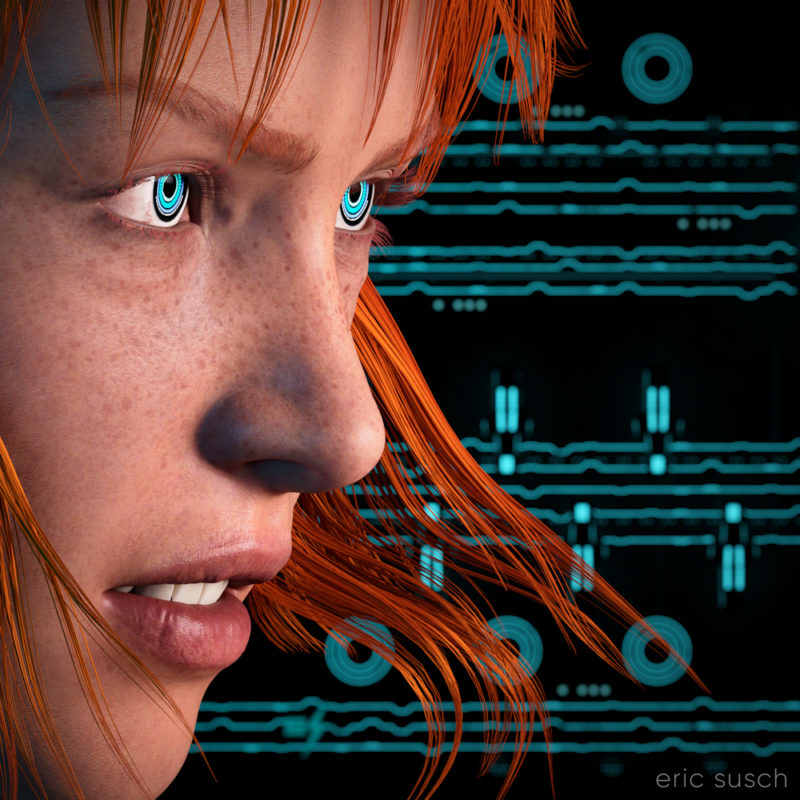 …and even this:
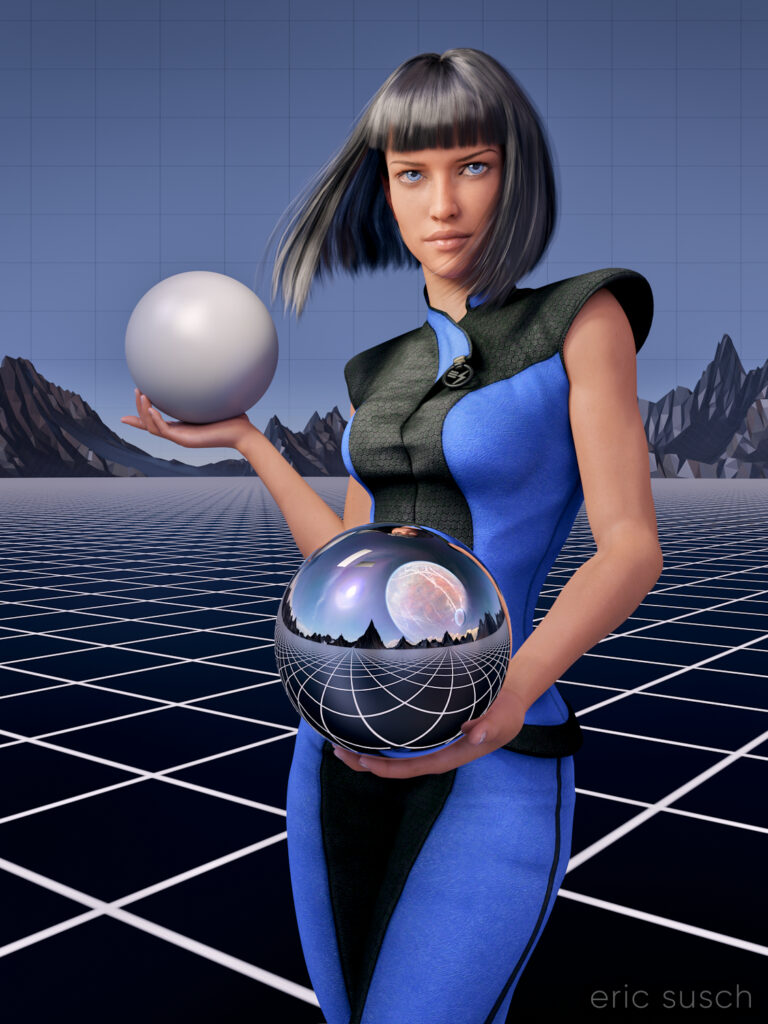
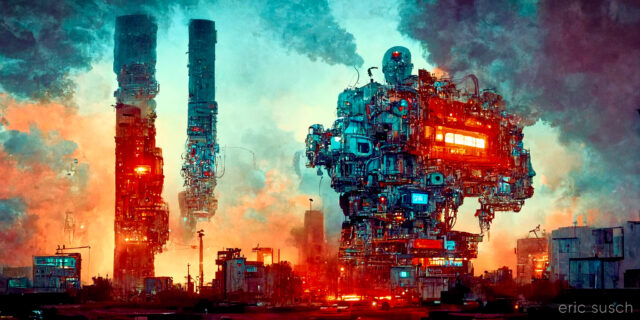
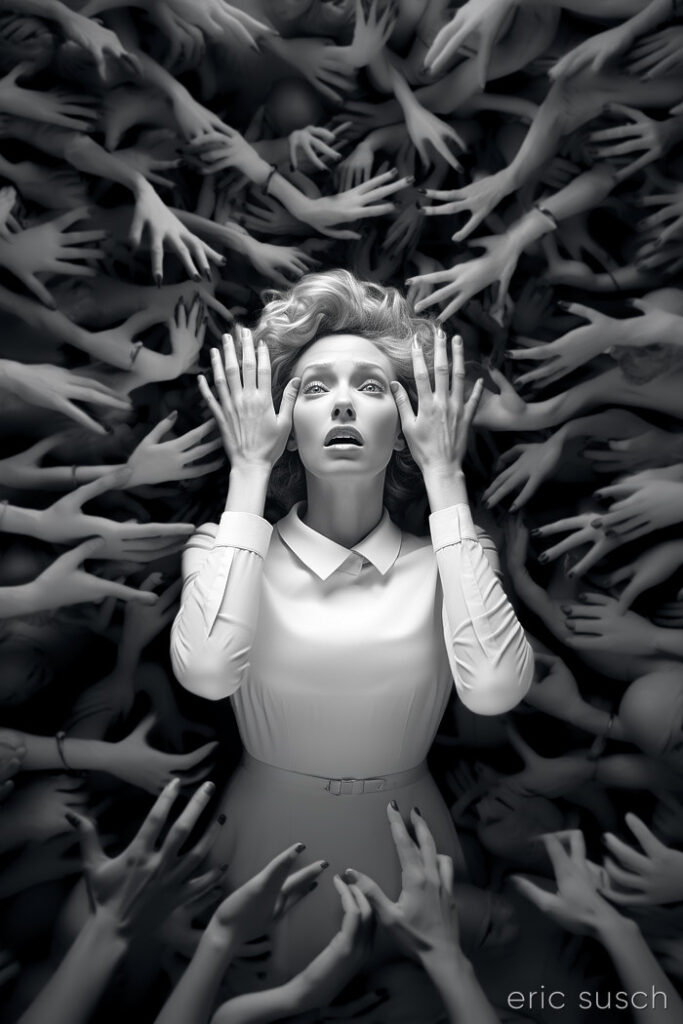 …but finally settled on this:
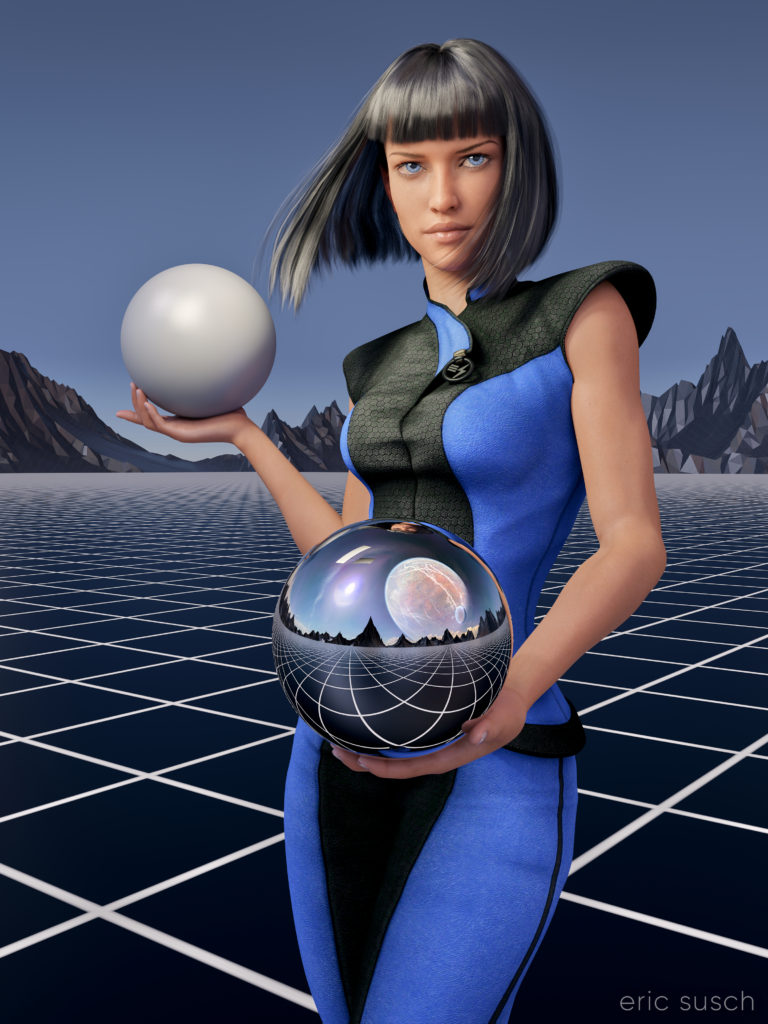 …because the background had several different distinct areas.
Choices
I decided to make an 18″ x 24″ puzzle because that was a 3×4 aspect ratio, same as the image.
There were quite a few options on the order page, several types of cardboard, printing and surface finishes. I selected something called Eska premium cardboard for the backing, which is made from recovered paper.
I wasn’t sure whether to get a gloss or matte finish on the pieces. I went back and forth on this for awhile. I finally went with gloss because the ground in the image is black and gloss would increase the contrast overall.
In my research I found that the most popular puzzle size was 1000 pieces. As beginners, that’s kind of scary. Neither of us had ever done a jigsaw puzzle that large before. I thought we might be able to handle 500 pieces however. That’s only two and a half times the Six Million Dollar Man puzzle.
I selected a custom box option which meant I had to download a template, design the box from scratch in Adobe Illustrator, and upload the result. That took an extra day. I made the box simple with just a large picture on the top and clean text on the side.
Finally I uploaded all my artwork and finished the order. Then I waited.
The Waiting
It took a week for the puzzle to be made. Then it had to ship from the factory in Dongguan, China (near Hong Kong) all the way to New York. I had already been working on it for several weeks and I was anxious to see it. When I got the tracking number on a Friday the estimated delivery was Monday, only three days later. …From the other side of the planet?? I didn’t believe that estimate, but I hoped it was true!
I started obsessively refreshing the UPS tracking page every few hours all weekend. The package left China at 2 AM Saturday morning. It stopped in Anchorage, Alaska (USA!) Saturday afternoon. It arrived in Louisville, Kentucky (East coast!) the next day in time for Sunday brunch. Then it landed in Newark, NJ (Local airport!) on Sunday evening! The rest of the journey was by truck though. Would it really arrive at my house in less than 24 hours?
The next morning at 4 AM the package was sorting at the local UPS facility. …And “out for delivery” on the local truck at 10:20 AM!! I couldn’t believe it!
In anticipation of its arrival “by 7 PM,” I changed the picture that was hanging on the wall in the kitchen where we do our puzzles. I put up a large metal print of the same artwork that’s on the puzzle. I still didn’t tell CAT what was going on though. I just said I wanted to look at something different.
It’s Here!
The package arrived around six PM and I sat CAT down at the kitchen table and handed her the puzzle box. She was surprised. It looked great, very professional.
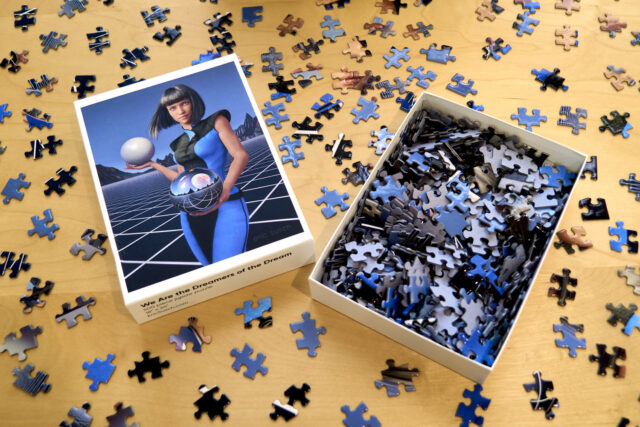 The box came shrink wrapped in plastic, just like a store bought puzzle. It was a nice matte white and the picture on top was sharp. The pieces inside were in a plastic bag.
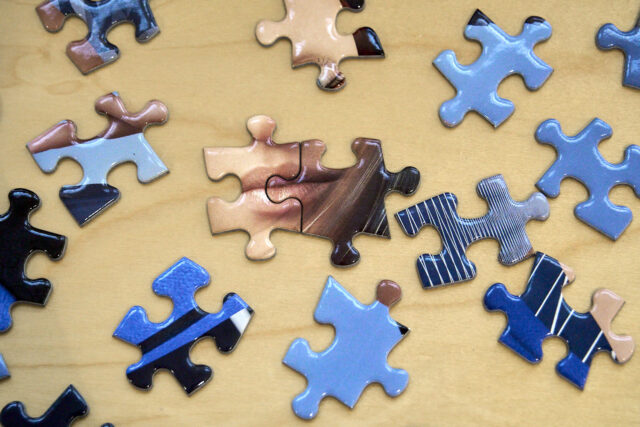 The Eska cardboard backing on the pieces was thick and stiff. These were nice puzzle pieces. The printing was excellent, sharp and bright, in some ways better than my large metal print hanging on the wall.
 Assembly
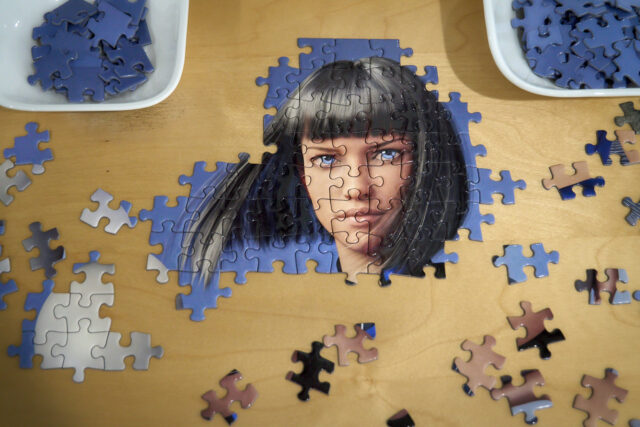
As we started putting the puzzle together I separated the blue sky pieces and put them in bowls. We figured that the sky would be the hardest and best left until last.
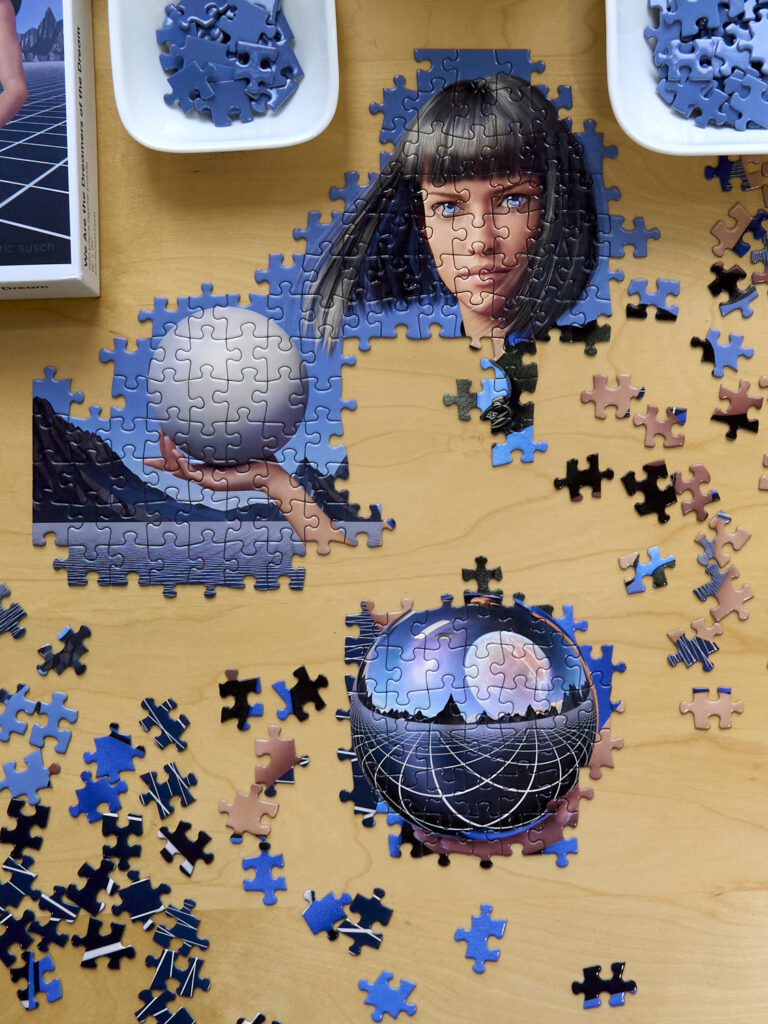 Over the next few days we spent a few minutes in the evening piecing different sections together.
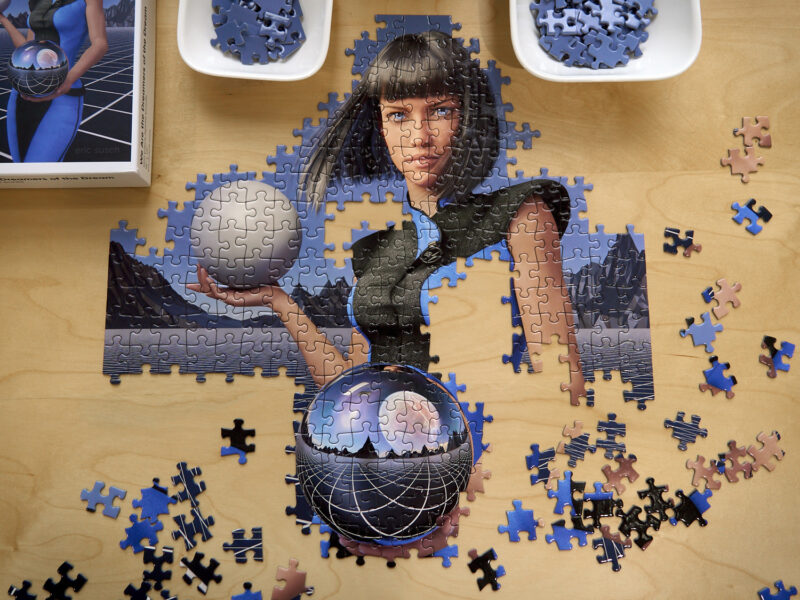 The figure came together first. The pieces interlocked well and while slightly loose, didn’t pull apart when you slid the sections around.
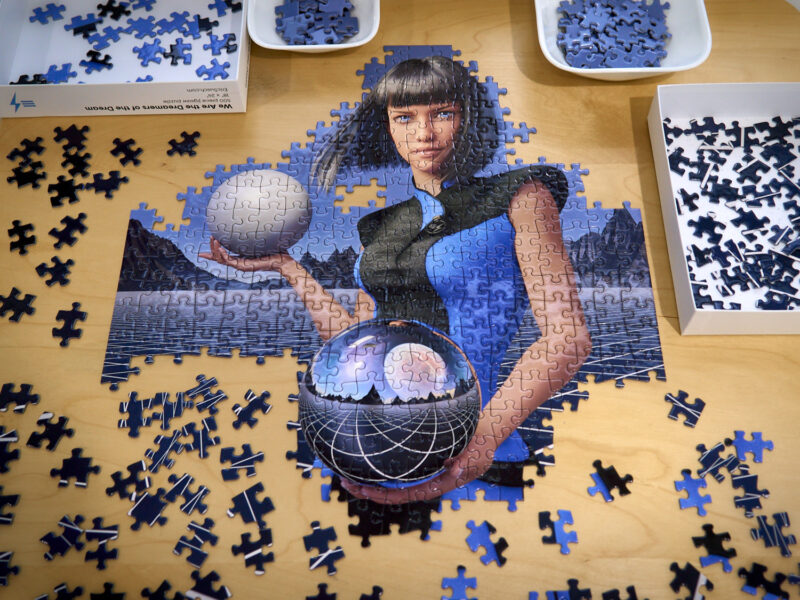 Things progressed smoothly from section to section. It was coming together nicely. The image looked really good.
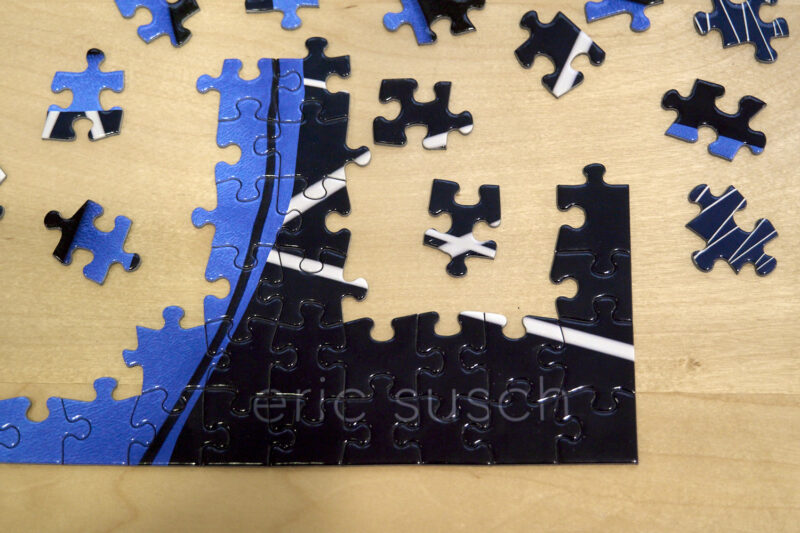 I always put my name on my artwork that I post online, but never on things I print. For this puzzle I decided to add my name to the plain black pieces at the bottom to add extra detail. It helped.
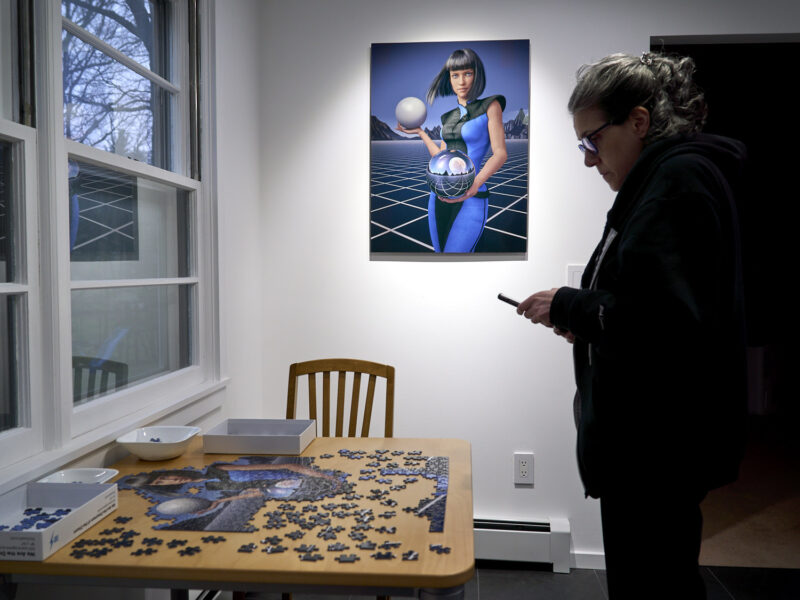 CAT took a picture of our progress and posted it to facebook.
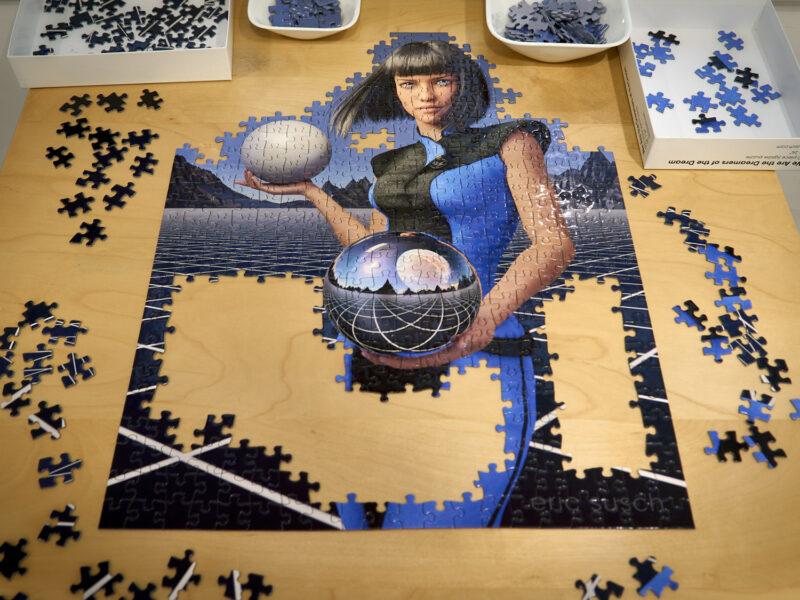 As I expected, the separate sections of the background made everything easier. The mountains and horizon fell into place relatively early. The grid pattern on the ground acted as a gradient to help place most of those pieces. At the very bottom the thick white lines were easy to assemble with only a few solid black pieces between them.
The Blue Pieces
All that was left at this point was the dreaded plain blue sky. There’s a slight gradient which helped a little bit but it was still the most difficult part and took the longest. Basically you had to find the pieces by shape.
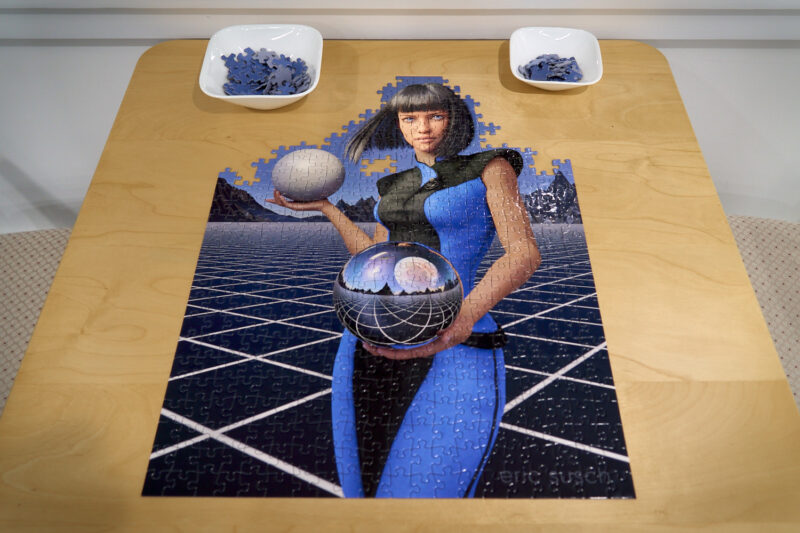 This area was a good test of the puzzle cut though. The company website said all the pieces were unique and we found this to be true. If it was the wrong piece it didn’t fit… and we tried a lot of wrong pieces 🙂
 Done!
Done!
I wish I could get a better picture of the final puzzle. Because it’s glossy it’s hard to light without reflections, and side lighting just brings out the puzzle lines. It really looks great in person. The printing is very sharp. The grid lines on the ground are visibly distinct all the way to the horizon. The colors are great.
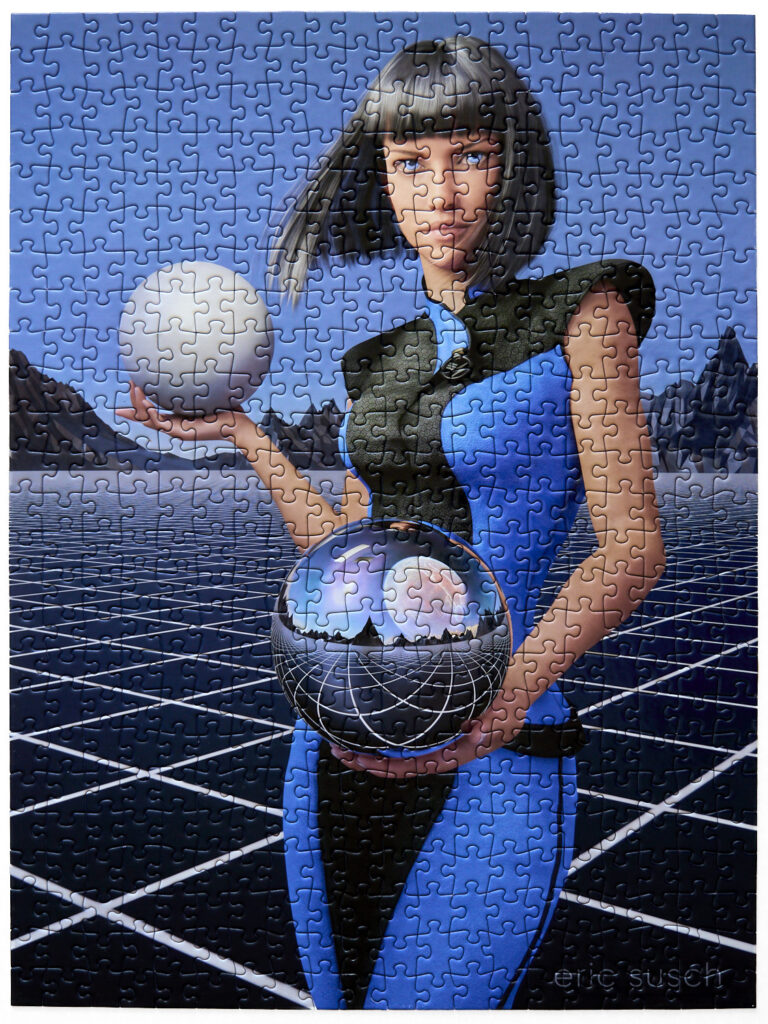 I’m very pleased. I think I might print another one and try the matte finish just to see how different it is. I also want to pick out a few more of my art pieces and make more puzzles. Maybe we’ll even try one with 1000 pieces!
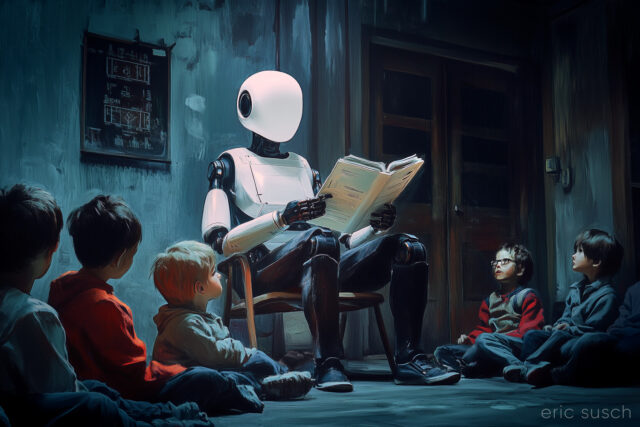 #Art I made with #Midjourney #AI